3 Day Coconut Cake Recipe: The Secret to Unforgettable Flavor
Imagine biting into a cake so moist, so tender, and so packed with coconut flavor, it practically melts in your mouth. This isn’t your average coconut cake; this is a 3-Day Coconut Cake, and the extra time and attention are what make it truly extraordinary. This cake is a labor of love, a testament to the power of slow food, and a guaranteed showstopper for any occasion. It’s perfect for birthdays, holidays, or simply when you want to impress someone special. Prepare to embark on a delicious journey that will reward you with the most incredible coconut cake you’ve ever tasted!
Why This Recipe Works
The secret behind this cake’s exceptional flavor and texture lies in the three-day process. Here’s the breakdown:
- Day 1: Infusing the Cake. The first day is dedicated to baking the cake layers and then soaking them generously with a coconut milk syrup. This allows the coconut flavor to deeply penetrate the cake, ensuring every bite is bursting with tropical goodness. The soaking process also contributes significantly to the cake’s incredibly moist texture.
- Day 2: Creating the Coconut Cream Cheese Frosting. Making the frosting a day ahead allows the flavors to meld and deepen. The cream cheese adds a tangy counterpoint to the sweetness of the coconut, creating a perfectly balanced frosting that isn’t overly sweet. Letting it chill overnight also helps it firm up for easier spreading.
- Day 3: Assembling and Decorating. This is the day you bring everything together! Assembling the cake with the chilled frosting and covering it in shredded coconut creates a visually stunning and incredibly delicious dessert. The chilling period after assembly allows the flavors to further marry, resulting in a cohesive and unforgettable cake experience.
This multi-day approach might seem intimidating, but each step is relatively simple. The waiting time is what elevates this cake from good to spectacular, allowing the flavors to fully develop and create a truly unforgettable dessert.
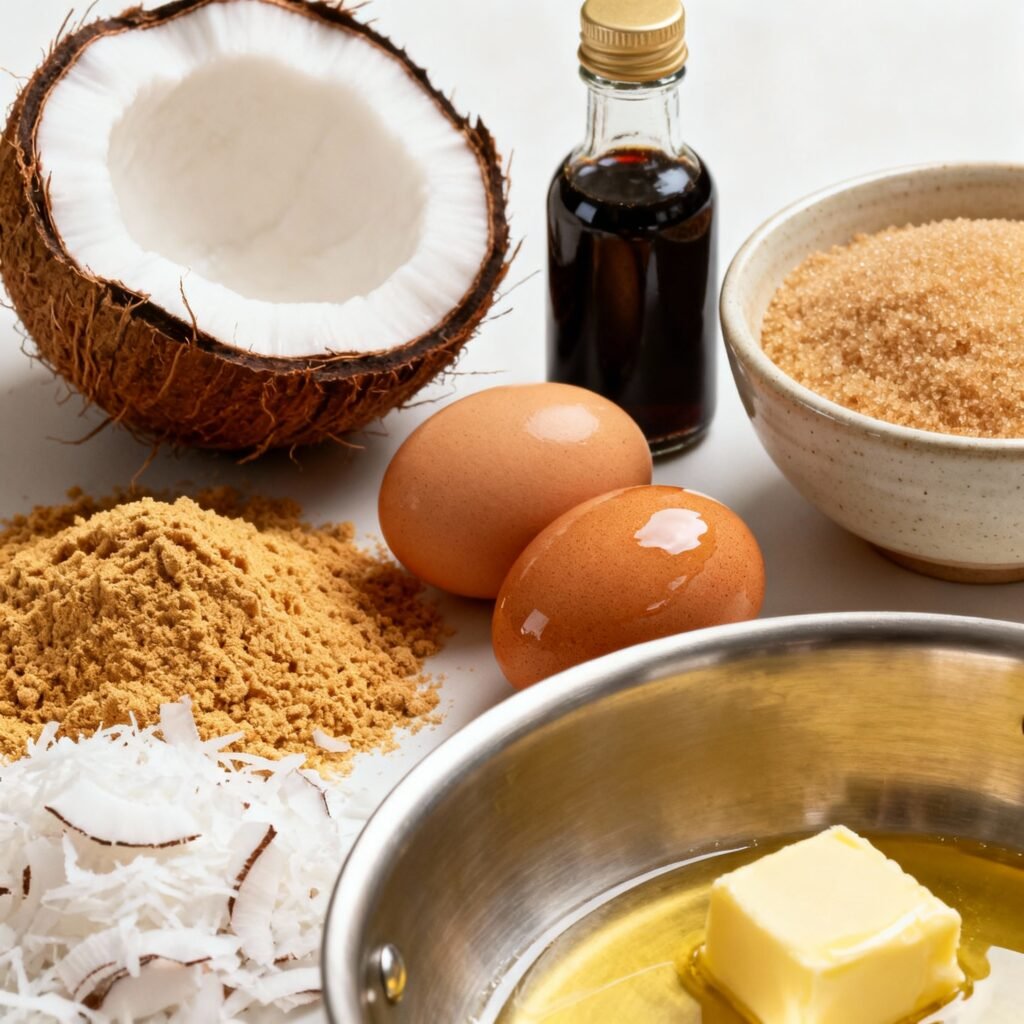
Ingredients
For the Cake:
- 2 1/4 cups all-purpose flour
- 1 teaspoon baking powder
- 1/2 teaspoon baking soda
- 1/4 teaspoon salt
- 1 cup (2 sticks) unsalted butter, softened
- 1 3/4 cups granulated sugar
- 3 large eggs
- 1 teaspoon vanilla extract
- 1 cup buttermilk
- 1 cup sweetened shredded coconut
For the Coconut Milk Syrup:
- 1 can (13.5 oz) full-fat coconut milk
- 1/2 cup granulated sugar
- 1/4 teaspoon vanilla extract
For the Coconut Cream Cheese Frosting:
- 8 ounces cream cheese, softened
- 1 cup (2 sticks) unsalted butter, softened
- 4 cups powdered sugar
- 1 teaspoon vanilla extract
- 1/2 cup sweetened shredded coconut
For Decoration:
- 2 cups sweetened shredded coconut
Instructions
Day 1: Bake and Soak the Cake
- Preheat the oven: Preheat oven to 350°F (175°C). Grease and flour two 9-inch round cake pans. You can also line the bottoms with parchment paper rounds for easy removal.
- Combine dry ingredients: In a medium bowl, whisk together flour, baking powder, baking soda, and salt.
- Cream butter and sugar: In a large bowl, cream together the softened butter and sugar until light and fluffy.
- Add eggs and vanilla: Beat in the eggs one at a time, then stir in the vanilla extract.
- Alternate dry and wet ingredients: Gradually add the dry ingredients to the wet ingredients, alternating with the buttermilk, beginning and ending with the dry ingredients. Mix until just combined. Do not overmix.
- Fold in coconut: Gently fold in the shredded coconut.
- Bake the cakes: Divide the batter evenly between the prepared cake pans. Bake for 25-30 minutes, or until a wooden skewer inserted into the center comes out clean.
- Cool the cakes: Let the cakes cool in the pans for 10 minutes before inverting them onto a wire rack to cool completely.
- Make the coconut milk syrup: While the cakes are cooling, combine the coconut milk and sugar in a saucepan over medium heat. Cook, stirring constantly, until the sugar is dissolved and the mixture is slightly thickened, about 5 minutes. Remove from heat and stir in the vanilla extract.
- Soak the cakes: Once the cakes are completely cool, place them on a wire rack set over a baking sheet. Slowly and evenly pour the coconut milk syrup over the cakes, allowing it to soak in completely. You may need to do this in stages, allowing the syrup to absorb before adding more.
- Wrap and refrigerate: Wrap the soaked cakes tightly in plastic wrap and refrigerate overnight.
Day 2: Make the Frosting
- Cream butter and cream cheese: In a large bowl, cream together the softened cream cheese and butter until smooth and fluffy.
- Add powdered sugar: Gradually add the powdered sugar, beating on low speed until combined.
- Add vanilla and coconut: Stir in the vanilla extract and shredded coconut.
- Chill the frosting: Cover the bowl and refrigerate overnight.
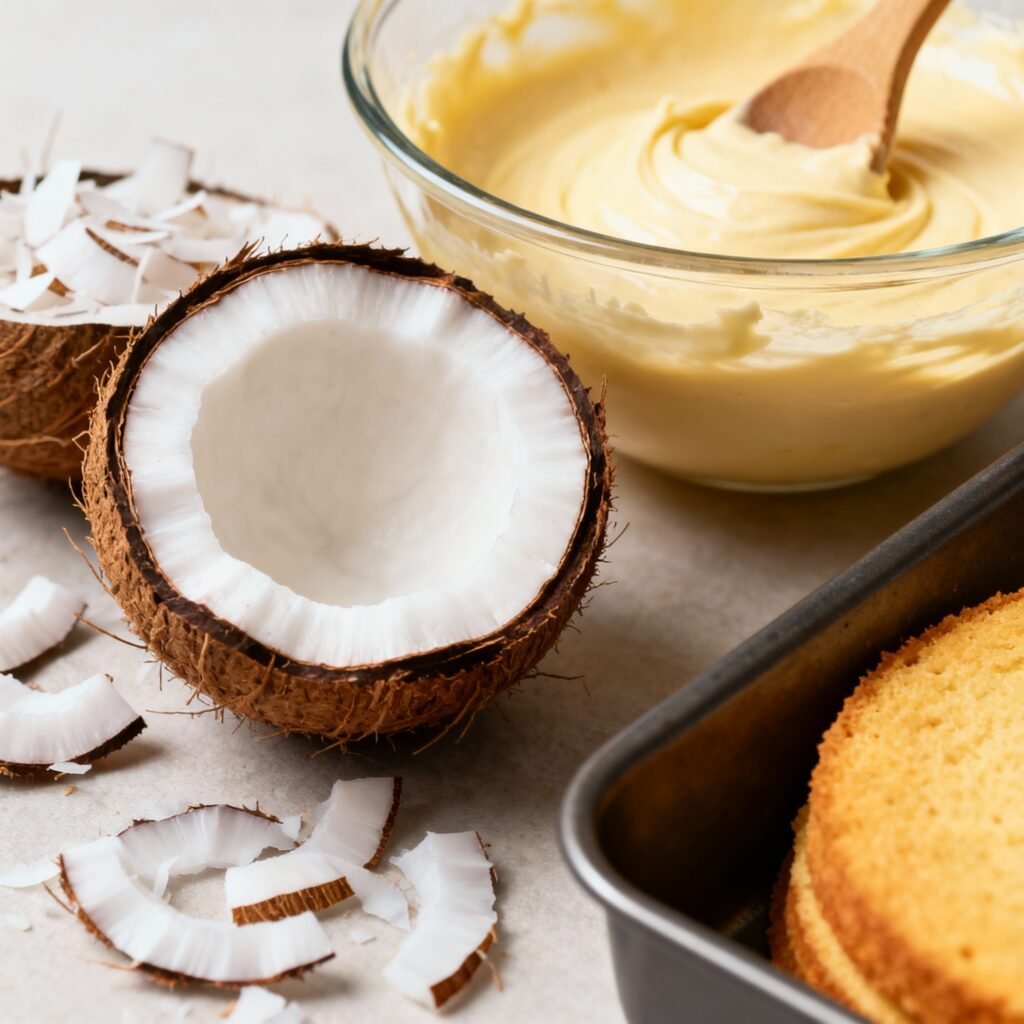
Day 3: Assemble and Decorate
- Level the cakes (optional): If the cakes are uneven, use a serrated knife to trim the tops to create a flat surface.
- Frost the first layer: Place one cake layer on a serving plate or cake stand. Spread a generous layer of frosting over the top.
- Add the second layer: Carefully place the second cake layer on top of the frosting.
- Frost the entire cake: Frost the top and sides of the cake with the remaining frosting.
- Decorate with coconut: Generously sprinkle the shredded coconut over the entire cake, pressing it gently into the frosting to adhere.
- Chill the cake: Refrigerate the assembled cake for at least 2 hours before serving. This allows the flavors to meld and the frosting to set.
Tips for Success
- Use full-fat coconut milk: For the richest flavor and best results, use full-fat coconut milk for the syrup.
- Don’t overmix the cake batter: Overmixing can result in a tough cake. Mix until just combined.
- Soak the cakes thoroughly: Don’t be afraid to saturate the cakes with the coconut milk syrup. This is what makes them incredibly moist.
- Soften the butter and cream cheese: Using softened ingredients will ensure a smooth and creamy frosting.
- Chill the frosting before using: Chilling the frosting makes it easier to spread and helps it hold its shape.
- Use a serrated knife to level the cakes: This will create a flat surface for frosting and prevent the cake from wobbling.
Storage Instructions
Store the assembled coconut cake in the refrigerator for up to 3 days. Cover it loosely with plastic wrap or store it in an airtight container to prevent it from drying out. The cake is best served cold or at room temperature.
FAQ
Q: Can I use unsweetened coconut?
A: While you can use unsweetened coconut, the sweetened variety adds a touch of sweetness and enhances the overall coconut flavor of the cake. If using unsweetened, you may want to add a tablespoon or two of powdered sugar to the frosting.
Q: Can I make this cake gluten-free?
A: Yes, you can substitute the all-purpose flour with a gluten-free all-purpose flour blend. Be sure to choose a blend that contains xanthan gum for best results.
Q: Can I freeze this cake?
A: Yes, you can freeze the assembled cake. Wrap it tightly in plastic wrap and then in foil. Freeze for up to 2 months. Thaw in the refrigerator overnight before serving.
Q: Can I use coconut extract?
A: While you can add a teaspoon of coconut extract to the cake batter or frosting to boost the coconut flavor, it’s not necessary. The coconut milk and shredded coconut provide plenty of coconut flavor on their own.
Conclusion
This 3-Day Coconut Cake is more than just a dessert; it’s an experience. The combination of moist, coconut-infused cake layers, creamy coconut cream cheese frosting, and a generous coating of shredded coconut is simply irresistible. While it requires a little patience, the end result is well worth the effort. So, gather your ingredients, clear your schedule, and prepare to create a coconut cake that will impress your friends and family and leave them wanting more. Enjoy!