The Only Beef Jerky Marinade Recipe You’ll Ever Need (Bold, Smoky, Addictive)
👩🍳 The Home Chef's Essential Kitchen
Consistently cooking incredible, healthy meals at home is so much easier when you aren't fighting with cheap tools. These are the 5 absolute powerhouse kitchen essentials that professional chefs and serious home cooks rely on every single day to get perfect results.
🍳 Lodge 10.25" Cast Iron Skillet
The single greatest value in all of cookware. It retains heat infinitely better than cheap non-stick pans, allowing you to get a restaurant-quality crust on steaks or perfect crispy edges on cornbread. With proper care, this $20 pan will literally outlive you.
🔪 Victorinox Fibrox Pro 8" Chef's Knife
A dull knife makes cooking a frustrating chore. This specific blade is the undisputed champion of the culinary world—it holds a terrifyingly sharp edge, features a comfortable non-slip grip, and performs identical to German knives that cost quadruple the price.
🌡️ ThermoPro Instant Read Thermometer
Never serve dry chicken or undercooked pork again. An instant-read thermometer is the secret difference between amateur cooks who 'guess' when protein is done, and professionals who know exactly when to pull meat off the heat for maximum juiciness.
🍲 Lodge Enameled Cast Iron Dutch Oven
The ultimate workhorse for soups, stews, braised short ribs, and baking crusty artisanal bread. The enameled interior provides incredible heat distribution for slow-cooking while eliminating the intense seasoning maintenance required by bare cast iron.
🥄 Bpa-Free Silicone Utensil Set
Throw away those melting plastic spatulas and bacteria-harboring wooden spoons. This pure silicone set is heat-resistant up to 600°F, won't scratch your expensive pans, and features seamless designs that make cleaning out thick sauces and batters effortless.
You could drop $10 on a tiny bag of meh jerky, or you could make a pound of legendary, flavor-bomb jerky at home that vanishes faster than Wi-Fi at a conference. The secret isn’t fancy equipment—it’s the marinade. Get that right, and even budget beef turns into top-tier snack fuel.
This recipe nails sweet-salty-umami heat with a punch of smoke and citrus. Your future self called: they want a double batch.
What Makes This Recipe So Good
- Balanced flavor profile: Savory soy, rich Worcestershire, honey or brown sugar sweetness, plus heat and acid for pop.
- Optimized texture: The marinade tenderizes while keeping slices toothsome, not brittle.
- Customizable heat: Chili flakes and hot sauce let you go mild, medium, or “call the fire department.”
- Smoky without a smoker: A touch of liquid smoke delivers campfire vibes even in an apartment kitchen.
- Meal prep gold: High-protein, low-junk snack that actually satisfies. Great for hikes, road trips, and desk emergencies.
What Goes Into This Recipe – Ingredients
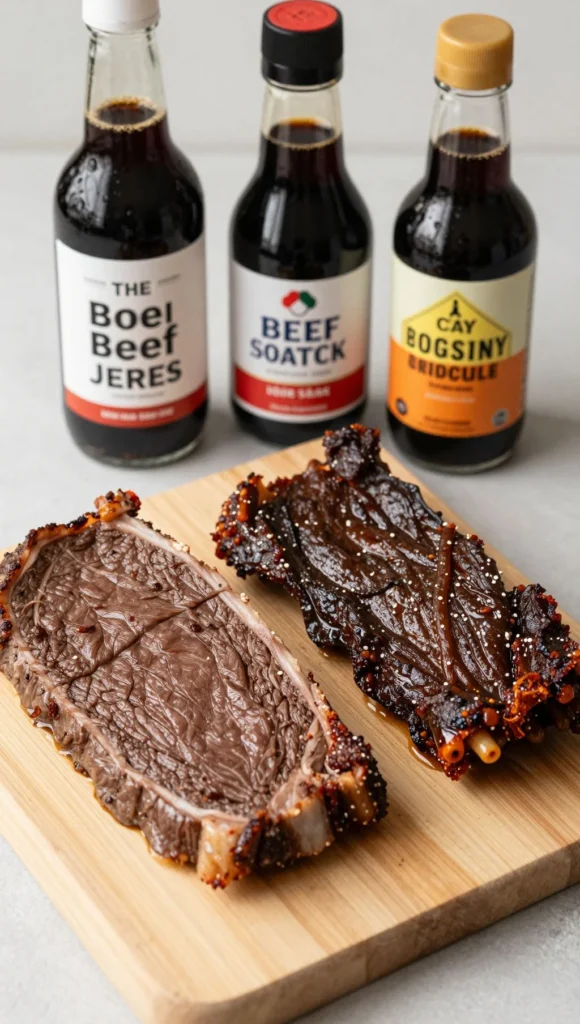
- 2–2.5 pounds lean beef (top round, eye of round, sirloin tip, or flank), trimmed
- 1/2 cup low-sodium soy sauce
- 1/4 cup Worcestershire sauce
- 2 tablespoons honey (or packed brown sugar)
- 1 tablespoon rice vinegar (or apple cider vinegar)
- 1 tablespoon fresh lemon or lime juice
- 2 teaspoons smoked paprika
- 1 teaspoon garlic powder
- 1 teaspoon onion powder
- 1 teaspoon black pepper, freshly ground
- 1 teaspoon red pepper flakes (adjust to taste)
- 1–2 teaspoons hot sauce (optional, to taste)
- 1 teaspoon liquid smoke (hickory or mesquite), optional but clutch
- 1 tablespoon olive oil (helps penetration and even drying)
Optional add-ins: 1 teaspoon ground coriander for citrusy notes; 1 teaspoon espresso powder for deeper savoriness; 1 teaspoon mustard powder for tangy heat.
How to Make It – Instructions
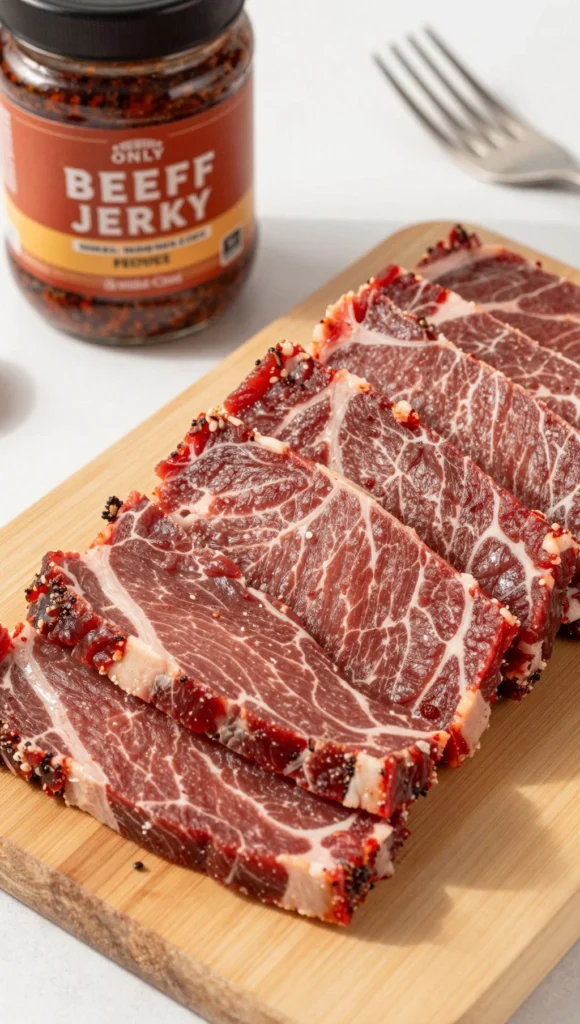
- Chill and slice the beef: Freeze the beef for 60–90 minutes until firm but not rock solid.
Slice against the grain into 1/8–1/4-inch strips. Thinner = crisper; thicker = chewier.
- Whisk the marinade: In a bowl, combine soy, Worcestershire, honey, vinegar, citrus juice, smoked paprika, garlic powder, onion powder, black pepper, red pepper flakes, hot sauce (if using), liquid smoke, and olive oil. Taste and adjust sweet/heat/acid as needed.
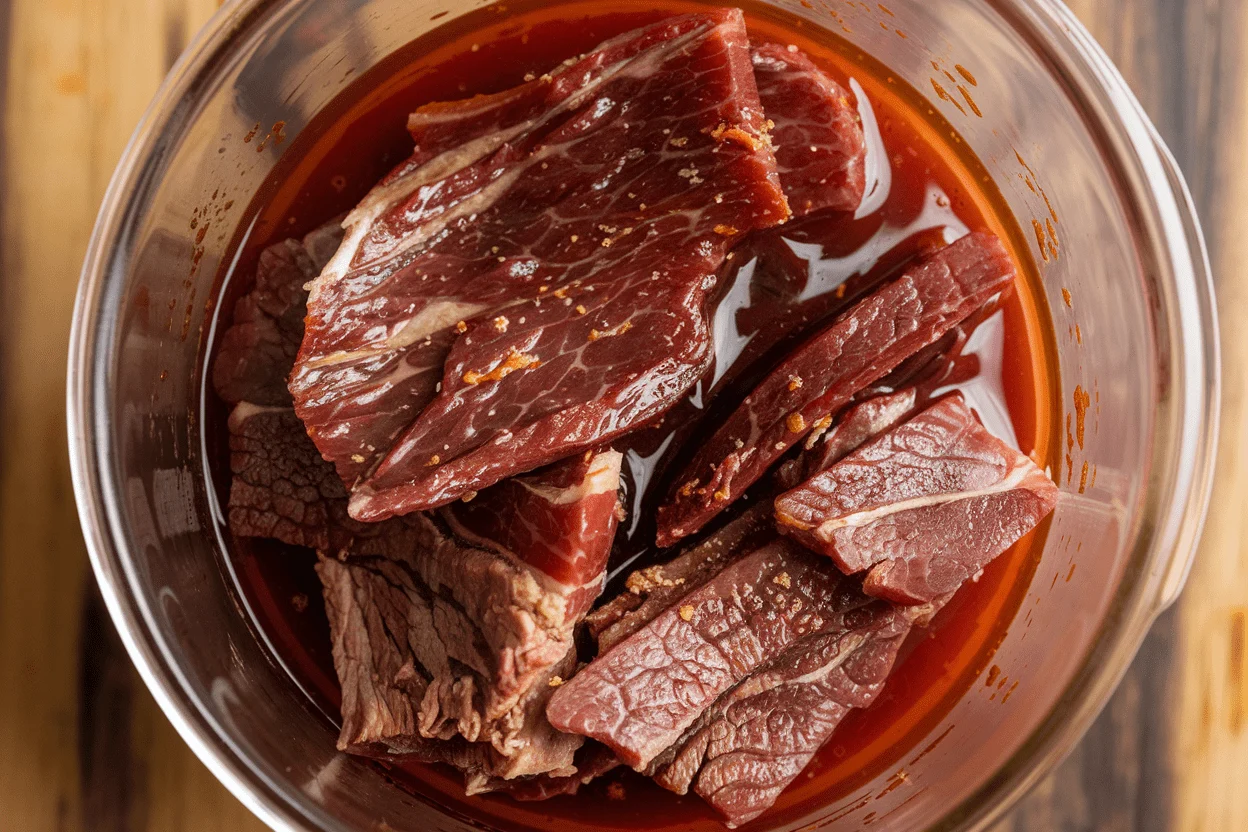
- Marinate smart: Add beef to a large zip-top bag or shallow container.
Pour in marinade, press out air, and massage to coat every strip. Refrigerate 8–24 hours. 12–18 hours is the sweet spot.
- Prep for drying: Remove beef and pat each strip very dry with paper towels. This helps even dehydration and reduces steaming.
- Arrange for airflow:
- Dehydrator: Lay strips in a single layer on trays, not touching.
- Oven: Line baking sheets with foil, set wire racks on top, and arrange beef on racks.
Crack the oven door with a wooden spoon for airflow.
- Dry low and slow:
- Dehydrator: 160°F (71°C) for 4–6 hours.
- Oven: Lowest setting (usually 170–200°F / 75–95°C) for 3–5 hours, flipping halfway. Start checking at 3 hours.
- Test doneness: Jerky should be dry to the touch, darkened, and bend without breaking. It should crack slightly when bent but not snap clean.
- Condition the batch: Cool completely, then place jerky in a large jar or bag for 24 hours at room temp, shaking once.
If moisture beads appear, dry another 30–60 minutes.
- Store properly: See storage tips below for max shelf life and safety.
Storage Tips
- Short-term: Airtight container or zip bag at room temperature for up to 1 week (cool, dry spot).
- Medium-term: Refrigerate up to 3–4 weeks. Use a desiccant pack if you’ve got one—pro move.
- Long-term: Freeze up to 3 months. Portion into small bags to avoid thaw/refreeze cycles.
- Avoid humidity: Jerky hates steam and sunlight.
Pantry, not countertop near the kettle.
Nutritional Perks
- High protein, low fuss: About 9–12g protein per ounce, depending on cut and dryness. Keeps you fuller longer than chips ever will.
- Lower sugar than store-bought: Honey adds just enough gloss and balance without candy-level carbs.
- Electrolytes + micronutrients: Iron, zinc, B vitamins—handy for workouts, travel, or focus marathons.
- Control the sodium: Using low-sodium soy keeps the salt in check while maintaining flavor.
Avoid These Mistakes
- Slicing with the grain: Chewy becomes jawbreaker. Cut against the grain for tender bites.
- Skipping the pat-dry: Excess surface moisture extends drying time and can mess with texture.
- Overcrowding trays: No airflow = steamed beef sadness.
Give those strips personal space.
- Too hot, too fast: High temps cook instead of dehydrate. Stay at 160–175°F and be patient (I know, I know).
- Underseasoning: Flavors mute after drying. Marinade should taste slightly stronger than you think is necessary.
Variations You Can Try
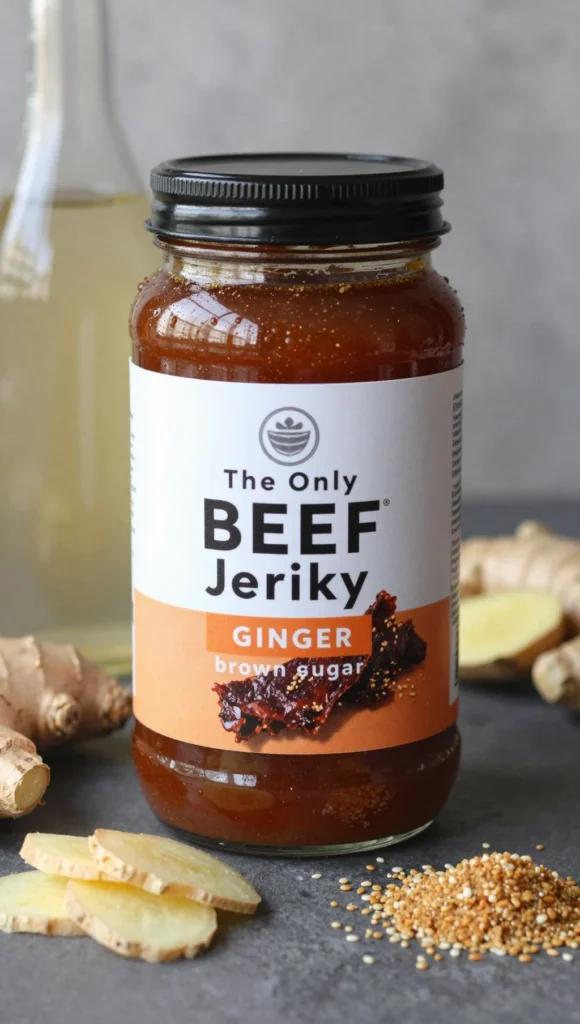
- Teriyaki-Ginger: Swap honey for brown sugar, add 1 tablespoon mirin and 1 tablespoon grated fresh ginger.
Sprinkle toasted sesame seeds after drying.
- Maple-Chipotle: Use maple syrup instead of honey and add 1–2 teaspoons chipotle in adobo, minced. Smoky-sweet with a kick.
- Black Pepper Bourbon: Add 2 tablespoons bourbon, increase black pepper to 2 teaspoons, and add 1 teaspoon mustard powder. Classy, a little dangerous (in a good way).
- Korean-Inspired: Replace soy with a mix of soy + gochujang (1–2 tablespoons), add pear puree (2 tablespoons) for tenderizing, and sesame oil (1 teaspoon).
- Lemon-Pepper: Double citrus juice, add 1 teaspoon lemon zest, and bump black pepper to 2 teaspoons.
Bright and punchy.
FAQ
What cut of beef is best for jerky?
Lean cuts like top round, eye of round, sirloin tip, or flank work best. Less fat means longer shelf life and cleaner drying. Trim visible fat before slicing.
How thin should I slice the meat?
Aim for 1/8–1/4 inch.
Thinner dries faster and gets crisper; thicker stays chewier. Keep slices uniform so they finish at the same time.
Can I make this without a dehydrator?
Yes. Use your oven on its lowest setting with a cracked door for airflow.
Place meat on wire racks over foil-lined sheets to prevent soggy bottoms. Works surprisingly well, IMO.
How long should I marinate?
At least 8 hours, ideally 12–18. Up to 24 hours is fine for max flavor.
Beyond that, the texture can get mushy from acids and salt.
Do I need curing salt?
Not required for home batches eaten within a few weeks and stored properly. If you want longer shelf stability or plan to ship, you can add Prague Powder #1 at manufacturer-recommended rates. FYI, a little goes a long way.
How do I know when jerky is done?
It should feel dry and firm, bend and crack slightly without snapping.
If it’s still spongy or wet-looking, keep drying and recheck every 20–30 minutes.
Can I use other meats?
Absolutely. Turkey, venison, bison, even pork tenderloin work. Keep them lean and follow the same marinade and drying principles, adjusting time as needed.
Why “condition” jerky after drying?
Conditioning equalizes remaining moisture across pieces, preventing mold and ensuring consistent texture.
If condensation appears, dry a bit longer. It’s the underrated step that protects your effort.
Wrapping Up
This beef jerky marinade recipe hits that perfect storm of savory, sweet, tangy, and smoky—without fancy gear or mystery ingredients. Slice right, marinate overnight, dry low and slow, and you’ll have a stash that crushes cravings and saves cash.
Make a double batch because “I’ll just have one piece” is a lie we all tell. Your snack game just leveled up—enjoy the spoils.