This “Lemon Pie Recipe Condensed Milk” Is the 20-Minute Flex Your Friends Won’t Shut Up About
👩🍳 The Home Chef's Essential Kitchen
Consistently cooking incredible, healthy meals at home is so much easier when you aren't fighting with cheap tools. These are the 5 absolute powerhouse kitchen essentials that professional chefs and serious home cooks rely on every single day to get perfect results.
🍳 Lodge 10.25" Cast Iron Skillet
The single greatest value in all of cookware. It retains heat infinitely better than cheap non-stick pans, allowing you to get a restaurant-quality crust on steaks or perfect crispy edges on cornbread. With proper care, this $20 pan will literally outlive you.
🔪 Victorinox Fibrox Pro 8" Chef's Knife
A dull knife makes cooking a frustrating chore. This specific blade is the undisputed champion of the culinary world—it holds a terrifyingly sharp edge, features a comfortable non-slip grip, and performs identical to German knives that cost quadruple the price.
🌡️ ThermoPro Instant Read Thermometer
Never serve dry chicken or undercooked pork again. An instant-read thermometer is the secret difference between amateur cooks who 'guess' when protein is done, and professionals who know exactly when to pull meat off the heat for maximum juiciness.
🍲 Lodge Enameled Cast Iron Dutch Oven
The ultimate workhorse for soups, stews, braised short ribs, and baking crusty artisanal bread. The enameled interior provides incredible heat distribution for slow-cooking while eliminating the intense seasoning maintenance required by bare cast iron.
🥄 Bpa-Free Silicone Utensil Set
Throw away those melting plastic spatulas and bacteria-harboring wooden spoons. This pure silicone set is heat-resistant up to 600°F, won't scratch your expensive pans, and features seamless designs that make cleaning out thick sauces and batters effortless.
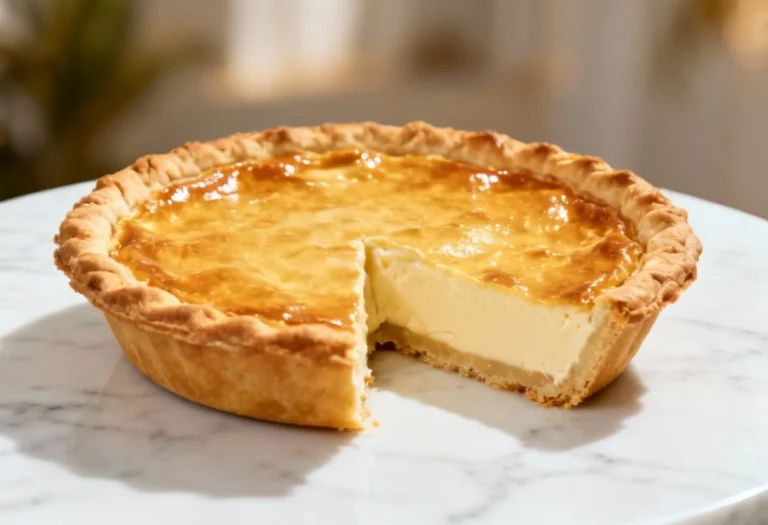
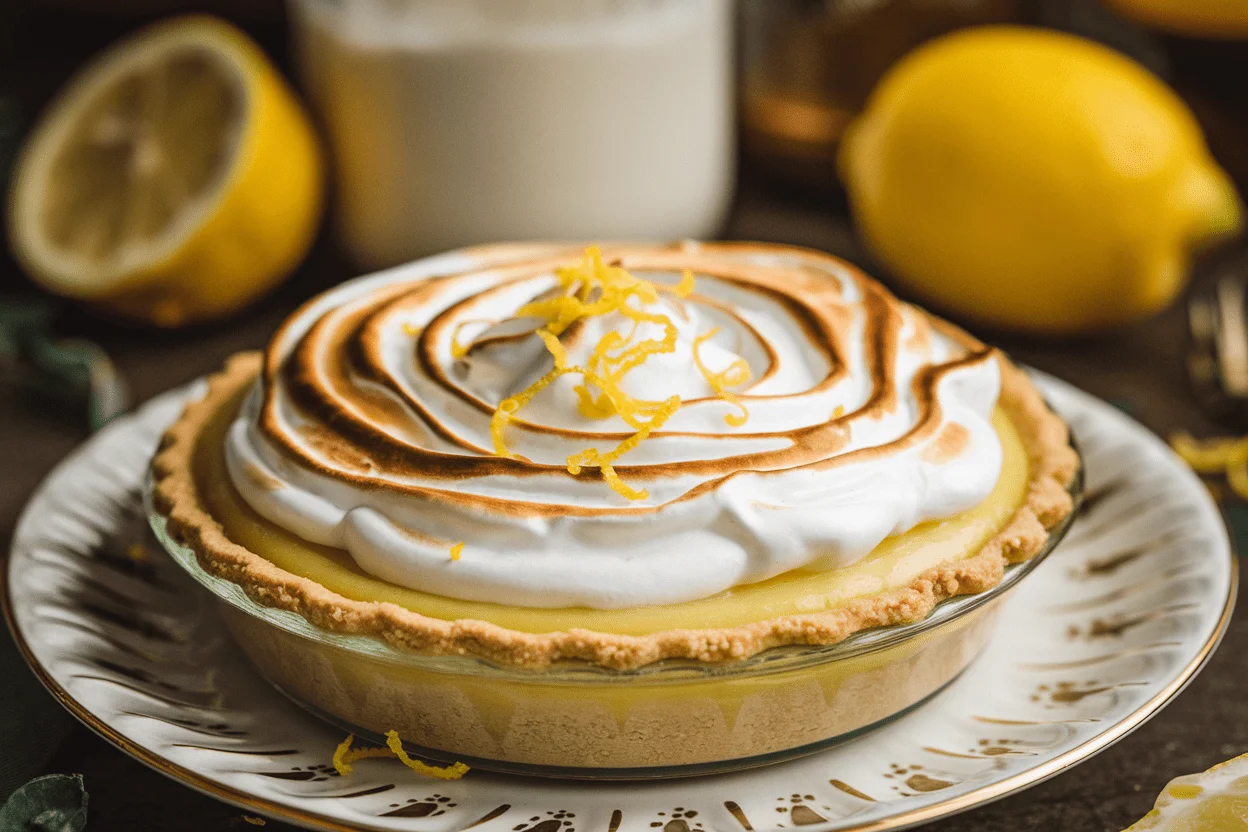
You don’t need a culinary degree to drop jaws—just a can of condensed milk and a few lemons. This lemon pie hits like sunshine and looks like you spent hours, but spoiler: you won’t. It’s creamy, tangy, and wildly satisfying, with a crust that crunches like a mic drop.
Make it on a weeknight and pretend it’s a special occasion. Or make it for a special occasion and pretend you’re chill—either way, you win.
The Secret Behind This Recipe
The magic is in the chemistry. Sweetened condensed milk teams up with lemon juice to thicken without any heavy lifting—no stovetop custards, no tempering eggs like a French pastry chef.
The acid in lemon juice sets the filling as it chills, creating that luscious, velvety texture everyone thinks is complicated. The other power move? A crisp graham cracker crust that brings buttery, toasty contrast to all that silky lemon.
A quick bake locks it in. Then the fridge does the rest. Minimal effort, maximum bragging rights.
Ingredients
- For the crust:
- 1 1/2 cups (150 g) graham cracker crumbs (or digestive biscuits)
- 1/3 cup (65 g) granulated sugar
- 6 tablespoons (85 g) unsalted butter, melted
- Pinch of fine sea salt
- For the filling:
- 1 can (14 oz/396 g) sweetened condensed milk
- 3 large egg yolks
- 1/2 cup (120 ml) fresh lemon juice (about 3–4 lemons)
- 1 tablespoon finely grated lemon zest
- 1 teaspoon pure vanilla extract (optional, but lovely)
- Pinch of salt
- For topping (optional but recommended):
- 1 cup (240 ml) heavy whipping cream
- 2 tablespoons powdered sugar
- 1/2 teaspoon vanilla extract
- Extra lemon zest or thin slices for garnish
Instructions
- Heat and prep: Preheat your oven to 350°F (175°C).
Lightly grease a 9-inch pie pan.
- Make the crust: In a bowl, combine graham cracker crumbs, sugar, salt, and melted butter. Stir until it feels like damp sand.
- Press and bake: Press the mixture firmly into the bottom and up the sides of the pie pan. Use a flat-bottom glass for tight compression.
Bake for 8–10 minutes until fragrant and lightly golden. Cool for 5 minutes.
- Whisk the filling: In a medium bowl, whisk egg yolks until smooth. Add condensed milk, lemon zest, vanilla, and salt.
Whisk in lemon juice last; the mixture will thicken slightly. That’s the sign it’s working.
- Fill and bake: Pour filling into the warm crust. Bake 10–12 minutes until the edges are set and the center has a slight jiggle—not soupy, just confident.
- Cool down: Let the pie cool at room temperature for 1 hour, then refrigerate at least 3 hours (overnight is pro-level).
- Whip the topping: Beat cream, powdered sugar, and vanilla to soft peaks.
Spread or pipe over chilled pie. Shower with zest like it’s confetti.
- Slice and flex: Use a hot knife (run under warm water, wipe dry) for clean slices. Serve cold.
Accept compliments graciously—kind of.
Storage Instructions
- Fridge: Cover tightly and refrigerate up to 4 days. The crust stays crisp for the first two, then softens (still amazing).
- Freezer: Freeze without whipped cream for up to 2 months. Wrap in plastic, then foil.
Thaw in the fridge overnight and top fresh.
- Make-ahead: Bake the crust and mix filling up to 24 hours in advance. Bake the filled crust the day you serve for best texture.
Benefits of This Recipe
- Fast and forgiving: No tempering, no water baths, no drama. It’s low-risk, high-reward.
- Short ingredient list: Common pantry staples plus fresh lemons.
That’s it. Friendly on your time and budget.
- Perfect texture: Silky, thick, and sliceable without being rubbery. The lemon cuts the sweetness so it’s balanced, not cloying.
- Scales like a champ: Double it in a 9×13-inch pan for parties.
People will ask for the recipe—pretend it’s a family secret, IMO.
- Customizable: Swap crusts, tweak citrus, add berries, torch meringue—this is a canvas for your dessert era.
What Not to Do
- Don’t use bottled lemon juice. It tastes flat and can mess with the set. Fresh lemons, always.
- Don’t skip the chill time. The pie needs hours to firm up. Cutting early = custard slippage and sadness.
- Don’t overbake. If it’s fully firm in the oven, it’ll be overcooked when cooled.
Pull it while it still wobbles slightly in the center.
- Don’t use evaporated milk. You need sweetened condensed milk. They are not interchangeable—learned that the hard way, FYI.
- Don’t leave zest chunky. Finely grate it. Big bits can turn bitter and chewy.
Alternatives
- Crust swaps: Use vanilla wafers, Biscoff cookies, or shortbread crumbs.
For gluten-free, opt for GF graham crackers or almond flour crust (prebake 10 minutes).
- Citrus remix: Try key lime for a classic twist, Meyer lemon for floral sweetness, or a half-and-half lemon-lime combo.
- Dairy-free: Use a vegan sweetened condensed coconut milk and a plant-based butter for the crust. Texture will be slightly looser but delicious.
- Meringue topping: Skip whipped cream and top with Swiss meringue. Torch until golden for that bakery glow-up.
- Berry layer: Spread a thin layer of raspberry or blueberry preserves over the cooled crust before adding filling for a sweet-tart surprise.
FAQ
Can I make this without eggs?
Yes.
Use 1 can sweetened condensed milk, 1/2 cup lemon juice, 1 tablespoon lemon zest, and 4 ounces softened cream cheese. Blend until smooth, pour into baked crust, and chill 6 hours (no bake required). It sets softer but slices nicely.
Why is my filling runny?
Most likely under-chilling or too little acid.
Make sure you used fresh lemon juice and chilled at least 3 hours. If you reduced the lemon juice, it won’t set as firmly.
Can I reduce the sweetness?
Use an extra tablespoon of lemon juice and a pinch more salt. You can also add 2 tablespoons sour cream to the filling for tang that balances sweetness.
How do I get the smoothest texture?
Whisk until just combined—don’t over-aerate.
Strain the filling through a fine mesh sieve into the crust for an extra-silky finish.
Is blind baking necessary?
For a cookie crumb crust, a short bake is ideal to set structure. For a true no-bake version, chill the pressed crust 30 minutes, but expect a softer bite.
Can I use limes instead of lemons?
Absolutely. Keep the same measurements.
Key limes are classic; Persian limes work great too.
How far ahead can I make it?
Make it up to 24–36 hours ahead. Add whipped cream within 6 hours of serving to keep it pristine.
What’s the best way to zest lemons?
Use a microplane and avoid the white pith. Zest directly over the bowl to catch the fragrant oils.
Stir the zest into the condensed milk before adding juice for better flavor distribution.
Final Thoughts
This lemon pie recipe with condensed milk is the culinary equivalent of pressing the “easy” button and looking like a genius. Crisp crust, creamy citrus filling, minimal steps—what’s not to love? Keep a couple cans of condensed milk in the pantry, grab fresh lemons, and you’re basically seconds from dessert greatness.
When people ask how you did it, smile, shrug, and say, “It’s simple.” Because it is—and that’s the flex.