Tomato Jam Recipe Canning: A Taste of Summer All Year Long
👩🍳 The Home Chef's Essential Kitchen
Consistently cooking incredible, healthy meals at home is so much easier when you aren't fighting with cheap tools. These are the 5 absolute powerhouse kitchen essentials that professional chefs and serious home cooks rely on every single day to get perfect results.
🍳 Lodge 10.25" Cast Iron Skillet
The single greatest value in all of cookware. It retains heat infinitely better than cheap non-stick pans, allowing you to get a restaurant-quality crust on steaks or perfect crispy edges on cornbread. With proper care, this $20 pan will literally outlive you.
🔪 Victorinox Fibrox Pro 8" Chef's Knife
A dull knife makes cooking a frustrating chore. This specific blade is the undisputed champion of the culinary world—it holds a terrifyingly sharp edge, features a comfortable non-slip grip, and performs identical to German knives that cost quadruple the price.
🌡️ ThermoPro Instant Read Thermometer
Never serve dry chicken or undercooked pork again. An instant-read thermometer is the secret difference between amateur cooks who 'guess' when protein is done, and professionals who know exactly when to pull meat off the heat for maximum juiciness.
🍲 Lodge Enameled Cast Iron Dutch Oven
The ultimate workhorse for soups, stews, braised short ribs, and baking crusty artisanal bread. The enameled interior provides incredible heat distribution for slow-cooking while eliminating the intense seasoning maintenance required by bare cast iron.
🥄 Bpa-Free Silicone Utensil Set
Throw away those melting plastic spatulas and bacteria-harboring wooden spoons. This pure silicone set is heat-resistant up to 600°F, won't scratch your expensive pans, and features seamless designs that make cleaning out thick sauces and batters effortless.
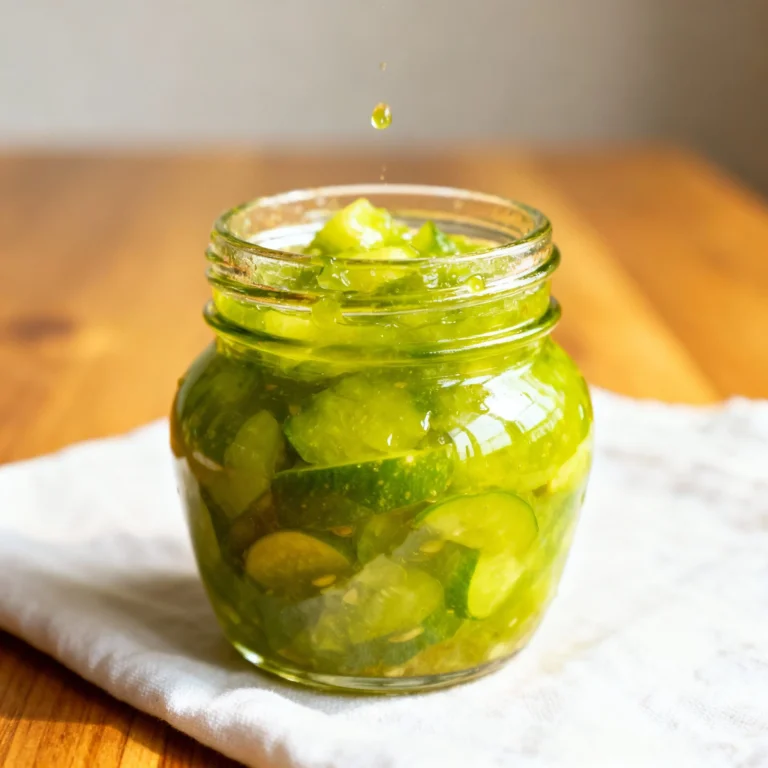
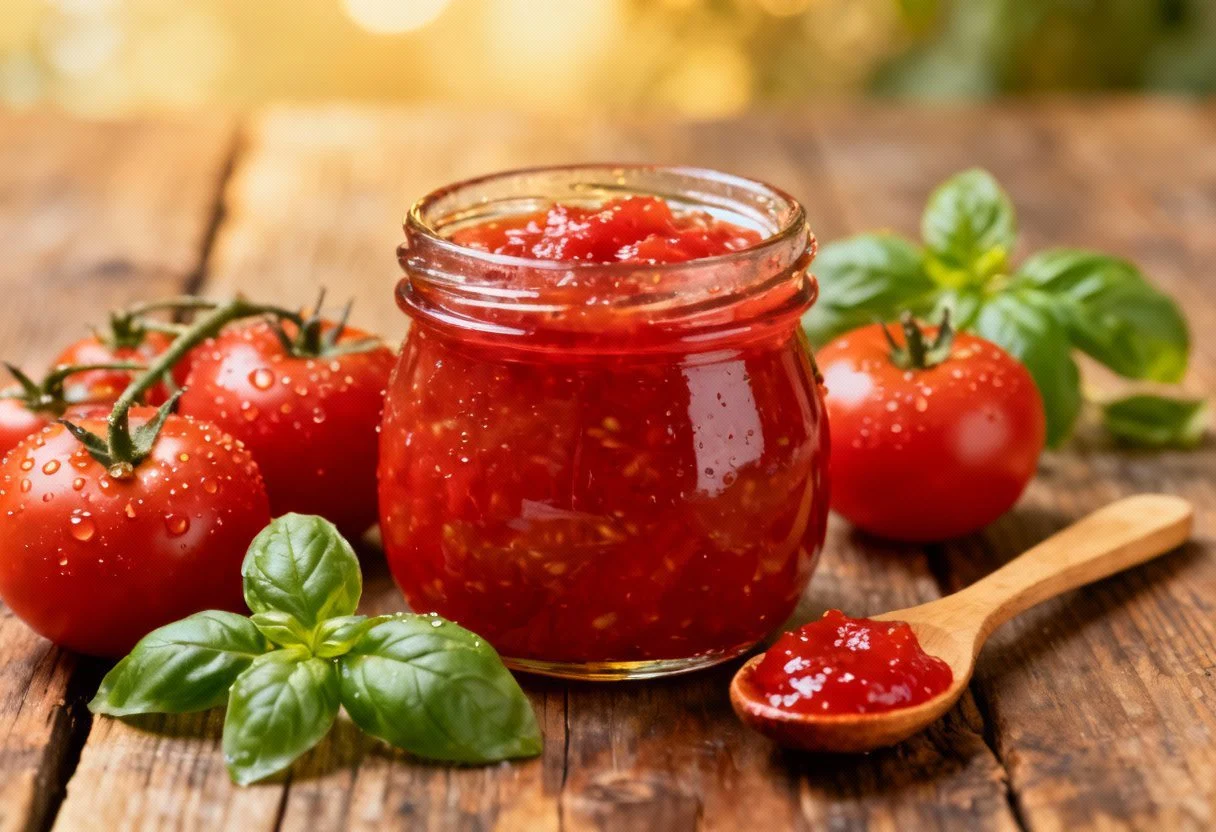
Imagine spreading a vibrant, tangy-sweet jam bursting with the concentrated flavor of ripe summer tomatoes onto a grilled cheese sandwich, a crusty baguette with creamy goat cheese, or even alongside a perfectly seared steak. That’s the magic of homemade tomato jam! Canning this delightful condiment allows you to capture the essence of summer’s bounty and enjoy it throughout the year. This recipe is designed for safe and easy home canning, ensuring you have a delicious and shelf-stable treat whenever the craving strikes. Get ready to transform ordinary tomatoes into an extraordinary culinary experience!
Why This Recipe Works
This tomato jam recipe is a winner for several reasons:
- Perfect Balance of Flavors: The combination of tomatoes, sugar, vinegar, and spices creates a harmonious blend of sweet, tangy, and savory notes. The acid from the vinegar is crucial for both flavor and safe canning.
- Safe Canning Practices: This recipe adheres to tested and approved canning guidelines, ensuring a safe and shelf-stable product. We’ll walk you through each step of the process to minimize any risk.
- Versatile and Delicious: Tomato jam is incredibly versatile. It complements a wide range of dishes, from appetizers to main courses. Its unique flavor profile adds a delightful twist to everyday meals.
- Easy to Follow: The instructions are clear and concise, making this recipe accessible to both experienced canners and beginners.
- Uses Simple Ingredients: You likely already have many of the ingredients in your pantry. Fresh tomatoes are the star, but the supporting players are equally important.
Ingredients
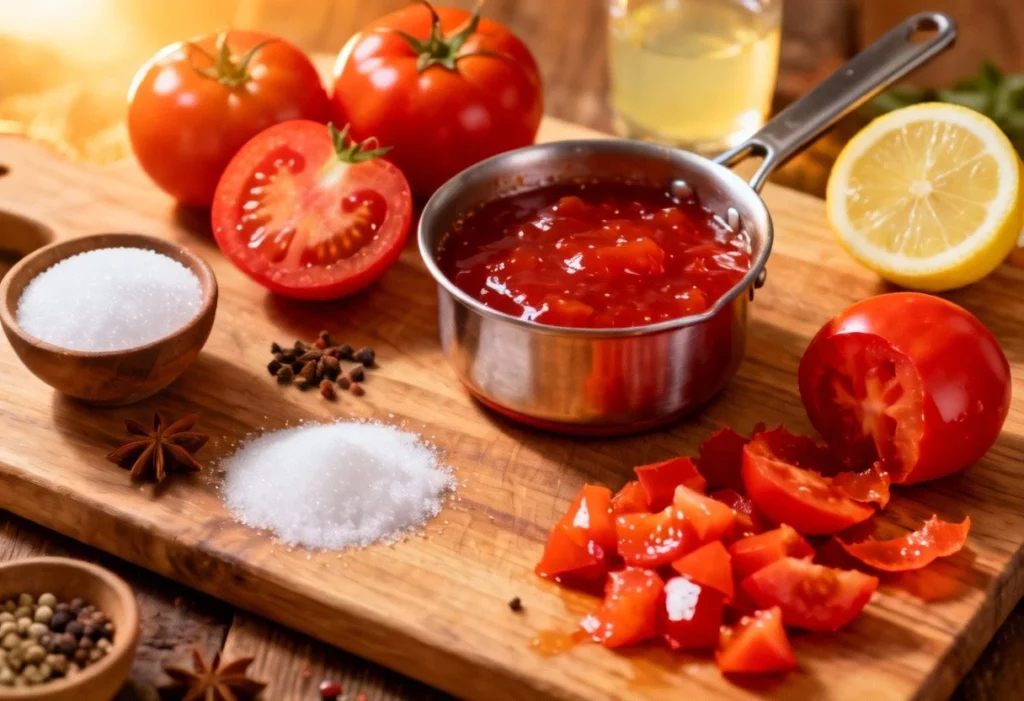
- 6 pounds ripe tomatoes (Roma or other paste tomatoes are ideal, but any variety will work)
- 4 cups granulated sugar
- 2 cups apple cider vinegar (5% acidity)
- 1 large onion, finely chopped
- 4 cloves garlic, minced
- 1 red bell pepper, finely chopped (optional, but adds sweetness and flavor)
- 1 teaspoon red pepper flakes (adjust to your spice preference)
- 1 teaspoon ground ginger
- 1 teaspoon ground allspice
- 1 teaspoon salt
- 1/2 teaspoon black pepper
- 1/4 cup lemon juice (bottled is fine)
Instructions
- Prepare the Tomatoes: Wash the tomatoes thoroughly. Core them and remove the skins. You can do this by blanching them in boiling water for 30-60 seconds, then transferring them to an ice bath. The skins should slip off easily. Alternatively, you can use a vegetable peeler. Chop the tomatoes coarsely.
- Combine Ingredients: In a large, heavy-bottomed pot (stainless steel or enamel-coated is best), combine the chopped tomatoes, sugar, vinegar, onion, garlic, bell pepper (if using), red pepper flakes, ginger, allspice, salt, and pepper.
- Cook the Jam: Bring the mixture to a boil over medium-high heat, stirring constantly to prevent sticking. Once boiling, reduce the heat to medium-low and simmer, stirring frequently, for 1.5 to 2 hours, or until the jam has thickened to your desired consistency. The jam should coat the back of a spoon and a line drawn through it should hold its shape. Be patient; this process takes time.
- Add Lemon Juice: Stir in the lemon juice during the last 5 minutes of cooking. This helps to brighten the flavor and ensures proper acidity for safe canning.
- Prepare Canning Equipment: While the jam is cooking, prepare your canning equipment. Wash canning jars, lids, and bands in hot, soapy water. Rinse well. Sterilize the jars by placing them in a boiling water bath canner filled with enough water to cover them by at least an inch. Bring the water to a boil and boil for 10 minutes. Keep the jars hot until ready to use. Place the lids in a small saucepan and cover with water. Bring to a simmer (do not boil) and keep warm.
- Fill the Jars: Remove the hot jars from the canner using a jar lifter. Ladle the hot tomato jam into the hot jars, leaving 1/4 inch headspace (the space between the top of the jam and the top of the jar).
- Remove Air Bubbles: Run a non-metallic spatula or bubble popper around the inside of the jar to release any trapped air bubbles.
- Wipe Jar Rims: Wipe the jar rims with a clean, damp cloth to remove any spills or residue.
- Place Lids and Bands: Place a lid on each jar, centering it on the rim. Screw on a band until it is fingertip tight (snug, but not overly tight).
- Process in a Boiling Water Bath Canner: Carefully lower the filled jars into the boiling water bath canner using a jar lifter. Make sure the jars are covered by at least 1 inch of water. Bring the water back to a rolling boil.
- Processing Time: Process the jars for 10 minutes for half-pint (8 oz) or pint (16 oz) jars. If you live at an altitude of 1,000 feet or more, you will need to increase the processing time. Refer to a trusted canning resource for altitude adjustments.
- Cool and Check Seals: Turn off the heat and remove the canner lid. Let the jars sit in the hot water for 5 minutes before removing them with a jar lifter and placing them on a towel-lined surface to cool completely. Do not disturb the jars while they are cooling.
- Check Seals: After the jars have cooled completely (usually 12-24 hours), check the seals. The lids should be concave and should not flex when pressed in the center. If a jar did not seal, you can either reprocess it with a new lid (following the same steps) or store it in the refrigerator and use it within a few weeks.
- Label and Store: Label the sealed jars with the date and contents. Store in a cool, dark, and dry place.
Tips for Success
- Use High-Quality Tomatoes: The better the tomatoes, the better the jam! Ripe, flavorful tomatoes will result in a richer and more delicious final product.
- Don’t Skimp on the Cooking Time: The long simmering process is essential for thickening the jam and developing its complex flavors.
- Stir Frequently: Stirring prevents the jam from sticking to the bottom of the pot and burning.
- Adjust Spices to Your Liking: Feel free to experiment with different spices to create your own unique flavor profile. A pinch of smoked paprika or a dash of cayenne pepper can add a delightful twist.
- Use Proper Canning Equipment: Investing in a good quality boiling water bath canner and jar lifter will make the canning process much easier and safer.
- Follow Canning Instructions Carefully: Adhering to tested and approved canning guidelines is crucial for preventing spoilage and ensuring the safety of your canned goods.
Storage Instructions
Properly canned tomato jam is shelf-stable and can be stored in a cool, dark, and dry place for up to 18 months. Once opened, refrigerate the jam and use it within a few weeks.

FAQ
Q: Can I use a different type of vinegar?
A: Apple cider vinegar is recommended for its flavor and acidity. White vinegar can be used as a substitute, but it will have a slightly different flavor. Do not use balsamic vinegar, as it is not acidic enough for safe canning.
Q: Can I reduce the amount of sugar?
A: While you can reduce the sugar slightly, it’s important to maintain a certain level for both flavor and preservation. Reducing the sugar too much can affect the jam’s texture and shelf life. Using tested low-sugar or no-sugar pectin can be a safe alternative, but you’ll need to follow the instructions on the pectin package carefully.
Q: What if my jam is too thin?
A: If your jam is too thin after the initial cooking time, continue to simmer it for longer, stirring frequently, until it reaches your desired consistency. You can also add a small amount of pectin to help it thicken.
Q: What if my jam is too thick?
A: If your jam is too thick, you can add a tablespoon or two of water or apple cider vinegar to thin it out. Stir well and heat through before canning.
Q: Can I use frozen tomatoes?
A: Yes, you can use frozen tomatoes. Thaw them completely and drain off any excess liquid before using them in the recipe.
🍰 The Master Baker & Prep Kit
Baking is a science, and meal prep requires efficiency. If you want consistently flaky pie crusts, perfectly risen cakes, and healthy meals ready for the week, these are the 5 upgrade tools that take your execution to the next level.
⚖️ OXO Good Grips 11lb Food Scale
The secret to why bakery bread and cookies are always perfect while home batches vary wildly. Measuring by weight (grams) instead of volume (cups) guarantees precise hydration and flawlessly consistent results every single time you bake.
🧑🍳 KitchenAid Classic Stand Mixer
The undisputed holy grail of the kitchen. From aggressively kneading heavy pizza doughs to whipping meringues into stiff peaks, this powerful motor saves your arms from exhaustion and cuts your hands-on prep time in half.
🍪 Silpat Premium Silicone Baking Mats
Stop wasting money on rolls of parchment paper or agonizing over cookies permanently fused to your metal pans. These reusable, professional-grade silicone mats ensure completely even heat distribution and instantly release even the stickiest caramel.
🌪️ Braun MultiQuick Immersion Blender
The ultimate shortcut tool for creamy tomato soups, lump-free gravies, and rapid smoothies. Avoid the burns and mess of dangerously transferring boiling liquids in batches to a traditional blender by simply blending right inside your cooking pot.
🍱 Premium Glass Meal Prep Containers
If you want to bake and cook healthier, batch preparation is required. These durable glass containers transition safely from freezer to microwave, never absorb tomato sauce stains, and feature airtight seals to keep your hard work fresh all week.
Conclusion
Homemade tomato jam is a truly special treat. This recipe provides a safe and reliable way to preserve the flavors of summer so you can enjoy them throughout the year. Whether you’re a seasoned canner or a beginner, this recipe is easy to follow and yields delicious results. So gather your tomatoes, follow the instructions carefully, and get ready to experience the delightful taste of homemade tomato jam. Happy canning!