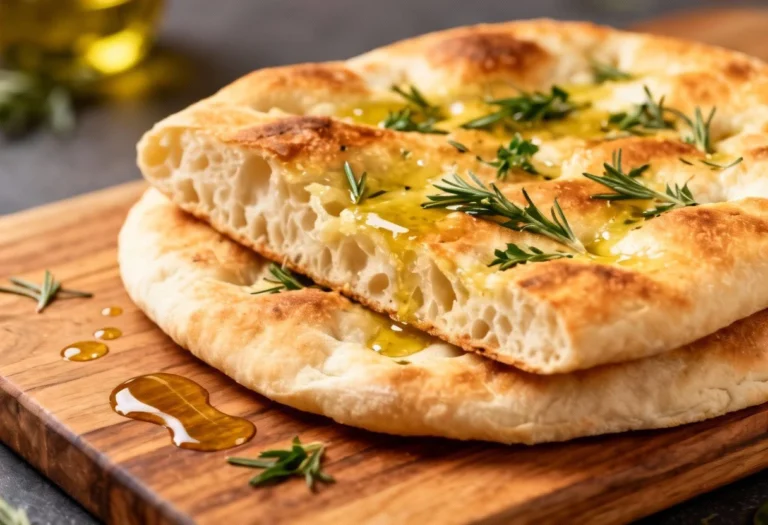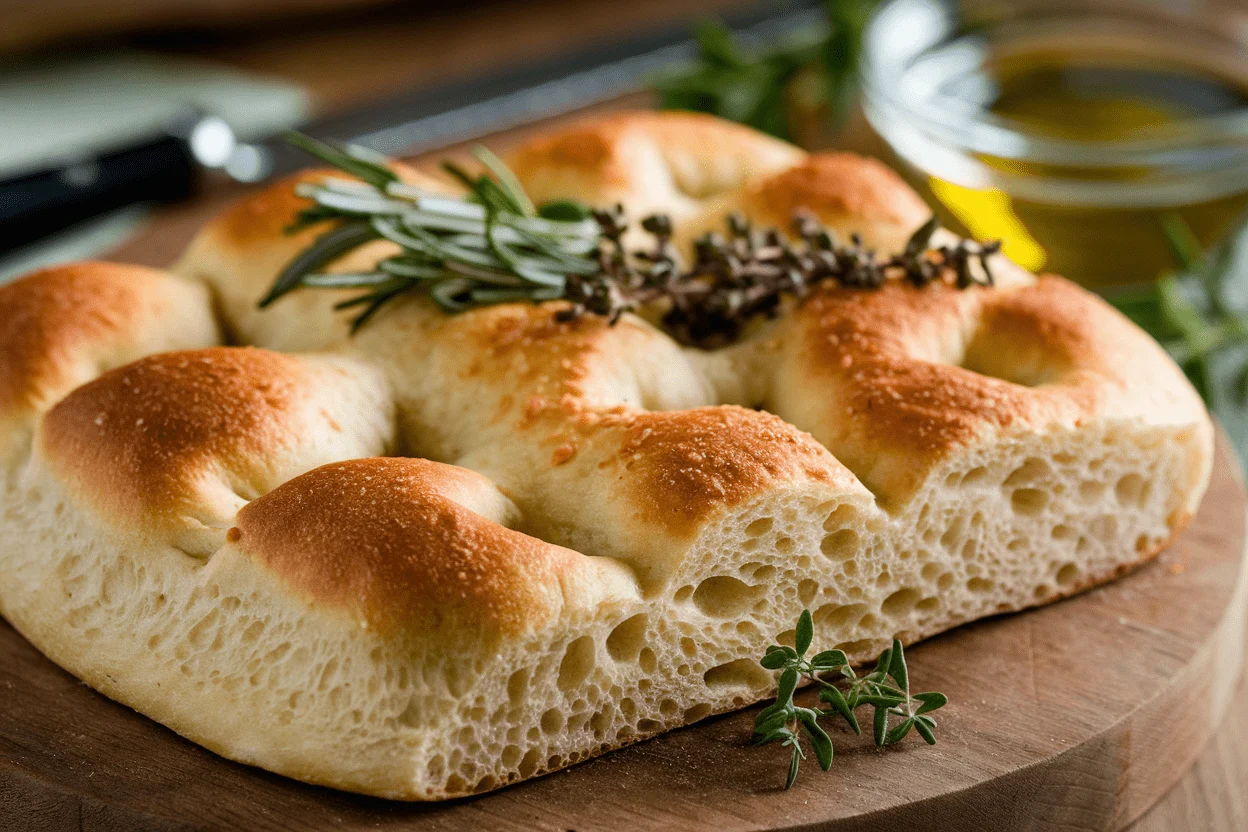
This Sourdough Focaccia Bread Recipe Turns Your Starter Into Crunchy, Cloudy Gold (No Fancy Gear Needed)
👩🍳 The Home Chef's Essential Kitchen
Consistently cooking incredible, healthy meals at home is so much easier when you aren't fighting with cheap tools. These are the 5 absolute powerhouse kitchen essentials that professional chefs and serious home cooks rely on every single day to get perfect results.
🍳 Lodge 10.25" Cast Iron Skillet
The single greatest value in all of cookware. It retains heat infinitely better than cheap non-stick pans, allowing you to get a restaurant-quality crust on steaks or perfect crispy edges on cornbread. With proper care, this $20 pan will literally outlive you.
🔪 Victorinox Fibrox Pro 8" Chef's Knife
A dull knife makes cooking a frustrating chore. This specific blade is the undisputed champion of the culinary world—it holds a terrifyingly sharp edge, features a comfortable non-slip grip, and performs identical to German knives that cost quadruple the price.
🌡️ ThermoPro Instant Read Thermometer
Never serve dry chicken or undercooked pork again. An instant-read thermometer is the secret difference between amateur cooks who 'guess' when protein is done, and professionals who know exactly when to pull meat off the heat for maximum juiciness.
🍲 Lodge Enameled Cast Iron Dutch Oven
The ultimate workhorse for soups, stews, braised short ribs, and baking crusty artisanal bread. The enameled interior provides incredible heat distribution for slow-cooking while eliminating the intense seasoning maintenance required by bare cast iron.
🥄 Bpa-Free Silicone Utensil Set
Throw away those melting plastic spatulas and bacteria-harboring wooden spoons. This pure silicone set is heat-resistant up to 600°F, won't scratch your expensive pans, and features seamless designs that make cleaning out thick sauces and batters effortless.
You’ve got a sourdough starter and zero patience for six-part lamination tutorials? Perfect. This bread delivers a shatter-crisp crust, pillowy crumb, and that tangy-salty finish that makes olive oil feel like a luxury spa.
It’s bakery-level focaccia without a bakery schedule. Minimal touching, maximum bubbling. You’ll make it once and then shamelessly bake it for every gathering until people ask if you’re “the bread friend.”
What Makes This Recipe Awesome
- Big flavor, tiny effort: High hydration plus a long cold rise = airy, custard-like crumb with minimal kneading.
- Works with your schedule: Mix at night, bake the next day.
Or not. The fridge buys you time.
- Ridiculously versatile: Top it how you want—rosemary, tomatoes, olives, roasted garlic—go wild.
- Starter-friendly: Uses active sourdough starter for natural leavening and deeper flavor than yeast-only versions.
- Crunch meets cloud: Generous olive oil gives a crisp, golden bottom and plush interior. The contrast?
Addictive.
What Goes Into This Recipe – Ingredients
- 500 g bread flour (or 80% bread flour + 20% all-purpose for tenderness)
- 425 g water, room temp (85% hydration)
- 120 g active sourdough starter (100% hydration, bubbly and doubled)
- 12 g fine sea salt
- 30–40 g extra-virgin olive oil, plus more for pan and topping
- Flaky sea salt for finishing
- Optional toppings: fresh rosemary, thin red onion, halved cherry tomatoes, pitted olives, roasted garlic, lemon zest, chili flakes
How to Make It – Instructions
- Feed your starter: 6–8 hours before mixing, feed your starter so it’s at peak activity—domed, bubbly, and floats in water. If it sinks, wait longer.
- Mix the dough: In a large bowl, whisk water and starter until milky. Add flour and salt.
Stir with a spatula until no dry bits remain. The dough will be shaggy and sticky (good).
- Rest (autolyse-ish): Cover and rest 20–30 minutes. This hydrates flour and makes the dough easier to handle.
- Coil folds: Lightly oil your hands.
Perform 3–4 sets of coil folds every 20–30 minutes over 1.5–2 hours. The dough should go from slouchy to bouncy, holding shape between sets.
- Bulk ferment: Lightly oil the bowl, cover, and let rise at room temp until slightly domed and risen ~60–80%. Time varies (2–5 hours) depending on room temp and starter strength.
- Cold retard: For deeper flavor and easier handling, cover tightly and refrigerate 8–24 hours.
This step is optional but highly recommended.
- Prep the pan: Generously oil a 9×13-inch metal pan or a large sheet pan (about 2–3 tablespoons oil). Seriously, don’t skimp—this is your crisp bottom.
- Pan the dough: Turn the cold dough into the pan. Gently stretch it toward the corners.
If it springs back, wait 15–20 minutes and try again.
- Final proof: Cover and let rise at warm room temp 45–90 minutes. It should look bubbly and puffy, like a marshmallow mattress.
- Dimple + top: Drizzle 1–2 tablespoons olive oil over the surface. With oiled fingers, press down to create deep dimples.
Add flaky salt and toppings (press them in slightly).
- Bake: Preheat oven to 450°F/232°C. Bake 22–28 minutes until deeply golden with crisp edges. Rotate once if your oven has hot spots.
- Finish: Brush or drizzle a little more olive oil while hot.
Cool 10–15 minutes before slicing so the crumb sets (yes, waiting is pain; do it anyway).
How to Store
- Room temp: Store in an airtight container up to 2 days. Re-crisp in a 375°F/190°C oven for 8–10 minutes.
- Freeze: Wrap slices tightly and freeze up to 2 months. Reheat from frozen at 400°F/205°C for 12–15 minutes.
- Avoid the fridge: It dries bread fast.
If you must, toast or reheat to revive.
What’s Great About This
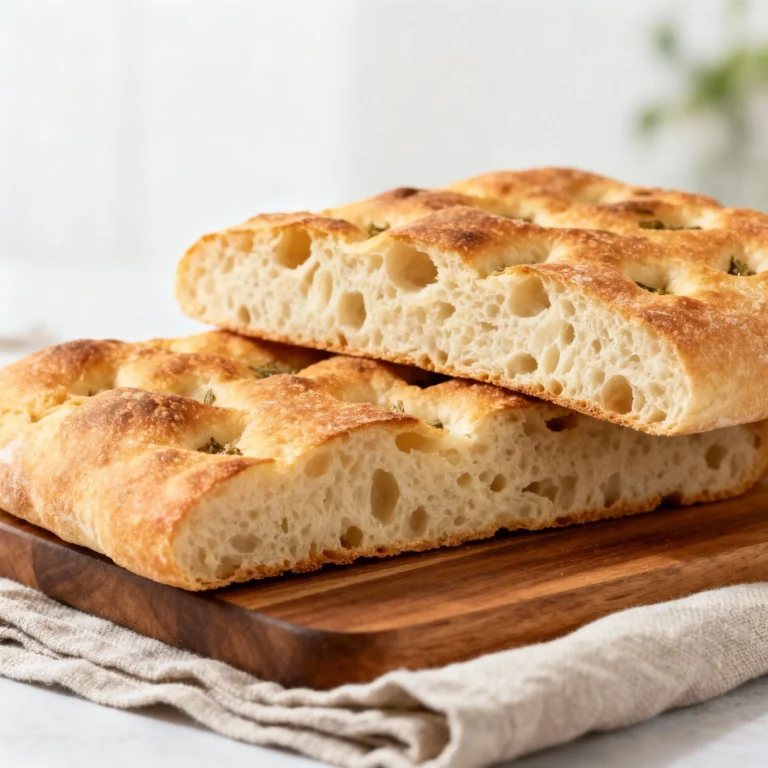
- High hydration = open crumb: Those shiny tunnels? That’s hydration doing its job.
- Olive oil caramelization: The bottom crust fries in oil for extra crunch and flavor—basically legal cheating.
- Cold proof control: Flavor deepens while your schedule relaxes. FYI, this also boosts digestibility, IMO.
- Low-touch method: Coil folds build structure without kneading marathons.
Your shoulders can relax.
Don’t Make These Errors
- Using weak starter: If it doesn’t float or double after feeding, your rise will suffer. Patience beats disappointment.
- Shortchanging the oil: Too little oil means pale crust and sticking. Be generous, not timid.
- Overproofing: If it’s super slack, smells overly sour, and collapses during dimpling, it’s gone too far.
Shorten the rise next time.
- Overloading toppings: Wet toppings can sog the surface. Pat tomatoes dry; scatter, don’t blanket.
- Cutting too soon: Hot crumb tears. Rest 10–15 minutes or risk gummy sadness.
Recipe Variations
- Rosemary Garlic Classic: Fresh rosemary needles, roasted garlic cloves, and flaky salt.
Finish with a lemon zest whisper.
- Tomato Basil: Halved cherry tomatoes, basil after baking, and a drizzle of balsamic reduction.
- Olive + Chili: Castelvetrano olives, chili flakes, and orange zest for a subtle citrus kick.
- Everything Bagel Focaccia: Sprinkle everything seasoning pre-bake; schmear with whipped cream cheese post-bake. Rule-breaker? Yes.
Delicious? Also yes.
- Cheese Lover’s: Shaved Parm or Pecorino in the last 5 minutes of baking. Don’t add too early or it’ll scorch.
- Whole Wheat Boost: Swap 15–20% flour for whole wheat.
Add 10–15 g extra water if the dough tightens.
FAQ
Can I make this same-day without the fridge?
Yes. Let the dough rise at room temperature until 60–80% risen, then pan, proof, and bake. The flavor will be milder, but still excellent.
My dough is super sticky—did I mess up?
Sticky is normal at 85% hydration.
Use oiled hands and a bench scraper. After a few folds and the cold proof, it becomes far more manageable.
What if I only have all-purpose flour?
All-purpose works; the crumb will be slightly more tender and less chewy. If using AP only, reduce water by about 10–15 g if the dough feels too slack.
How do I know it’s fully baked?
Look for deep golden edges, a sizzling sound, and a firm bottom crust.
Internal temp is ~205–210°F (96–99°C) if you use a probe.
Can I use instant yeast instead of starter?
Different vibe, but possible. Replace starter with 3 g instant yeast and add 60 g water + 60 g flour to compensate. Rise times will shorten.
Why did my focaccia deflate when I dimpled it?
It was likely overproofed.
Next time, start dimpling earlier when it’s puffy but still resilient. Also, oil your fingers and press decisively, not timidly.
Do I need a cast-iron pan?
No. A well-oiled metal sheet pan or 9×13 metal pan gives great browning.
Glass tends to brown slower; extend the bake slightly if using.
Wrapping Up
This sourdough focaccia bread recipe is the culinary equivalent of a cheat code: a few folds, a chill nap in the fridge, and boom—bakery-level bread at home. It’s flexible, forgiving, and absurdly good with olive oil, soup, or just your fingers. Make it once, bookmark it forever, and prepare for the “Wait—you made this?” texts to flood in.