🍌 Best 3 Banana Bread Recipe: Moist, Easy & Foolproof
👩🍳 The Home Chef's Essential Kitchen
Consistently cooking incredible, healthy meals at home is so much easier when you aren't fighting with cheap tools. These are the 5 absolute powerhouse kitchen essentials that professional chefs and serious home cooks rely on every single day to get perfect results.
🍳 Lodge 10.25" Cast Iron Skillet
The single greatest value in all of cookware. It retains heat infinitely better than cheap non-stick pans, allowing you to get a restaurant-quality crust on steaks or perfect crispy edges on cornbread. With proper care, this $20 pan will literally outlive you.
🔪 Victorinox Fibrox Pro 8" Chef's Knife
A dull knife makes cooking a frustrating chore. This specific blade is the undisputed champion of the culinary world—it holds a terrifyingly sharp edge, features a comfortable non-slip grip, and performs identical to German knives that cost quadruple the price.
🌡️ ThermoPro Instant Read Thermometer
Never serve dry chicken or undercooked pork again. An instant-read thermometer is the secret difference between amateur cooks who 'guess' when protein is done, and professionals who know exactly when to pull meat off the heat for maximum juiciness.
🍲 Lodge Enameled Cast Iron Dutch Oven
The ultimate workhorse for soups, stews, braised short ribs, and baking crusty artisanal bread. The enameled interior provides incredible heat distribution for slow-cooking while eliminating the intense seasoning maintenance required by bare cast iron.
🥄 Bpa-Free Silicone Utensil Set
Throw away those melting plastic spatulas and bacteria-harboring wooden spoons. This pure silicone set is heat-resistant up to 600°F, won't scratch your expensive pans, and features seamless designs that make cleaning out thick sauces and batters effortless.
Let me guess the scene: You’re standing in your kitchen, staring at a fruit bowl that looks like a crime scene. There they are—three bananas. They aren’t just ripe; they are aggressively brown. They look like they’ve seen things. You bought them with the best intentions (“I’m going to eat healthy snacks this week!”), but now they’re soft, spotty, and judging you.
Don’t throw them away. Do not let them win.
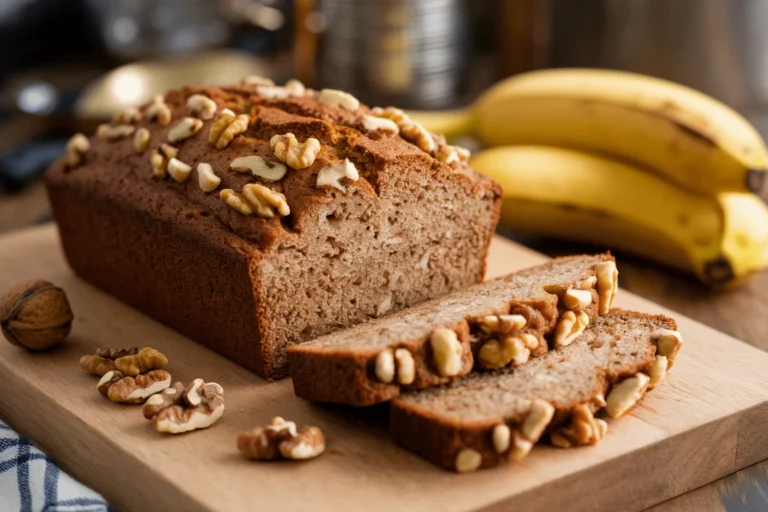
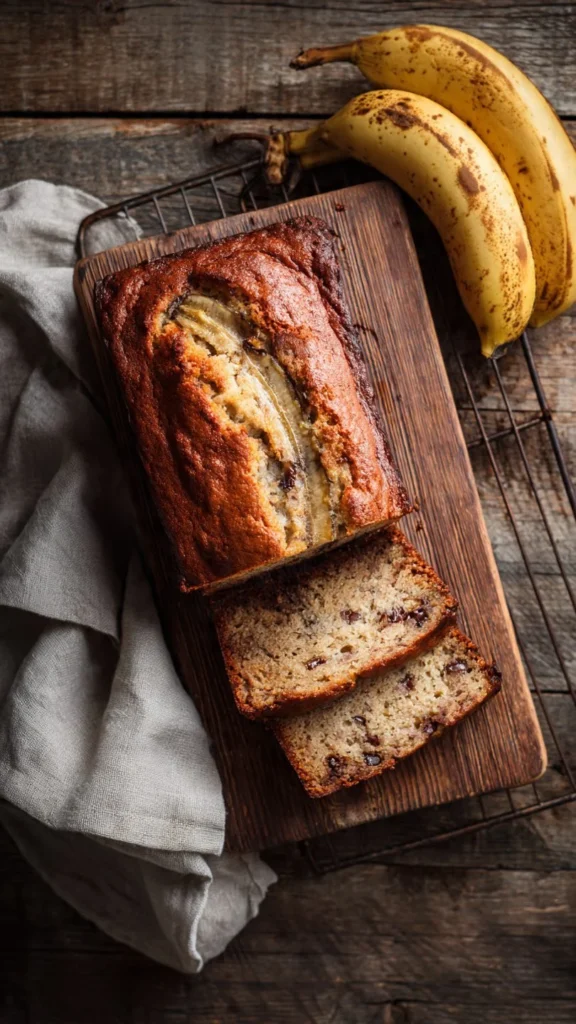
Those ugly ducklings are about to become the most glorious, moist, melt-in-your-mouth loaf of carbs you’ve ever tasted. We are making the definitive 3 banana bread recipe. Not two (dry), not four (soup)—three. The holy trinity of baking. Grab a fork and a bowl; we’re doing this.
Why This Recipe is Awesome
Okay, let’s be real. The internet has approximately 14 billion banana bread recipes. If you Google it, you’ll find everything from “Healthy Paleo Cardboard” to “Sugar-Coma Loaf.” So why is this specific 3 banana bread recipe the one you need to bookmark?
1. The “Goldilocks” Ratio Here is a little baking truth: The number of bananas matters. A lot.
- 2 Bananas: Usually results in a loaf that’s more “bread” than “banana.” It’s often a bit dry and relies too heavily on added sugar for moisture. It’s fine, but it’s not life-changing.
- 4 Bananas: This is risky territory. Unless you add a mountain of flour to compensate, you often end up with a gummy, dense brick that refuses to cook in the middle even though the crust is burning.
- 3 Bananas: Perfection. It provides enough structural integrity to slice cleanly, but enough moisture that you can leave it on the counter for three days and it still tastes fresh. (Though, let’s be honest, it won’t last three days).
2. It’s Idiot-Proof (Mostly) I say this with love: It is very hard to mess this up. You don’t need a stand mixer. You don’t need to separate eggs or whip egg whites until you get carpal tunnel. You literally just need a bowl, a fork, and the ability to follow basic instructions. Even I didn’t mess it up the first time, and I once burned instant noodles.
3. The Sensory Experience This recipe isn’t just about the taste; it’s about the smell. About 35 minutes into the bake, your house is going to smell like a high-end bakery hugged a warm vanilla candle. It is the ultimate comfort scent. It smells like a hug.
4. No Weird Ingredients You do not need almond flour, xantham gum, or unicorn tears. If you have a vaguely stocked pantry, you likely have everything you need right now. This is a “pajama-friendly” recipe, meaning you don’t have to put on real pants to go to the store.
Ingredients You’ll Need
Get your stuff together before you start. There is nothing worse than realizing you’re out of baking soda when your hands are covered in banana goo.
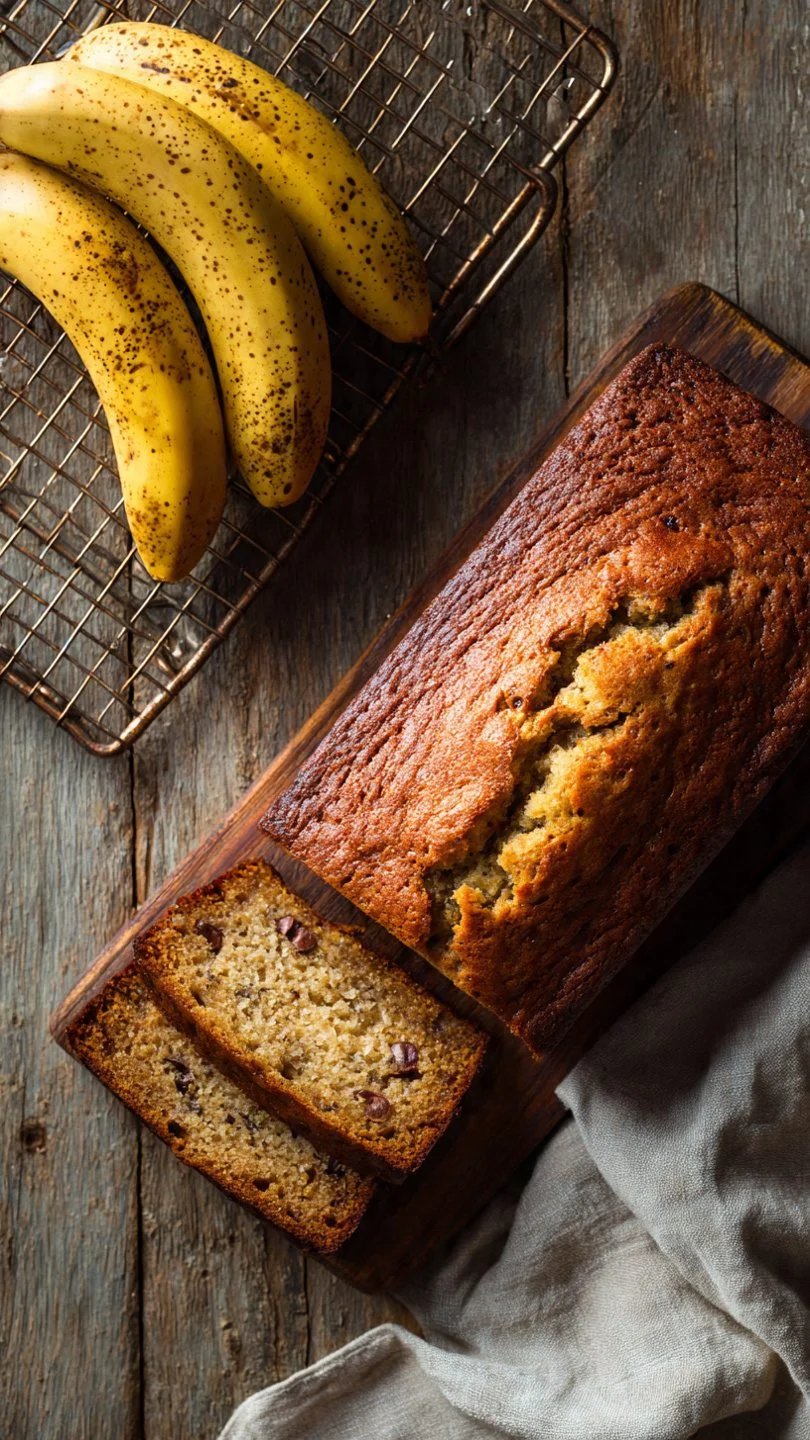
- 3 Large, Ugly Bananas: When I say ugly, I mean it. If they are yellow, put them back. We want brown spots. We want black streaks. The darker the skin, the sweeter the fruit. Science Note: As bananas ripen, their starch converts to sugar. Using yellow bananas = bland bread. Using black bananas = flavor town.
- 1/3 Cup Melted Butter: Use unsalted so you can control the salt level. If you only have salted, just skip the pinch of salt later. No biggie.
- 1/2 Cup Granulated Sugar: Just regular white sugar.
- 1/2 Cup Brown Sugar: Packed tight. This adds that deep, molasses-y flavor and helps keep things moist.
- 1 Egg: Large. Ideally at room temperature (if you remember to take it out of the fridge, which I usually don’t).
- 1 Teaspoon Vanilla Extract: Measure this with your heart. A little extra never hurt anyone.
- 1 Teaspoon Baking Soda: NOT baking powder. They are different beasts. Baking soda needs the acid from the bananas and brown sugar to activate the rise.
- Pinch of Salt: To balance the sweet.
- 1 1/2 Cups All-Purpose Flour: Just the standard stuff.
- Optional Mix-ins: 1/2 cup of walnuts (for crunch) or chocolate chips (for the soul). Or both. I won’t judge.
Step-by-Step Instructions
Alright, apron up (or don’t, I’m not your mom). Here is how we turn that mushy fruit into the best 3 banana bread recipe you’ve ever tried.
1. Heat It Up Preheat your oven to 350°F (175°C). Do this first. Do not think, “Oh, I’ll turn it on when I’m done mixing.” No. Ovens take time, and putting batter into a cold oven is a recipe for sadness. Grease a standard 9×5 loaf pan with butter or cooking spray.
2. The Great Mash Peel those three bananas and throw them into a large mixing bowl. Take a fork and go to town. Mash them until they are liquidy but still have some chunks.
Pro Tip: I like leaving a few small chunks of banana (about the size of a pea). It gives you these gooey little pockets of fruit in the finished loaf that are just divine.
3. The Wet Stuff Pour your melted butter into the mashed bananas. Mix it in. Then, add the granulated sugar and the brown sugar. Whisk it with your fork until it looks like a thick, sweet sludge. Crack in the egg and add the vanilla. Stir until combined. The mixture should look glossy and smell amazing already.
4. The Dry Stuff (The Critical Moment) Sprinkle the baking soda and salt over the wet mixture and stir it in. Now, dump in the flour. STOP. Put the whisk down. Switch to a spatula or a spoon. Gently fold the flour into the wet mix. You want to mix just until you can’t see streaks of white flour anymore. Do not overmix. If you beat this batter like it owes you money, the gluten will overdevelop, and your bread will be tough and rubbery. We want tender; we don’t want a bounce house.
5. The Mix-Ins If you are adding chocolate chips or nuts, now is the time. Fold them in gently. Just a couple of turns of the spatula.
6. The Bake Pour the batter into your greased loaf pan. Smooth the top out.
Styling Trick: If you want that bakery-style crack down the middle, run the tip of a knife through the center of the batter lengthwise before putting it in the oven.
Pop it on the center rack. Bake for 50 to 60 minutes. However, ovens are liars. Yours might run hot; it might run cool. Start checking it at the 50-minute mark. You want the top to be a deep golden brown.
7. The Test Stick a toothpick or a skewer into the center of the tallest part of the loaf.
- If it comes out with wet batter: Keep baking.
- If it comes out with moist crumbs: PULL IT OUT. It’s done.
- If it comes out clean as a whistle: You might have slightly overbaked it, so get it out immediately.
8. The Hardest Part (Waiting) Let the bread cool in the pan for about 10 minutes. Then, turn it out onto a wire rack to cool completely. Listen to me: If you slice it while it is piping hot, the steam escapes too fast, and the bread can become gummy or dry out. Let the structure set. I know it smells good. I know you want it. Be strong.
Common Mistakes to Avoid
Even though this is an “easy” recipe, things can go wrong. Here is how to avoid a kitchen disaster.
- The “Yellow Banana” Trap: I mentioned this earlier, but I’m saying it again. If your bananas are yellow, wait a few days. If you are desperate, you can roast yellow bananas in the oven (skins on) at 300°F for 15 minutes until they turn black. It’s a cheat code, but patience is better.
- The Flour Scoop Fail: If you scoop your measuring cup directly into the bag of flour, you are packing it down. You might accidentally add 20% more flour than needed, leading to dry bread. instead, spoon the flour into the cup and level it off with a knife.
- Thinking the Oven is Optional: Thinking you don’t need to preheat the oven—rookie mistake. If the batter sits in a warming oven, the baking soda reacts too early, the air bubbles escape, and your bread will be flat and dense.
- Over-Checking: Every time you open the oven door to “check on it,” you let out heat. This causes the temperature to fluctuate, which can make your bread sink in the middle. Use the oven light window. Only open the door when you are ready to do the toothpick test.
Alternatives & Substitutions
Cooking is an art; baking is a science. But even science has variables. Here is how you can tweak this 3 banana bread recipe to fit your life.
- Make it Dairy-Free: Swap the butter for melted coconut oil or a neutral vegetable oil. Coconut oil adds a nice tropical vibe that pairs well with the banana.
- Make it “Healthier” (Sort of): You can swap half the all-purpose flour for whole wheat flour. It will be a bit denser and nuttier. I wouldn’t recommend 100% whole wheat unless you enjoy chewing a lot.
- The Sugar Swap: If you are out of brown sugar, you can use all white sugar. The bread will be lighter in color and slightly less moist, but still edible. If you have molasses, add a teaspoon to the white sugar to fake brown sugar.
- The Muffin Move: Don’t have an hour to bake? Pour the batter into a muffin tin (greased or lined). Bake at 350°F for roughly 18–22 minutes. Boom. Portable banana bread.
- The “Elvsi”: Add a swirl of peanut butter into the batter before baking. You’re welcome.
FAQ (Frequently Asked Questions)
1. Can I use frozen bananas? Yes! I actually keep a “banana graveyard” in my freezer. Peel them before you freeze them (trust me on this). When you want to bake, thaw them in a bowl. They will look like disgusting brown slime. This is perfect. Use the slime and the fruit. It makes the bread incredibly moist.
2. Can I use margarine instead of butter? Well, technically yes, but why hurt your soul like that? Butter provides a flavor that margarine just can’t replicate. But if it’s all you have, it will work.
3. Why did my banana bread sink in the middle? Ah, the sadness crater. This usually means it was underbaked. The outside looked done, but the middle was still raw liquid. Next time, cover the top loosely with foil if the crust is getting too dark but the middle isn’t set yet. It could also mean you used too much leavening (baking soda). Measure carefully!
4. How do I store this? If you live in a humid place, keep it in the fridge. Otherwise, wrap it tightly in plastic wrap or foil and keep it on the counter. It actually tastes better on Day 2 because the moisture redistributes.
5. Can I add fresh fruit like blueberries? You can, but be careful. Fresh fruit adds water. Toss the berries in a little flour before adding them to prevent them from sinking to the bottom, and maybe bake it for an extra 5 minutes.
6. Is this recipe gluten-free? Not as written. However, you can use a “cup-for-cup” Gluten-Free flour blend (like King Arthur or Bob’s Red Mill) and it works pretty well. Do not just use almond flour plain; the ratios won’t work.
Final Thoughts
There you have it. The secret to happiness is apparently three rotting bananas and a little bit of patience. This 3 banana bread recipe is a staple in my house, and I hope it becomes one in yours. It’s perfect for breakfast, excellent as a midnight snack, and a valid currency for bribing neighbors.
The next time you see those bananas turning black on your counter, don’t feel guilty. Feel excited. You are about to make something delicious.
Now go impress someone—or yourself—with your new culinary skills. You’ve earned it!