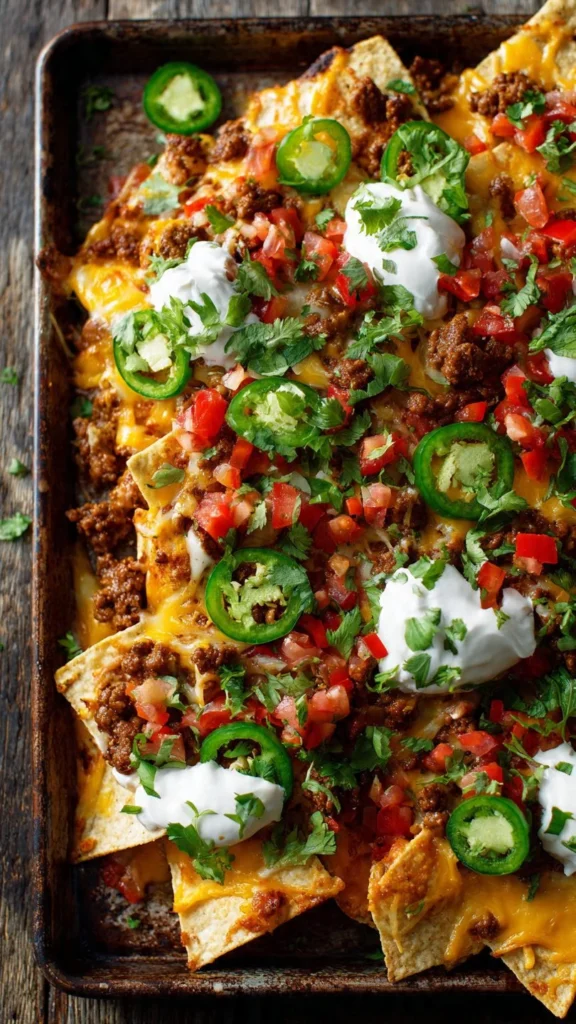
🌮 Ultimate Loaded Nachos Recipe Beef: Cheesy & Easy
👩🍳 The Home Chef's Essential Kitchen
Consistently cooking incredible, healthy meals at home is so much easier when you aren't fighting with cheap tools. These are the 5 absolute powerhouse kitchen essentials that professional chefs and serious home cooks rely on every single day to get perfect results.
🍳 Lodge 10.25" Cast Iron Skillet
The single greatest value in all of cookware. It retains heat infinitely better than cheap non-stick pans, allowing you to get a restaurant-quality crust on steaks or perfect crispy edges on cornbread. With proper care, this $20 pan will literally outlive you.
🔪 Victorinox Fibrox Pro 8" Chef's Knife
A dull knife makes cooking a frustrating chore. This specific blade is the undisputed champion of the culinary world—it holds a terrifyingly sharp edge, features a comfortable non-slip grip, and performs identical to German knives that cost quadruple the price.
🌡️ ThermoPro Instant Read Thermometer
Never serve dry chicken or undercooked pork again. An instant-read thermometer is the secret difference between amateur cooks who 'guess' when protein is done, and professionals who know exactly when to pull meat off the heat for maximum juiciness.
🍲 Lodge Enameled Cast Iron Dutch Oven
The ultimate workhorse for soups, stews, braised short ribs, and baking crusty artisanal bread. The enameled interior provides incredible heat distribution for slow-cooking while eliminating the intense seasoning maintenance required by bare cast iron.
🥄 Bpa-Free Silicone Utensil Set
Throw away those melting plastic spatulas and bacteria-harboring wooden spoons. This pure silicone set is heat-resistant up to 600°F, won't scratch your expensive pans, and features seamless designs that make cleaning out thick sauces and batters effortless.
So, you’re currently staring at your phone, craving something salty, cheesy, and undeniably aggressive on the flavor front, but you have zero desire to spend three hours standing over a stove. I feel you. We’ve all been there—stuck in that limbo between wanting a gourmet meal and wanting to just eat cereal out of the box.
But fear not. We are about to embark on a culinary journey that ends in a baking sheet the size of a small island, covered in melted cheese and seasoned meat. This loaded nachos recipe beef edition is the answer to your “what’s for dinner?” panic. It’s messy, it’s loud, and it’s honestly better than 90% of the things you’ll get at a sports bar. Put on your comfy pants; we’re making nachos.
Why This Recipe is Awesome
Look, I know what you might be thinking. “It’s nachos. How hard can it be? Throw chips on a plate and microwave it.”
Stop right there. If you microwave nachos, we can’t be friends. Okay, we can, but I’m going to judge you silently. This recipe is awesome because it respects the structural integrity of the chip. It treats the nacho not as a snack, but as an architectural marvel.
Here is why this specific method wins every time:
- The Layering Strategy: Most people make the mistake of “Mount Nacho”—a giant pile where the top is delicious, and the bottom is just sad, dry chips. We don’t do that here. We use the “Sheet Pan Sprawl.” This ensures that every single chip gets a piece of the action. No chip left behind.
- The Beef Factor: We aren’t just browning meat and tossing it on. We are seasoning it to the gods. We’re creating a savory, slightly spicy, saucy beef mixture that clings to the chips rather than falling off onto your lap.
- Texture Heaven: We are balancing the crunch of a sturdy tortilla chip with the goo of melted cheese, the warmth of the beef, and the crisp, cool freshness of the toppings added after the bake. It’s a sensory roller coaster.
- It’s Idiot-Proof: Seriously. Unless you fall asleep while the oven is on, it is highly unlikely you will mess this up. It’s low effort, high reward.
Ingredients You’ll Need
We aren’t reinventing the wheel, but quality matters here. If you buy cardboard chips, you get cardboard nachos. Here is your shopping list:
The Base & The Glue
- Tortilla Chips: Go for “restaurant style” or thick-cut corn chips. Thin chips will collapse under the weight of our glory. You need structural integrity here, folks.
- Cheese (The Real MVP): You need two types.
- Sharp Cheddar: For that classic punchy flavor.
- Monterey Jack: For the ultimate melt-factor.
- Crucial Note: Buy blocks and grate them yourself. Pre-shredded cheese is coated in potato starch (cellulose) to keep it from clumping in the bag, which also stops it from melting properly. Don’t let sawdust ruin your dinner.
The Beefy Goodness
- Ground Beef: I prefer 80/20 or 85/15. You need a little fat for flavor. If you use super lean meat, it’ll end up dry and crumbly like gravel.
- Onion & Garlic: Finely diced yellow onion and fresh minced garlic. This is the foundation of flavor.
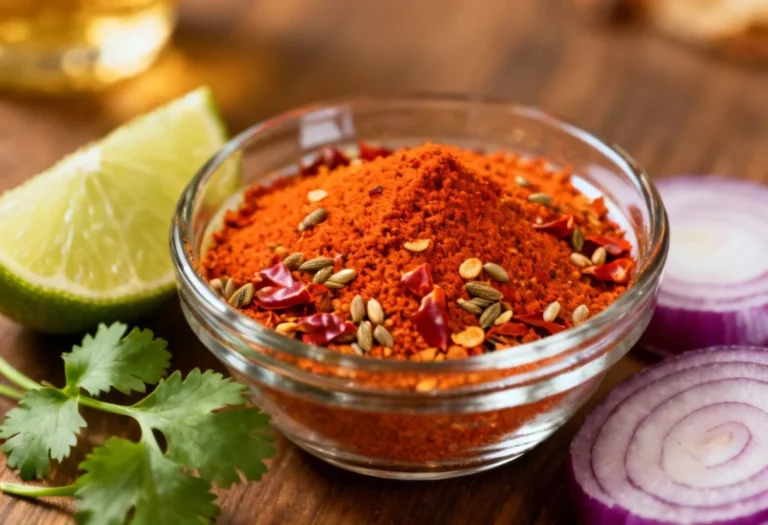
- Homemade Taco Seasoning: Sure, you can use the packet, but we have standards.
- Chili powder (lots of it).
- Ground cumin (for that earthy smell).
- Smoked paprika (gives it a “grilled” vibe).
- Dried oregano.
- Salt & Black Pepper.
- A splash of water or beef broth.
The “Cold” Toppings (The Crown Jewels)
- Pico de Gallo: Tomatoes, onions, cilantro, lime juice. Freshness is key to cutting the fat.
- Jalapeños: Freshly sliced for heat, or pickled for that vinegar tang. Your call.
- Sour Cream: The cooling agent.
- Guacamole or Diced Avocado: Because obviously.
- Fresh Cilantro: If you have the soap gene, skip it. If not, load it up.
- Green Onions: Sliced thin for a mild onion bite.
Step-by-Step Instructions
Alright, apron on (or don’t, I’m not your mom). Let’s build this masterpiece.
Phase 1: The Prep
- Heat it up: Preheat your oven to 400°F (200°C). We want a high heat to melt the cheese quickly without burning the chips.
- Grate the Cheese: While the oven warms up, grab your box grater and shred that cheddar and Monterey Jack. Yes, your arm will get tired. Think of it as the workout before the feast.
Phase 2: The Beef
- Sauté the Aromatics: Heat a large skillet over medium-high heat. Toss in your diced onions. Cook them until they are soft and translucent (about 3–4 minutes). Add the garlic at the very end for 30 seconds so it doesn’t burn and taste bitter.
- Brown the Meat: Add the ground beef to the pan. Break it up with a wooden spoon. You want relatively small crumbles so they distribute evenly later. Let it brown nicely—don’t rush this. That brown color is flavor (science calls it the Maillard reaction; I call it delicious).
- Drain (Optional): If there is a swimming pool of grease, drain some of it. Leave a tablespoon or two; fat carries flavor.
- Season It: Turn the heat down to low. Dump in your chili powder, cumin, paprika, oregano, salt, and pepper. Stir it well so the spices toast slightly on the hot pan (this wakes up the oils in the spices).
- Make it Saucy: Add about 1/4 to 1/2 cup of water or beef broth. Simmer this for 2–3 minutes until the liquid thickens and coats the meat. This is key. We don’t want dry meat crumbles; we want a cohesive meat sauce.
Phase 3: The Assembly (The Most Important Part)
- The Foundation: Grab your largest rimmed baking sheet. Line it with parchment paper or foil for easy cleanup (future you will thank present you). Spread a layer of chips across the pan. Do not overlap them too much. We want a flat layer.
- Layer One: Sprinkle half of your cheese mixture over the chips. Then, spoon half of your beef mixture over the cheese.
- The Penthouse: Add a second layer of chips right on top. Don’t cover every inch; leave some gaps. Top with the remaining beef and the remaining cheese.
- Tip: This double-layer method ensures that when you grab a top chip, you aren’t leaving the bottom chips naked and afraid.
Phase 4: The Bake & Serve
- Bake: Pop the tray into the oven. Bake for 8 to 12 minutes. You are looking for the cheese to be fully melted and bubbling. If you like crispy edges on your cheese, broil it for the last minute—but watch it like a hawk! Burnt cheese is a tragedy.
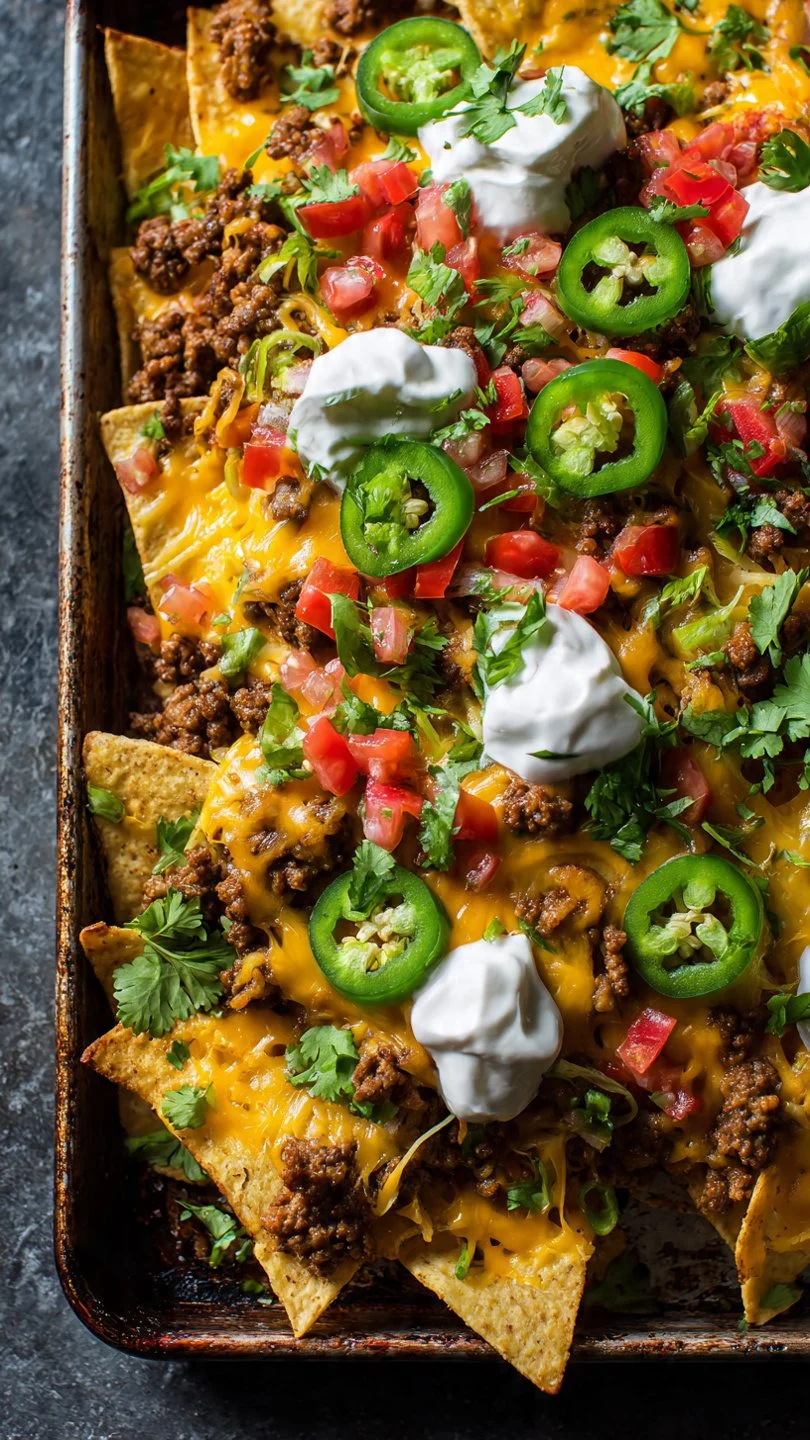
- The Finale: Remove from the oven. Immediately hit it with your cold toppings: scatter the pickled jalapeños, spoon over the pico de gallo, dollop the sour cream and guac, and rain down green onions and cilantro.
- Serve: Place the baking sheet directly on the table (on a trivet, obviously). Dive in immediately.
Common Mistakes to Avoid
Even though this is an easy recipe, things can go wrong. Avoid these rookie errors to ensure your loaded nachos recipe beef status remains legendary.
- The “Soggy Bottom” Incident: This happens when you put wet toppings (salsa, sour cream, guacamole) on the nachos before putting them in the oven. Never do this. Hot salsa is weird, and hot guacamole is a crime against humanity. Wet stuff goes on last!
- Using The Wrong Cheese: I’ve said it once, I’ll say it again: Pre-shredded cheese doesn’t melt right. It turns into a weird, oily plastic shell. Buy the block. Do the work.
- Chip Overload: If you stack the chips four layers high, the middle chips will be dry, cold, and sad. Two layers is the sweet spot. Width over height is the golden rule of nachos.
- Uneven Distribution: Don’t dump all the beef in the center. You want every bite to have a little bit of everything. Be a distributor of joy, not a hoarder of beef.
- Forgetting the Acid: Nachos are heavy. You have corn, grease, meat, and cheese. You need acid to cut through that richness. That’s why pickled jalapeños or a squeeze of fresh lime juice is non-negotiable.
Alternatives & Substitutions
Cooking is jazz, baby. Improvise if you need to.
- Meat Variations: Not feeling beef? Ground chicken or turkey works great—just up the seasoning a bit as poultry is blander. You can also use leftover shredded rotisserie chicken or even pulled pork if you’re feeling fancy.
- Vegetarian Mode: Swap the beef for a mix of black beans and pinto beans. Sauté them with the same spices you’d use for the beef. Honestly, it’s still delicious.
- Cheese Options: Not a fan of cheddar? Pepper Jack adds a nice kick. Queso Quesadilla is incredibly melty. Just avoid Mozzarella—it’s too stringy and doesn’t have enough salt punch for nachos.
- The “Kitchen Sink” Approach: Do you have leftover corn? Throw it on. Olives? Sure, if you’re into that sort of thing (I’m not, but I support your right to be wrong).
FAQ (Frequently Asked Questions)
1. Can I make this ahead of time? Short answer: No. Long answer: Nachos are a “live” food. They have a shelf life of about 20 minutes before the chips get soggy. You can prep the beef and grate the cheese ahead of time, but assemble and bake right before eating.
2. How do I reheat leftovers? First, congrats on having leftovers. That requires serious self-control. Do not microwave them. They will turn into a chewy mess. Throw them in an air fryer at 350°F for 3-4 minutes, or back in the oven. It won’t be perfect (the cold toppings will get warm), but it’s edible.
3. My chips keep burning before the cheese melts! What gives? Your oven rack is probably too high. Move it to the middle position. Also, make sure your cheese is room temperature-ish before baking; it’ll melt faster.
4. Can I use store-bought queso instead of shredded cheese? You can, but it changes the vibe. Queso makes the chips soggy much faster. I prefer the structural integrity of melted shredded cheese, serving the queso on the side for dipping.
5. Is this spicy? Only if you want it to be. The beef mix is mild-medium. The real heat comes from the jalapeños. If you are feeding kids or people with sensitive palates, serve the peppers on the side.
6. Can I use Doritos? Listen, this is chaotic good energy. Technically yes, but Doritos burn faster than plain corn chips, and they are already salty. If you do this, reduce the salt in your beef mixture.
Final Thoughts
There you have it. You are now fully equipped to make the kind of loaded nachos recipe beef that people write songs about. Or at least, the kind that makes your friends stop talking because their mouths are full.
This dish isn’t about perfection; it’s about comfort. It’s about standing around a kitchen island, fighting over that one chip that has the perfect ratio of beef, cheese, and jalapeño. So, preheat that oven, crack open a cold drink, and treat yourself. You’ve earned it!
Now go impress someone—or yourself—with your new culinary skills!