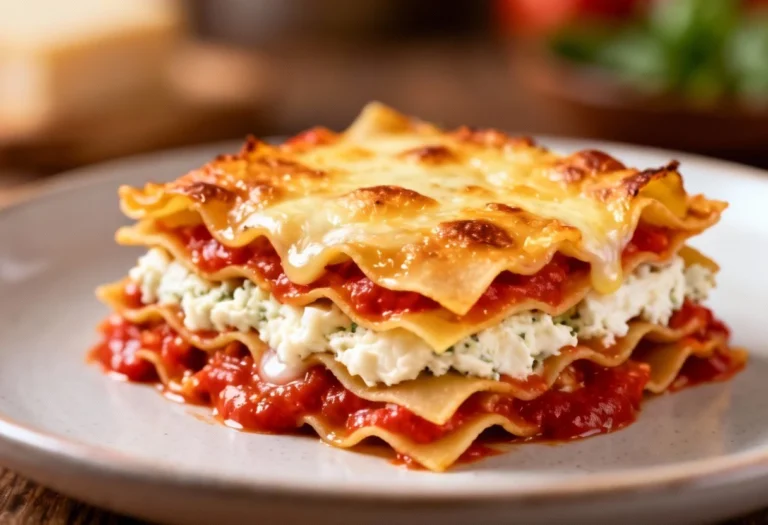
Canned Pasta Sauce Recipe: From Bland to Grand in Minutes!
👩🍳 The Home Chef's Essential Kitchen
Consistently cooking incredible, healthy meals at home is so much easier when you aren't fighting with cheap tools. These are the 5 absolute powerhouse kitchen essentials that professional chefs and serious home cooks rely on every single day to get perfect results.
🍳 Lodge 10.25" Cast Iron Skillet
The single greatest value in all of cookware. It retains heat infinitely better than cheap non-stick pans, allowing you to get a restaurant-quality crust on steaks or perfect crispy edges on cornbread. With proper care, this $20 pan will literally outlive you.
🔪 Victorinox Fibrox Pro 8" Chef's Knife
A dull knife makes cooking a frustrating chore. This specific blade is the undisputed champion of the culinary world—it holds a terrifyingly sharp edge, features a comfortable non-slip grip, and performs identical to German knives that cost quadruple the price.
🌡️ ThermoPro Instant Read Thermometer
Never serve dry chicken or undercooked pork again. An instant-read thermometer is the secret difference between amateur cooks who 'guess' when protein is done, and professionals who know exactly when to pull meat off the heat for maximum juiciness.
🍲 Lodge Enameled Cast Iron Dutch Oven
The ultimate workhorse for soups, stews, braised short ribs, and baking crusty artisanal bread. The enameled interior provides incredible heat distribution for slow-cooking while eliminating the intense seasoning maintenance required by bare cast iron.
🥄 Bpa-Free Silicone Utensil Set
Throw away those melting plastic spatulas and bacteria-harboring wooden spoons. This pure silicone set is heat-resistant up to 600°F, won't scratch your expensive pans, and features seamless designs that make cleaning out thick sauces and batters effortless.
Let’s face it, we’ve all been there. Staring into the pantry, a jar of canned pasta sauce the only thing standing between you and a quick, comforting meal. But let’s be honest, straight from the jar, it can be… underwhelming. This recipe transforms that humble jar of sauce into something truly special, packed with flavor and complexity that tastes like it simmered for hours. We’re talking restaurant-quality pasta sauce with minimal effort. Get ready to ditch the bland and embrace the bold!
Why This Recipe Works
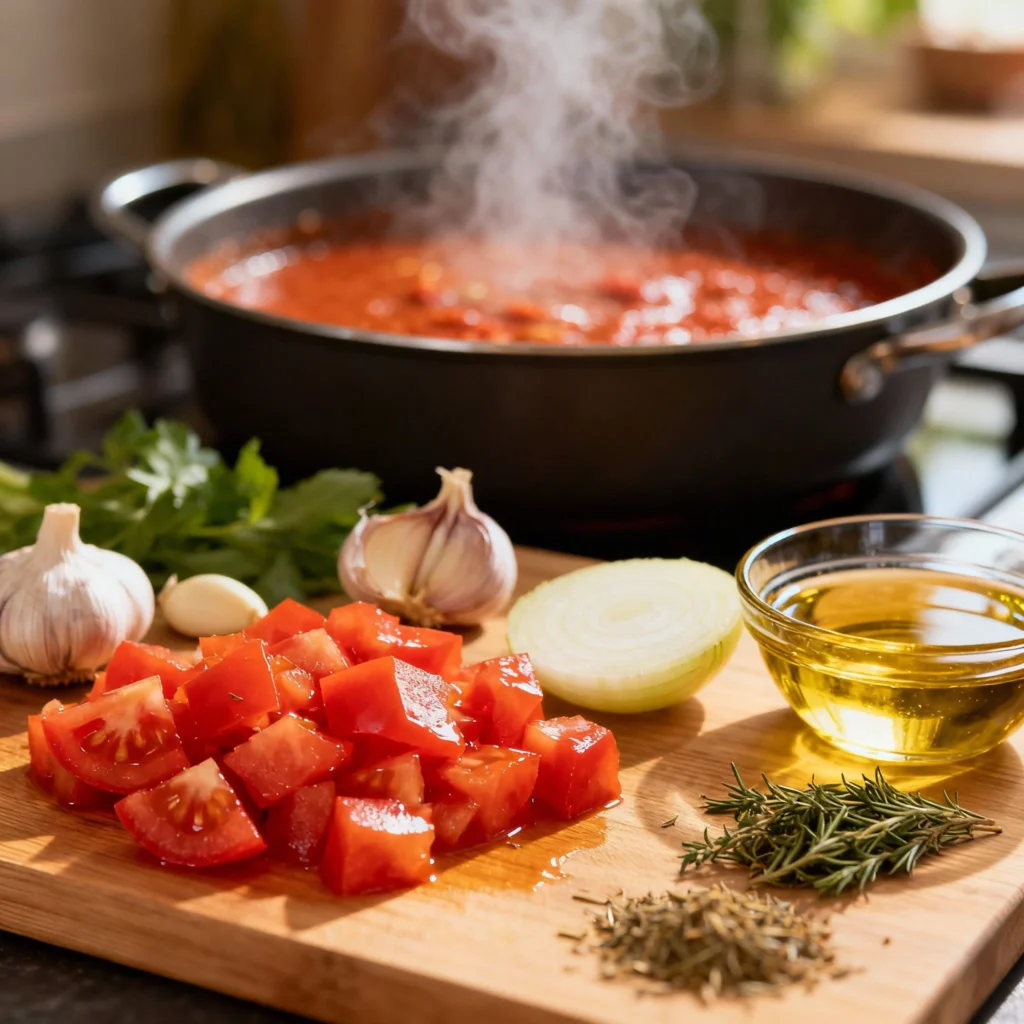
This recipe doesn’t just doctor up canned sauce; it elevates it. The key is layering flavors. We start by building a foundation of aromatics – garlic and onions sautéed in olive oil. This creates a rich, savory base. Then, we add depth with herbs and spices, balancing acidity with a touch of sweetness. The simmering process allows all these flavors to meld together, creating a sauce that’s far greater than the sum of its parts. It’s quick, easy, and delivers incredible results every time.
Ingredients
- 1 (24-26 ounce) jar of your favorite canned pasta sauce (marinara, tomato, or even a roasted garlic variety work well)
- 2 tablespoons olive oil
- 1 medium yellow onion, finely chopped
- 3-4 cloves garlic, minced
- 1 teaspoon dried oregano
- 1/2 teaspoon dried basil
- 1/4 teaspoon red pepper flakes (optional, for a little heat)
- 1/2 teaspoon sugar (or honey, maple syrup)
- 1/4 cup red wine (optional, but highly recommended for depth of flavor)
- Salt and freshly ground black pepper to taste
- Fresh basil leaves, for garnish (optional)
- Grated Parmesan cheese, for serving (optional)
Instructions
- Sauté the Aromatics: Heat the olive oil in a medium saucepan or Dutch oven over medium heat. Add the chopped onion and cook until softened and translucent, about 5-7 minutes. Add the minced garlic and cook for another minute, until fragrant, being careful not to burn it.
- Deglaze (Optional): If using red wine, pour it into the saucepan and scrape up any browned bits from the bottom. Let it simmer for a minute or two until the alcohol evaporates slightly. This step adds a wonderful depth of flavor.
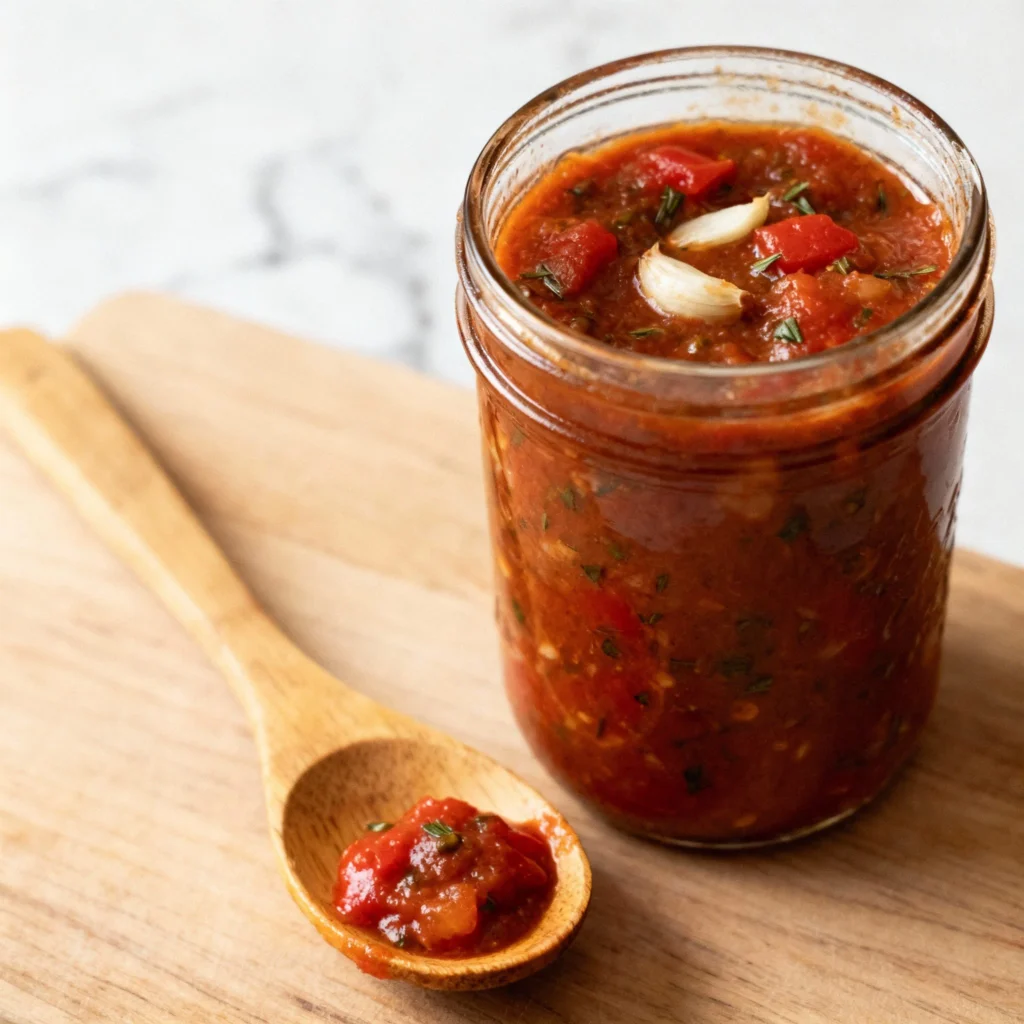
- Add the Sauce and Seasonings: Pour in the canned pasta sauce. Stir in the dried oregano, dried basil, red pepper flakes (if using), and sugar. Season with salt and pepper to taste. Remember that the sauce will concentrate as it simmers, so start with less salt and add more as needed.
- Simmer: Bring the sauce to a gentle simmer, then reduce the heat to low, cover, and let it simmer for at least 15-20 minutes, or up to an hour for even better flavor. The longer it simmers, the more the flavors will meld together. Stir occasionally to prevent sticking.
- Taste and Adjust: After simmering, taste the sauce and adjust the seasonings as needed. You may want to add more salt, pepper, sugar, or herbs to your liking.
- Serve: Serve the sauce over your favorite pasta. Garnish with fresh basil leaves and grated Parmesan cheese, if desired.
Tips for Success
- Don’t skip the aromatics: Sautéing the onions and garlic is crucial for building a flavorful base. Don’t rush this step.
- Use good quality olive oil: The flavor of the olive oil will impact the final taste of the sauce, so choose a good quality extra virgin olive oil.
- Adjust the sweetness: The amount of sugar needed will depend on the acidity of the canned sauce. Start with 1/2 teaspoon and add more to taste if the sauce is too tart. Honey or maple syrup can be used as a natural alternative.
- Simmer, simmer, simmer: The longer the sauce simmers, the better it will taste. Don’t be afraid to let it simmer for an hour or more if you have the time.
- Add vegetables: Feel free to add other vegetables to the sauce, such as diced bell peppers, mushrooms, or zucchini. Sauté them along with the onions and garlic.
- Spice it up: For a spicier sauce, add more red pepper flakes or a pinch of cayenne pepper.
- Get creative with herbs: Experiment with different herbs such as thyme, rosemary, or marjoram.
- Add protein: Browned Italian sausage, ground beef, or meatballs can be added to the sauce for a heartier meal.
- Use fresh herbs: While dried herbs work well, fresh herbs will add a brighter flavor. Add them towards the end of the simmering process.
- Don’t over-salt: Taste frequently and add salt gradually. It’s easier to add more salt than to remove it.
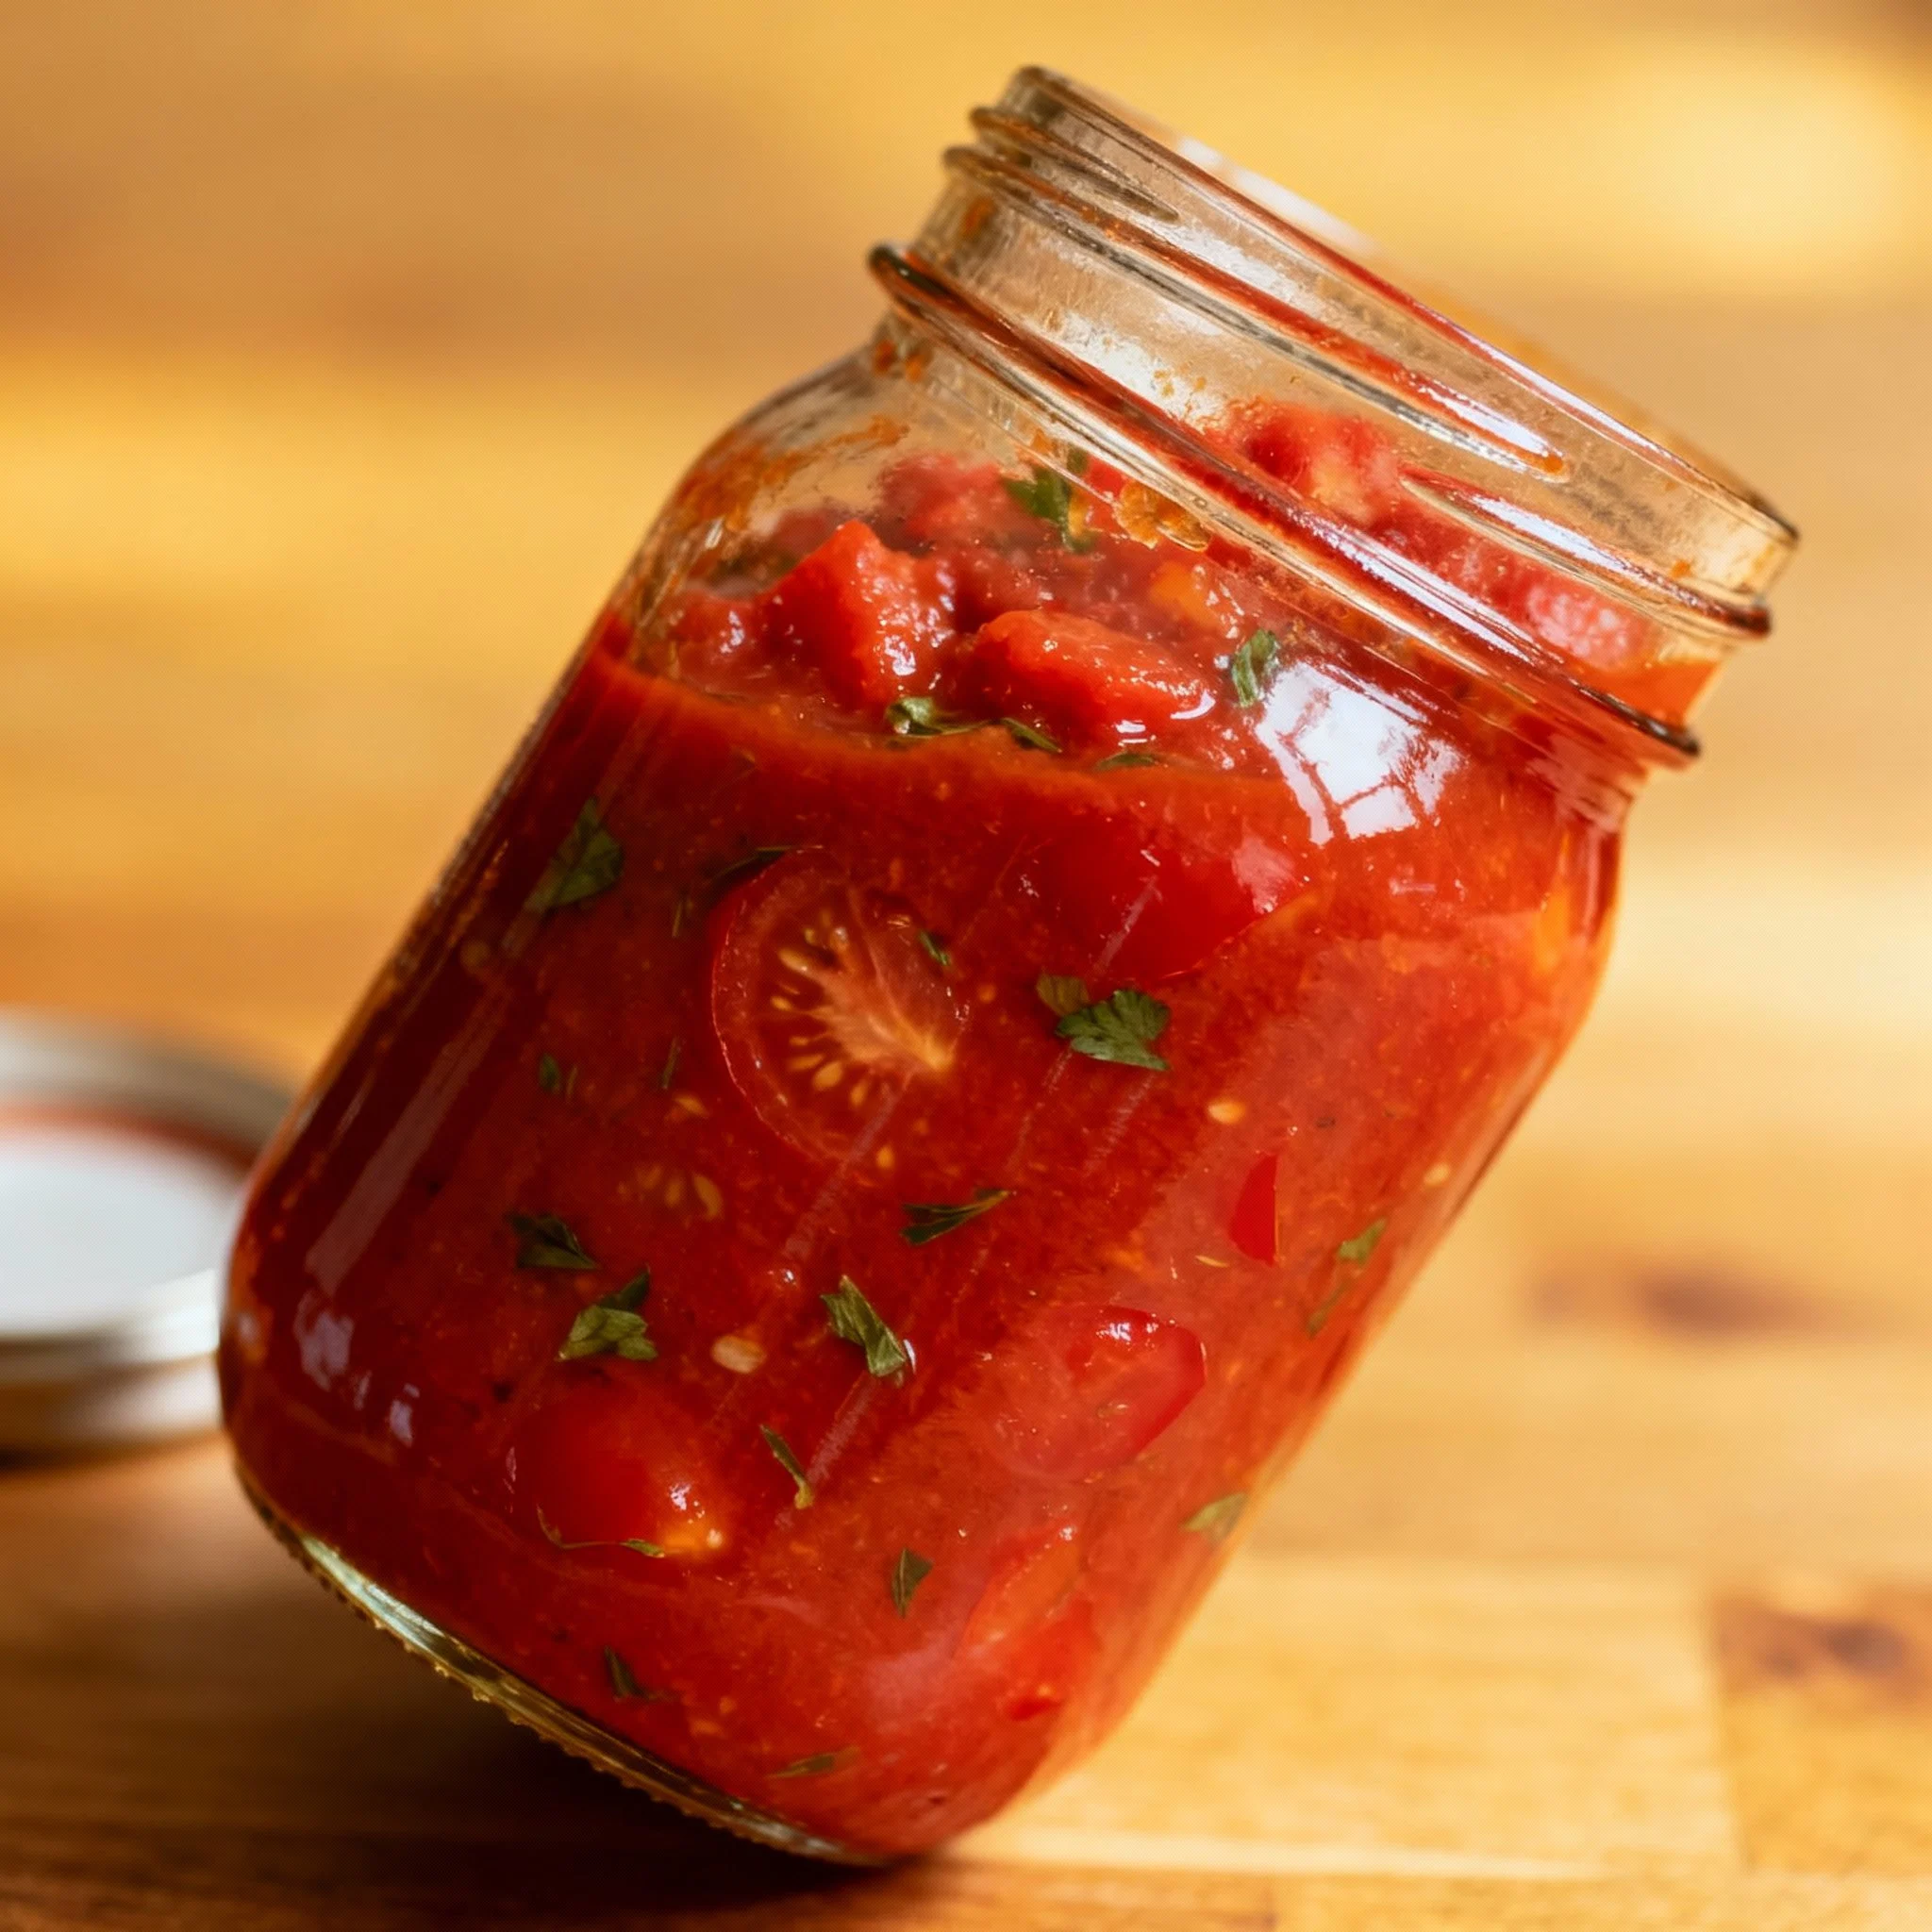
Storage Instructions
Allow the sauce to cool completely before storing. Store leftover sauce in an airtight container in the refrigerator for up to 3-4 days. You can also freeze the sauce for up to 2-3 months. Thaw it in the refrigerator overnight before reheating.
FAQ
Q: Can I use a different type of canned pasta sauce?
A: Absolutely! This recipe works well with any type of canned pasta sauce, such as marinara, tomato, or roasted garlic. Choose your favorite and adjust the seasonings to your liking.
Q: Can I make this recipe without red wine?
A: Yes, you can omit the red wine if you prefer. However, it adds a depth of flavor that is highly recommended. If you’re not using wine, consider adding a splash of balsamic vinegar for a similar effect.
Q: Can I use fresh garlic instead of minced garlic?
A: Yes, fresh garlic is always a great option. Use about 2-3 cloves of fresh garlic, minced.
Q: Can I use fresh tomatoes in this recipe?
A: While this recipe is designed for canned sauce, you can certainly add fresh tomatoes. Peel and chop about 1 pound of fresh tomatoes and add them to the sauce along with the canned sauce. You may need to simmer the sauce for a longer period of time to allow the fresh tomatoes to break down.
Q: My sauce is too acidic. What can I do?
A: Add a little more sugar or honey to balance the acidity. You can also add a pinch of baking soda, but be careful not to add too much, as it can affect the flavor.
Q: Can I make this in a slow cooker?
A: Yes! Sauté the onions and garlic as directed in the instructions. Then, transfer everything to a slow cooker and cook on low for 4-6 hours, or on high for 2-3 hours.
🍰 The Master Baker & Prep Kit
Baking is a science, and meal prep requires efficiency. If you want consistently flaky pie crusts, perfectly risen cakes, and healthy meals ready for the week, these are the 5 upgrade tools that take your execution to the next level.
⚖️ OXO Good Grips 11lb Food Scale
The secret to why bakery bread and cookies are always perfect while home batches vary wildly. Measuring by weight (grams) instead of volume (cups) guarantees precise hydration and flawlessly consistent results every single time you bake.
🧑🍳 KitchenAid Classic Stand Mixer
The undisputed holy grail of the kitchen. From aggressively kneading heavy pizza doughs to whipping meringues into stiff peaks, this powerful motor saves your arms from exhaustion and cuts your hands-on prep time in half.
🍪 Silpat Premium Silicone Baking Mats
Stop wasting money on rolls of parchment paper or agonizing over cookies permanently fused to your metal pans. These reusable, professional-grade silicone mats ensure completely even heat distribution and instantly release even the stickiest caramel.
🌪️ Braun MultiQuick Immersion Blender
The ultimate shortcut tool for creamy tomato soups, lump-free gravies, and rapid smoothies. Avoid the burns and mess of dangerously transferring boiling liquids in batches to a traditional blender by simply blending right inside your cooking pot.
🍱 Premium Glass Meal Prep Containers
If you want to bake and cook healthier, batch preparation is required. These durable glass containers transition safely from freezer to microwave, never absorb tomato sauce stains, and feature airtight seals to keep your hard work fresh all week.
Conclusion
So there you have it! A simple yet incredibly flavorful recipe that transforms a humble jar of canned pasta sauce into a culinary masterpiece. With just a few pantry staples and a little bit of time, you can create a sauce that rivals anything you’d find in a restaurant. Now go forth, grab that jar of sauce, and get cooking! Your taste buds will thank you.