
Active Yeast Bread Recipe: The Foolproof Guide to Baking Perfection
There’s nothing quite like the aroma of freshly baked bread wafting through your home. It’s a comfort, a joy, and a testament to the magic that happens when simple ingredients come together. This recipe for active yeast bread is designed to be your go-to guide, whether you’re a seasoned baker or just starting your bread-making journey. We’ll walk you through each step, ensuring you achieve a loaf that’s crusty on the outside, soft and airy on the inside, and utterly delicious. Get ready to impress yourself (and your family) with this classic, foolproof recipe!
Why This Recipe Works
This recipe is carefully crafted to maximize your chances of success. Here’s why it works so well:
- Proper Hydration: The water-to-flour ratio is optimized for a dough that’s easy to handle yet produces a moist and tender crumb.
- Yeast Activation: We take the guesswork out of yeast activation by providing clear instructions and visual cues, ensuring your yeast is lively and ready to leaven your bread.
- Kneading Technique: We emphasize a thorough kneading process, which develops the gluten structure necessary for a strong and elastic dough. This results in a bread with excellent texture and rise.
- Proofing Conditions: We provide guidance on creating the ideal environment for proofing, allowing your dough to rise properly and develop its characteristic flavor.
- Baking Temperature: The baking temperature is carefully calibrated to ensure a perfectly golden crust and a thoroughly cooked interior.
Ingredients
- 3 cups (360g) all-purpose flour, plus more for dusting
- 1 teaspoon (5g) salt
- 1 packet (7g or 2 1/4 teaspoons) active dry yeast
- 1 1/2 cups (360ml) warm water (105-115°F / 40-46°C)
- 1 tablespoon (15ml) olive oil, plus more for greasing the bowl
Instructions
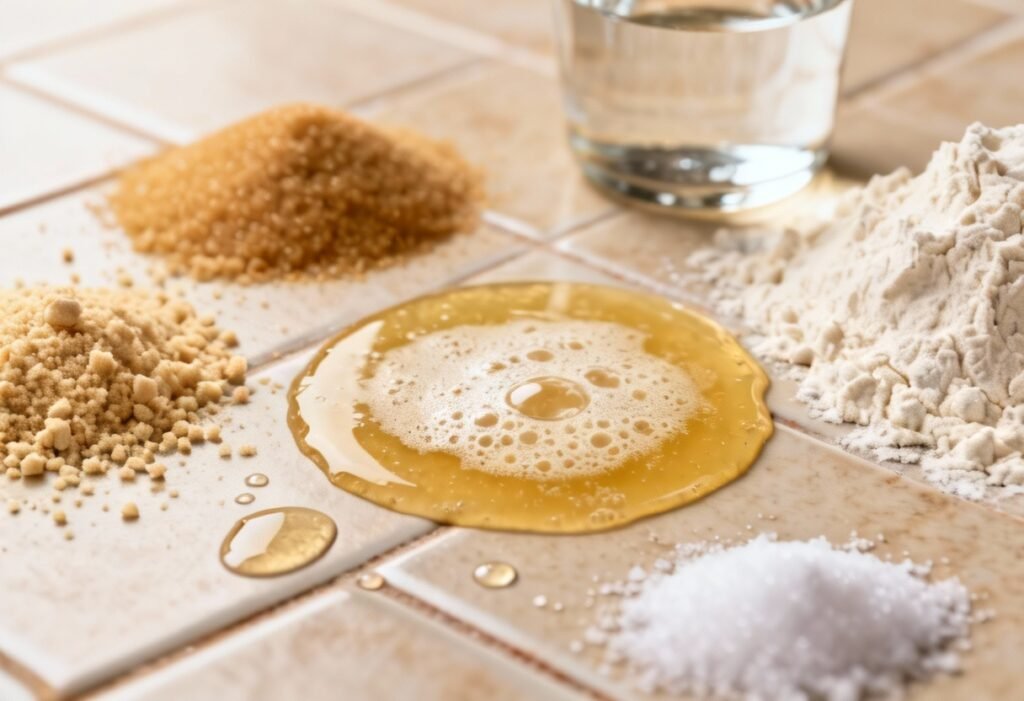
- Activate the Yeast: In a large bowl, combine the warm water and active dry yeast. Let it sit for 5-10 minutes, or until the yeast is foamy and bubbly. This indicates that the yeast is alive and active. If the yeast doesn’t foam, it may be expired and you’ll need to start over with fresh yeast.
- Combine Dry Ingredients: In a separate bowl, whisk together the flour and salt.
- Combine Wet and Dry Ingredients: Add the flour mixture to the yeast mixture. Stir with a wooden spoon or spatula until a shaggy dough forms.
- Knead the Dough: Turn the dough out onto a lightly floured surface. Knead for 8-10 minutes, or until the dough is smooth, elastic, and springs back when gently poked. You can also use a stand mixer with a dough hook attachment for this step. If using a mixer, knead on medium-low speed for 6-8 minutes.
- First Rise (Proofing): Lightly grease a large bowl with olive oil. Place the dough in the bowl, turning to coat. Cover the bowl with plastic wrap or a clean kitchen towel. Let the dough rise in a warm place for 1-1.5 hours, or until doubled in size. The warmer the environment, the faster the dough will rise.
- Punch Down the Dough: Gently punch down the dough to release the air.
- Shape the Dough: Turn the dough out onto a lightly floured surface. Shape the dough into a loaf. You can make a round boule, an oblong loaf, or any shape you prefer.
- Second Rise (Proofing): Place the shaped loaf on a baking sheet lined with parchment paper. Cover loosely with plastic wrap or a clean kitchen towel. Let the dough rise for 30-45 minutes, or until almost doubled in size.
- Preheat the Oven: Preheat oven to 400°F (200°C).
- Score the Dough (Optional): Use a sharp knife or lame to score the top of the loaf. This allows the bread to expand properly in the oven and creates an attractive crust. A simple slash down the center or a cross pattern works well.
- Bake the Bread: Bake for 30-35 minutes, or until the loaf is golden brown and sounds hollow when tapped on the bottom.
- Cool the Bread: Transfer the loaf to a wire rack to cool completely before slicing and serving. This is crucial for allowing the bread to set properly. Resist the urge to cut into it while it’s still hot!
Tips for Success
- Use a Thermometer: Ensure the water is the correct temperature (105-115°F / 40-46°C) for activating the yeast. Too hot and you’ll kill the yeast; too cold and it won’t activate properly.
- Don’t Over-Knead: Over-kneading can result in a tough bread. Knead until the dough is smooth and elastic, but not overly firm.
- Proof in a Warm Place: A warm environment is essential for proper proofing. If your kitchen is cold, you can proof the dough in a slightly warmed oven (turned off!), near a warm stovetop, or in a microwave with a cup of hot water.
- Adjust Baking Time: Baking times may vary depending on your oven. Keep an eye on the bread and adjust the baking time as needed. If the crust is browning too quickly, tent the loaf with foil.
- Experiment with Flavors: Once you’ve mastered the basic recipe, feel free to experiment with adding herbs, spices, cheese, or other ingredients to the dough.
Storage Instructions
Store the cooled bread in an airtight container or bread bag at room temperature for up to 3 days. For longer storage, slice the bread and freeze it in a freezer bag. Thaw the bread at room temperature or in the oven before serving.

FAQ
Q: Can I use instant yeast instead of active dry yeast?
A: Yes, you can. If using instant yeast, you can skip the activation step and add it directly to the flour. Use the same amount (7g or 2 1/4 teaspoons). The rising time may be slightly shorter.
Q: My dough didn’t rise. What went wrong?
A: Several factors could contribute to this: the yeast may have been expired, the water may have been too hot or too cold, or the proofing environment may have been too cold. Make sure to use fresh yeast, check the water temperature, and proof the dough in a warm place.
Q: My bread is dense and heavy. What did I do wrong?
A: This could be due to under-kneading, insufficient proofing, or using too much flour. Make sure to knead the dough thoroughly, allow it to rise properly, and measure the flour accurately.
Q: Can I make this recipe with whole wheat flour?
A: Yes, but the texture will be slightly different. Whole wheat flour absorbs more water and produces a denser bread. You may need to add a little more water to the dough. Start by substituting 1 cup of all-purpose flour with whole wheat flour and adjust from there.
Conclusion
Congratulations! You’ve successfully baked a delicious loaf of active yeast bread. With a little practice, you’ll be able to consistently create bakery-quality bread in your own home. Enjoy the satisfaction of knowing you’ve made something truly special from scratch. Happy baking!