Almond Flour Pie Crust Recipe: The Perfect Gluten-Free Base
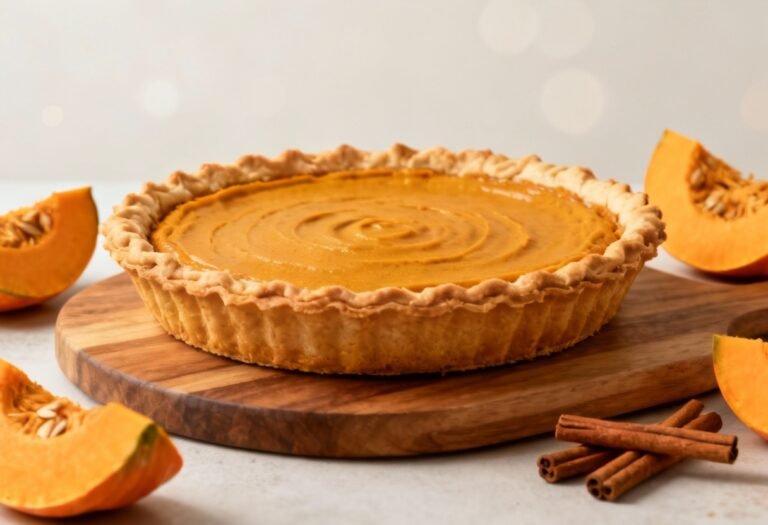
Craving a slice of homemade pie but avoiding gluten? Look no further! This almond flour pie crust recipe is your answer. It’s surprisingly easy to make, incredibly flavorful, and creates a beautifully tender and slightly nutty crust that will perfectly complement any pie filling, from sweet fruit pies to savory quiches. Say goodbye to crumbly, bland gluten-free pie crusts and hello to a delicious, reliable alternative that everyone will love, regardless of their dietary needs.
Why This Recipe Works
This almond flour pie crust recipe is designed for success, even for those new to gluten-free baking. Here’s why it works so well:
- Almond Flour’s Natural Tenderness: Almond flour, being a nut flour, has a naturally high fat content. This fat contributes to a tender and delicate crust, preventing it from becoming tough or dry.
- Butter for Flavor and Flakiness: Cold butter is essential for creating those desirable flaky layers in a pie crust. The cold butter pieces create steam as they bake, separating the layers and resulting in a light and airy texture.
- Egg as a Binder: While some almond flour pie crusts rely solely on butter and flour, adding an egg provides crucial binding power. This helps the crust hold its shape and prevents it from crumbling excessively.
- Minimal Gluten-Free Fuss: Unlike some gluten-free baking, this recipe doesn’t require a complex blend of flours or gums. Almond flour is the star, making it a simple and straightforward recipe.
- Versatility: This crust works beautifully for both sweet and savory pies. Adjust the sweetener slightly depending on your filling.
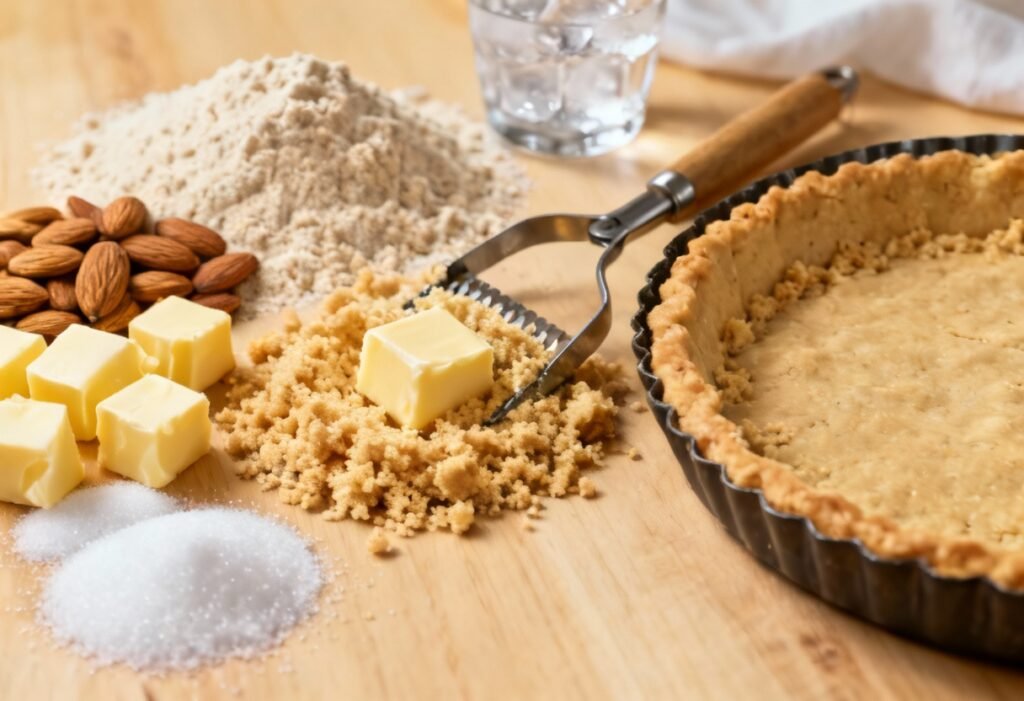
Ingredients
- 1 ½ cups (168g) blanched almond flour, finely ground
- ¼ teaspoon salt
- 6 tablespoons (85g) cold unsalted butter, cut into ½-inch cubes
- 1 large egg, lightly beaten
- 1-2 tablespoons ice water, as needed
- 1 tablespoon granulated sugar (optional, for sweet pies)
Instructions
- Combine Dry Ingredients: In a large bowl, whisk together the almond flour, salt, and sugar (if using).
- Cut in the Butter: Add the cold, cubed butter to the almond flour mixture. Using a pastry blender or your fingertips, cut the butter into the flour until the mixture resembles coarse crumbs. The butter pieces should be no larger than pea-sized. Work quickly to prevent the butter from melting.
- Add the Egg: Add the lightly beaten egg to the bowl and mix until just combined.
- Add Ice Water (if needed): If the dough seems too dry and doesn’t come together easily, add ice water, one tablespoon at a time, until the dough just starts to form a ball. Be careful not to overwork the dough.
- Form a Disc: Gently gather the dough into a ball. Flatten it into a disc about 1 inch thick.
- Chill the Dough: Wrap the disc tightly in plastic wrap and refrigerate for at least 30 minutes, or up to 2 hours. This chilling time allows the gluten (or lack thereof in this case) to relax and the butter to firm up, preventing the crust from shrinking during baking.
- Preheat Oven: Preheat your oven to 350°F (175°C).
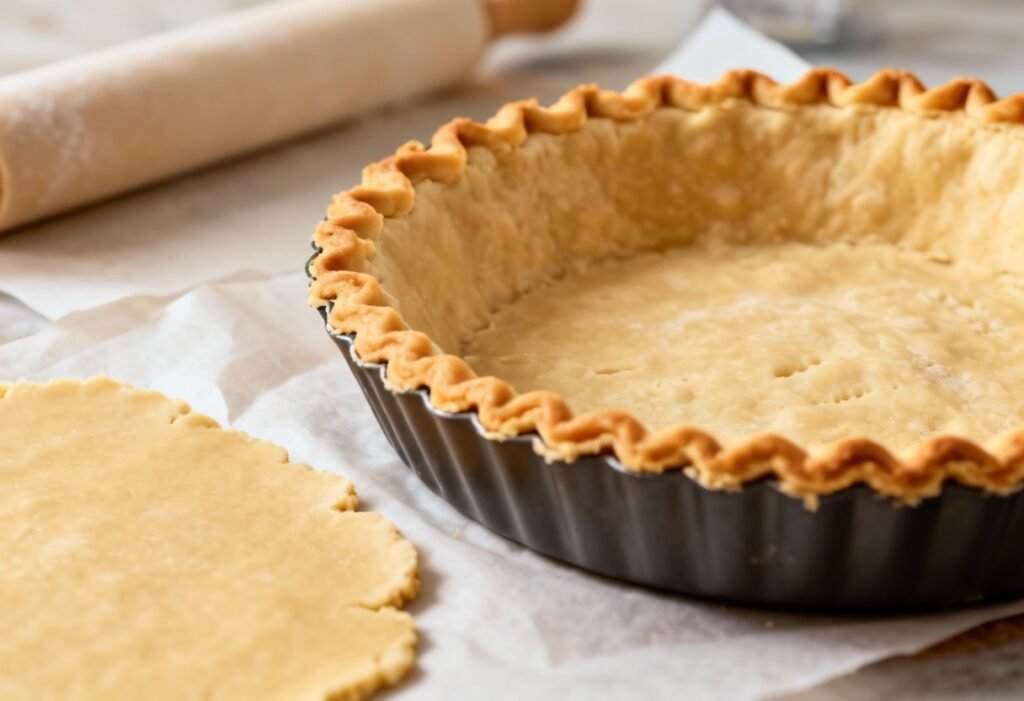
- Roll Out the Dough: On a lightly floured (with almond flour) surface, roll out the dough into a 12-inch circle. Work quickly and gently, as almond flour dough can be more delicate than traditional pie crust. If the dough cracks or tears, gently press it back together.
- Transfer to Pie Plate: Carefully transfer the rolled-out dough to a 9-inch pie plate. You can fold the dough in half or quarters to make it easier to lift and transfer.
- Trim and Crimp: Trim the excess dough around the edges of the pie plate, leaving about ½ inch overhang. Crimp the edges of the crust using your fingers or a fork to create a decorative border.
- Pre-Bake (if needed): For pies with wet fillings (like pumpkin or pecan pie), pre-baking the crust helps prevent it from becoming soggy. To pre-bake, line the crust with parchment paper and fill it with pie weights or dried beans. Bake for 15-20 minutes, or until the edges are lightly golden brown. Remove the parchment paper and pie weights and bake for another 5-10 minutes, or until the bottom of the crust is set.
- Fill and Bake: Fill the pre-baked or unbaked crust with your desired pie filling. Bake according to your pie filling recipe instructions.
- Cool Completely: Allow the pie to cool completely on a wire rack before serving. This allows the filling to set properly and prevents the crust from cracking.
Tips for Success
- Use Cold Ingredients: Cold butter and ice water are crucial for a flaky crust. Make sure your butter is very cold before you start, and use ice water to hydrate the dough.
- Don’t Overwork the Dough: Overworking the dough will develop the gluten (if there was any!), resulting in a tough crust. Mix the ingredients until just combined.
- Chill the Dough Thoroughly: Chilling the dough allows the gluten to relax and the butter to firm up, preventing the crust from shrinking during baking.
- Use a Light Hand When Rolling: Almond flour dough can be more delicate than traditional pie crust, so use a light hand when rolling it out. If the dough cracks or tears, gently press it back together.
- Blind Bake for Wet Fillings: For pies with wet fillings, pre-baking the crust (blind baking) helps prevent it from becoming soggy.
- Monitor the Baking Time: Keep a close eye on the crust while it’s baking to prevent it from burning. If the edges start to brown too quickly, cover them with foil.
- Let it Cool Completely: Allow the pie to cool completely before slicing and serving. This allows the filling to set properly and prevents the crust from cracking.
Storage Instructions
Unbaked Pie Crust: The unbaked pie crust can be stored in the refrigerator for up to 2 days or in the freezer for up to 2 months. Wrap it tightly in plastic wrap to prevent it from drying out.
Baked Pie Crust: The baked pie crust can be stored at room temperature for up to 2 days or in the refrigerator for up to 5 days. Store it in an airtight container to prevent it from becoming stale.
Baked Pie: Leftover baked pie should be stored in the refrigerator. Cover it loosely with plastic wrap or foil to prevent it from drying out. It will keep for up to 3 days.
FAQ
Can I use a different type of nut flour? While almond flour provides the best texture and flavor, you can experiment with other nut flours like hazelnut flour or pecan flour. Keep in mind that the results may vary slightly.
Can I use coconut flour instead of almond flour? Coconut flour is very absorbent and cannot be substituted directly for almond flour in this recipe. It requires a different ratio of wet to dry ingredients and a different baking technique.
My dough is too crumbly. What should I do? If your dough is too crumbly, it means it’s too dry. Add ice water, one teaspoon at a time, until the dough just starts to come together. Be careful not to add too much water, as this can make the dough tough.
My dough is too sticky. What should I do? If your dough is too sticky, it means it’s too wet. Add a little more almond flour, one tablespoon at a time, until the dough is no longer sticky. Be careful not to add too much flour, as this can make the crust dry.
Can I make this recipe vegan? Yes, you can make this recipe vegan by substituting the butter with a vegan butter alternative and the egg with a flax egg (1 tablespoon ground flaxseed mixed with 3 tablespoons water, let sit for 5 minutes to thicken).
Why is my crust shrinking during baking? Crust shrinking can happen if the dough wasn’t chilled enough, or if it was over-worked. Make sure to chill the dough for at least 30 minutes and avoid over-mixing.
Conclusion
This almond flour pie crust recipe is a game-changer for anyone seeking a delicious and reliable gluten-free option. Its ease of preparation, combined with its delightful flavor and texture, makes it a perfect choice for all your pie-baking adventures. So, ditch the store-bought crusts and embrace the joy of homemade goodness with this exceptional almond flour pie crust. Happy baking!