Easy Apple Pie Recipe : The 60-Minute Crowd-Pleaser That Turns “Meh” Apples Into Mic-Drop Dessert
You don’t need a culinary degree or a Pinterest-perfect kitchen to pull this off—you just need an oven and a pulse. This apple pie hits that perfect sweet-tart, buttery-flaky zone and makes your house smell like a holiday commercial in under an hour. No rolling-pin stress meltdown, no weird ingredients you’ll never use again.
Just a golden, bubbling pie that disappears in minutes and makes you look like you’ve got your life together. Want applause at the table? This is it.
What Makes This Special
This is an easy, reliable, zero-fuss apple pie designed for real life.
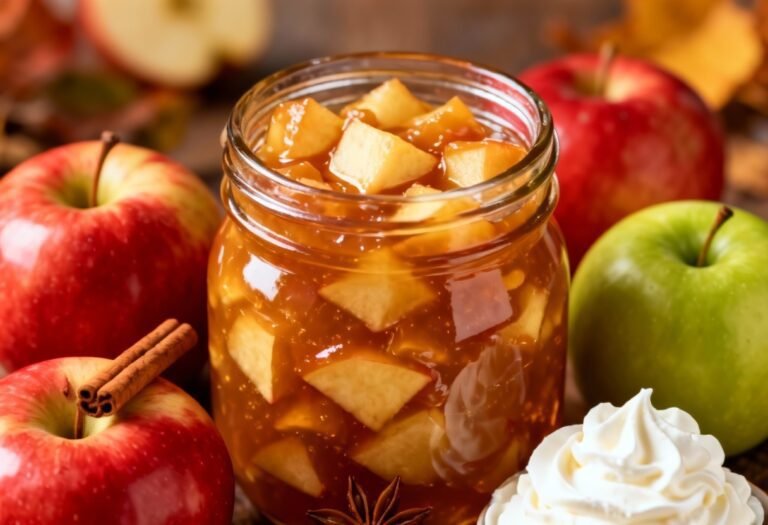
We skip complicated techniques and focus on flavor: a mix of tart and sweet apples, warm spices, and a crust that bakes crisp—not soggy. The filling thickens beautifully without turning into apple soup, and the spice blend balances comfort with a little edge.
You can use store-bought crust (no shame) or go homemade if you’ve got an extra 10 minutes. The method is forgiving, the ingredients are common, and the results taste bakery-level.
Oh, and it reheats like a dream, which is code for “breakfast tomorrow.”
What Goes Into This Recipe – Ingredients
- Pie crust: 2 refrigerated pie crusts (top and bottom) or your favorite homemade double crust
- Apples: 6–7 medium apples (about 2 to 2.25 lbs), peeled, cored, and sliced 1/4-inch thick; use a mix like Granny Smith + Honeycrisp
- Granulated sugar: 1/2 cup
- Brown sugar: 1/3 cup (light or dark)
- Cornstarch: 2.5 tablespoons (or 3 tablespoons flour as substitute)
- Ground cinnamon: 1.5 teaspoons
- Ground nutmeg: 1/4 teaspoon
- Ground allspice (optional): 1/8 teaspoon
- Salt: 1/4 teaspoon
- Lemon juice: 1 tablespoon (plus 1/2 teaspoon zest, optional)
- Vanilla extract: 1 teaspoon
- Unsalted butter: 2 tablespoons, cut into small cubes
- Egg wash: 1 egg beaten with 1 tablespoon milk or water
- Coarse sugar for topping (optional): 1 tablespoon
Instructions
- Prep the oven and pan: Preheat oven to 425°F (220°C). Place a rack in the lower third. Set a 9-inch pie dish on a sheet pan to catch drips.
- Slice the apples: Peel, core, and slice apples about 1/4-inch thick.
Thinner = mush; thicker = crunchy. Aim for the sweet spot.
- Mix the filling: In a large bowl, toss apples with lemon juice and vanilla. Add granulated sugar, brown sugar, cornstarch, cinnamon, nutmeg, allspice, and salt.
Stir until every slice is glossy and coated. Let sit 5–10 minutes to start releasing juices.
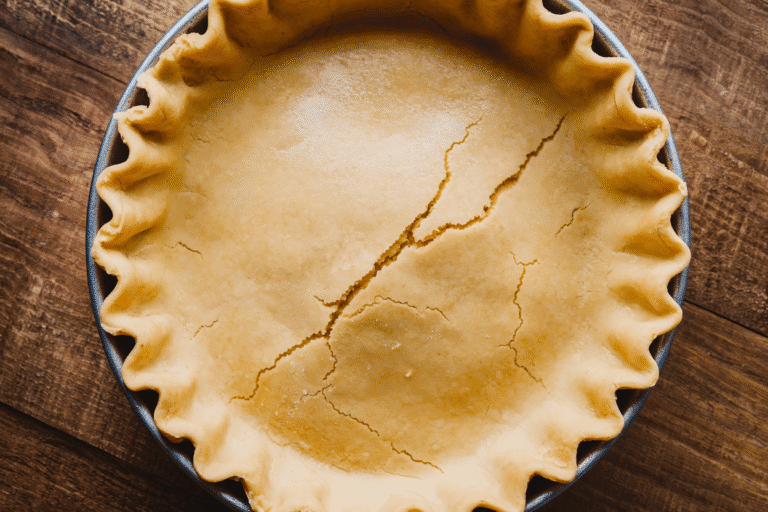
- Line the dish: Fit one pie crust into the dish, letting excess hang over the edge. Chill it in the fridge while you work to keep it cold.
- Fill and dot: Spoon the apple mixture into the crust, mounding slightly in the center.
Pour in any juices. Dot the top with butter cubes. Butter equals flavor—don’t skip.
- Top crust time: Lay the second crust on top (or make a lattice if you’re feeling fancy).
Trim overhang to about 1 inch. Fold edges under and crimp firmly to seal.
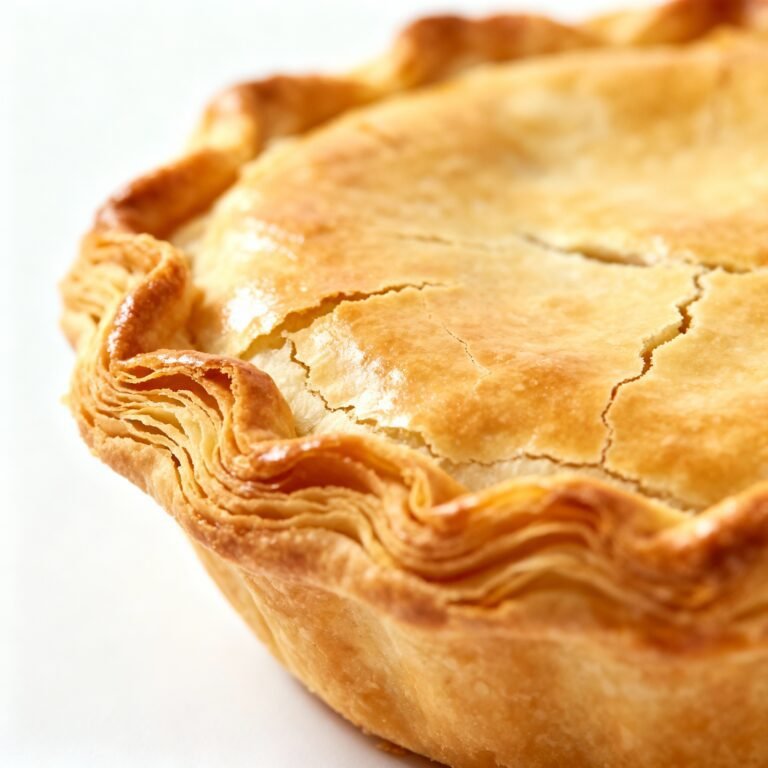
- Vent and glaze: Cut 5–6 slits in the top if not latticed. Brush with egg wash and sprinkle with coarse sugar for crunch.
- Blast bake: Bake at 425°F for 20 minutes to set the crust and get that initial lift.
- Finish bake: Reduce to 375°F (190°C).
Bake 25–35 minutes more, until crust is deep golden and the filling bubbles at the vents. If edges brown too fast, tent with foil.
- Rest (do not rush): Cool on a rack at least 2 hours before slicing so the juices thicken. Warm pie tastes better than hot soup, IMO.
- Serve: Slice and serve plain, with vanilla ice cream, or a dollop of whipped cream.
No wrong answers here.
How to Store
Keep the pie at room temperature, loosely covered, for up to 24 hours. After that, refrigerate for 3–4 days. The crust stays crisper if you tent with foil rather than plastic wrap.
For freezing, cool completely.
Wrap slices tightly in plastic, then foil, and freeze up to 3 months. Reheat at 350°F (175°C) for 10–15 minutes from chilled or 20–25 minutes from frozen until warm and crisp again.
Nutritional Perks
Apples bring fiber, vitamin C, and polyphenols, which support gut health and may help with blood sugar control. Cinnamon and nutmeg add antioxidants, and you’re getting a reasonable balance of carbs and fat for a dessert that actually satisfies.
A standard slice (1/8 of the pie) lands around 350–420 calories depending on crust and sugar choices.
Want it lighter? Use a thinner top crust or skip the coarse sugar. Want it richer?
Add a caramel drizzle and accept joy.
What Not to Do
- Don’t skip the thickener. No cornstarch or flour = watery pie and regrets.
- Don’t slice apples too thin. They’ll collapse and turn mushy. Keep them about 1/4-inch.
- Don’t underbake. You need bubbling filling for at least a minute to activate the thickener.
- Don’t cut too soon. Hot pie hasn’t set yet. Give it the 2-hour cooldown—worth it.
- Don’t forget to vent. Trapped steam blows out your crimp and makes the crust soggy.
- Don’t use only super-sweet apples. Mix tart and sweet for balanced flavor and texture.
FYI, all Honeycrisp will taste flat.
Recipe Variations
- Caramel Apple Pie: Stir 1/3 cup caramel sauce into the filling and drizzle more on top after baking.
- Cheddar Crust: Add 1 cup shredded sharp cheddar to your homemade crust. Sweet-tangy-savory magic.
- Oat Crumble Top: Swap the top crust for a crumble: 3/4 cup flour, 1/2 cup oats, 1/2 cup brown sugar, 1/2 teaspoon cinnamon, pinch salt, 6 tablespoons cold butter. Mix and scatter.
- Maple Spice: Replace 1/4 cup sugar with maple syrup and add 1/4 teaspoon ground ginger.
- Bourbon Boost: Add 1 tablespoon bourbon to the filling.
It bakes off, leaves big flavor.
- Gluten-Free: Use a GF pie crust and swap cornstarch for 2 tablespoons tapioca starch.
- No-Peel Shortcut: Leave the peels on for a rustic vibe and extra fiber. Slice thinner (but not paper-thin) to compensate.
FAQ
What are the best apples for this pie?
Use a blend for complexity: Granny Smith for tart structure, plus Honeycrisp, Pink Lady, or Braeburn for sweetness and aroma. Mix 2–3 varieties for the win.
Can I use store-bought crust?
Absolutely.
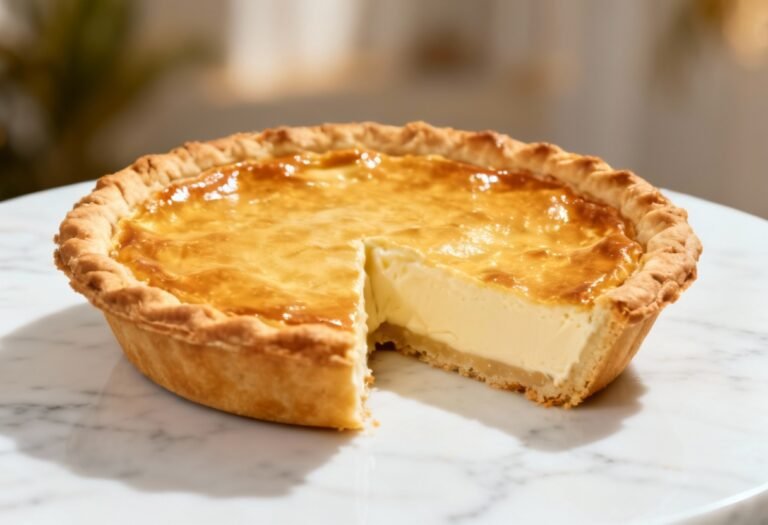
Choose a refrigerated double crust and keep it cold until baking. Brush with egg wash to make it look bakery-level.
How do I prevent a soggy bottom?
Bake on the lower rack, start hot at 425°F, and use a metal or glass pie dish for better heat transfer. Vent the top, and don’t skimp on the thickener.
You can also preheat the sheet pan to help crisp the base.
Do I have to pre-cook the apples?
Nope. The sugar and resting time draw juices, and the bake fully softens the apples. Pre-cooking can work, but it’s extra steps for minimal gain here.
How long should I cool the pie?
At least 2 hours.
The filling needs time to set; otherwise it’ll pool out when you slice. If you like it warm, reheat slices gently after it’s set.
Can I reduce the sugar?
Yes—drop the granulated sugar by 2–3 tablespoons and keep the brown sugar for depth. If your apples are very tart, taste a slice of apple with the coating and adjust before filling.
What if I don’t have cornstarch?
Use 3 tablespoons all-purpose flour or 2 tablespoons tapioca starch.
Expect a slightly different texture, but it will still be delish.
Can I make it ahead?
You can assemble the pie and refrigerate for up to 6 hours before baking. Or bake the day before and rewarm at 350°F for 10–15 minutes. The crust perks right up.
My Take
This “apple pie recipe easy” is the kind of dessert that converts skeptics and turns random Tuesdays into celebrations.
The apple blend matters, the hot-start bake matters, and the rest time matters—do those three things and you’re golden. It’s unfussy, fast, and incredibly reliable, which is exactly what busy home cooks need.
Make it once as written, then riff. Cheddar crust?
Do it. Crumble top? Dangerous in the best way.
And if you eat a slice for breakfast tomorrow, I’ll pretend to be shocked while quietly applauding your life choices.