Banana Pudding Recipe Easy: Dreamy Southern Comfort in Minutes!
There’s nothing quite like a spoonful of creamy, dreamy banana pudding. It’s the ultimate comfort food, evoking memories of family gatherings, potlucks, and sweet Southern hospitality. But let’s be honest, some banana pudding recipes can be a bit… intimidating. This recipe takes away all the fuss and delivers all the flavor you crave, with minimal effort. We’re talking truly easy, from-scratch (or almost from-scratch!) banana pudding that will have everyone begging for seconds. Get ready to experience banana pudding perfection without spending hours in the kitchen!
Why This Recipe Works
This recipe prioritizes simplicity without sacrificing flavor. Here’s why it’s a winner:
- Speed and Simplicity: We use instant pudding mix as a base, which drastically cuts down on cooking time. However, we elevate it with real vanilla extract and fresh bananas for a homemade taste.
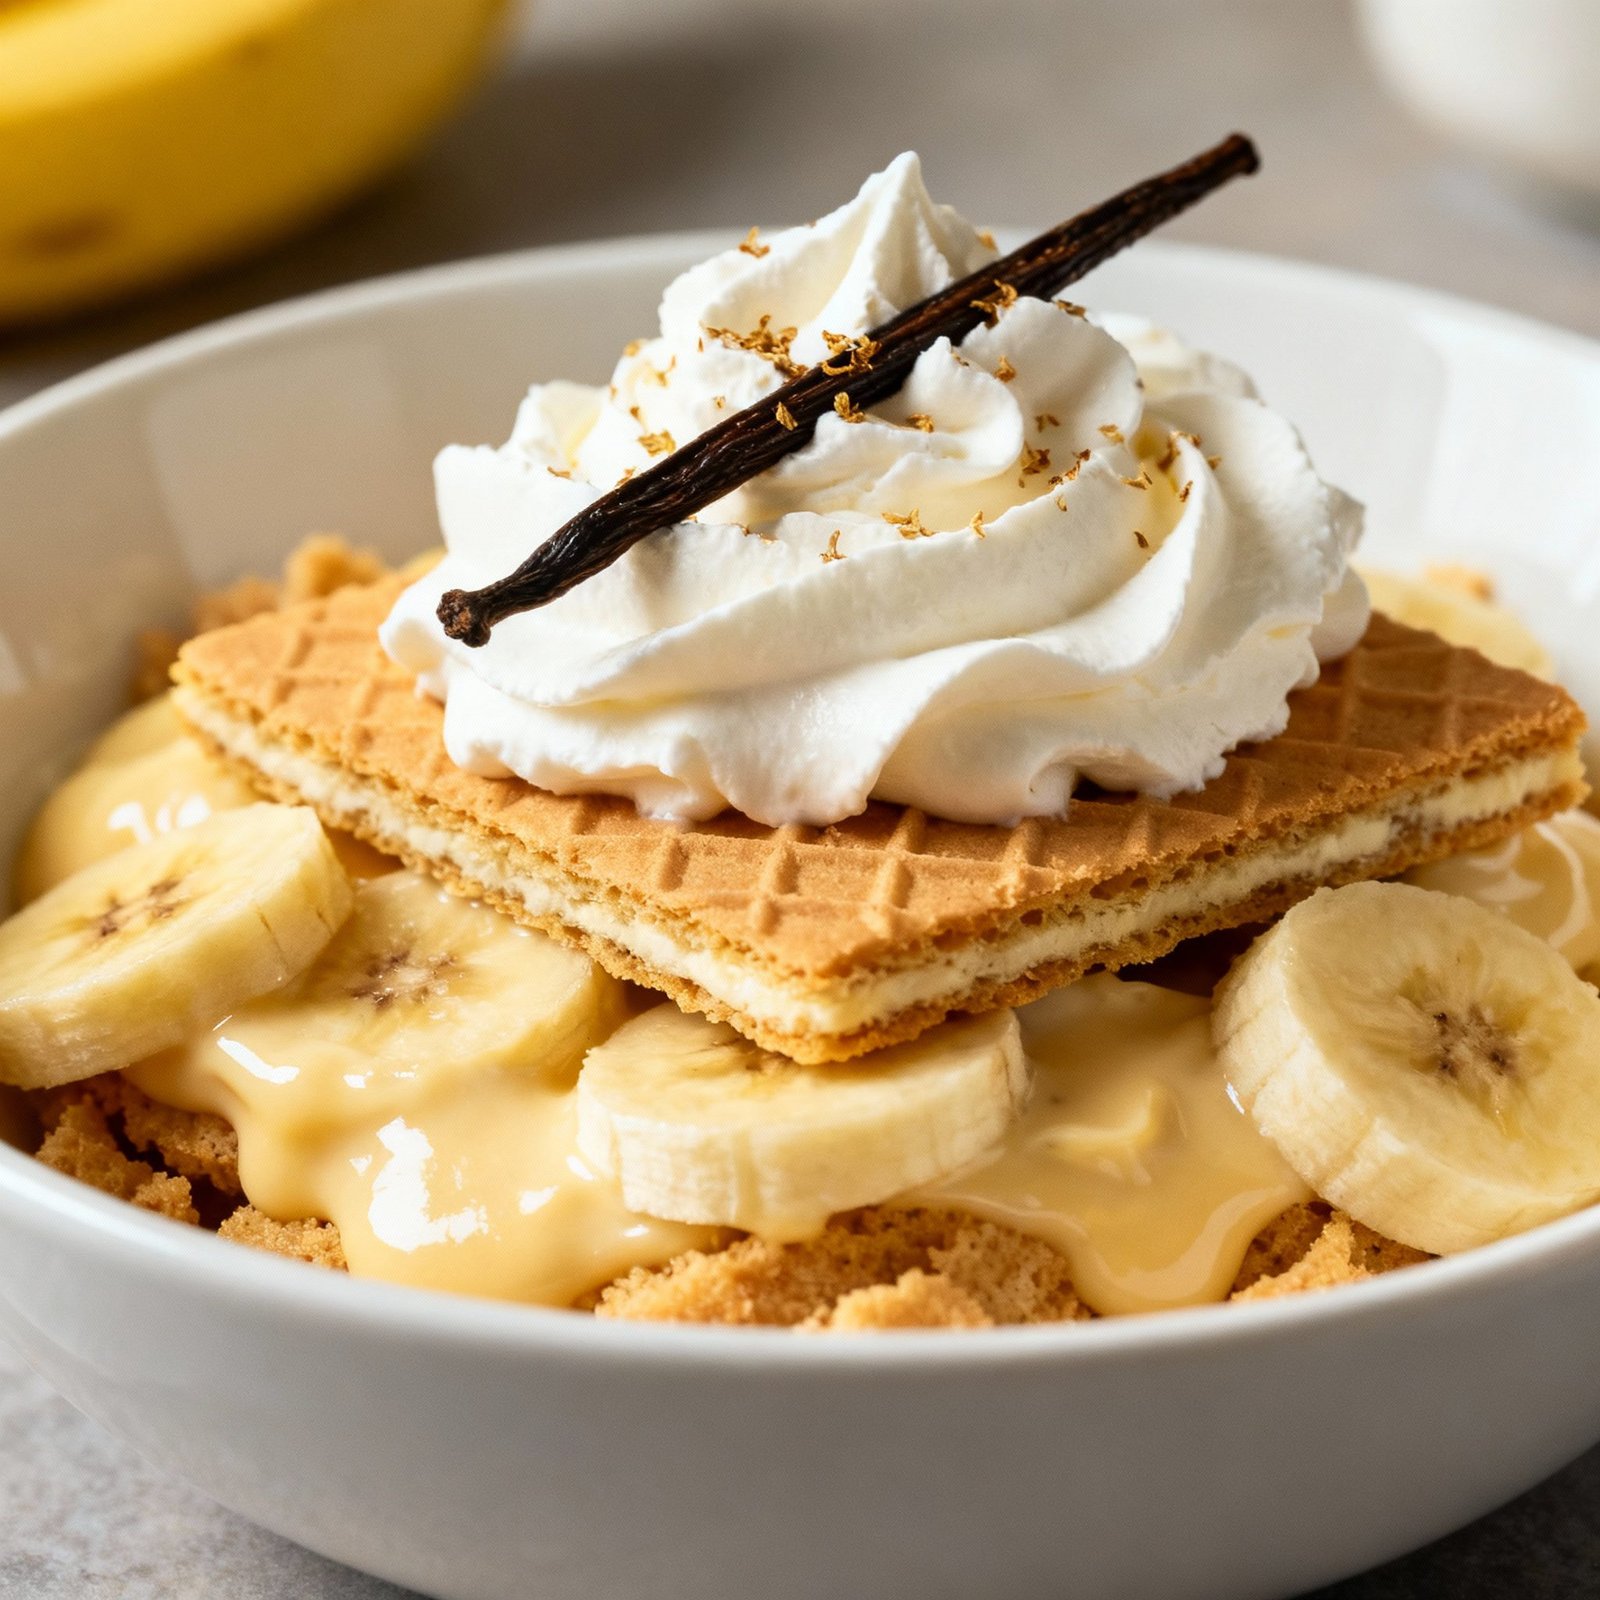
- Perfect Texture: The combination of pudding, whipped cream, and vanilla wafers creates a delightful textural contrast – creamy, smooth, and slightly crunchy.
- No-Cook Method: Forget standing over a hot stove, constantly stirring. This recipe is entirely no-cook, making it perfect for hot summer days or when you’re short on time.
- Customizable: Easily adapt the recipe to your preferences. Add a layer of caramel sauce, use different flavors of pudding, or experiment with different toppings.
- Guaranteed Success: Even if you’re a beginner baker, you can nail this recipe. The instructions are clear, concise, and easy to follow.
Ingredients
- 1 (3.4 ounce) package instant vanilla pudding mix
- 3 cups cold milk (whole milk recommended for richness)
- 1 (8 ounce) container frozen whipped topping, thawed (such as Cool Whip)
- 1 (12 ounce) box vanilla wafers
- 3-4 ripe bananas, sliced
- 1 teaspoon vanilla extract

Instructions
- Prepare the Pudding: In a large bowl, whisk together the instant vanilla pudding mix and cold milk until smooth. Add the vanilla extract and whisk again. Let the mixture sit for 5 minutes to thicken slightly.
- Fold in Whipped Topping: Gently fold in the thawed whipped topping into the pudding mixture until well combined and smooth. Be careful not to overmix, as this can deflate the whipped topping.
- Assemble the Pudding: In a trifle bowl or individual serving dishes, create a layer of vanilla wafers on the bottom.
- Add Banana Slices: Arrange a layer of sliced bananas over the vanilla wafers.
- Spread Pudding Mixture: Spoon or pour a layer of the pudding mixture over the bananas.
- Repeat Layers: Repeat layers of vanilla wafers, banana slices, and pudding mixture until all ingredients are used, ending with a layer of pudding.
- Garnish (Optional): Garnish the top with extra vanilla wafers (crushed or whole) and banana slices.
- Chill: Cover the pudding with plastic wrap and refrigerate for at least 2 hours, or preferably overnight, to allow the flavors to meld together and the wafers to soften slightly.
Tips for Success
Here are a few extra tips to ensure your banana pudding is a resounding success:
- Use Ripe Bananas: Ripe bananas are sweeter and have a better flavor. Avoid using overly ripe bananas, as they will become mushy.
- Prevent Banana Browning: To prevent the banana slices from browning, you can toss them with a little lemon juice or pineapple juice before layering them in the pudding. However, the pudding itself will help protect them, so this step is often unnecessary if you’re serving the pudding soon.
- Don’t Overmix: When folding in the whipped topping, be gentle. Overmixing can cause the whipped topping to deflate, resulting in a less airy pudding.
- Layering Matters: Start and end with a pudding layer to keep the wafers from drying out and to create a visually appealing presentation.
- Chill Time is Crucial: Chilling allows the flavors to meld and the vanilla wafers to soften, creating the perfect texture. Don’t skip this step!
- For a More Intense Banana Flavor: Consider adding a few drops of banana extract to the pudding mixture. Be careful not to overdo it, as banana extract can be quite strong.
- Variations: Get creative! Try using chocolate pudding mix for a chocolate banana pudding, or add a layer of caramel sauce for extra indulgence. You can also substitute the vanilla wafers with graham crackers or shortbread cookies.
Storage Instructions
Banana pudding is best enjoyed within 2-3 days of making it. Store it in an airtight container in the refrigerator. After a few days, the bananas may start to brown and the wafers may become too soft.

FAQ
Q: Can I use regular pudding instead of instant pudding?
A: While you can use regular pudding, it will require more cooking time and effort. Instant pudding is the key to the recipe’s ease and speed.
Q: Can I make this ahead of time?
A: Absolutely! In fact, making it ahead of time is recommended, as it allows the flavors to meld and the wafers to soften. Just be sure to store it properly in the refrigerator.
Q: Can I freeze banana pudding?
A: Freezing is not recommended, as the texture of the pudding and bananas can change upon thawing. The wafers will also become very soggy.
Q: Can I use fat-free milk or whipped topping?
A: Yes, you can. However, using whole milk and regular whipped topping will result in a richer, creamier pudding. The choice is yours!
Q: My bananas turned brown. What did I do wrong?
A: Even with precautions, bananas can still brown slightly. Tossing them with lemon juice or pineapple juice can help. Also, ensure they are submerged in the pudding to minimize air exposure.
Conclusion
So there you have it – an incredibly easy and delicious banana pudding recipe that’s perfect for any occasion. From potlucks to family dinners, this classic dessert is sure to be a crowd-pleaser. With its simple ingredients, no-cook method, and customizable options, this is one recipe you’ll be making again and again. Now go ahead, whip up a batch of this dreamy Southern comfort food and enjoy every creamy, banana-filled bite!