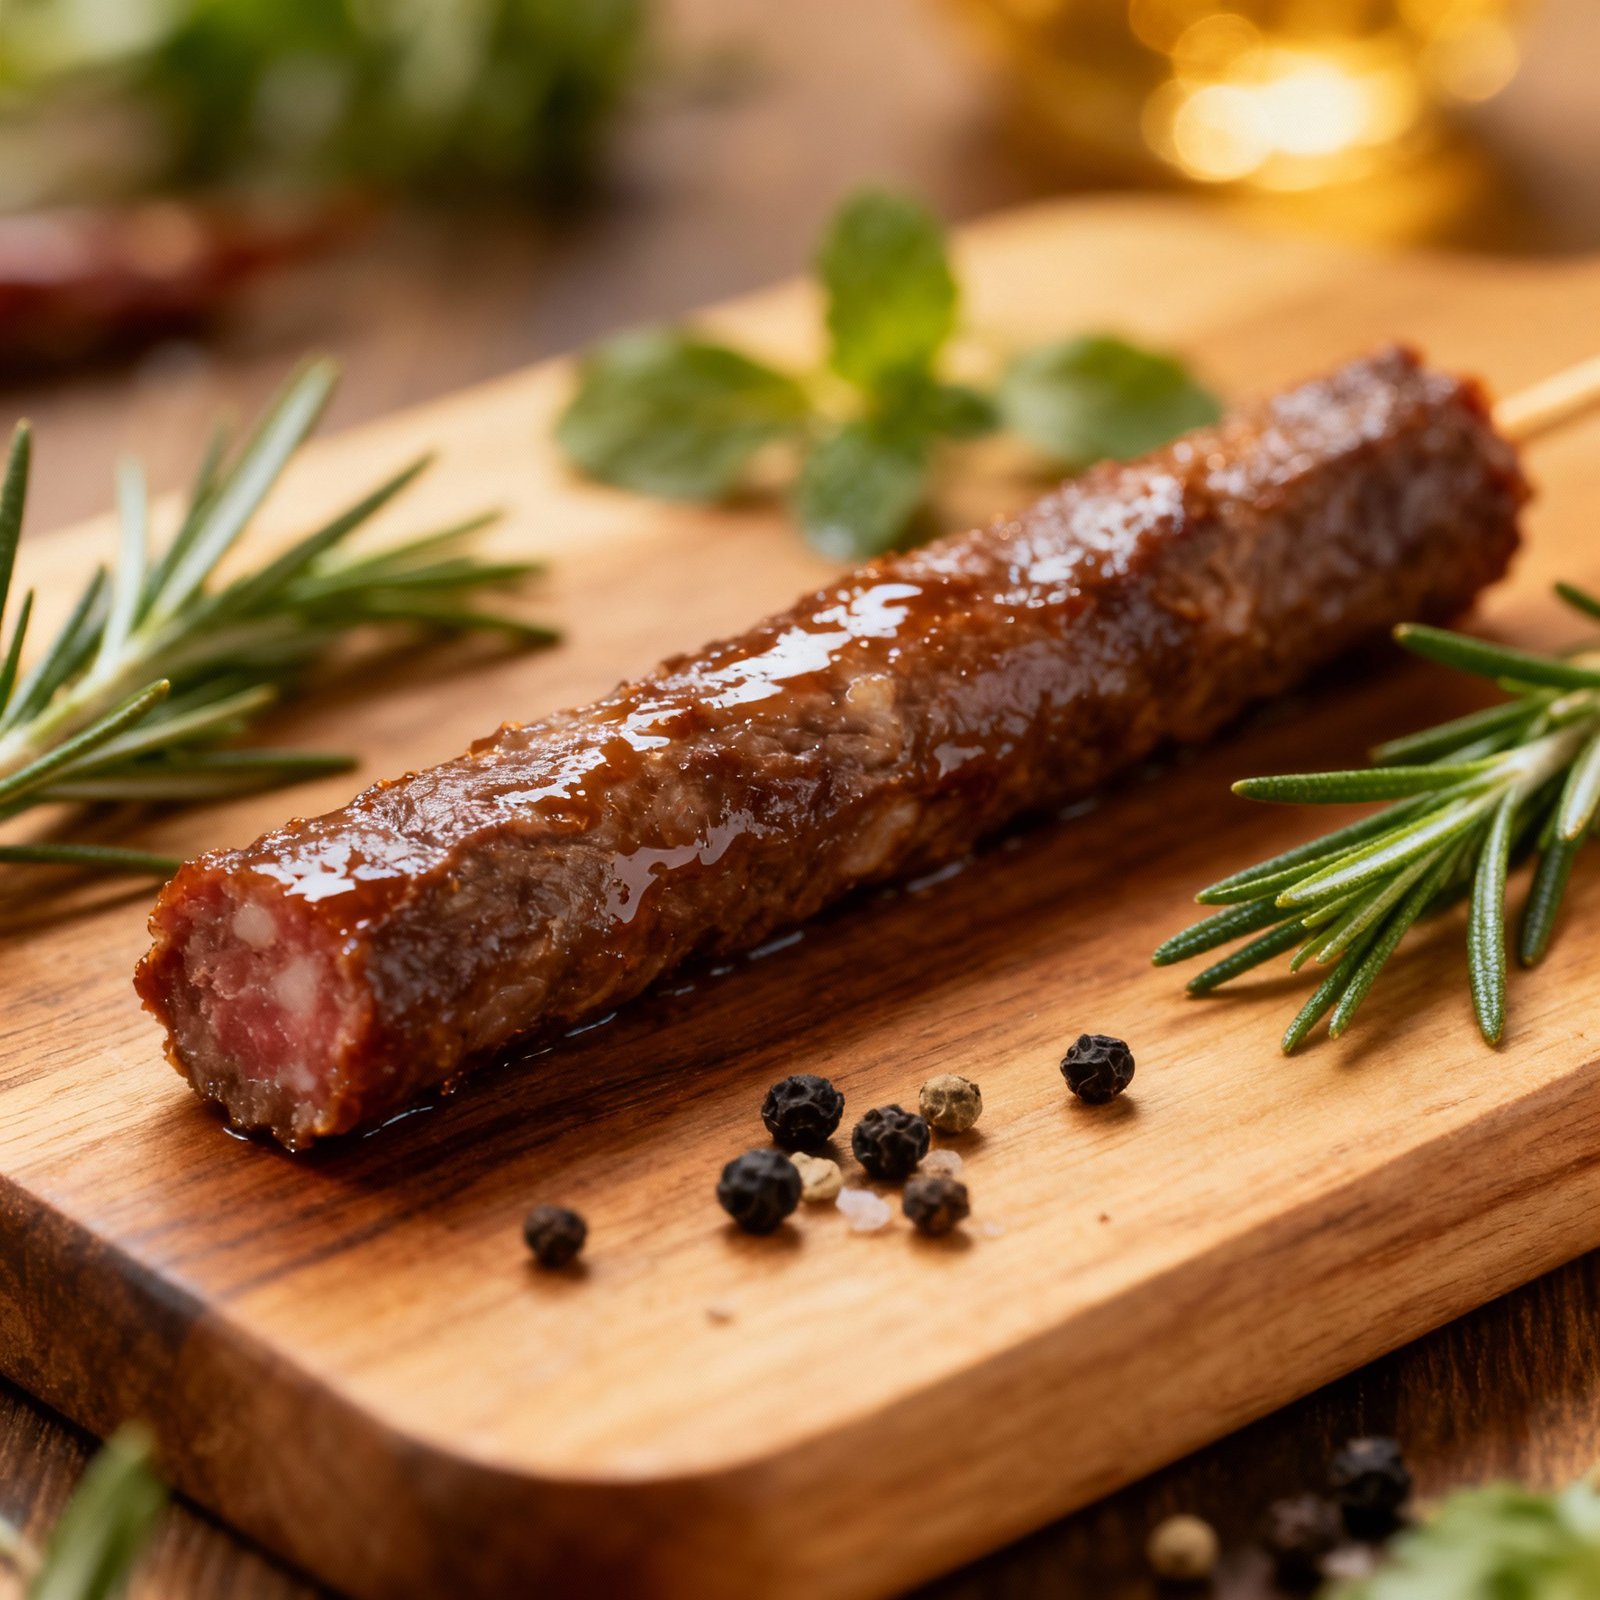
Beef Snack Stick Recipe: The Ultimate Guide to Homemade Goodness
Forget the gas station snacks loaded with questionable ingredients! Craving a savory, protein-packed treat that you can feel good about? Look no further. This beef snack stick recipe unlocks the secrets to creating delicious, all-natural beef sticks right in your own kitchen. We’re talking about that perfect snap, that satisfying chew, and that incredible flavor that will keep you coming back for more. Whether you’re a seasoned home cook or just starting out, this guide will walk you through every step, ensuring your success in crafting the ultimate homemade beef snack sticks.
Why This Recipe Works
This recipe isn’t just a list of ingredients; it’s a carefully crafted formula designed for the best possible results. Here’s why it works:
- Balanced Flavor Profile: We’ve perfected the blend of spices, creating a robust and savory flavor that’s not too salty or overpowering. The combination of smoked paprika, garlic powder, onion powder, and other seasonings creates a complex and satisfying taste.
- Proper Meat-to-Fat Ratio: Using the correct ratio of lean beef to fat is crucial for both flavor and texture. The fat adds moisture, preventing the sticks from becoming dry and crumbly, while also contributing to that desirable snap.
- Curing Agent: The addition of a curing agent, like Prague Powder #1 (sodium nitrite), is essential for food safety and color preservation. It inhibits the growth of harmful bacteria, like botulism, and gives the snack sticks that characteristic reddish hue.
- Smoking Process: The smoking process not only imparts a delicious smoky flavor but also helps to further preserve the beef sticks. The low and slow cooking method ensures that the sticks are cooked evenly and thoroughly.
- Detailed Instructions: We’ve broken down each step into clear and concise instructions, making the process easy to follow, even for beginners.
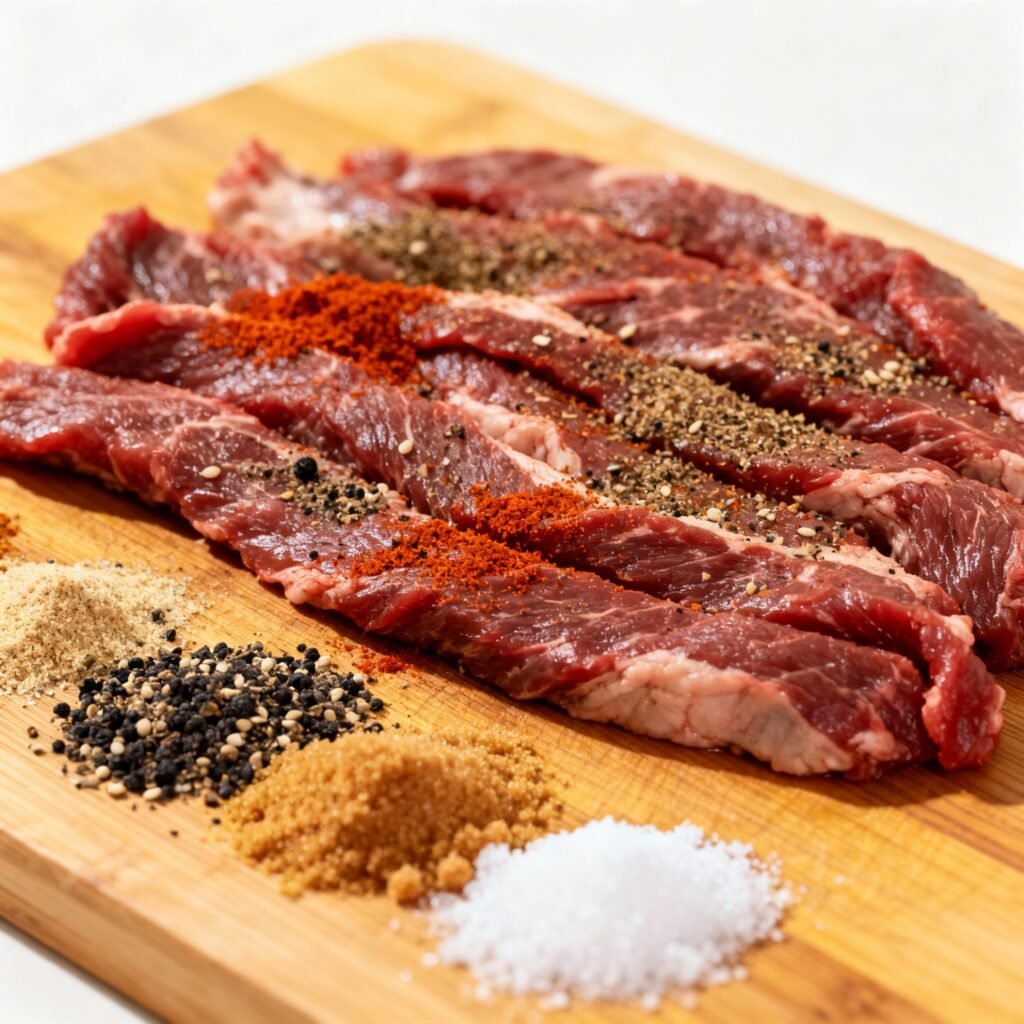
Ingredients
- 3 lbs Lean Ground Beef (80/20): The fat content is important for moisture and flavor. Don’t go too lean!
- 1 lb Ground Pork Fat (Optional, but recommended): Enhances flavor and texture. If omitting, increase the ground beef to 4 lbs.
- 2 tbsp Smoked Paprika: Adds a smoky and vibrant flavor.
- 2 tbsp Garlic Powder: Essential for that classic beef stick flavor.
- 2 tbsp Onion Powder: Complements the garlic and adds depth.
- 1 tbsp Black Pepper, Ground: Adds a touch of spice.
- 1 tbsp Brown Sugar: Balances the savory flavors.
- 2 tsp Mustard Seed, Ground: Adds a subtle tang.
- 1 tsp Cayenne Pepper (Optional): For a touch of heat.
- 2 tbsp Kosher Salt: Enhances the flavors.
- 1 tsp Prague Powder #1 (Sodium Nitrite): Essential for curing and food safety. Do NOT omit or substitute!
- 1/2 cup Ice Water: Helps bind the ingredients and keeps the meat cool.
- Hog Casings or Collagen Casings (21mm or similar): For stuffing the snack sticks.
Instructions
- Prepare the Meat Mixture: In a large bowl, combine the ground beef, ground pork fat (if using), smoked paprika, garlic powder, onion powder, black pepper, brown sugar, ground mustard seed, cayenne pepper (if using), kosher salt, and Prague Powder #1.
- Mix Thoroughly: Using your hands or a stand mixer with a paddle attachment, mix the ingredients until well combined. The mixture should be sticky and evenly distributed.
- Add Ice Water: Gradually add the ice water to the mixture, mixing until it is fully incorporated. This will help to bind the ingredients and create a smoother texture.
- Chill the Mixture: Cover the bowl with plastic wrap and refrigerate for at least 2 hours, or preferably overnight. This allows the flavors to meld and the meat to firm up, making it easier to stuff.
- Prepare the Casings: If using hog casings, rinse them thoroughly under cold water and soak them in warm water for at least 30 minutes to remove excess salt. If using collagen casings, follow the manufacturer’s instructions.
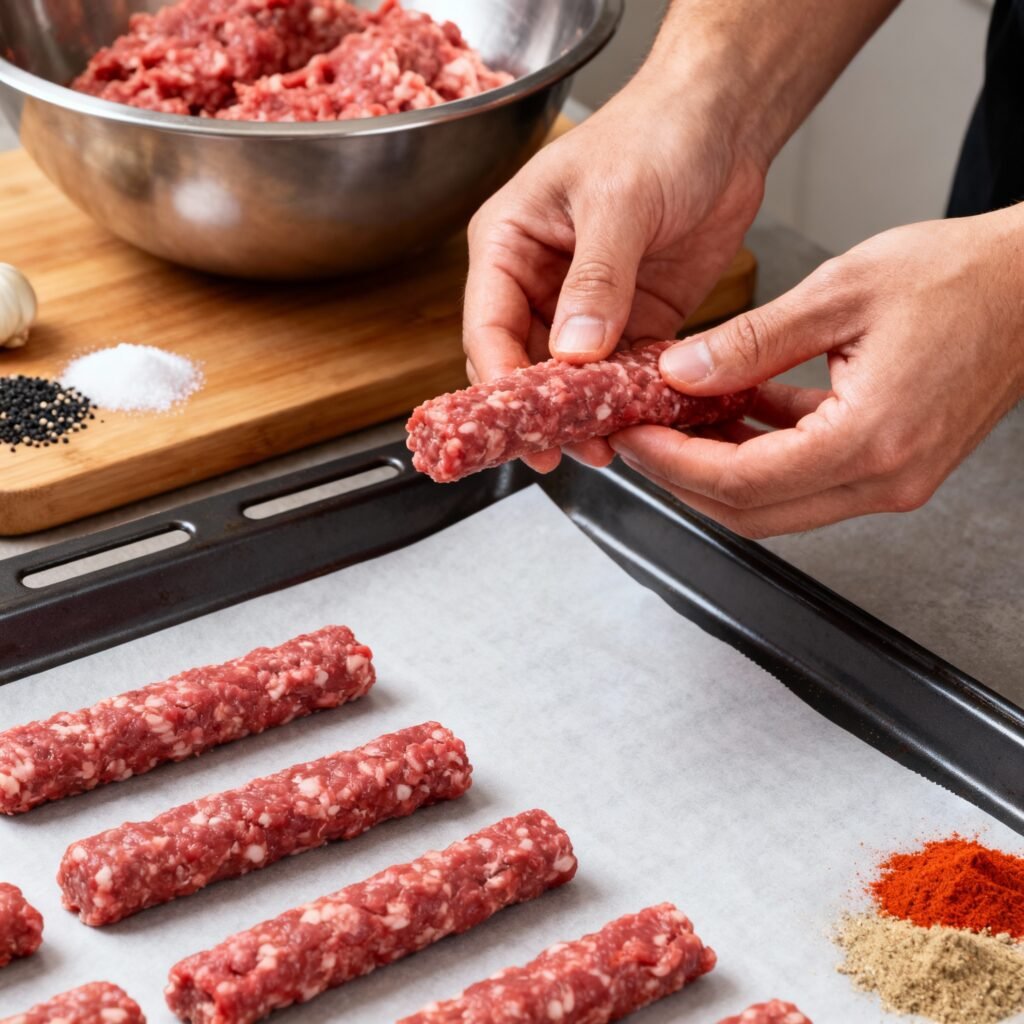
- Stuff the Casings: Attach the casing to the stuffing tube of your sausage stuffer. Feed the meat mixture into the stuffer and crank to fill the casing, creating long, continuous snack sticks. Avoid overfilling the casings, as they may burst during cooking.
- Twist and Link: Twist the filled casing to create individual snack sticks of your desired length (typically 4-6 inches). Tie off the ends of each snack stick with butcher’s twine.
- Rest the Sticks: Hang the snack sticks or lay them on a wire rack in the refrigerator for at least 2 hours, or preferably overnight. This allows the casings to dry slightly, which will help them develop a good snap.
- Prepare the Smoker: Preheat your smoker to 130°F (54°C). Use your favorite wood chips for smoking, such as hickory, apple, or mesquite.
- Smoke the Sticks: Place the snack sticks in the smoker, ensuring they are not touching each other. Smoke for 2-3 hours, or until the internal temperature reaches 155°F (68°C). Use a meat thermometer to monitor the temperature.
- Increase Temperature (Optional): If you want a firmer texture, you can gradually increase the smoker temperature to 170°F (77°C) during the last hour of smoking.
- Ice Bath (Optional): Once the sticks reach 155°F (68°C), you can plunge them into an ice bath to quickly cool them down and prevent further cooking. This helps to retain moisture and improve the snap.
- Dry and Bloom: Remove the snack sticks from the smoker (or ice bath) and hang them or lay them on a wire rack to dry and “bloom” for at least 1 hour at room temperature. This allows the color to develop and the flavors to meld further.
Tips for Success
- Use Quality Ingredients: The quality of your ingredients will directly impact the flavor of your snack sticks. Choose high-quality ground beef and spices.
- Keep the Meat Cold: Keep the meat mixture as cold as possible throughout the process. This will prevent the fat from rendering and ensure a better texture.
- Don’t Overfill the Casings: Overfilled casings are more likely to burst during cooking.
- Monitor the Temperature Closely: Use a reliable meat thermometer to ensure the snack sticks reach the proper internal temperature.
- Practice Makes Perfect: Don’t be discouraged if your first batch isn’t perfect. With a little practice, you’ll be making delicious beef snack sticks in no time.
Storage Instructions
Proper storage is essential for maintaining the quality and safety of your homemade beef snack sticks.
- Refrigeration: Store the snack sticks in an airtight container in the refrigerator for up to 1 week.
- Freezing: For longer storage, freeze the snack sticks in an airtight container or freezer bag for up to 3 months. Thaw in the refrigerator before consuming.
FAQ
- Can I use different types of meat? Yes, you can experiment with different types of meat, such as venison or turkey. However, you may need to adjust the fat content and seasoning accordingly.
- Can I use a different curing agent? No, Prague Powder #1 (sodium nitrite) is the recommended curing agent for this recipe. Do not substitute with other curing agents without proper knowledge and understanding of their usage.
- Can I make this recipe without a smoker? Yes, you can bake the snack sticks in the oven at a low temperature (around 170°F or 77°C) until they reach an internal temperature of 155°F (68°C). However, they will not have the same smoky flavor.
- Why is my snack stick casing wrinkly? This can be caused by several factors, including overfilling the casings, cooking at too high of a temperature, or not properly drying the casings before smoking.
Conclusion
Making your own beef snack sticks is a rewarding experience that allows you to control the ingredients and create a healthier, more flavorful snack. With this recipe and guide, you’ll be well on your way to enjoying homemade beef sticks that are far superior to anything you can buy in a store. So, fire up your smoker, gather your ingredients, and get ready to enjoy the ultimate homemade beef snack stick experience!