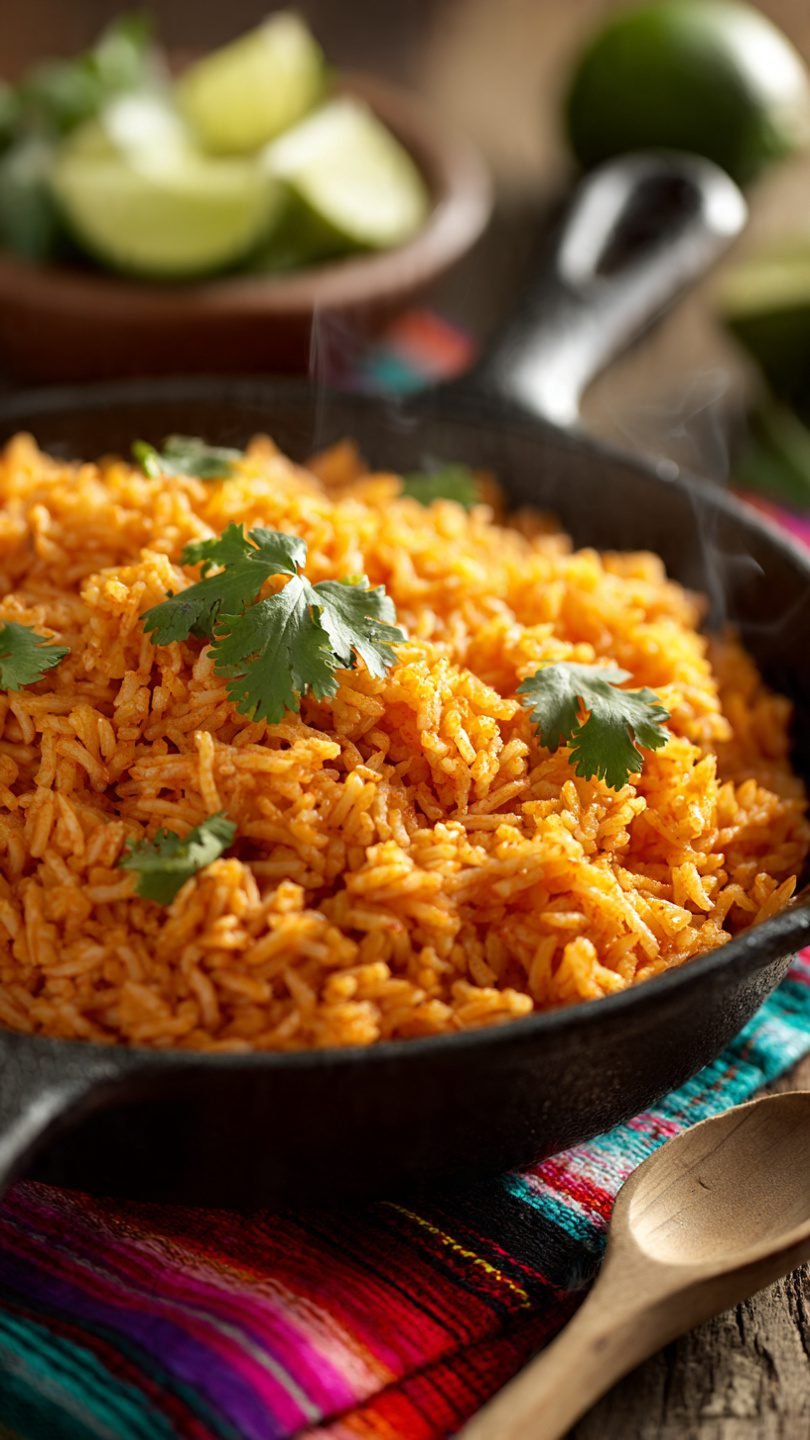
🥘 Best Spanish Rice Recipe: Fluffy & Easy
Let’s be real for a second. We have all been there: staring at a pot of orange mush that was supposed to be Spanish rice, wondering where it all went wrong. You wanted that fluffy, separate-grain, savory goodness you get at your favorite Mexican restaurant. Instead, you got tomato-flavored wallpaper paste. Tragic.
So you’re craving something tasty but too lazy to spend forever in the kitchen, and you definitely don’t want to settle for the boxed stuff that tastes like sodium and sadness? Same.
The good news is that nailing the Best Spanish Rice Recipe isn’t actually magic—it’s just a little bit of technique and a whole lot of patience (mostly the patience part, which is the hardest part, I know). Put down the instant rice box. We are doing this the right way.
Why This Recipe is Awesome
Okay, aside from the fact that carbohydrates are the glorious fuel of life? This recipe is a total game-changer for a few specific reasons.
First off, it is idiot-proof. Seriously. I have burned water before (don’t ask), and even I can pull this off consistently. The ratios I’m going to give you are locked in. If you follow them, you physically cannot fail unless you actively try to sabotage your dinner.
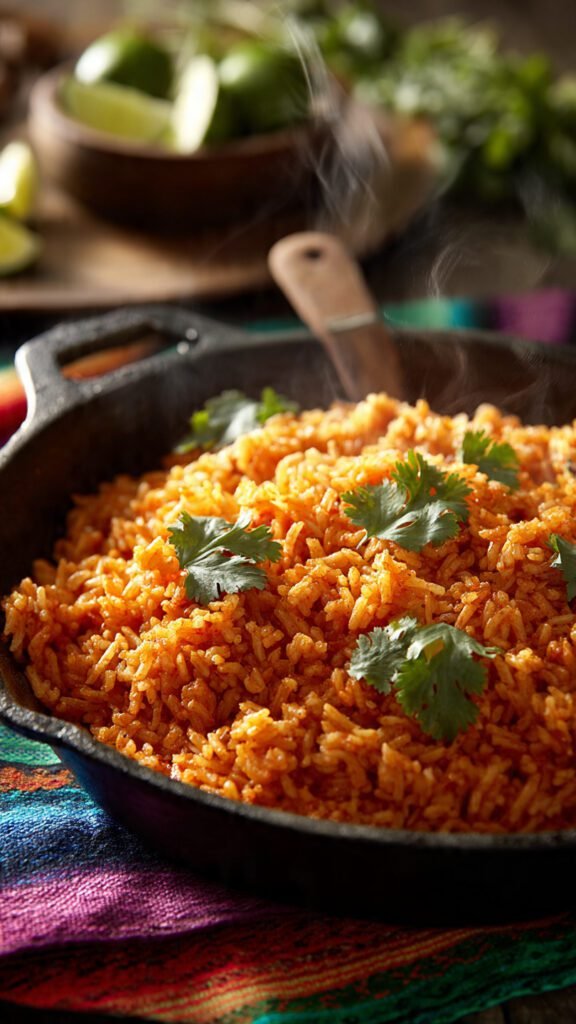
Secondly, we need to talk about texture. The biggest crime against Spanish rice is clumping. You know, when you try to serve a spoonful and the entire pot comes out in one solid, gelatinous brick? This recipe uses a specific toasting method (the Maillard reaction, for you science nerds out there) that creates a protective nutty barrier around each grain. This ensures that when it cooks, the grains stay fiercely independent, like a cat that doesn’t want to be held. The result is fluffy, light, and absorbs the sauce without turning into glue.
Third, the flavor depth is unmatched. Most quick recipes just boil rice in tomato water. Boring. We are building layers here. We are frying the rice, blooming the cumin (which smells like heaven, FYI), and letting the garlic get just golden enough to sing. It transforms pantry staples into something that tastes like it simmered in an abuela’s kitchen for three hours, even though it takes about 25 minutes.
Finally, it is the ultimate wingman. Whether you are making enchiladas, tacos, grilled chicken, or just eating it out of the pot at 2 AM (no judgment), this rice fits the vibe. It elevates the main dish without overpowering it. It’s the supportive best friend of the dinner table.
Ingredients You’ll Need
Don’t panic. You probably have 90% of this in your cupboard right now. If you have to go to the store, I promise it’s worth the trip.
- Long Grain White Rice: This is non-negotiable. Do not use Arborio (unless you want risotto), do not use Brown Rice (unless you want to change all the liquid ratios and cook times), and for the love of all that is holy, do not use Minute Rice. We want standard, long-grain white rice.
- Oil: You need something with a decent smoke point. Vegetable oil or canola oil works fine. If you want to be legendary, use bacon grease. It adds a smoky, savory depth that will make people ask, “What is that secret ingredient?”
- Onion & Garlic: Fresh is best. Powdered is… fine, I guess, if you’re in a pinch. But chopping a real onion provides moisture and texture that powders just can’t replicate.
- Tomato Sauce: Just a standard 8oz can of tomato sauce. Not marinara (we aren’t making pasta), not tomato paste (too thick, though you can dilute it), and not ketchup (please, I’m begging you).
- Chicken Broth: This is where the flavor lives. You can use water, but why would you choose blandness? Chicken broth adds that salty, savory backbone. If you are vegetarian, vegetable broth works, but chicken has that classic restaurant flavor profile.
- The Spices:
- Cumin: The MVP of Mexican cooking. It provides that earthy, warm aroma.
- Chili Powder: Just a pinch for color and a tiny kick.
- Salt: Crucial. Rice loves salt.
- Garlic Salt: Because you can never have enough garlic.
Step-by-Step Instructions
Ready to become a rice god? Let’s do this.
1. The Prep Work (Don’t Skip This) First, chop your onions finely and mince your garlic. Pro Tip: Do not rinse your rice for this specific recipe. I know, I know, internet police will arrest me. But for Spanish rice, we want the starch on the outside to help it toast and brown. If it’s wet, it steams instead of toasts. Keep it dry!
2. The Golden Toast Heat your oil in a large skillet or Dutch oven over medium heat. Once it’s shimmering, toss in the dry rice. This is the most important step. Stir it frequently. You are looking for the rice to turn from translucent white to a solid, chalky white, and finally to a beautiful golden brown. It should smell like popcorn. This takes about 5–7 minutes. Don’t walk away to scroll TikTok; it burns fast.
3. Aromatics Assembly Once the rice is golden (not burnt!), toss in the chopped onion. Sauté for about 2–3 minutes until the onion softens. Add the garlic last—garlic burns in mere seconds, and burnt garlic tastes like bitterness and regret. Cook the garlic for just 30-60 seconds until fragrant.
4. The Sizzle and Simmer Pour in the tomato sauce and the chicken broth. It will hiss and steam—this is the sound of flavor happening. Stir in your cumin, chili powder, and salt. IMO, this is the time to taste the liquid. It should taste slightly too salty. The rice is going to absorb a ton of that salt, so if the liquid tastes perfect now, the rice will be bland later.
5. The “Do Not Touch” Phase Bring the mixture to a boil. Once you see big bubbles, reduce the heat to low. Cover the pot with a tight-fitting lid. Now, listen closely: Do. Not. Touch. It. Set a timer for 20 minutes. Do not lift the lid to check on it. Do not stir it. Every time you lift the lid, steam escapes, the temperature drops, and you ruin the rice. Trust the process.
6. The Fluff After 20 minutes, turn off the heat. Keep the lid on! Let it sit there and think about what it’s done for another 10 minutes. This resting period allows the moisture to redistribute evenly. If you stir it immediately, it will be mushy. After the 10-minute rest, remove the lid, grab a fork (not a spoon), and gently fluff the rice.
Common Mistakes to Avoid
Even the best of us stumble. Here is how to avoid the “Rice of Shame.”
- The Peeping Tom: I said it above, but I’ll say it again. Stop looking at the rice while it cooks! The steam is the engine that cooks the grains. If you let the steam out, you get crunchy rice.
- The Soggy Bottom: If your heat is too high during the simmer phase, the liquid boils off too fast, burning the bottom layer while the top remains raw. Keep that flame low and slow.
- The Stir-Crazy: Stirring the rice while it’s simmering releases excess starch. Starch acts like glue. If you stir it, you are essentially making risotto. We want distinct grains, not porridge.
- The Pan Choice: Use a wide skillet or a Dutch oven. If you use a tall, narrow pot, the rice at the bottom turns to mush before the rice at the top cooks. Surface area is your friend here.
Alternatives & Substitutions
Cooking is jazz, baby. Feel free to riff on the basics.
- Vegetarian/Vegan: Swap the chicken broth for a hearty vegetable stock. It tastes 99% the same.
- Add Some Veggies: Want to pretend this is healthy? Toss in a handful of frozen peas and carrots (thawed) right when you add the broth. You can also add diced bell peppers with the onions.
- Spice It Up: If you like to live dangerously, dice up a jalapeño or serrano pepper and sauté it with the onions. Or, add a teaspoon of chipotle powder for a smoky kick.
- Tomato Paste Swap: If you don’t have tomato sauce, mix 2 tablespoons of tomato paste with 1/2 cup of water. It works in a pinch, though the flavor is a bit more acidic.
- Brown Rice: If you must use brown rice (health goals, I respect it), you will need to increase the liquid by about 1/2 to 3/4 cup and increase the cooking time to about 40–45 minutes.
FAQ (Frequently Asked Questions)
1. Why is my rice crunchy in the middle? You likely lifted the lid (I told you!) or your heat was too high, and the water evaporated before the rice was done. Add a splash of hot water (about 1/4 cup), cover it back up, and let it steam on very low heat for another 5 minutes.
2. Can I double this recipe? Yes, but be careful with the pan size. If you pile the rice too high, it won’t cook evenly. If you’re doubling it, use a very large pot or two separate pans.
3. My rice is mushy and wet. Can I fix it? Oof. This usually means too much liquid or you didn’t toast the rice long enough. Take the lid off and cook it on low for a few minutes to let excess moisture evaporate, but honestly? You might just have delicious mush tonight. Call it “Spanish Risotto” and pretend you meant to do it.
4. Is this technically “Mexican Rice”? Technically, yes. In Mexico, it’s often called Arroz Rojo (Red Rice). In the US, we tend to call it Spanish Rice. It is distinct from the rice actually eaten in Spain (like Paella), which uses different saffron-based flavor profiles. But for the sake of your Google search history, we are rolling with Spanish Rice.
5. How long does this last in the fridge? It keeps beautifully for 4–5 days in an airtight container. Actually, FYI, it tastes even better the next day because the flavors have time to get to know each other better.
6. Can I use instant rice? Look, you can, but why hurt your soul like that? The texture just won’t be the same. If you do use instant rice, follow the box instructions for liquid ratios but keep the frying/seasoning steps from this recipe.
Final Thoughts
And there you have it! You are now armed with the knowledge to make the Best Spanish Rice Recipe known to mankind (or at least, known to your kitchen).
Cooking shouldn’t be stressful. It should be about the smell of onions frying, the sound of the simmer, and the satisfaction of eating something better than takeout. This rice is warm, comforting, and honestly, kind of addictive.
So, put on some music, grab that skillet, and go impress someone—or yourself—with your new culinary skills. You’ve earned it!