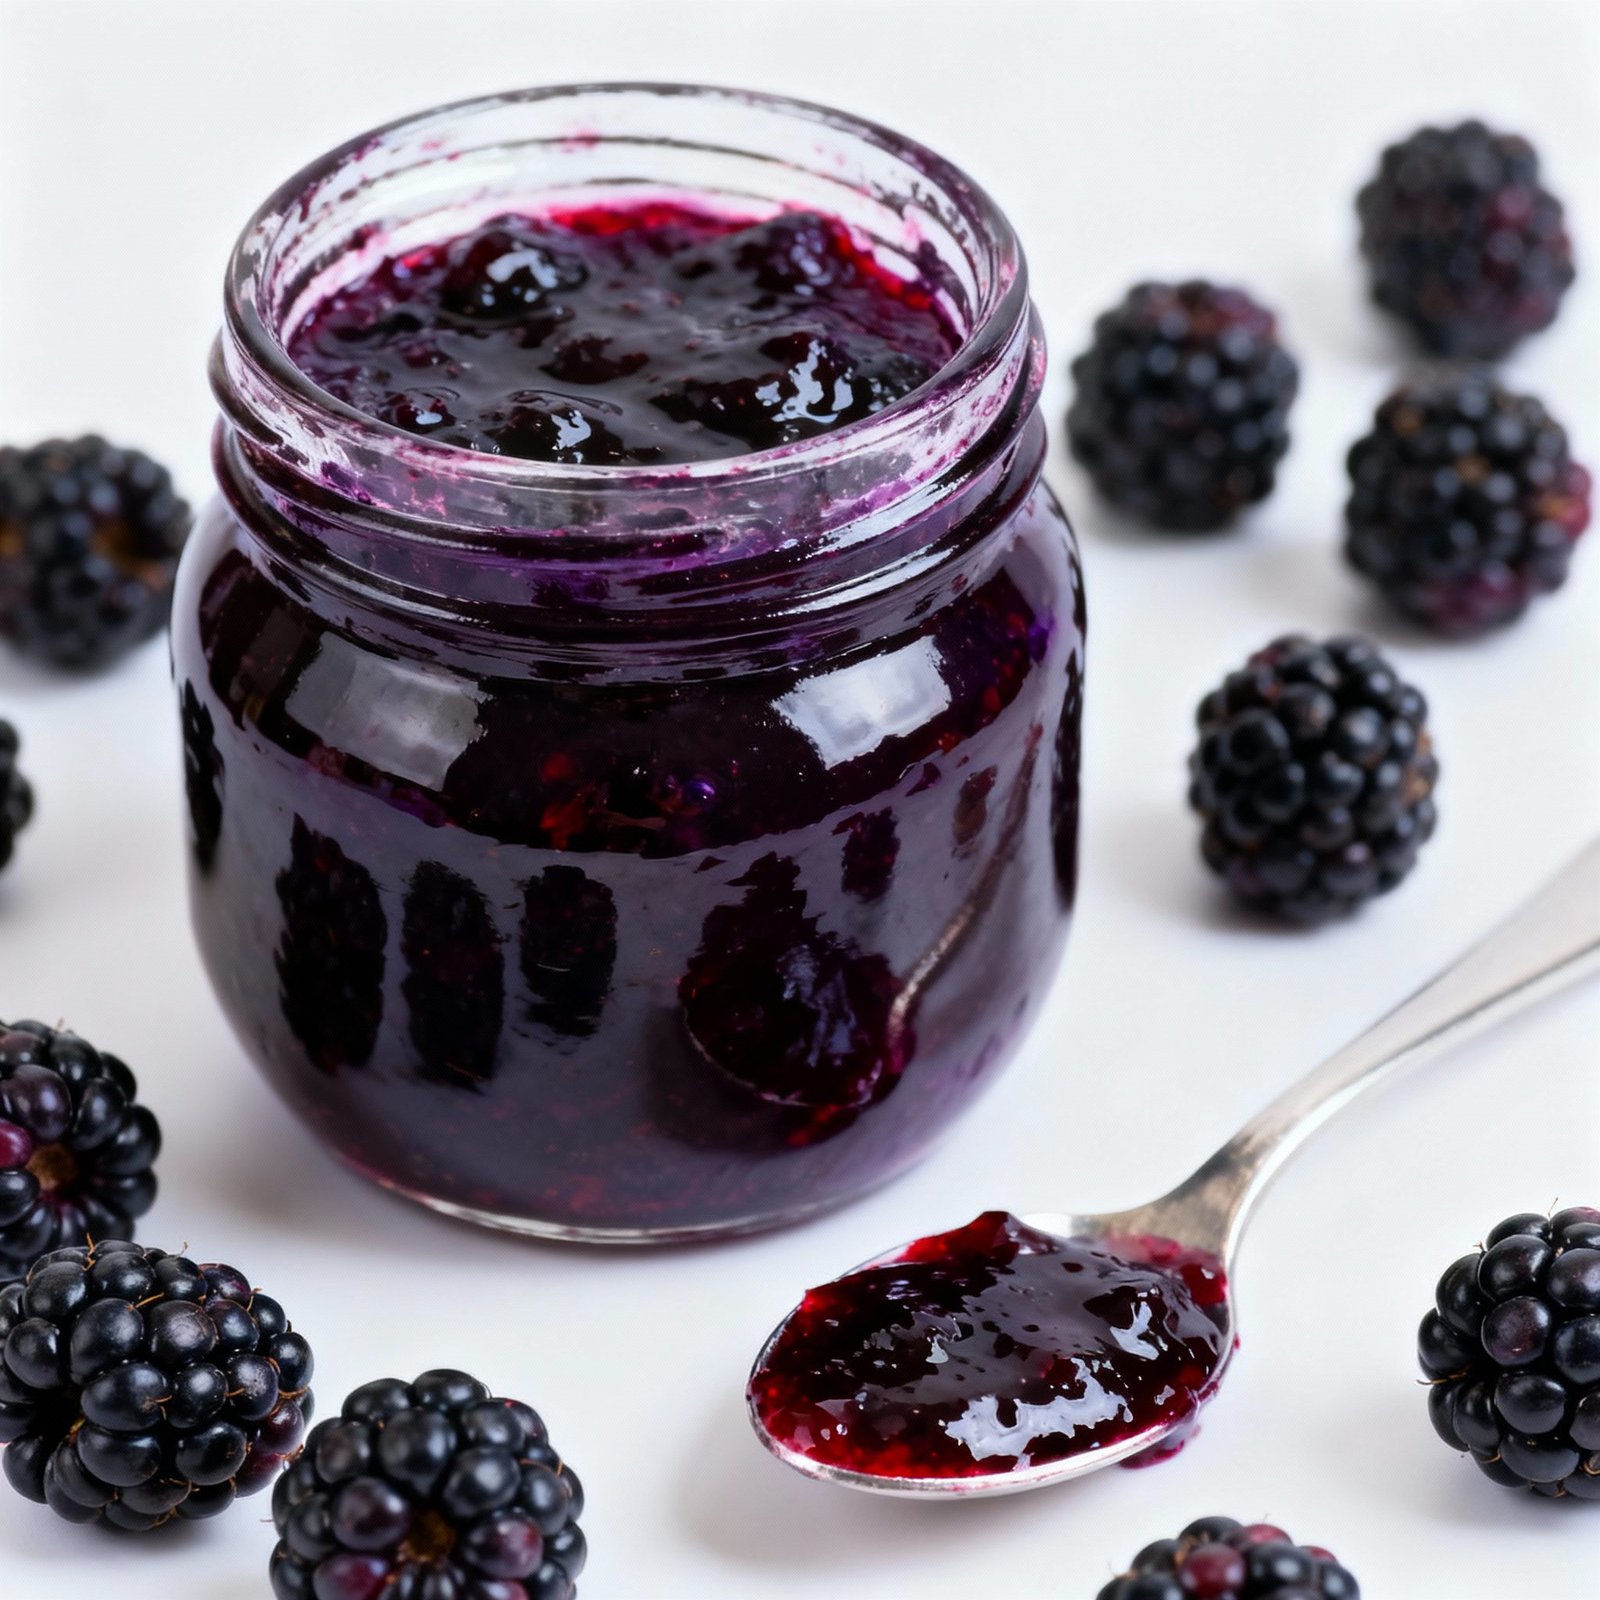
Blackberry Jam Recipe with Pectin: Perfectly Set Every Time!
Is there anything quite as evocative of summer as a jar of glistening, ruby-red blackberry jam? The deep, sweet-tart flavor, the perfect spreadability, the feeling of preserving a little piece of sunshine for the colder months – it’s pure magic. But making jam can sometimes feel intimidating. Will it set properly? Will it be too runny? Too sweet?
Fear not! This blackberry jam recipe, using pectin, takes the guesswork out of the process and guarantees a beautifully set jam every time. We’ll walk you through each step, providing clear instructions and helpful tips so you can confidently create a batch of homemade blackberry jam that will be the envy of all your friends and family. Get ready to capture the taste of summer in a jar!
Why This Recipe Works
This recipe is designed for success for several key reasons:
- Pectin Power: Using pectin ensures a reliable set, even if your blackberries aren’t naturally high in pectin. Pectin is a naturally occurring substance in fruits that helps them to gel. Adding commercial pectin provides a consistent and predictable result.
- Balanced Sweetness: We’ve carefully balanced the sugar to blackberry ratio to create a jam that’s sweet without being cloying, allowing the natural berry flavor to shine through.
- Simple Ingredients: You only need a handful of ingredients, most of which you probably already have in your pantry.
- Clear Instructions: Our step-by-step instructions are easy to follow, even for beginner jam makers. We break down each stage of the process, from preparing the berries to testing the set.
- Tried and Tested: This recipe has been tested and perfected to ensure consistent results.
Ingredients
- 4 cups crushed blackberries (about 4 pints of whole berries)
- 4 cups granulated sugar
- 1 package (1.75 ounces) powdered fruit pectin (ensure it’s specifically for jam-making)
- 1/4 cup lemon juice (bottled or fresh)
- 1/2 teaspoon butter or margarine (optional, to reduce foaming)
Instructions
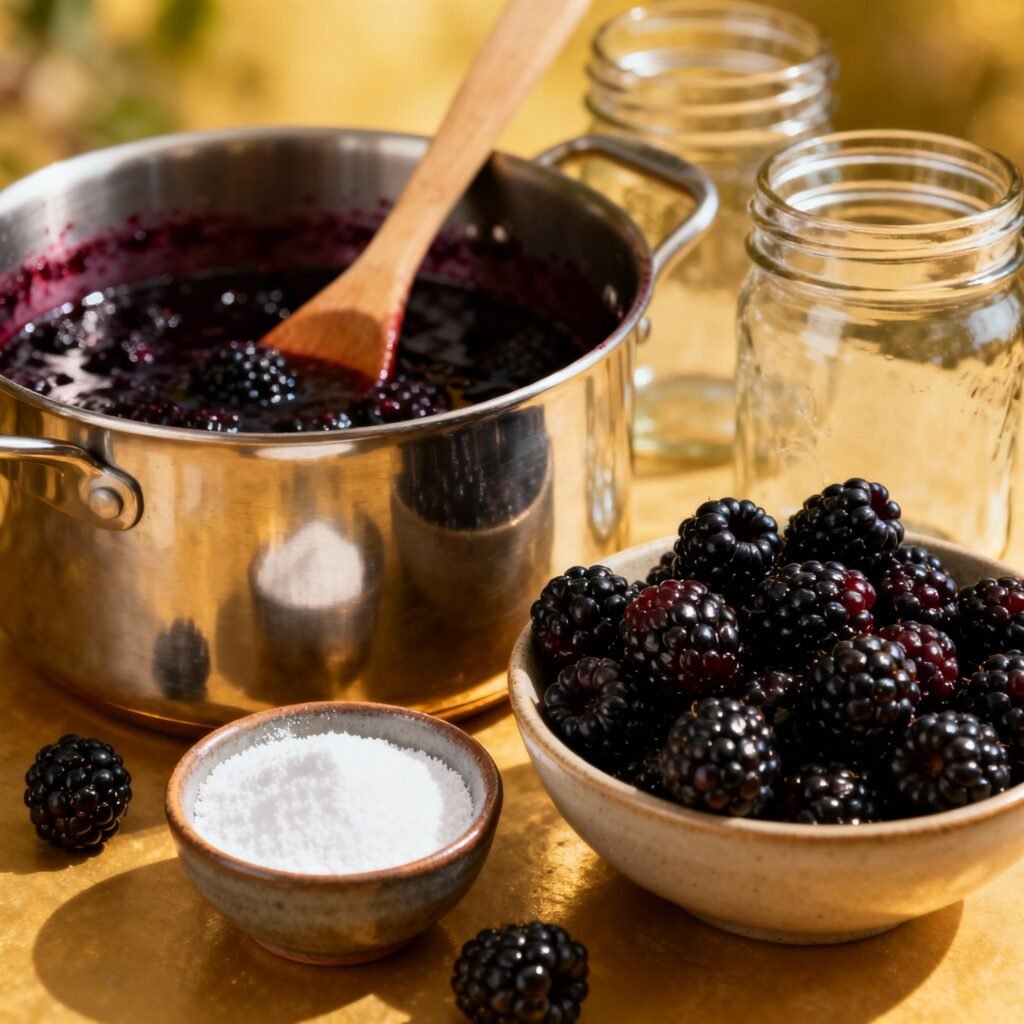
- Prepare the Jars: Wash your jam jars (typically half-pint or pint jars) and lids in hot, soapy water. Rinse well. Sterilize the jars by placing them in a large pot, covering them with water, and bringing the water to a boil. Boil for 10 minutes. Keep the jars hot until ready to fill. You can also sterilize them in a dishwasher on the sanitize cycle. Place the lids in a separate saucepan, cover with water, and simmer (do not boil) until ready to use.
- Prepare the Blackberries: Rinse the blackberries thoroughly and remove any stems or leaves. Place the blackberries in a large, heavy-bottomed pot or Dutch oven. Crush the berries with a potato masher or food processor (pulse briefly; you don’t want a puree). You should have approximately 4 cups of crushed berries.
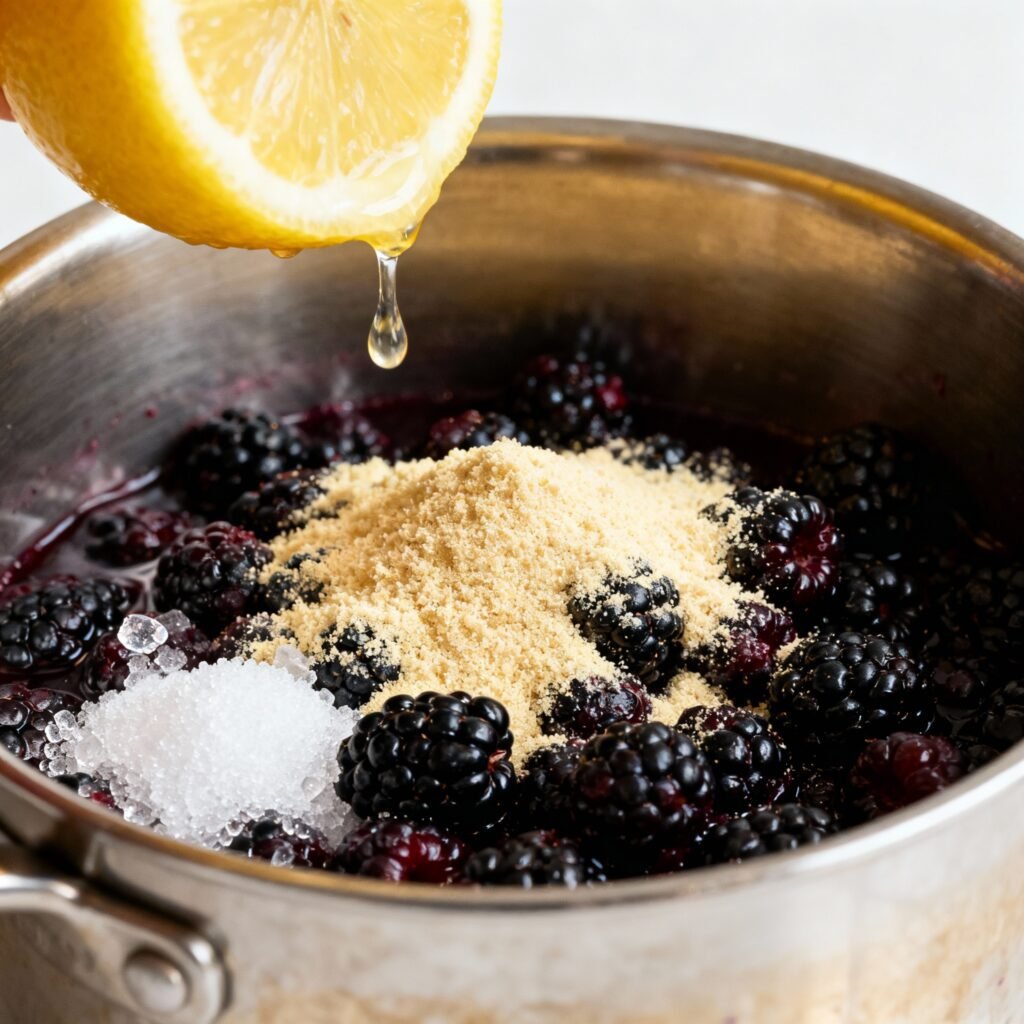
- Combine Ingredients: Add the lemon juice and optional butter (or margarine) to the crushed blackberries in the pot. The lemon juice helps with the set and flavor, and the butter helps reduce foaming.
- Add Pectin: Measure the pectin and stir it into the blackberry mixture. Make sure the pectin is fully dissolved before proceeding.
- Bring to a Rolling Boil: Place the pot over high heat and bring the mixture to a full rolling boil that cannot be stirred down. This is crucial for activating the pectin.
- Add Sugar: Quickly add all the sugar at once. Stir constantly until the sugar is completely dissolved.
- Boil Again: Return the mixture to a full rolling boil that cannot be stirred down. Continue to boil hard for exactly 1 minute, stirring constantly to prevent scorching. Use a timer to ensure accuracy.
- Test for Set: Remove the pot from the heat. To test for set, place a small spoonful of the hot jam onto a chilled plate or saucer that has been in the freezer for at least 15 minutes. Let it sit for about 30 seconds, then gently push it with your finger. If the jam wrinkles or forms a skin, it’s ready. If it’s still runny, return the pot to the heat and boil for another 30 seconds, then test again. Repeat until the jam reaches the desired set. Be careful not to overcook it, as this can result in a tough jam.
- Remove Foam: If there is any foam on top of the jam, skim it off with a spoon.
- Fill the Jars: Carefully ladle the hot jam into the sterilized jars, leaving 1/4 inch headspace at the top.
- Remove Air Bubbles: Run a clean, non-metallic utensil (like a plastic spatula or wooden skewer) around the inside of the jar to release any trapped air bubbles.
- Wipe the Rims: Wipe the rims of the jars clean with a damp cloth.
- Place Lids and Rings: Place the sterilized lids on the jars and screw on the bands fingertip-tight (not too tight).
- Process in a Boiling Water Bath: Place the filled jars in a boiling water bath canner. Make sure the jars are completely covered with water (at least 1 inch above the tops of the jars). Bring the water to a rolling boil and process for 10 minutes for half-pint or pint jars. If you live at an altitude above 1,000 feet, increase the processing time according to the altitude adjustments in your canning guide.
- Cool and Check Seals: Turn off the heat and carefully remove the jars from the canner using a jar lifter. Place the jars on a towel-lined surface, leaving space between them. Let the jars cool completely for 12-24 hours. As the jars cool, you should hear a “popping” sound as the lids seal. After the jars have cooled completely, check the seals by pressing down on the center of each lid. If the lid doesn’t flex or move, it’s properly sealed. If the lid flexes, the jar didn’t seal properly and should be refrigerated and used within a few weeks, or reprocessed with a new lid.
- Label and Store: Label the jars with the date and contents.
Tips for Success
- Use Fresh, Ripe Blackberries: The best jam starts with the best ingredients. Choose blackberries that are plump, juicy, and fully ripe.
- Don’t Double the Recipe: Making jam in larger batches can affect the set. Stick to the recipe as written for best results. If you want to make more jam, make multiple batches.
- Use the Right Pectin: Make sure you’re using powdered fruit pectin specifically designed for jam-making. Different types of pectin require different amounts of sugar and have different setting properties.
- Accurate Measurements: Accurate measurements are crucial for successful jam-making. Use measuring cups and spoons specifically designed for measuring liquids and solids.
- Constant Stirring: Stirring constantly while boiling prevents the jam from scorching and ensures even heat distribution.
- Don’t Overcook: Overcooking jam can result in a tough, rubbery texture. Use the chilled plate test to determine when the jam is ready.
- Adjust Sugar to Your Taste: While this recipe has a balanced sweetness, you can adjust the sugar slightly to your preference. However, keep in mind that sugar is essential for the set, so don’t reduce it too much.
Storage Instructions
Properly sealed jars of blackberry jam can be stored in a cool, dark place (like a pantry) for up to 1 year. Once opened, refrigerate the jam and use it within a few weeks.
FAQ
Q: Can I use frozen blackberries?
A: Yes, you can use frozen blackberries. Thaw them completely before using and drain off any excess liquid.
Q: Can I use liquid pectin instead of powdered pectin?
A: No, this recipe is specifically formulated for powdered pectin. Liquid pectin is added differently, and the recipe would need to be adjusted accordingly.
Q: My jam didn’t set. What can I do?
A: If your jam didn’t set, you can try re-cooking it. Add 2 tablespoons of lemon juice and 1/4 cup of sugar to the jam in a large pot. Bring it to a rolling boil and boil for 1-2 minutes, then test again for set. You may also need to add more pectin if the initial amount was insufficient.
Q: Why is my jam foamy?
A: Foaming is a common occurrence when making jam. Adding a small amount of butter or margarine helps to reduce foaming. You can also skim off the foam with a spoon before filling the jars.
Conclusion
With this easy-to-follow blackberry jam recipe, you’ll be enjoying homemade goodness in no time. The use of pectin ensures a perfect set, and the simple ingredients and clear instructions make this recipe accessible to everyone. So, gather your berries, prepare your jars, and get ready to create a batch of delicious blackberry jam that will brighten your mornings and sweeten your days. Happy jamming!