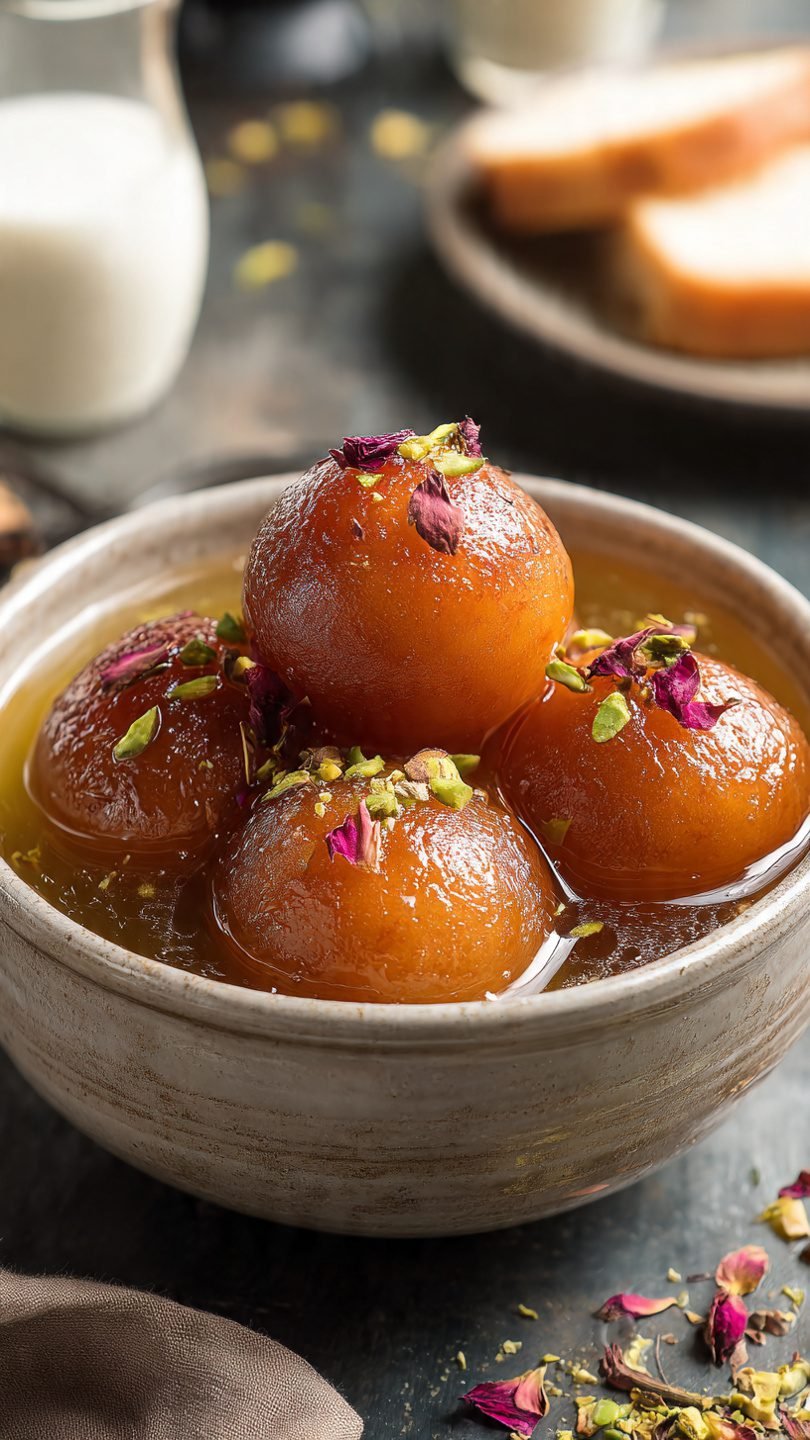
🍞 Bread Gulab Jamun Recipe: Easy Indian Sweet
So, you’re craving something incredibly sweet, sticky, and comforting, but the idea of standing over a stove reducing milk for hours to make traditional khoya makes you want to cry? Same. We’ve all been there. You want the glory of homemade Indian sweets, but you possess the energy levels of a sloth on a Sunday afternoon.
Enter the Bread Gulab Jamun Recipe.
Yes, you read that right. Bread. That loaf sitting on your counter is about to undergo a glow-up so severe, its high school exes won’t recognize it. This isn’t just a “hack”; it’s a lifestyle choice for those of us who prioritize flavor and efficiency.
If you are skeptical, I get it. Putting bread in a dessert sounds like something a college student invented at 2 AM. But trust me, once these little golden orbs are fried and soaked in rose-scented syrup, you—and anyone you deign to share with—won’t be able to tell the difference. Let’s get cooking, friend.
Why This Recipe is Awesome
Look, I love traditional Indian cooking. I respect the grandmothers who spend days making Diwali sweets. But sometimes, you just need sugar, and you need it now.
Here is why this recipe is going to be your new best friend:
- It’s a Master of Disguise: Seriously, I have served this to people who consider themselves “Gulab Jamun Connoisseurs” (yes, that’s a thing), and they had no clue it was made from sandwich bread. The texture becomes incredibly soft, spongy, and melt-in-your-mouth, mimicking the traditional milk solids perfectly.
- Pantry Staple Magic: You do not need to run to the Indian grocery store for specific types of milk powder or mawa. If you have white bread, milk, and sugar, you are 90% of the way there. It’s the ultimate “I forgot I had guests coming over” rescue dish.
- The Texture Science: Let’s get nerdy for a second. Bread is already cooked flour structure. When we break it down and rehydrate it with milk, we are creating a binder that is lighter than pure flour balls but sturdy enough to hold the syrup. The result is a jamun that soaks up the chashni (syrup) like a sponge, resulting in that juicy pop when you bite into it.
- It’s Cheaper: Have you seen the price of dairy lately? This version costs a fraction of the traditional recipe.
- It’s Idiot-Proof: Okay, maybe “idiot-proof” is a strong word, but it is significantly harder to mess up than traditional recipes where the milk solids can split or become grainy. This dough is forgiving. If it’s too dry, add milk. Too wet? Add a pinch of flour. It wants to work with you.
Ingredients You’ll Need
Don’t panic, this list is short. But quality matters, even when we are cheating.
- White Bread Slices (8-10 slices): Use standard white sandwich bread. Do not—I repeat, do not—use multigrain, whole wheat, or sourdough. We aren’t being healthy here; we are making dessert. Brown bread will make the jamuns taste like… well, toast.
- Full Cream Milk (approx. ½ cup): You want the fat content here for richness. Skim milk is just white water; don’t bring that negativity into your kitchen.
- Sugar (1.5 cups): For the syrup. Yes, it’s a lot. No, you cannot swap it for Stevia unless you want sad, bitter syrup.
- Water (1.5 cups): The partner to the sugar.
- Cardamom Pods (3-4): Crushed. This is the perfume of the dish. Without it, you’re just eating wet sugary bread.
- Rose Water (1 tsp): Optional, but highly recommended for that “I bought this at a fancy sweet shop” vibe.
- Ghee or Oil (for frying): Ghee adds a nutty, buttery flavor that is unbeatable. Neutral oil (vegetable or sunflower) works too if you’re watching your cholesterol (though, if you are, why are you here?).
- Milk Powder (2 tbsp – Optional): If you have it, add it. It bumps up the milky richness, but the recipe works fine without it.
- A pinch of Baking Soda: And I mean a pinch. Like, a few grains. This helps them fluff up. Too much and they will disintegrate in the oil like my hopes and dreams.
Step-by-Step Instructions
Alright, apron on. Let’s make some magic.
Phase 1: The Syrup (Chashni)
We start here because the syrup needs to be warm, not boiling lava, when we drop the jamuns in.
- Combine and Heat: In a wide pot (wide is better so the jamuns aren’t squished later), mix your sugar, water, and crushed cardamom pods.
- The Boil: Turn the heat to medium-high and let it come to a rolling boil. Stir it occasionally so the sugar doesn’t stick to the bottom and caramelize.
- The Consistency Check: We are looking for a “sticky” consistency, slightly thinner than honey. We do not want a “one-string” consistency (where a thread forms between your fingers). If the syrup is too thick, it won’t penetrate the jamun. If it’s too thin, the jamun will turn into mush. Boil for about 5-7 minutes.
- Finish: Turn off the heat. Add the rose water now. Cover it with a lid to keep it warm.
Phase 2: The Dough
This is the tactile part. Wash your hands, we’re going in.
- Decrusting: Take your bread slices and cut off the brown crusts. Be ruthless. We only want the white, fluffy center. (Pro tip: Save the crusts, toast them, blitz them, and boom—breadcrumbs for tomorrow’s schnitzel).
- The Crumble: Tear the white bread into pieces and throw them into a blender or food processor. Pulse until you have fine breadcrumbs. You can crumble by hand, but a blender ensures a smoother texture which equals smooth balls.
- The Mix: Transfer crumbs to a bowl. If you are using milk powder, mix it in now. Add your pinch of baking soda here too.
- The Bind: Start adding your milk one tablespoon at a time. Do not dump it all in at once! Mix gently with your fingers. You want to form a soft, sticky dough.
- Texture Note: The dough should feel slightly stickier than roti dough. Bread absorbs liquid over time, so if you make it too dry now, it will crack later.
- The Rest: Let the dough sit for 5 minutes. This allows the gluten to relax and the moisture to distribute evenly.
Phase 3: Rolling & Frying
This is where art meets science.
- Grease Up: Grease your palms with a little ghee. This prevents sticking and adds a nice sheen to the balls.
- Roll ‘Em: Pinch off small portions (about the size of a large marble or a key lime) and roll them between your palms.
- Crucial Step: You must apply gentle pressure to ensure there are zero cracks on the surface. A crack before frying equals an explosion during frying. Smooth is the goal.
- Heat the Oil: Heat your ghee or oil in a deep pan (kadhai) over medium-low heat.
- Temperature Test: Drop a tiny piece of dough into the oil. It should sink, sizzle for a second, and then slowly float to the top. If it browns instantly, your oil is too hot (jamun will be raw inside). If it sits at the bottom sadly, the oil is too cold (jamun will drink the oil and get greasy).
- The Fry: Gently slide 4-5 balls into the oil. Do not overcrowd the pan, or the temperature will drop.
- The Agitation: Here is the trick—don’t touch the jamuns with the spoon immediately. Instead, rotate the oil around them with the back of a spoon or shake the pan gently. Keep them moving so they brown evenly on all sides.
- Golden Glory: Fry until they are a deep, dark golden brown (almost mahogany). This can take 6-8 minutes. Patience is key!
Phase 4: The Soak
- Transfer: Remove the fried balls with a slotted spoon and transfer them directly into the warm syrup.
- The Wait: This is the hardest part. Cover the pot and let them soak for at least 2 hours. Overnight is best, but I know you don’t have that kind of self-control.
- Serve: Warm them up slightly in the microwave before serving for the ultimate experience.
Common Mistakes to Avoid
Even though this is a “hack” recipe, things can go sideways. Here is how to avoid a kitchen disaster:
- The “Crusty” Mistake: Leaving bits of bread crust in the mix. It creates hard lumps that ruin the texture. Be thorough when trimming!
- The High Heat Hustle: Frying on high heat is the enemy. You will end up with a burnt exterior and a doughy, raw center. Low and slow wins this race.
- The Cold Syrup Crisis: If your syrup has gone stone cold while you were frying, warm it up again! Cold syrup cannot penetrate the fried dough balls. The osmosis won’t happen, and you’ll have dry jamuns.
- Over-Kneading: Do not knead the bread dough like you are training for a wrestling match. Over-working it develops too much gluten, making the jamuns rubbery and chewy rather than soft.
Alternatives & Substitutions
Customize your sugar bomb!
- Vegan Version: Use almond milk or soy milk for the dough, and fry in vegetable oil instead of ghee. They taste 95% the same.
- The “Rich” Stuffing: Want to be fancy? Place a small piece of pistachio, cashew, or a strand of saffron in the center of the dough ball before rolling it. It’s a lovely surprise when you bite in.
- Brown Bread? I said no earlier, but if it is all you have, cut the crusts very generously. You will need a bit more sugar in the syrup to mask the earthy taste.
- Sweetness Level: If you find traditional jamuns too sweet, you can reduce the sugar in the syrup by 1/4 cup, but don’t reduce the water, or the consistency will be off.
FAQ (Frequently Asked Questions)
Q: Can I use gluten-free bread? A: Technically yes, but the texture will be different. Gluten-free bread tends to be crumblier, so you might need a little extra milk or a binder (like a pinch of cornstarch) to keep the balls from falling apart in the oil.
Q: My jamuns dissolved in the oil! Why do you hate me? A: I don’t hate you! This usually happens if there was too much baking soda or the dough was way too wet. Next time, skip the soda and ensure the dough is firm enough to hold its shape.
Q: Can I bake or air fry these? A: Look, you can, but they won’t be Gulab Jamuns. They will be sweet bread rolls. The frying process creates the porous texture needed to soak up the syrup. If you want to air fry, brush them generously with ghee and cook at 180°C for 10-12 mins, but manage your expectations.
Q: How long do they last? A: In the fridge? Up to a week. On the counter? About 2 days. In my house? Approximately 45 minutes.
Q: Why are my jamuns hard in the middle? A: Usually, this means they were fried too fast at a high temperature, so the heat didn’t reach the core. Or, the dough was too dry. Next time, add a splash more milk and turn down the heat.
Q: Can I use evaporated milk? A: You can! It actually adds a really nice richness that mimics khoya even better than regular milk.
Final Thoughts
See? I told you it wasn’t that scary. You have successfully turned a humble loaf of white bread into a dessert fit for a king (or at least fit for Netflix and sweatpants).
Cooking doesn’t always have to be about hours of labor and hard-to-find ingredients. sometimes it is just about being clever and using what you have to satisfy that sweet tooth.
Now, go impress someone—or yourself—with your new culinary skills. You’ve earned it! And hey, if you eat three of them while they are still soaking in the pot… your secret is safe with me.