Cake Pop Icing Recipe: The Secret to Perfectly Dipped Treats
Cake pops. Those adorable, bite-sized spheres of cakey goodness dipped in a luscious coating are the darlings of dessert tables everywhere. They’re perfect for parties, holidays, or just a fun afternoon baking project. But let’s be honest, achieving that smooth, professional-looking finish can be tricky. The secret? It all comes down to the icing!
Forget the cracked, gloopy, or uneven coatings of cake pop nightmares past. This recipe provides a foolproof method for creating a silky, vibrant, and perfectly set icing that will transform your cake pops from homemade to bakery-worthy. We’re going to break down the process, share insider tips, and answer all your burning questions, so you can confidently create cake pops that are as beautiful as they are delicious.
Why This Recipe Works
This isn’t just another melted chocolate recipe. This icing is specifically formulated for cake pops, taking into account their unique needs. Here’s why it’s superior:
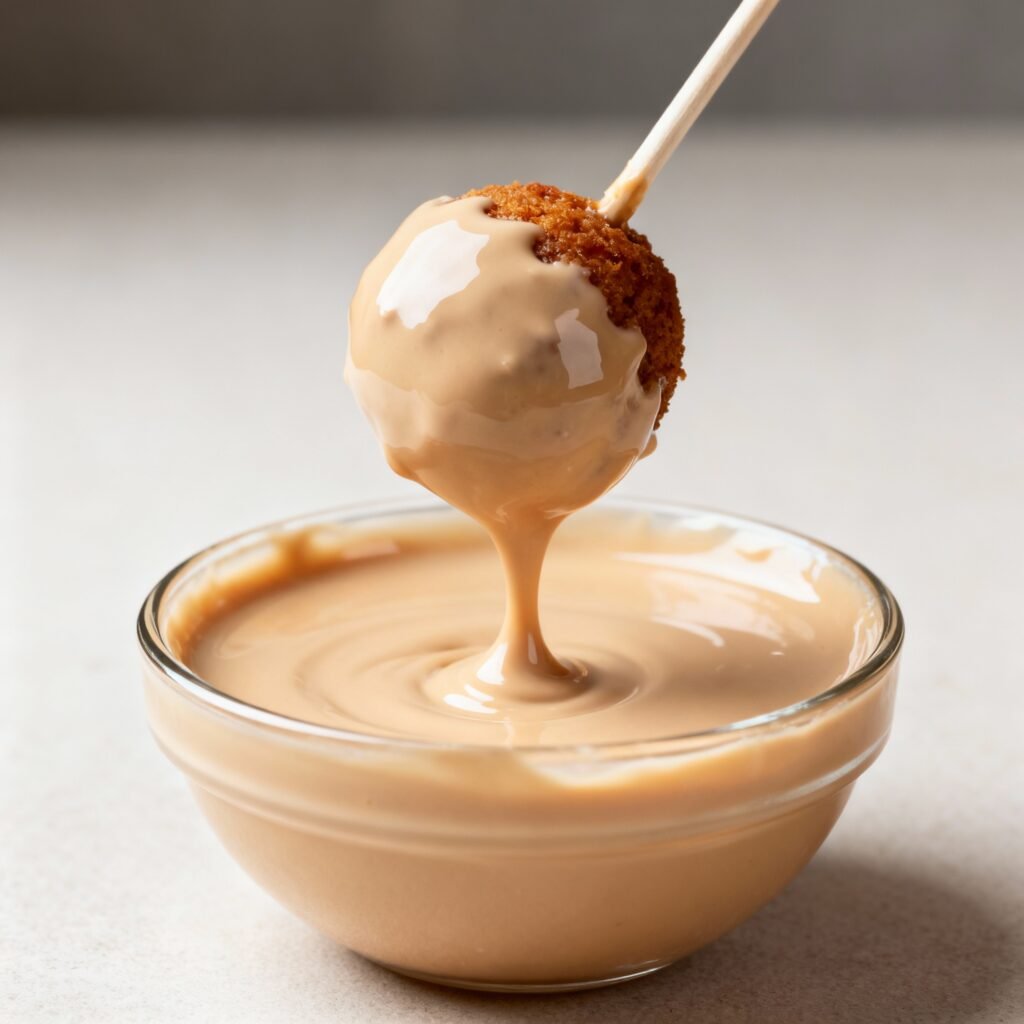
- Smooth and Fluid Consistency: We use a combination of ingredients that create a perfectly dippable consistency, thin enough to coat evenly but thick enough to adhere without running.
- Quick Setting Time: No one wants to wait forever for their cake pops to set. This recipe includes ingredients that promote faster hardening, preventing smudges and ensuring a clean finish.
- Vibrant Color: We’ll guide you on how to achieve the perfect shade every time, whether you’re aiming for pastel perfection or bold and vibrant hues.
- Crack-Resistant: Say goodbye to unsightly cracks! This icing is formulated to be more flexible and less prone to cracking as it sets, even in slightly cooler temperatures.
- Delicious Flavor: While appearance is important, taste is paramount. This icing provides a subtle sweetness that complements the cake perfectly, without overpowering it.
Ingredients
- 1 pound (16 ounces) Melting Chocolate or Candy Melts: Choose a high-quality melting chocolate or candy melts. Candy melts come in a variety of colors, saving you the need for extensive coloring. White chocolate or white candy melts are ideal for creating pastel shades.
- 1-2 tablespoons Shortening (vegetable or coconut): This is the key to achieving that smooth, fluid consistency. Start with 1 tablespoon and add more as needed.
- Gel Food Coloring (optional): Gel food coloring is highly concentrated and won’t affect the consistency of the icing like liquid food coloring can.
- Flavor Extracts (optional): A few drops of vanilla, almond, or peppermint extract can add a delicious flavor boost to your icing.
- Sprinkles, Edible Glitter, or other Decorations (optional): For adding that final touch of sparkle and personality.
Instructions
- Prepare Your Cake Pops: Ensure your cake pops are chilled and firmly attached to their sticks. A cold cake pop will help the icing set faster and prevent it from sliding off.
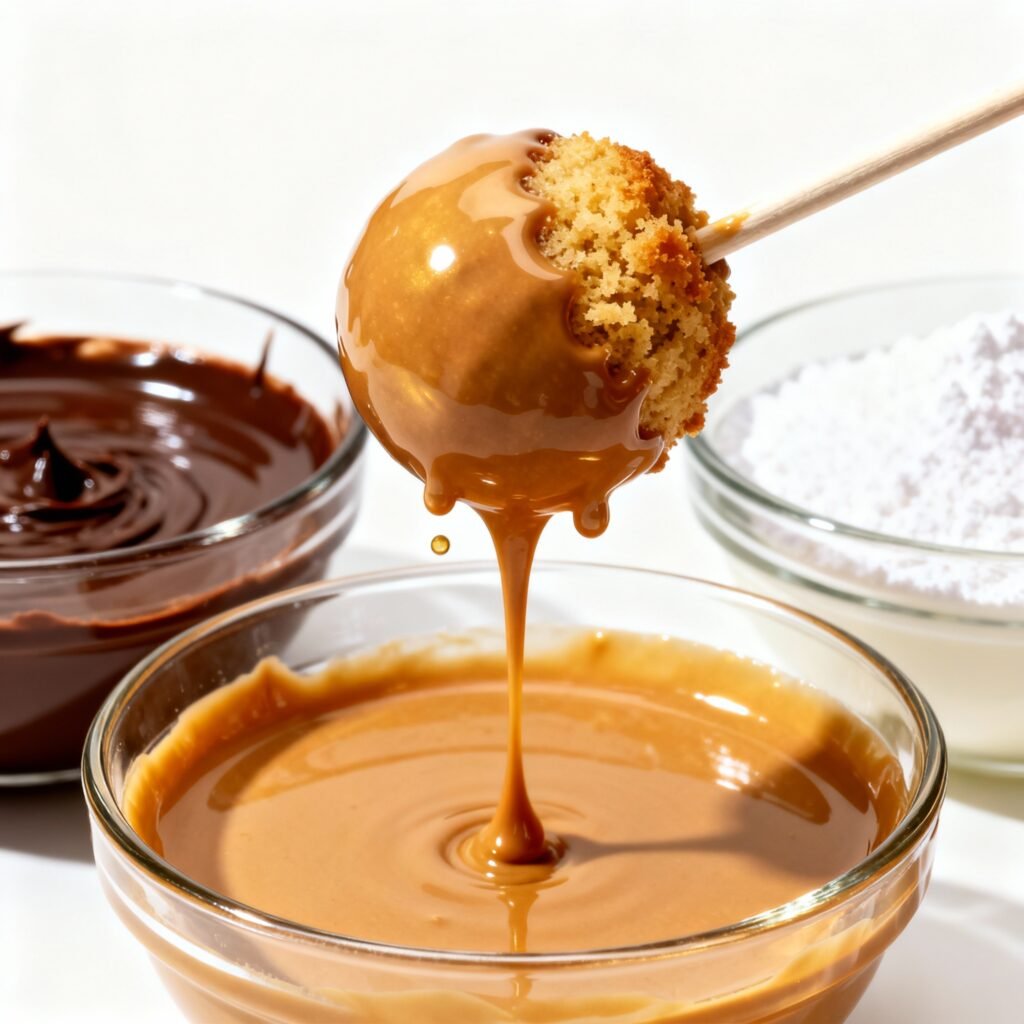
- Melt the Chocolate: Place the melting chocolate or candy melts in a microwave-safe bowl. Microwave in 30-second intervals, stirring well after each interval, until completely melted and smooth. Be careful not to overheat the chocolate, as this can cause it to seize.
- Add Shortening: Stir in 1 tablespoon of shortening. If the chocolate is still too thick, add another tablespoon, a little at a time, until you achieve a smooth, flowing consistency. The icing should easily drip off a spoon but not be too thin.
- Add Food Coloring (optional): If desired, add gel food coloring, a tiny drop at a time, and stir until you reach the desired color. Remember, a little goes a long way!
- Add Flavor Extract (optional): Stir in a few drops of your chosen flavor extract.
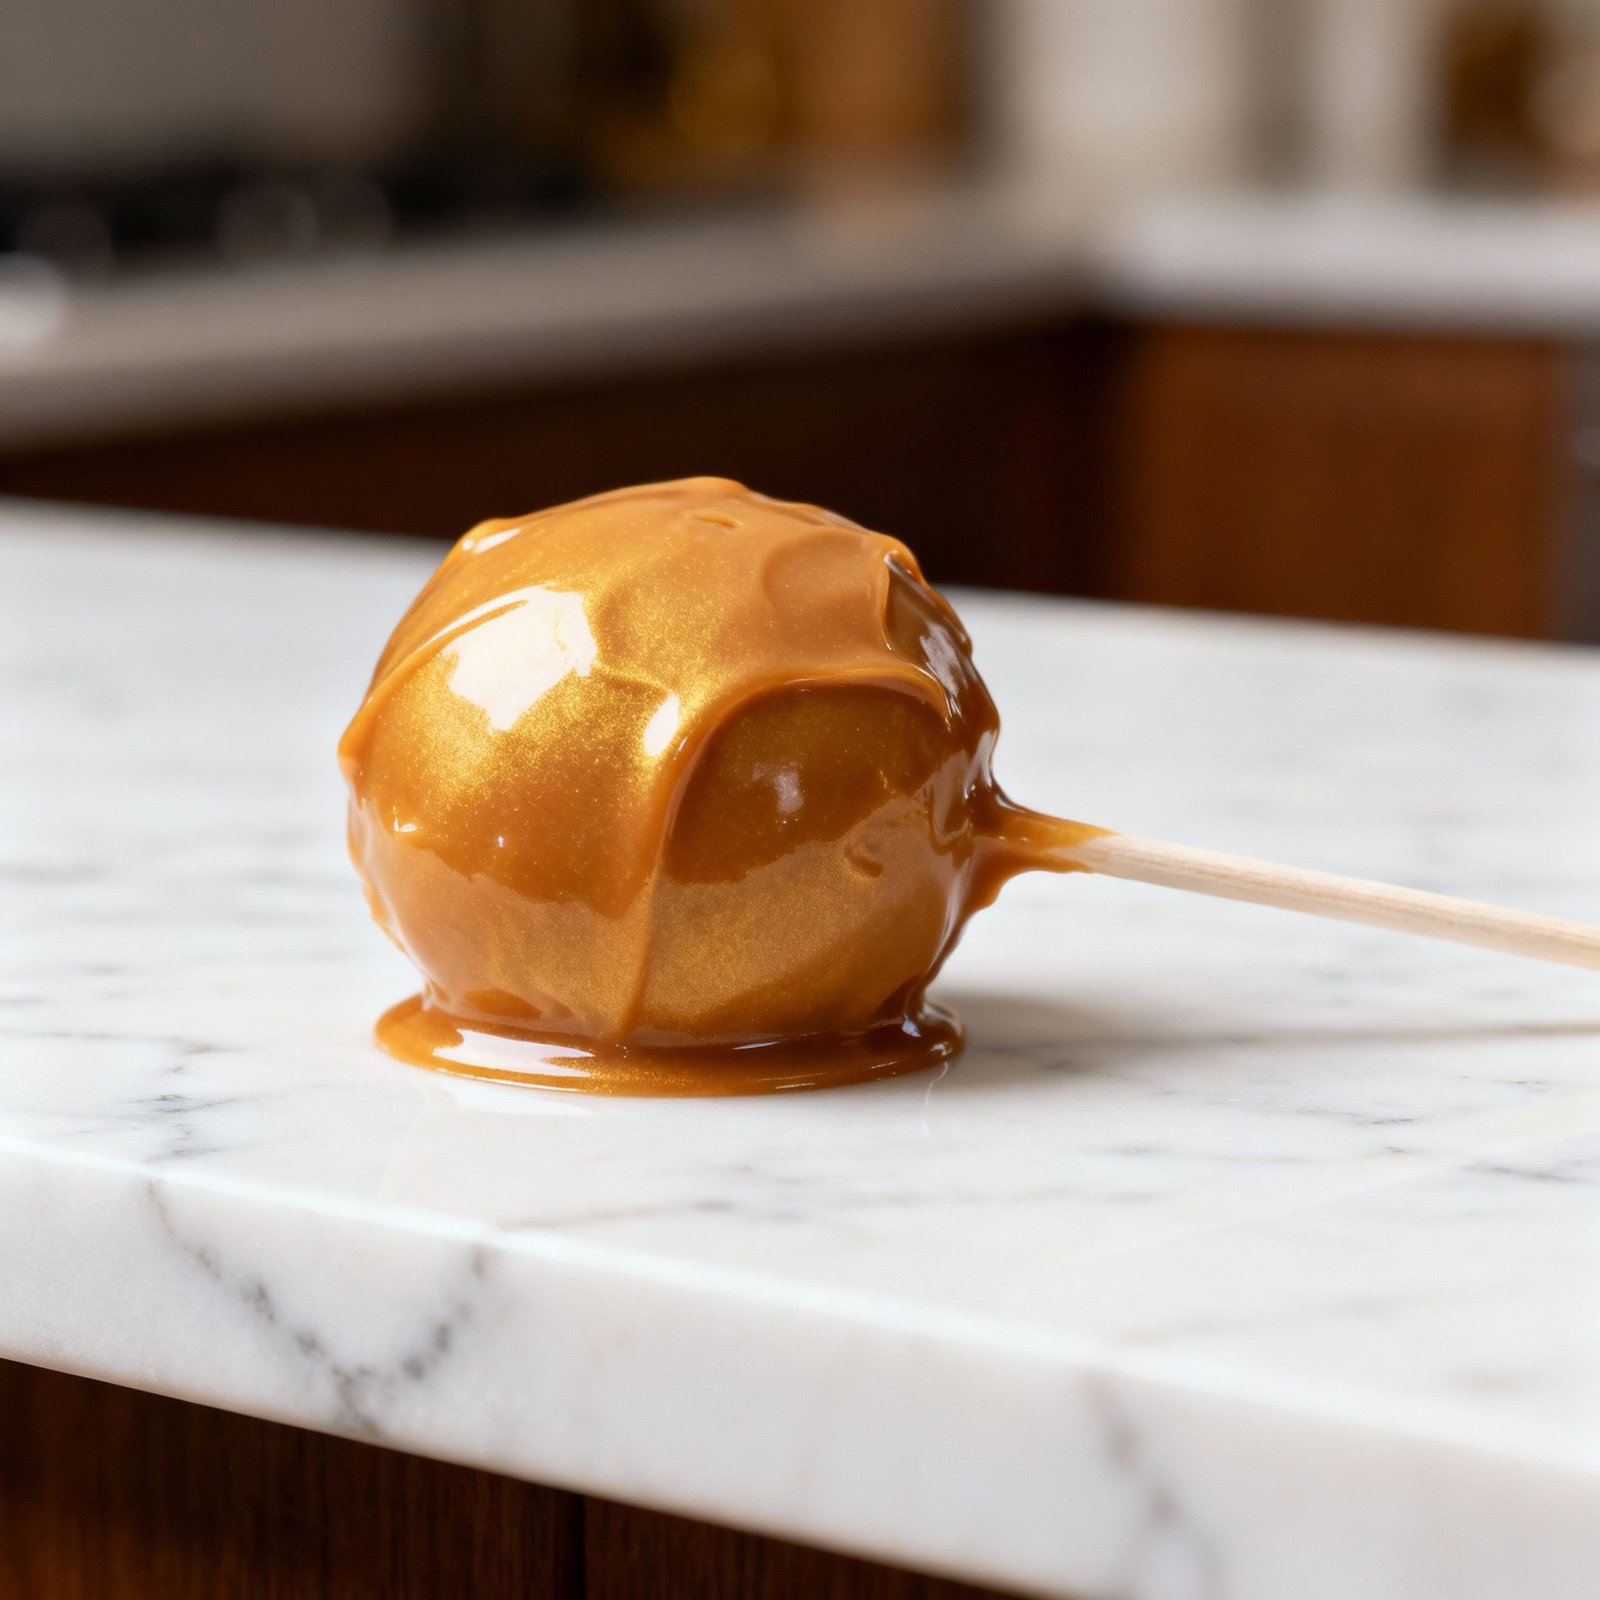
- Dip the Cake Pops: Hold a cake pop by the stick and dip it completely into the melted icing. Gently tap off any excess icing by twirling the cake pop and tapping the stick against the edge of the bowl.
- Decorate (optional): Immediately add sprinkles, edible glitter, or other decorations before the icing sets.
- Set the Cake Pops: Place the dipped cake pops in a cake pop stand or insert the sticks into a piece of styrofoam to allow them to set. You can speed up the setting process by placing them in the refrigerator for a few minutes.
- Repeat: Repeat steps 6-8 until all your cake pops are dipped and decorated.
Tips for Success
- Use High-Quality Ingredients: The quality of your chocolate or candy melts will directly impact the taste and appearance of your icing.
- Don’t Overheat the Chocolate: Overheating chocolate can cause it to seize and become grainy. Microwave in short intervals and stir frequently.
- Adjust the Consistency: If the icing is too thick, add more shortening, a tiny amount at a time. If it’s too thin, allow it to cool slightly and stir until it thickens.
- Work Quickly: The icing will start to set as it cools, so work quickly to dip and decorate your cake pops.
- Practice Makes Perfect: Don’t be discouraged if your first few cake pops aren’t perfect. With a little practice, you’ll be creating professional-looking cake pops in no time!
- Use a Double Boiler (Alternative Method): If you prefer, you can melt the chocolate in a double boiler over low heat. This method provides more control over the temperature and helps prevent burning.
- Thin with Paramount Crystals (Alternative): Instead of shortening, you can use paramount crystals to thin your chocolate. These are specifically designed for thinning chocolate and can provide a smoother, more glossy finish.
Storage Instructions
Store your finished cake pops in an airtight container at room temperature for up to 3-4 days. Avoid storing them in the refrigerator, as this can cause the icing to sweat.
FAQ
- Why is my icing cracking? This could be due to a few reasons: the icing is too thick, the cake pops were too cold, or the temperature in your kitchen is too cold. Try adding a little more shortening to thin the icing, ensure your cake pops aren’t excessively chilled, and work in a slightly warmer environment.
- Why is my icing not sticking to the cake pop? Make sure your cake pops are chilled. Also, ensure the icing is not too thin. If it’s too thin, it won’t adhere properly.
- Can I use regular chocolate chips? While you can use regular chocolate chips, melting chocolate or candy melts are specifically designed for melting and dipping, resulting in a smoother and more consistent finish. Regular chocolate chips may not melt as smoothly and could result in a grainy texture.
- Can I use liquid food coloring? Gel food coloring is recommended because it’s highly concentrated and won’t affect the consistency of the icing. Liquid food coloring can thin the icing and make it difficult to work with.
- How do I prevent the cake from falling off the stick? Ensure the cake is firmly attached to the stick by dipping the stick into melted chocolate before inserting it into the cake ball. Also, make sure the cake pops are properly chilled before dipping.
Conclusion
With this recipe and these helpful tips, you’re well on your way to creating stunning and delicious cake pops that will impress everyone. Don’t be afraid to experiment with different colors, flavors, and decorations to create your own unique cake pop masterpieces. Happy baking!