This Canned Salsa Recipe with Fresh Tomatoes Turns Garden Overflow into Liquid Gold (No Mush, All Crunch!)
You’ve got a mountain of tomatoes staring you down like an unpaid bill. Good. Let’s turn that guilt into the best salsa you’ve ever canned.
We’re talking fresh, bright flavor with just the right kick—and jars that actually seal. No mystery gloop, no watery sadness, and no blandness pretending to be “homemade.” You bring the tomatoes; I’ll bring the strategy. By the end, you’ll have a stash of shelf-stable salsa so good you’ll hide it from your friends.
Ready?
What Makes This Special
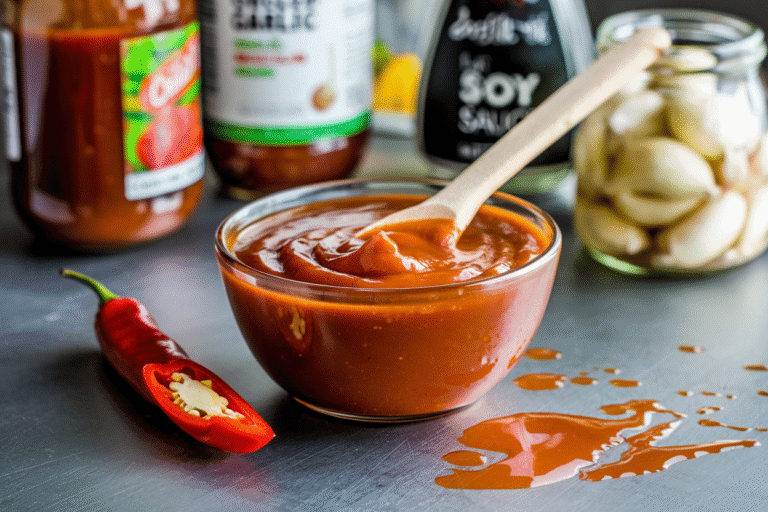
This salsa blends the snap of fresh tomatoes with a balanced acidity that’s safe for canning. We keep the texture chunky, the flavors clean, and the heat customizable. There’s a small-but-mighty trick you’ll love: salting and draining tomatoes to avoid watery salsa.
It’s the difference between chips that scoop and chips that drown.
We also use bottled lime juice or vinegar for predictable acidity—non-negotiable for safe canning. And the spice profile? Classic, but with room to play.
Think smoky cumin, bright cilantro, and just enough jalapeño to keep you honest.
Shopping List – Ingredients
- Fresh tomatoes (10 cups chopped; about 6–7 lbs Roma or paste tomatoes preferred)
- White onion (2 cups finely chopped)
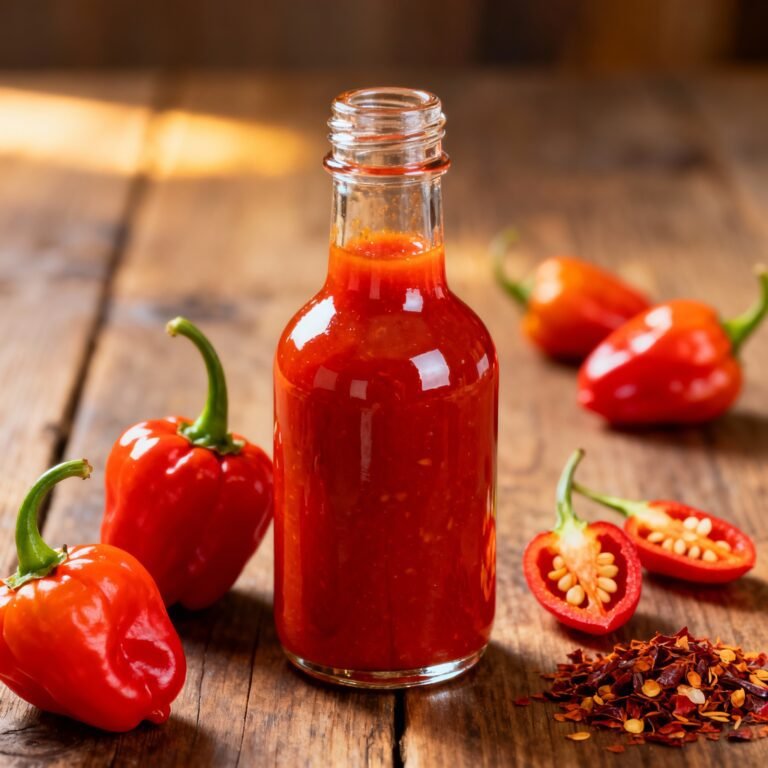
- Jalapeños (3–6 peppers, seeded for mild, with seeds for heat, finely chopped)
- Garlic (6 cloves, minced)
- Fresh cilantro (1 cup loosely packed, chopped)
- Bottled lime juice (1 cup; or use 1 cup 5% acidity apple cider or white vinegar)
- Tomato paste (2 tablespoons, optional for body)
- Granulated sugar (1–2 teaspoons, optional, to round acidity)
- Kosher salt (2–3 teaspoons, to taste)
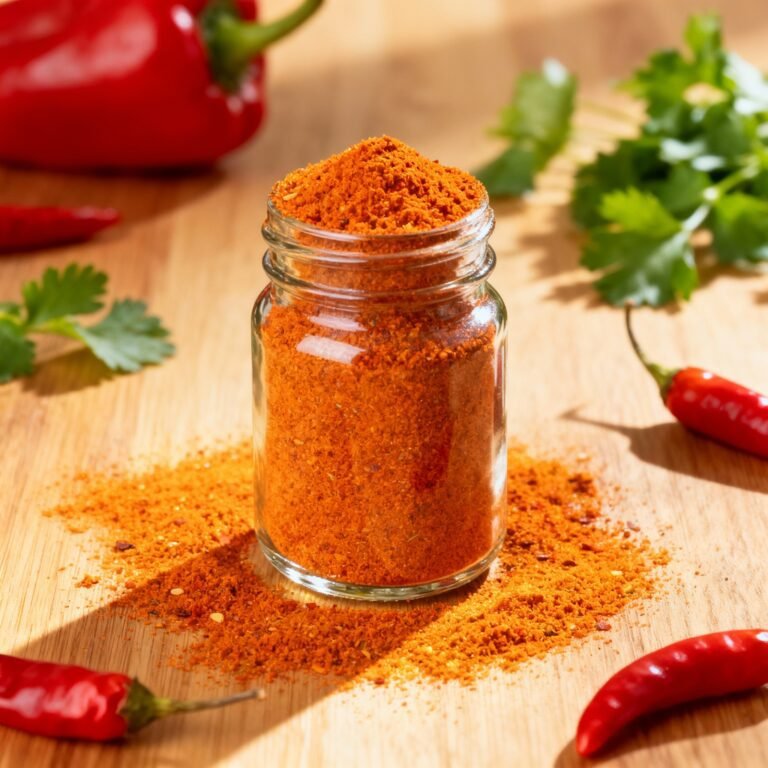
- Ground cumin (1 teaspoon)
- Black pepper (1/2 teaspoon)
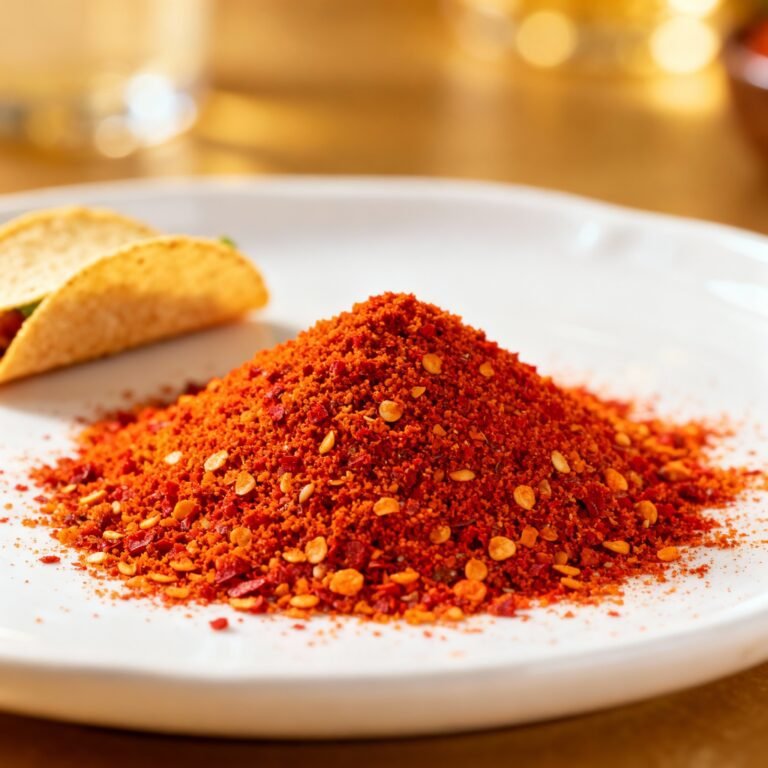
- Crushed red pepper flakes (optional, 1/2 teaspoon)
- Equipment: water-bath canner or large stockpot, canning rack, 6–7 half-pint jars or 3–4 pint jars, new lids, bands, jar lifter, ladle, funnel, clean towels
Step-by-Step Instructions
- Prep the tomatoes. Core tomatoes. If you like a smoother texture, blanch 30–60 seconds, shock in ice water, and slip skins. Otherwise, leave skins on for rustic vibes.
Chop into small dice to make about 10 cups.
- Drain for better texture. Toss chopped tomatoes with 1 teaspoon salt in a colander. Let sit 20–30 minutes. This pulls out excess juice so your salsa isn’t watery.
Don’t skip this, please.
- Chop aromatics. Finely chop onion, jalapeños, and cilantro. Mince the garlic. Keep everything small so it distributes evenly and packs well into jars.
- Set up your canner. Fill your water-bath canner with enough water to cover jars by 1–2 inches.
Bring to a simmer. Wash jars with hot soapy water and keep them hot (in the canner or a 200°F oven). Simmer lids in a small pan of water.
- Cook the salsa base. In a large pot, combine drained tomatoes, onion, jalapeños, garlic, lime juice (or vinegar), cumin, black pepper, and tomato paste if using.
Bring to a gentle boil over medium heat.
- Simmer to marry flavors. Cook 10–15 minutes, stirring occasionally. Taste and adjust with salt and a pinch of sugar if needed. Stir in cilantro during the last 1–2 minutes to keep it bright.
- Check acidity and thickness. Salsa should be spoonable, not soupy.
If it’s thin, simmer a bit longer. Do not reduce so much that it becomes a paste. Keep at a low boil before filling jars.
- Fill jars. Using a funnel, ladle hot salsa into hot jars, leaving 1/2-inch headspace.
Remove bubbles with a clean utensil, wipe rims, apply lids, and screw bands fingertip-tight.
- Process in water bath. Place jars on rack, ensuring they’re covered by at least 1 inch of water. Bring to a full rolling boil. Process 15 minutes for pints and 10 minutes for half-pints at sea level.
Adjust for altitude per standard guidelines (+5 minutes for 1,001–6,000 ft; +10 minutes above 6,000 ft).
- Cool and check seals. Remove jars, let sit undisturbed for 12–24 hours. Lids should “ping.” Check seals: center should not flex up/down. Label and date.
Storage Tips
- Pantry life: Properly sealed jars last up to 12–18 months in a cool, dark cabinet.
Quality is best in the first year.
- After opening: Refrigerate and use within 7–10 days.
- No seal? Refrigerate immediately and use within a week, or freeze up to 3 months (leave extra headspace for expansion).
- Keep it safe: Always use bottled lime juice or 5% vinegar for consistent acidity. Fresh citrus varies too much for canning safety.
Health Benefits
- Vitamin C and antioxidants: Tomatoes, jalapeños, and cilantro offer lycopene and vitamin C, supporting immune health and cellular protection.
- Low-calorie flavor: Big taste for minimal calories—handy for snack attacks that don’t wreck your day.
- Fiber and gut-friendly compounds: Onions and peppers bring fiber and prebiotic goodness. Your microbiome says thanks.
- Controlled sodium: You decide the salt level—store-bought can be salty behind your back, FYI.
What Not to Do
- Don’t freestyle the acid. Skipping bottled lime juice or vinegar is how you invite unsafe pH.
Not worth the plot twist.
- Don’t add low-acid ingredients freely. No corn, beans, or extra oil in the canning version. If you want those, stir into a jar after opening.
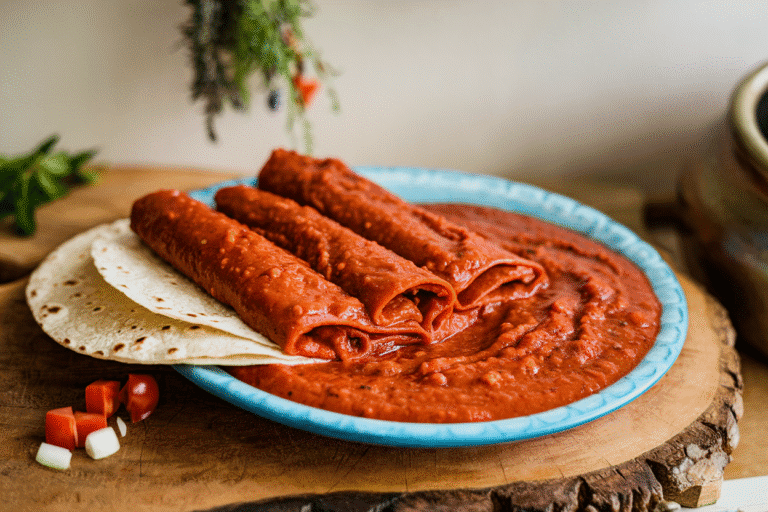
- Don’t thicken with flour or cornstarch before canning. It interferes with heat penetration. If you need thicker salsa, use tomato paste or simmer longer.
- Don’t overstuff jars. Respect the 1/2-inch headspace.
Overfilling can cause siphoning and failed seals.
- Don’t skip the drain step. Watery tomatoes = sad chips and diluted flavor. You’ve been warned.
Mix It Up
- Smoky vibe: Add 1–2 chopped chipotle peppers in adobo (note: this can reduce acidity; instead, add chipotle powder to keep pH predictable, IMO).
- Roasted twist: Char onions, tomatoes, and peppers under the broiler before chopping for deeper flavor. Still use the same acid amounts.
- Heat level: Swap jalapeños for serranos (hotter) or add a pinch of habanero.
Start small; regret is spicy.
- Herb swap: Try half cilantro, half fresh oregano for a Baja-style note.
- Citrus pop: Use half bottled lime juice, half 5% white vinegar for bright-tart balance.
FAQ
Can I use fresh lime juice instead of bottled?
No. Fresh citrus can vary in acidity, which can make the salsa unsafe for shelf storage. Use bottled lime juice or 5% vinegar for canning.
Add a splash of fresh lime to a jar after opening if you want that fresh zing.
How do I fix salsa that’s too watery?
Drain tomatoes before cooking and simmer until it lightly thickens. A tablespoon or two of tomato paste adds body without changing the flavor much.
Can I use regular slicing tomatoes instead of Roma?
Yes, but they’re juicier. Drain well and simmer a little longer.
Paste tomatoes (Roma, San Marzano) give the best texture for canned salsa.
Is it safe to add corn or black beans before canning?
No. Those are low-acid ingredients and change the pH. Add them after you open a jar for eating, not before processing.
Do I have to peel the tomatoes?
Optional.
Peeling gives a smoother texture; leaving skins yields a rustic bite. Both are safe. If you hate peels in your chips, blanch and slip them off.
Can I pressure can this instead?
You can, but water-bath canning is standard because the recipe is properly acidified.
If pressure canning, follow an approved salsa recipe with tested times for your canner model.
How many jars will this make?
Expect about 6–7 half-pints or 3–4 pints, depending on simmer time and how juicy your tomatoes were.
What if my jars didn’t seal?
Refrigerate and use within a week, or reheat the salsa, repack into clean hot jars with new lids, and reprocess within 24 hours. Always check for chips on jar rims.
Final Thoughts
This canned salsa recipe with fresh tomatoes is your upgrade from “I should use these” to “I’m glad I did.” It’s bright, safe, and ridiculously versatile. A jar turns eggs, tacos, grilled chicken, and snack time into a win.
Stock your shelves now, and future-you will high-five the genius who drained the tomatoes and used bottled lime juice. Your chips are ready. Are you?