Canning Apple Pie Filling Recipe: A Taste of Autumn All Year Round!
Imagine biting into a warm, homemade apple pie in the middle of winter, the sweet and spicy aroma filling your kitchen. With this canning apple pie filling recipe, that dream can become a reality! Canning your own apple pie filling is not only a rewarding experience, but it also allows you to control the ingredients and ensure a delicious, preservative-free treat whenever the craving strikes. This recipe provides a simple and safe method for preserving the flavors of fall, allowing you to enjoy homemade apple pie with minimal effort throughout the year. Say goodbye to store-bought filling and hello to the taste of homemade goodness, ready to bake into a pie, crisp, crumble, or even spoon over ice cream!
Why This Recipe Works
This canning apple pie filling recipe has been carefully crafted to ensure both safety and delicious flavor. Here’s why it works:
- Proper Acidity: The addition of bottled lemon juice is crucial. Apples are a low-acid food, and adequate acidity is necessary to prevent the growth of harmful bacteria during the canning process. Bottled lemon juice ensures a consistent and reliable level of acidity.
- Safe Canning Method: We use a water bath canner, a safe and effective method for preserving high-acid foods. Following the processing times precisely is essential for eliminating potential spoilage.
- Thickening Agent: Clear Jel is the recommended thickening agent for canned apple pie filling. Unlike cornstarch or flour, Clear Jel doesn’t break down during the canning process, resulting in a stable and appealing texture.
- Flavor Balance: The combination of spices like cinnamon, nutmeg, and allspice creates a warm and inviting flavor profile that complements the natural sweetness of the apples. The sugar level is carefully balanced to provide the right amount of sweetness without being overpowering.
- Tested Recipe: This recipe is based on tested and approved canning guidelines from reputable sources like the National Center for Home Food Preservation, ensuring a safe and delicious final product.
Ingredients
- 6 lbs Apples (firm, tart varieties like Granny Smith, Honeycrisp, or a mix)
- 5 1/2 cups Water
- 3 cups Granulated Sugar
- 1 cup Clear Jel (cook type)
- 2 teaspoons Ground Cinnamon
- 1/2 teaspoon Ground Nutmeg
- 1/4 teaspoon Ground Allspice
- 1 cup Bottled Lemon Juice

Instructions
- Prepare the Jars and Lids: Wash canning jars (pint or quart size) in hot, soapy water and rinse well. Sanitize the jars by simmering them in a water bath canner for 10 minutes. Keep the jars hot until ready to fill. Heat the canning lids in a small saucepan of simmering water (do not boil) until ready to use.
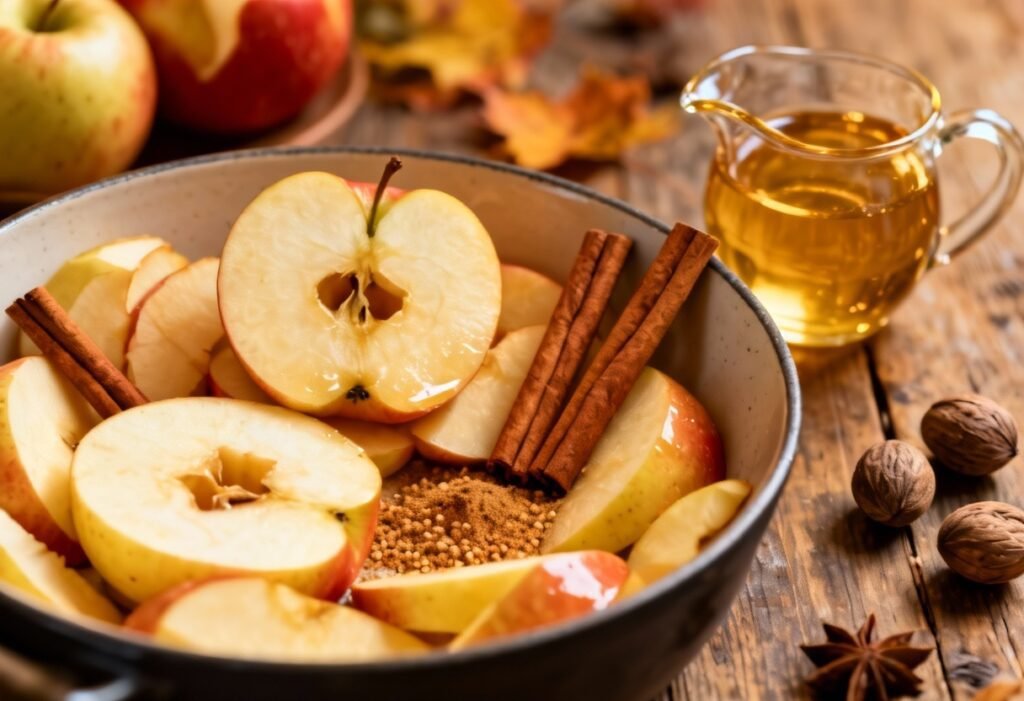
- Prepare the Apples: Wash, peel, core, and slice the apples to your desired thickness (about 1/4 inch is ideal). To prevent browning, you can toss the apple slices with a mixture of water and lemon juice (use some of the lemon juice from the recipe).
- Combine Ingredients: In a large, stainless steel pot, combine the water, sugar, Clear Jel, cinnamon, nutmeg, and allspice. Whisk thoroughly to ensure the Clear Jel is fully dissolved.
- Cook the Mixture: Bring the mixture to a boil over medium-high heat, stirring constantly to prevent scorching. Continue to cook for 1 minute, stirring constantly, until the mixture thickens slightly.
- Add the Apples and Lemon Juice: Gently fold in the apple slices and bottled lemon juice. Stir to coat the apples evenly with the syrup.
- Cook the Apples: Return the mixture to a simmer, stirring occasionally. Cook until the apples are heated through and slightly softened, about 5-10 minutes. Do not overcook the apples; they will soften further during the canning process.
- Fill the Jars: Using a ladle, carefully fill the hot jars with the hot apple pie filling, leaving 1 inch of headspace (the space between the top of the filling and the rim of the jar).
- Remove Air Bubbles: Run a non-metallic spatula or bubble remover tool around the inside of each jar to release any trapped air bubbles.
- Adjust Headspace: If necessary, add more hot filling to maintain the 1-inch headspace.
- Wipe Jar Rims: Use a clean, damp cloth to wipe the rims of the jars. This ensures a proper seal.
- Place Lids and Rings: Center the canning lids on the jars and screw on the canning rings fingertip tight (not too tight, not too loose).
- Process in Water Bath Canner: Carefully lower the filled jars into a water bath canner filled with boiling water. The water should cover the jars by at least 1 inch.
- Process for the Correct Time: Bring the water back to a rolling boil. Process pint jars for 25 minutes and quart jars for 30 minutes. Adjust processing time for altitude according to USDA guidelines (see FAQ section).
- Turn Off Heat and Wait: Once the processing time is complete, turn off the heat and remove the canner lid. Let the jars sit in the hot water for 5 minutes. This helps prevent siphoning.
- Remove Jars and Cool: Carefully remove the jars from the canner using a jar lifter and place them on a towel-lined surface, leaving space between each jar.
- Listen for the Seal: Let the jars cool completely, undisturbed, for 12-24 hours. As the jars cool, you should hear a popping sound as the lids seal.
- Check the Seals: After 24 hours, check the seals by pressing down on the center of each lid. If the lid does not flex or give, it is properly sealed. If the lid flexes, the jar is not sealed and should be refrigerated and used immediately or reprocessed with a new lid.
- Remove Rings: Remove the canning rings and wash the jars with soapy water to remove any residue. This also prevents the rings from rusting onto the jars.
- Label and Store: Label each jar with the date and contents. Store in a cool, dark, and dry place.
Tips for Success
- Use Fresh, High-Quality Apples: Choose firm, unblemished apples for the best flavor and texture. A mix of tart and sweet varieties works well.
- Measure Accurately: Precise measurements are crucial for both safety and flavor. Use measuring cups and spoons designed for cooking.
- Don’t Overcook the Apples: The apples will continue to soften during the canning process, so avoid overcooking them before filling the jars.
- Maintain Proper Headspace: Proper headspace is essential for creating a vacuum seal.
- Use a Jar Lifter: A jar lifter is a must-have tool for safely removing hot jars from the canner.
- Be Patient: Allow the jars to cool completely undisturbed to ensure a proper seal.
Storage Instructions
Properly canned apple pie filling can be stored in a cool, dark, and dry place for up to 18 months. After opening a jar, refrigerate any unused filling and use it within 7-10 days.
FAQ
Q: Can I use a different thickening agent?
A: Clear Jel is the recommended thickening agent for canned apple pie filling. Cornstarch and flour can break down during the canning process, resulting in a cloudy or thin filling. If you must substitute, use only cook type Clear Jel. Do not use instant Clear Jel.
Q: Can I reduce the amount of sugar?
A: While you can slightly reduce the amount of sugar, it’s important to note that sugar contributes to the preservation of the filling. Reducing it too much can affect the safety and shelf life. A small reduction (1/4 cup) should be fine, but do not drastically alter the recipe.
Q: Do I need to adjust the processing time for my altitude?
A: Yes, you need to adjust the processing time for altitude. Here are the guidelines:
- 1,001 – 3,000 feet: Add 5 minutes to the processing time.
- 3,001 – 6,000 feet: Add 10 minutes to the processing time.
- 6,001 – 8,000 feet: Add 15 minutes to the processing time.
- 8,001 – 10,000 feet: Add 20 minutes to the processing time.
Q: What if a jar doesn’t seal?
A: If a jar doesn’t seal, you have two options: refrigerate the filling immediately and use it within 7-10 days, or reprocess the filling with a new lid. To reprocess, empty the filling into a saucepan, bring it to a boil, and then refill the jar with a new lid and process for the full recommended time.
Q: Can I use different spices?
A: Yes, you can adjust the spices to your liking. You can add a pinch of cloves, ginger, or cardamom for a different flavor profile. Start with small amounts and taste as you go.
Conclusion
Canning apple pie filling is a rewarding way to preserve the flavors of fall and enjoy homemade apple pie anytime you want. By following this recipe and adhering to safe canning practices, you can create a delicious and shelf-stable product that will impress your family and friends. So gather your apples, get your canning equipment ready, and prepare to savor the taste of homemade apple pie all year round!