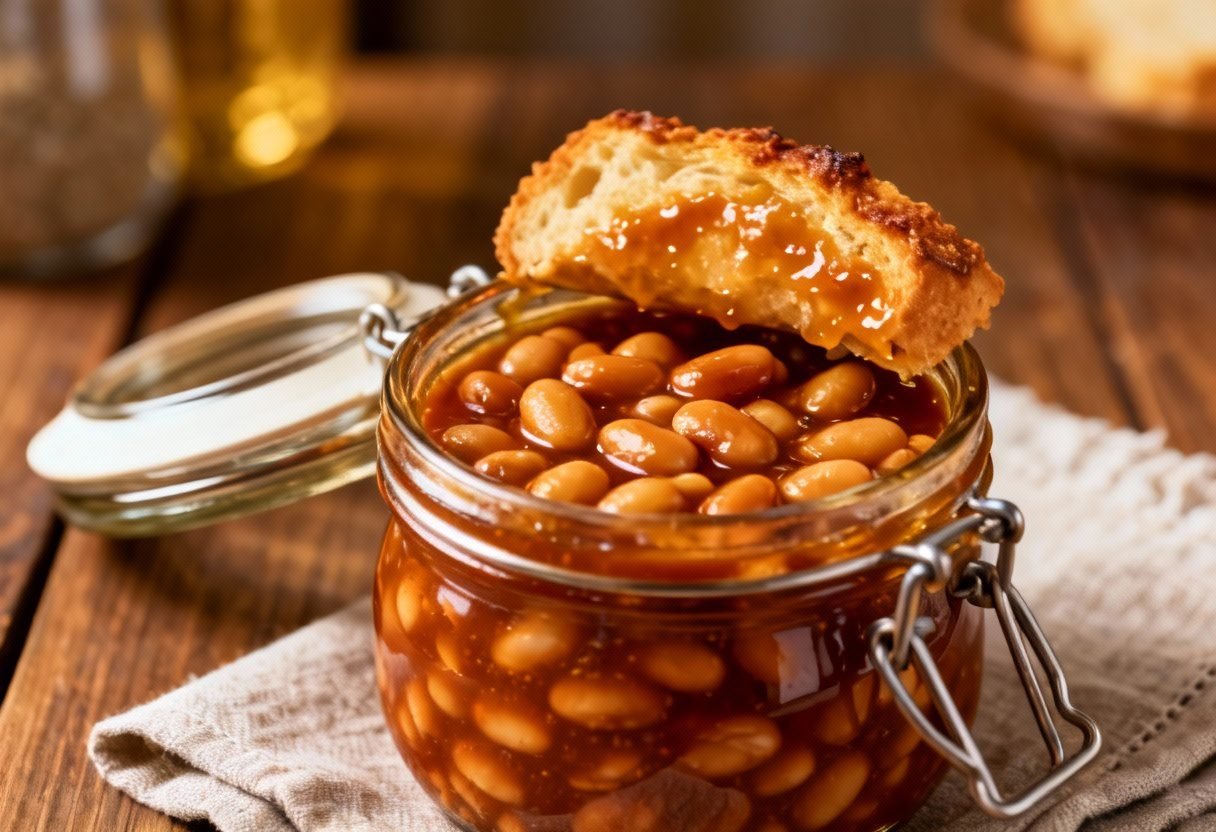
Canning Baked Beans Recipe: A Taste of Summer All Year Round!
Imagine the smoky-sweet aroma of homemade baked beans wafting through your kitchen, not just on summer weekends, but anytime you crave that comforting, classic flavor. Canning your own baked beans allows you to capture that deliciousness and enjoy it throughout the year. This recipe provides a safe and reliable method for preserving this beloved dish, ensuring you have a pantry stocked with ready-to-eat goodness. Forget those store-bought cans loaded with preservatives and unknown ingredients. With this recipe, you control everything that goes into your beans, resulting in a healthier, tastier, and more satisfying experience. So, grab your pressure canner and let’s get started on this journey to homemade pantry perfection!
Why This Recipe Works
This recipe is specifically designed for safe home canning, taking into account the low-acid nature of beans. The key to safe canning is ensuring the internal temperature of the jars reaches a point that destroys harmful bacteria, particularly Clostridium botulinum, which can cause botulism. This recipe utilizes a pressure canner, which is essential for safely processing low-acid foods like beans. We’ve carefully balanced the ingredients to create a flavorful and safe product. The addition of vinegar helps to lower the pH slightly, adding another layer of safety. We also provide precise processing times based on jar size, ensuring adequate heat penetration. Following these instructions meticulously is crucial for a successful and safe canning experience.
Ingredients
- 1 pound (about 2 cups) dried navy beans, rinsed and sorted
- 8 cups water, for soaking
- 1 large onion, chopped
- 1/2 pound bacon, diced
- 1 cup brown sugar, packed
- 1/2 cup molasses
- 1/4 cup apple cider vinegar
- 2 tablespoons prepared mustard
- 1 teaspoon salt
- 1/2 teaspoon black pepper
- 8 cups water, for cooking
Instructions
- Soak the Beans: Place the rinsed and sorted navy beans in a large pot and cover with 8 cups of water. Bring to a boil for 2 minutes, then remove from heat, cover, and let stand for at least 4 hours, or preferably overnight. This rehydrates the beans and reduces cooking time. Alternatively, you can use the quick-soak method: bring the beans and water to a boil, boil for 2 minutes, then remove from heat and let stand, covered, for 1 hour.
- Cook the Beans: Drain the soaked beans and discard the soaking water. Add 8 cups of fresh water to the pot with the beans. Bring to a boil, then reduce heat and simmer for about 1-1.5 hours, or until the beans are tender but still hold their shape. Do not overcook, as they will continue to soften during the canning process.
- Prepare the Bacon and Onion: While the beans are simmering, cook the diced bacon in a large skillet over medium heat until crispy. Remove the bacon with a slotted spoon and set aside, reserving the bacon grease. Add the chopped onion to the skillet with the bacon grease and cook until softened and translucent, about 5-7 minutes.
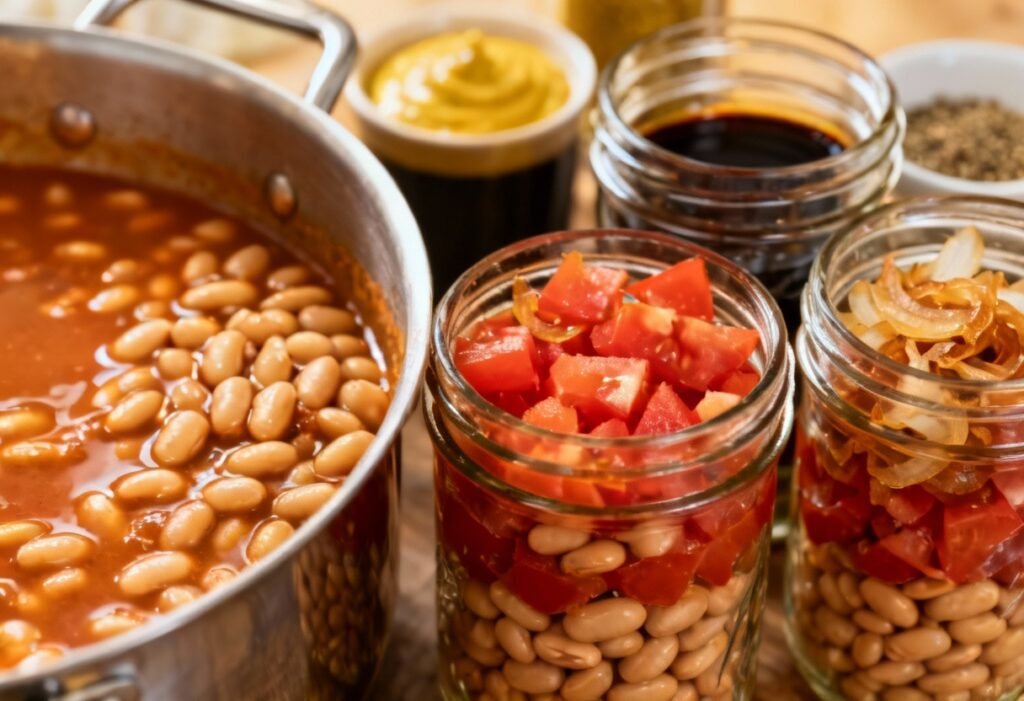
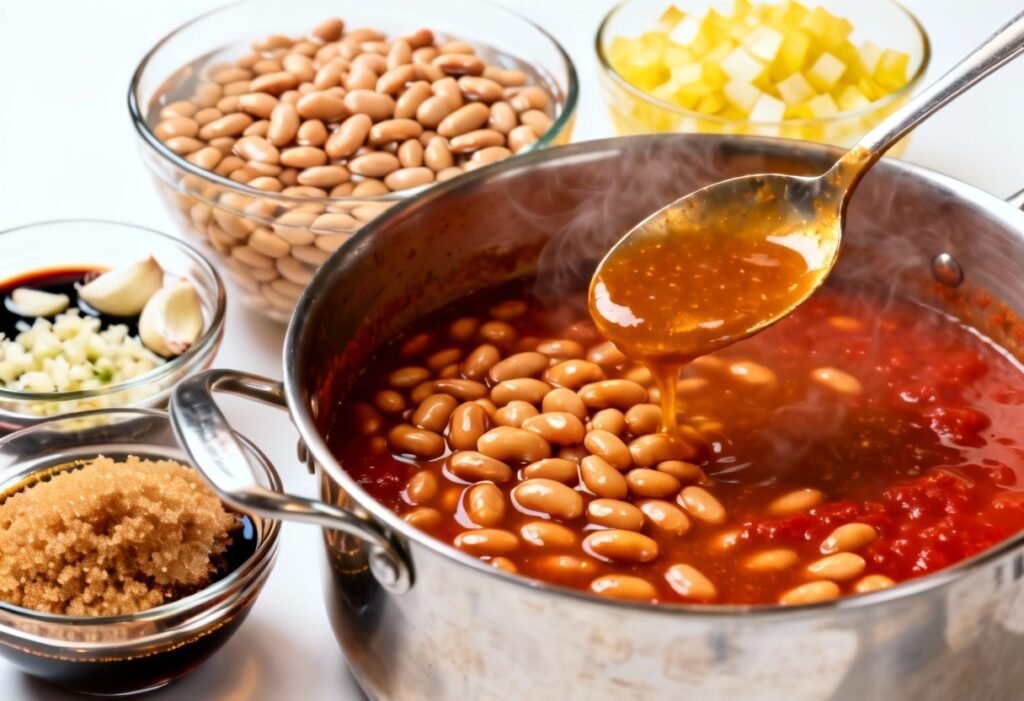
- Combine Ingredients: In a large bowl, combine the cooked beans, cooked bacon, sautéed onion, brown sugar, molasses, apple cider vinegar, mustard, salt, and pepper. Mix well to ensure all ingredients are evenly distributed.
- Prepare Jars and Lids: Wash canning jars (pint or quart size) in hot, soapy water and rinse thoroughly. Keep the jars hot until ready to fill. You can sterilize the jars by boiling them for 10 minutes if you live at an altitude above 1,000 feet. Place new lids in a small saucepan and cover with water. Heat to a simmer (do not boil) and keep hot until ready to use.
- Fill Jars: Using a ladle, carefully fill the hot jars with the baked bean mixture, leaving 1-inch headspace. Headspace is the space between the top of the food and the top of the jar.
- Remove Air Bubbles: Run a non-metallic spatula or bubble remover around the inside of each jar to release any trapped air bubbles. Adjust the headspace if necessary.
- Wipe Jar Rims: Wipe the rims of the jars with a clean, damp cloth to remove any food residue. This ensures a proper seal.
- Place Lids and Rings: Center the lids on the jars and screw the bands on fingertip tight. Do not overtighten.
- Process in Pressure Canner: Place the jars in the pressure canner, following the manufacturer’s instructions. Add the recommended amount of water to the canner. Lock the lid securely.
- Process at Correct Pressure: Vent the canner according to the manufacturer’s instructions (usually 10 minutes). Close the vent and bring the canner up to the correct pressure:
- Dial Gauge Canner: 11 pounds pressure
- Weighted Gauge Canner: 10 pounds pressure
- Altitude Adjustments: If you live at an altitude above 1,000 feet, you will need to adjust the pressure according to your canner’s instructions.
- Process for Correct Time: Process pint jars for 75 minutes and quart jars for 90 minutes.
- Cool the Canner: Once the processing time is complete, turn off the heat and allow the canner to cool naturally until the pressure returns to zero. Do not force cool the canner, as this can cause the jars to lose their seal.
- Remove Jars: Carefully remove the jars from the canner with a jar lifter and place them on a towel-lined surface, leaving space between the jars for air circulation.
- Check for Seals: Let the jars cool completely for 12-24 hours. After cooling, check the seals by pressing down on the center of each lid. If the lid flexes or pops, the jar is not properly sealed and should be refrigerated and used within a few days or reprocessed with a new lid.
- Label and Store: Label the jars with the date and contents and store them in a cool, dark, and dry place.
Tips for Success
- Use Fresh Ingredients: Start with the freshest ingredients possible for the best flavor and quality.
- Proper Headspace is Crucial: Maintaining the correct headspace is essential for a proper seal.
- Follow Canning Instructions Carefully: Adhering to the processing times and pressures is critical for food safety.
- Adjust for Altitude: Remember to adjust the pressure based on your altitude to ensure proper processing.
- Use New Lids: Always use new lids when canning to ensure a good seal.
- Don’t Overfill Jars: Overfilling jars can prevent a proper seal.
- Cool Canner Naturally: Allow the canner to cool down naturally to prevent siphoning and seal failure.
Storage Instructions
Properly canned baked beans can be stored in a cool, dark, and dry place for up to one year. After opening a jar, refrigerate any unused portion and consume within a few days.
FAQ
Q: Can I use a water bath canner instead of a pressure canner?
A: No, a pressure canner is essential for safely canning baked beans. Water bath canning does not reach a high enough temperature to kill Clostridium botulinum spores in low-acid foods like beans.
Q: Can I substitute other types of beans?
A: While navy beans are traditionally used, you can experiment with other types of beans like Great Northern or pinto beans. However, be aware that the texture and flavor may vary slightly. Ensure the beans are fully hydrated before canning.
Q: Can I add more vegetables to the recipe?
A: Adding other vegetables can alter the pH and processing time. For safe canning, it’s best to stick to the ingredients listed in the recipe. If you want to add vegetables, consider adding them after opening the jar and reheating the beans.
Q: My jars didn’t seal. What should I do?
A: If a jar doesn’t seal, you can either reprocess it with a new lid within 24 hours or refrigerate it and use the beans within a few days.
Q: Why is headspace important?
A: Headspace allows for expansion of the food during processing and creates a vacuum seal as the jars cool. Insufficient headspace can prevent a proper seal, while excessive headspace can lead to food spoilage.
Conclusion
Canning your own baked beans is a rewarding experience that allows you to enjoy a taste of homemade goodness year-round. By following this recipe and adhering to safe canning practices, you can create a pantry stocked with delicious and healthy baked beans that are far superior to store-bought versions. So, gather your ingredients, fire up your pressure canner, and get ready to savor the flavor of summer, anytime you want!