🍝 Best Frozen Cheese Ravioli Recipe Hack
👩🍳 The Home Chef's Essential Kitchen
Consistently cooking incredible, healthy meals at home is so much easier when you aren't fighting with cheap tools. These are the 5 absolute powerhouse kitchen essentials that professional chefs and serious home cooks rely on every single day to get perfect results.
🍳 Lodge 10.25" Cast Iron Skillet
The single greatest value in all of cookware. It retains heat infinitely better than cheap non-stick pans, allowing you to get a restaurant-quality crust on steaks or perfect crispy edges on cornbread. With proper care, this $20 pan will literally outlive you.
🔪 Victorinox Fibrox Pro 8" Chef's Knife
A dull knife makes cooking a frustrating chore. This specific blade is the undisputed champion of the culinary world—it holds a terrifyingly sharp edge, features a comfortable non-slip grip, and performs identical to German knives that cost quadruple the price.
🌡️ ThermoPro Instant Read Thermometer
Never serve dry chicken or undercooked pork again. An instant-read thermometer is the secret difference between amateur cooks who 'guess' when protein is done, and professionals who know exactly when to pull meat off the heat for maximum juiciness.
🍲 Lodge Enameled Cast Iron Dutch Oven
The ultimate workhorse for soups, stews, braised short ribs, and baking crusty artisanal bread. The enameled interior provides incredible heat distribution for slow-cooking while eliminating the intense seasoning maintenance required by bare cast iron.
🥄 Bpa-Free Silicone Utensil Set
Throw away those melting plastic spatulas and bacteria-harboring wooden spoons. This pure silicone set is heat-resistant up to 600°F, won't scratch your expensive pans, and features seamless designs that make cleaning out thick sauces and batters effortless.
So you’re craving something tasty but you’re honestly too lazy to spend forever in the kitchen, huh? Same. We’ve all been there. It’s 6 PM, your energy levels are lower than your phone battery, and the idea of chopping an onion feels like a personal attack.
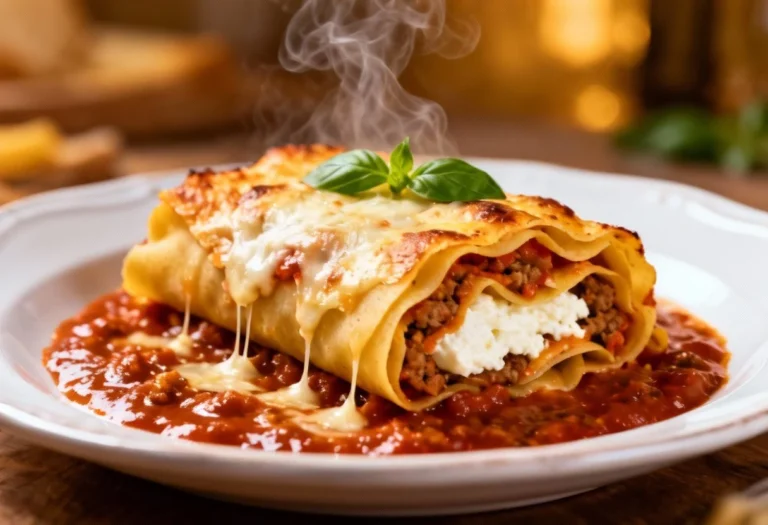
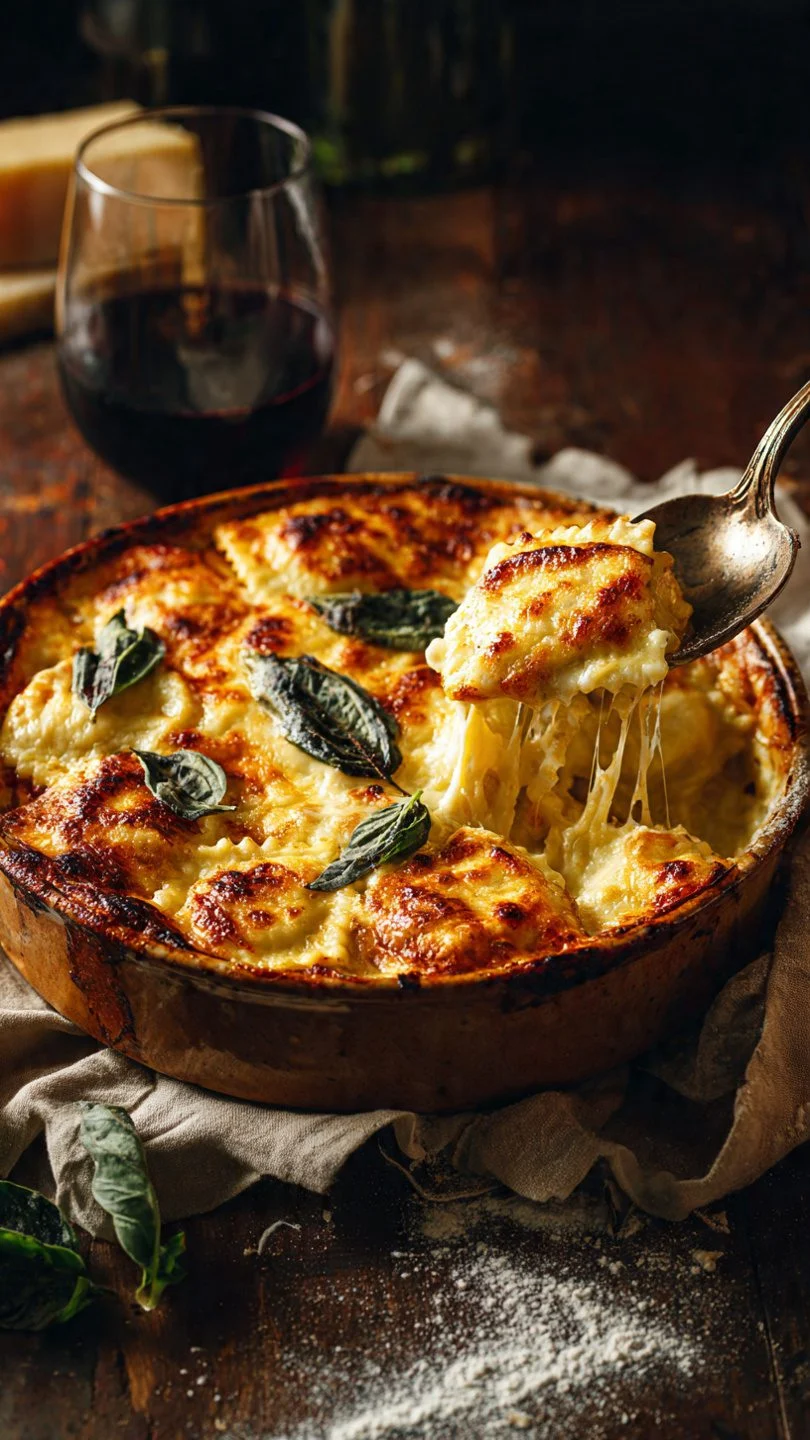
Enter the unsung hero of the freezer aisle: Frozen Cheese Ravioli.
But hold up—we aren’t just going to boil a bag of pasta, slap some watery jarred sauce on it, and call it a day. That’s sad. That’s “I give up” food. Today, we are taking that humble bag of frozen rocks and turning it into a bubbling, golden, cheesy masterpiece that tastes like you spent hours channeling your inner Italian grandmother.
This isn’t just a recipe; it’s a survival guide for anyone who wants high-end comfort food with low-end effort. Let’s turn that freezer burn into a slow burn.
Why This Recipe is Awesome
Look, I could sit here and tell you this recipe is “life-changing,” but we both know it’s pasta and cheese. However, in the realm of weeknight dinners, this specific cheese ravioli recipe frozen hack is essentially royalty.
First off, it’s practically idiot-proof. Even if you burn toast regularly, you really have to try hard to mess this one up. The beauty of frozen ravioli is that it’s durable. Unlike fresh pasta, which can turn into a gummy paste if you look at it wrong, frozen ravioli has a bit of structural integrity. It wants to survive. It wants to be dinner.
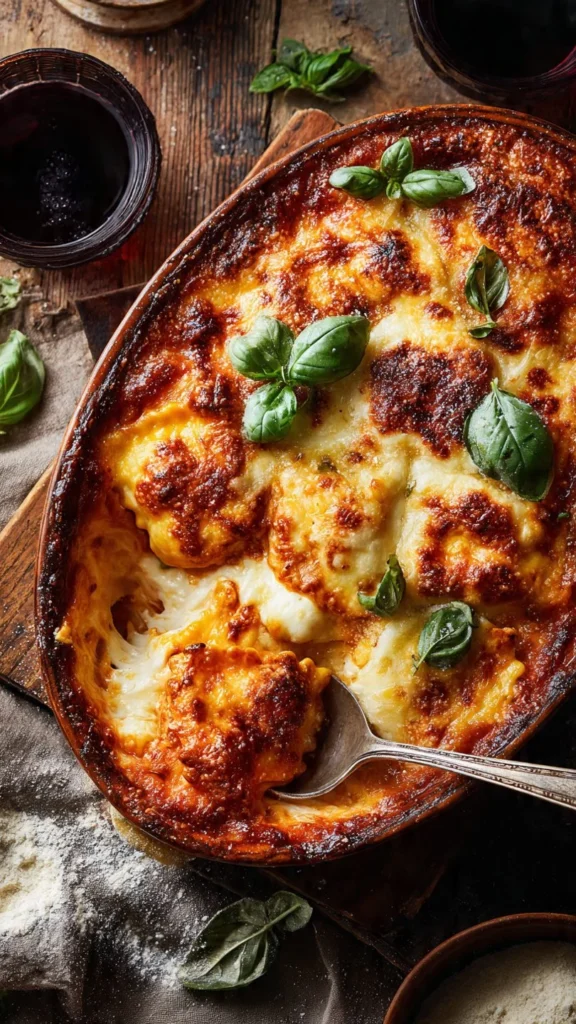
Secondly, we are leaning hard into textural contrast. The biggest issue with standard boiled ravioli is the “mush factor.” It’s soft pasta on soft cheese in soft sauce. Boring. By using my “Lazy Lasagna” bake method, we are introducing crispy edges. We are talking about that Maillard reaction—the browning of the cheese and the pasta edges that creates deep, savory flavor profiles that boiling simply cannot achieve.
Furthermore, this is a volume eater’s dream. You can bulk this out with whatever wilting veggies are rotting in your crisper drawer, and the cheese will hide the evidence. It’s economical, it feels fancy enough to serve to guests (if you transfer it to a nice dish and hide the empty bag), and it reheats like a champion.
Basically, this recipe respects your time but refuses to disrespect your palate.
Ingredients You’ll Need
We are keeping this simple, but quality matters. Don’t skimp on the cheese, folks.
- Frozen Cheese Ravioli (1 lb bag): The star of the show. You can use the fancy stuff or the generic store brand; we are going to doctor it up anyway. Do not thaw it. Seriously, keep it frozen until the last second.
- Marinara Sauce (24 oz jar): Grab a flavor you actually like. Since we aren’t making sauce from scratch (who has the time?), pick a premium jar like Rao’s or Victoria’s. If you use the $1 tin-can stuff, don’t blame me when it tastes like ketchup.
- Mozzarella Cheese (2 cups, shredded): Crucial Tip: Buy a block and grate it yourself. Pre-shredded cheese is coated in potato starch (cellulose) to keep it from clumping, which also stops it from melting into that gooey, Instagram-worthy stretch we want.
- Parmesan Cheese (1/2 cup, grated): The real stuff. Not the sawdust in the green shaker can. We want salty, nutty, umami goodness.
- Heavy Cream (1/4 cup): Optional but highly recommended. This cuts the acidity of the tomato sauce and makes everything feel luxurious.
- Garlic (3 cloves, minced): Or use garlic powder if you really can’t be bothered with a knife. I won’t judge (much).
- Fresh Basil: For the garnish. It adds a pop of green that screams, “I totally cooked this from scratch.”
- Olive Oil: Just a splash to grease the pan and maybe drizzle on top.
- Red Pepper Flakes: For a little kick to wake up your taste buds.
Step-by-Step Instructions
We are going for a “Baked Ravioli” style here because it solves all the texture issues of frozen pasta.
1. The Prep Work (aka Turning the Oven On)
Preheat your oven to 400°F (200°C). We want a high heat here. We aren’t trying to slow-cook a brisket; we are trying to blast some heat into this pasta to get that golden crust. While the oven heats up, grease a 9×13 baking dish with a little olive oil or butter.
2. The “Doctoring” of the Sauce
Pour your jarred marinara into a large bowl. Stir in the heavy cream, the minced garlic, and a pinch of red pepper flakes.
- Why we do this: Jarred sauce is usually fine, but it’s one-note. Adding fresh garlic adds punch, and the cream emulsifies with the tomatoes to create a “pink sauce” vibe that coats the ravioli much better than plain tomato sauce. It adds a velvet-like texture that mimics restaurant quality.
3. The Lazy Par-Boil (Don’t Skip This!)
Bring a large pot of water to a boil. Salt it like the ocean. When I say salt it, I mean it. This is your only chance to season the actual pasta dough. Drop the frozen cheese ravioli in.
- The Trick: Boil them for only 2-3 minutes. You want them to just start separating and floating, but the center should still be frozen.
- Science Note: If you fully cook them now, they will turn to mush in the oven. We are essentially just waking them up. Drain them immediately. Do not rinse them! The starch on the outside helps the sauce stick.
4. The Assembly Line
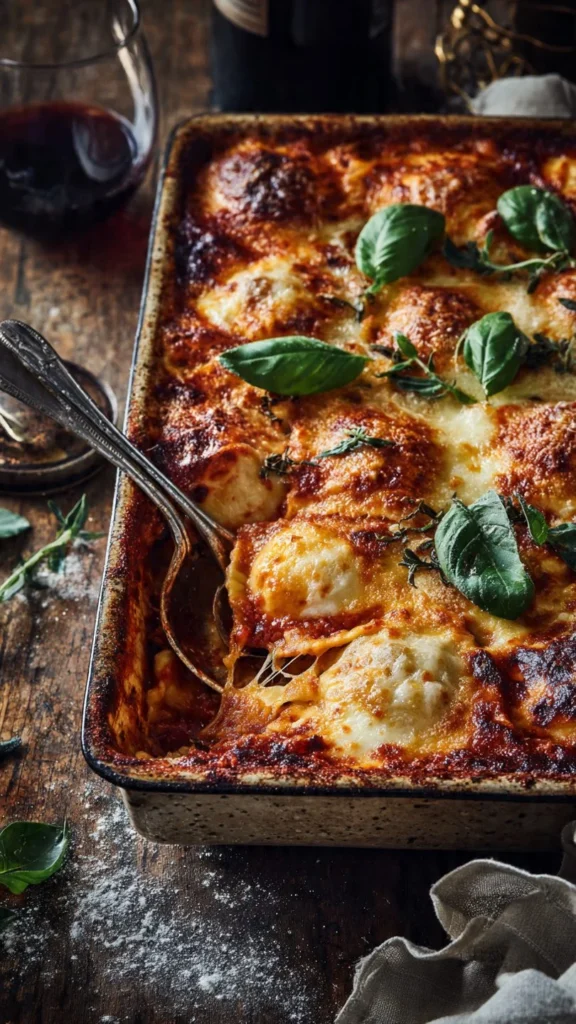
Toss the drained (but still firm) ravioli into the bowl with your doctored sauce. Gently toss them until every single square is coated. Pour half of this mixture into your baking dish. Sprinkle half of the mozzarella and half of the parmesan over this layer. Pour the rest of the ravioli and sauce on top. Top with the remaining cheese. Go heavy on the corners—that’s where the best crispy bits happen.
5. The Bake
Slide that bad boy into the oven. Bake for 20-25 minutes.
- Sensory Check: You aren’t looking for a specific time as much as a visual cue. You want the sauce to be bubbling aggressively (like a witch’s cauldron) and the cheese to be spotty golden brown.
- Pro Move: If the cheese isn’t browned enough for your liking after 20 minutes, switch the oven to Broil for 2 minutes. Watch it like a hawk, though. Burnt cheese is tragic.
6. The Hardest Part: Waiting
Remove from the oven. Let it sit for 5-10 minutes. I know, I know. You’re hungry. But if you cut into it now, the sauce will be too runny, and you’ll burn the roof of your mouth, ruining your ability to taste anything for three days. Let the sauce thicken up as it cools slightly. Top with torn fresh basil right before serving.
Common Mistakes to Avoid
Even though this is easy, there are pitfalls. Avoid these if you want culinary glory.
- The “Soggy Bottom” Syndrome: This happens if you over-boil the pasta before baking. Remember, the ravioli will continue to cook in the sauce in the oven. If they are fully cooked when they go in, they will be baby food when they come out.
- The Pre-Shredded Cheese Trap: I mentioned this earlier, but I’m repeating it because it’s vital. Pre-shredded cheese doesn’t melt right. It gets oily and waxy. Spend the extra 60 seconds grating your own block. Your soul (and your tastebuds) will thank you.
- Drowning the Pasta: Don’t use too much sauce. You want the ravioli coated, not swimming. If there is too much liquid, the pasta absorbs it all and becomes bloated. Aim for a nice coating, not a soup.
- Forgetting the Foil: If you have a crappy oven that heats unevenly, your cheese might burn before the center is hot. If you see the top getting too dark too fast, tent a piece of foil over the dish loosely to protect the cheese while the middle finishes cooking.
Alternatives & Substitutions
Cooking is an art, not a rigid set of laws. Feel free to remix this cheese ravioli recipe frozen hack.
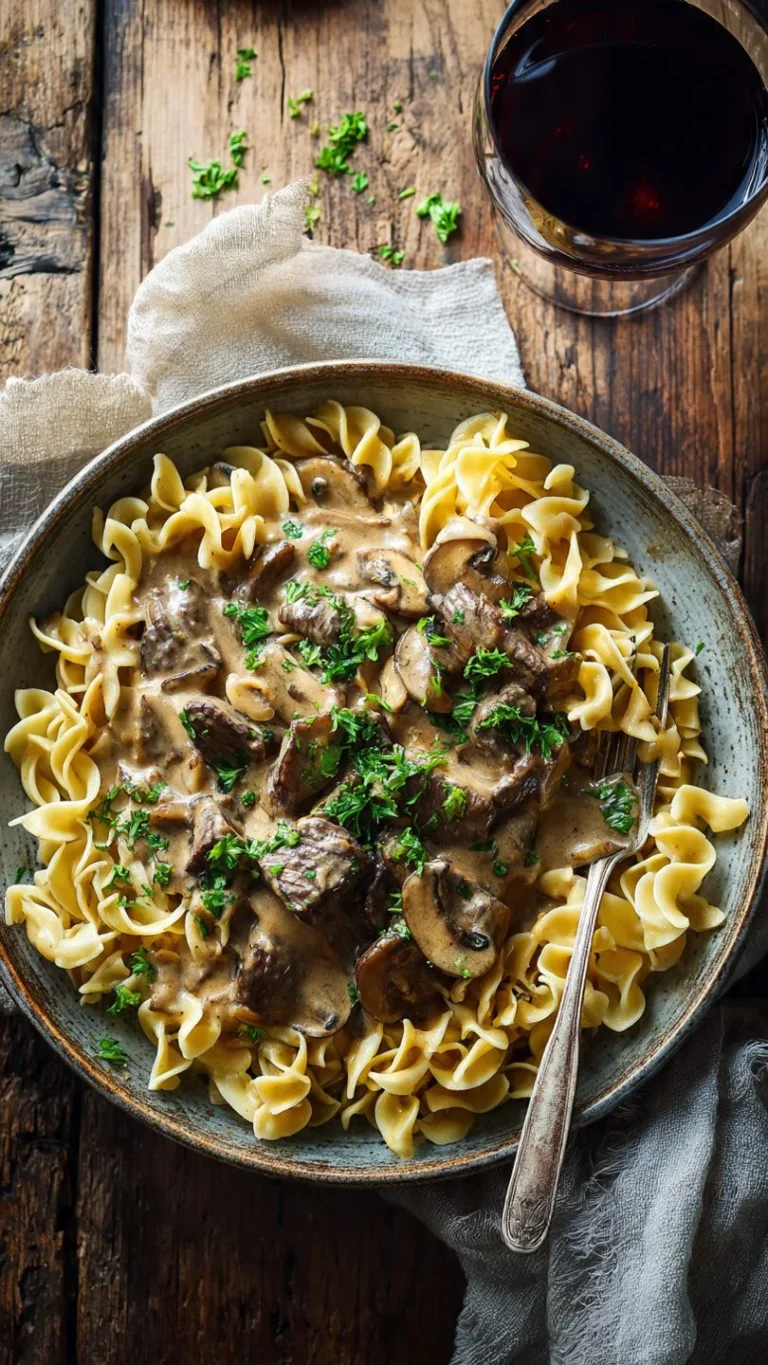
- The Meat Lover: Brown some Italian sausage or ground beef with onions before mixing it into the sauce. This turns it into a hearty “Lazy Bolognese” bake that will knock you out (in a good way).
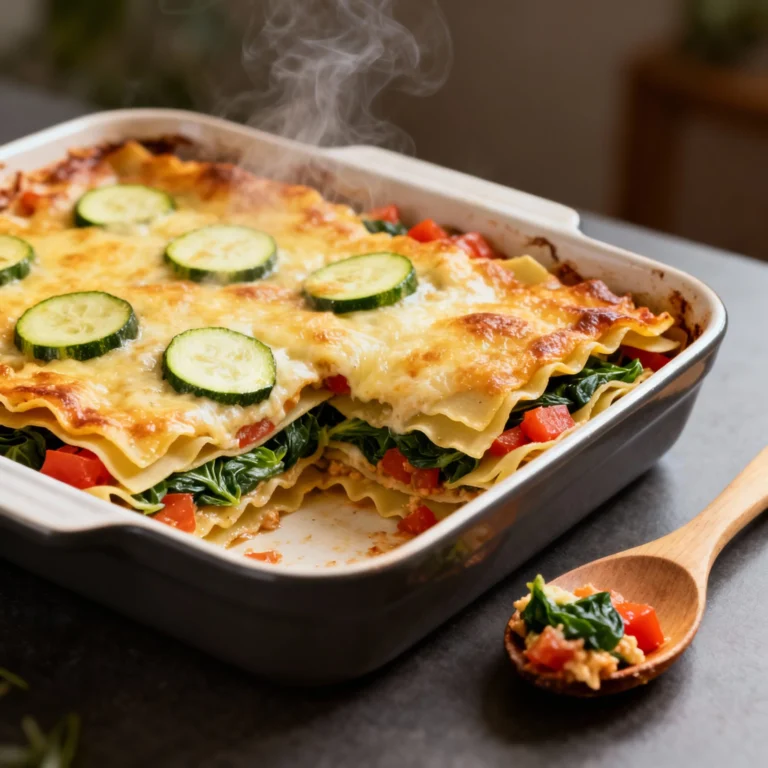
- The Veggie Sneak: Got kids (or picky partners) who hate vegetables? Finely chop spinach, zucchini, or mushrooms and mix them into the sauce. They cook down to nothing, and no one will know they are eating vitamins. It’s the perfect crime.
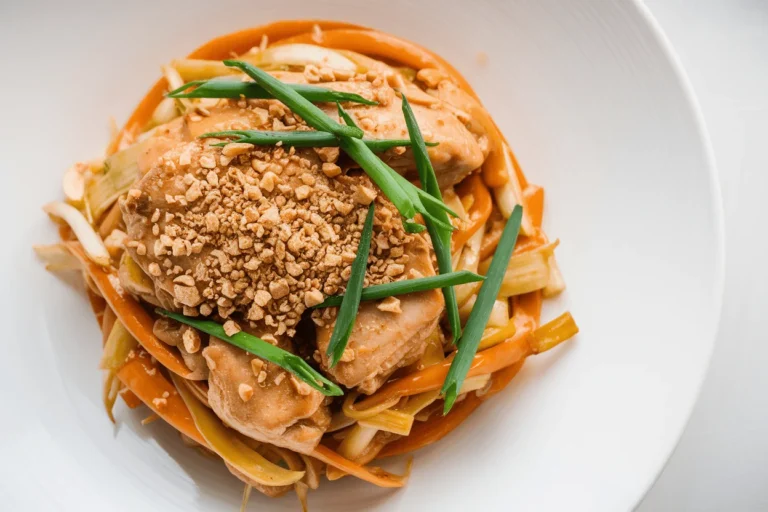
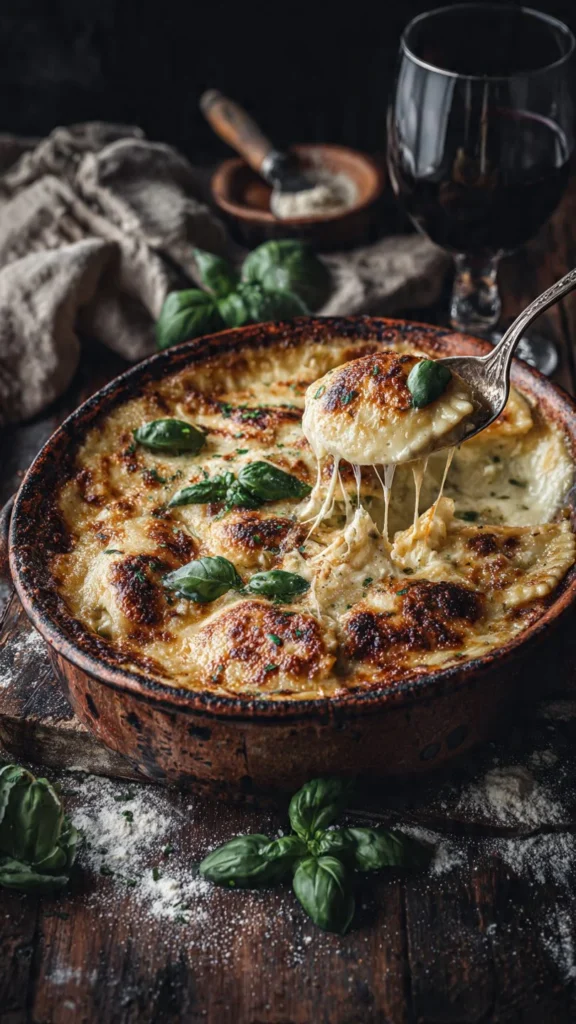
- The Alfredo Switch-Up: Not feeling tomato? Swap the marinara for a jar of Alfredo sauce. Add some cooked chicken, maybe some frozen peas, and top with extra Parm. It’s rich, heavy, and absolutely delicious.
- Gluten-Free Friends: This method works perfectly with gluten-free frozen ravioli! Just be extra careful not to over-boil them, as GF pasta tends to fall apart faster than traditional wheat pasta.
FAQ (Frequently Asked Questions)
Can I bake the ravioli without boiling them first? Technically, yes, but it’s risky. You’d need to add water to the sauce (about 1/2 cup) to hydrate the pasta, and you’d need to cover the dish tightly with foil for the first 30 minutes. It takes longer (about 45-50 mins total). My par-boil method is faster and guarantees better texture, IMO.
Can I make this ahead of time? You bet. Assemble the whole thing, let it cool, cover it, and stick it in the fridge. When you get home from work the next day, just pop it in the oven. You might need to add 5-10 minutes to the baking time since you’re starting from fridge-cold.
Can I use margarine instead of butter/oil? Well, technically yes, but why hurt your soul like that? Butter provides flavor; margarine provides sadness.
What goes well with this? A big, acidic green salad (to cut through the richness of the cheese) and garlic bread. Always garlic bread. Carbs on carbs is a lifestyle choice I fully support.
My sauce looks watery after baking. What did I do wrong? You probably didn’t let it rest! The resting period allows the starches to re-absorb the liquid. Or, you used a very watery vegetable (like raw zucchini) that released moisture during baking. Next time, sauté watery veggies before adding them.
Can I freeze the leftovers? Absolutely. Cut it into squares, wrap them in foil, and freeze. They make excellent “emergency lunches.” Just microwave them for a few minutes, and you’re good to go.
Final Thoughts
There you have it. You have successfully navigated the treacherous waters of weeknight cooking and emerged victorious with a dish that looks like it took effort but actually took mostly vibes and an oven.
Cooking doesn’t always have to be about tweezers and micro-greens. Sometimes, the best meals are the ones that bring you comfort without demanding your entire evening. This frozen cheese ravioli bake is warm, cheesy, and exactly what you need after a long day.
Now go impress someone—or just yourself—with your new culinary skills. You’ve earned it! (And don’t forget to scrape the crispy cheese off the corners of the pan. That’s the chef’s tax. You deserve it.)