Cherry Pie Recipe with Canned Filling: Effortless Deliciousness!
Craving a slice of warm, comforting cherry pie but short on time? Look no further! This recipe takes the fuss out of pie-making by utilizing canned cherry pie filling, transforming it into a show-stopping dessert with minimal effort. Forget hours spent pitting cherries and simmering a filling from scratch; this recipe allows you to enjoy a homemade-tasting pie in a fraction of the time. With a flaky, golden crust and a sweet, tangy cherry center, this pie is guaranteed to be a crowd-pleaser. Perfect for weeknight desserts, potlucks, or any occasion where you need a quick and easy treat, this cherry pie recipe is a must-have in your baking arsenal.
Why This Recipe Works
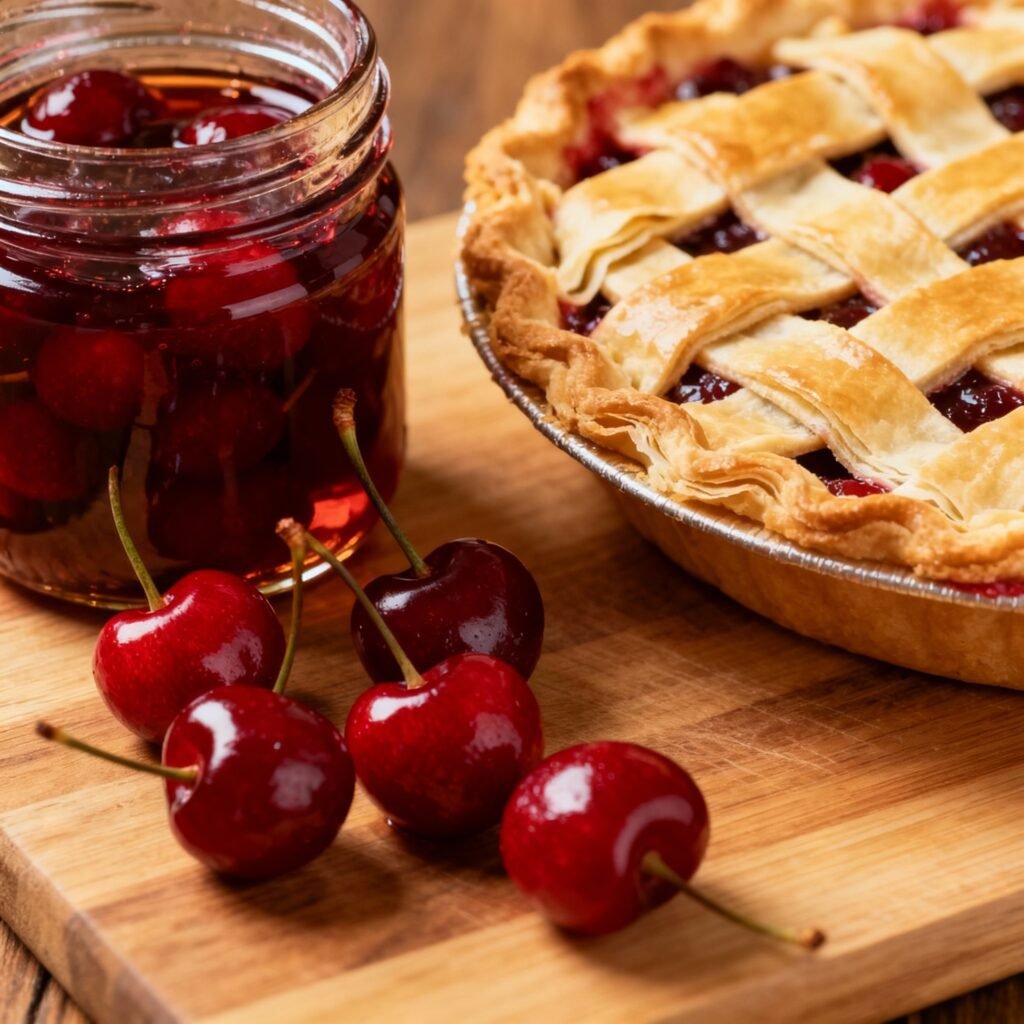
This recipe’s brilliance lies in its simplicity. By using canned cherry pie filling, we eliminate the most time-consuming part of making a cherry pie. However, we don’t sacrifice flavor! We enhance the canned filling with a few key ingredients to elevate it to homemade status. The use of lemon juice brightens the flavor, while a touch of almond extract adds a subtle, nutty complexity that complements the cherries perfectly. The pre-made pie crust (either store-bought or homemade) further streamlines the process. The result is a pie that tastes like it took hours to make, but only requires a fraction of the time and effort. Plus, using canned filling ensures a consistent texture and sweetness every time, making it a foolproof recipe for bakers of all skill levels.
Ingredients
- 1 (21 ounce) can cherry pie filling
- 1 tablespoon lemon juice
- 1/2 teaspoon almond extract
- 1/4 teaspoon ground cinnamon (optional)
- 1 box (14.1 ounces) refrigerated pie crusts (2 crusts) or homemade pie crust
- 2 tablespoons cold butter, cut into small pieces (optional, for dotting the filling)
- 1 large egg, beaten (for egg wash)
- 1 tablespoon granulated sugar (for sprinkling)
Instructions
- Preheat oven and prepare pie crust: Preheat your oven to 400°F (200°C). If using store-bought pie crust, remove it from the refrigerator and let it sit at room temperature for about 15 minutes to soften slightly. This will make it easier to work with.
- Prepare the filling: In a medium bowl, combine the canned cherry pie filling, lemon juice, almond extract, and cinnamon (if using). Stir gently to combine. This simple step adds a brightness and depth of flavor that elevates the canned filling.
- Line the pie plate: Unroll one of the pie crusts and carefully place it in a 9-inch pie plate. Gently press the crust into the bottom and up the sides of the pie plate. Trim any excess crust hanging over the edge with kitchen scissors or a knife, leaving about a 1-inch overhang.
- Add the filling: Pour the cherry pie filling mixture into the prepared pie crust. Distribute the filling evenly. If desired, dot the top of the filling with the cold butter pieces. This will add richness and prevent the filling from becoming too dry.
- Top with the second crust: Unroll the second pie crust and carefully place it over the filling. Trim any excess crust, leaving a 1-inch overhang.
- Seal and crimp the edges: Fold the overhanging crust from both the top and bottom crusts under, pressing them together to seal the edges. Crimp the edges using your fingers or a fork to create a decorative border. This will help prevent the filling from leaking out during baking.
- Cut vents: Using a sharp knife, cut several slits in the top crust to allow steam to escape during baking. This will prevent the crust from puffing up and cracking. You can also get creative and cut out decorative shapes using cookie cutters.
- Egg wash and sugar: Brush the top crust with the beaten egg wash. This will give the crust a beautiful golden-brown color. Sprinkle the crust with granulated sugar for added sweetness and sparkle.
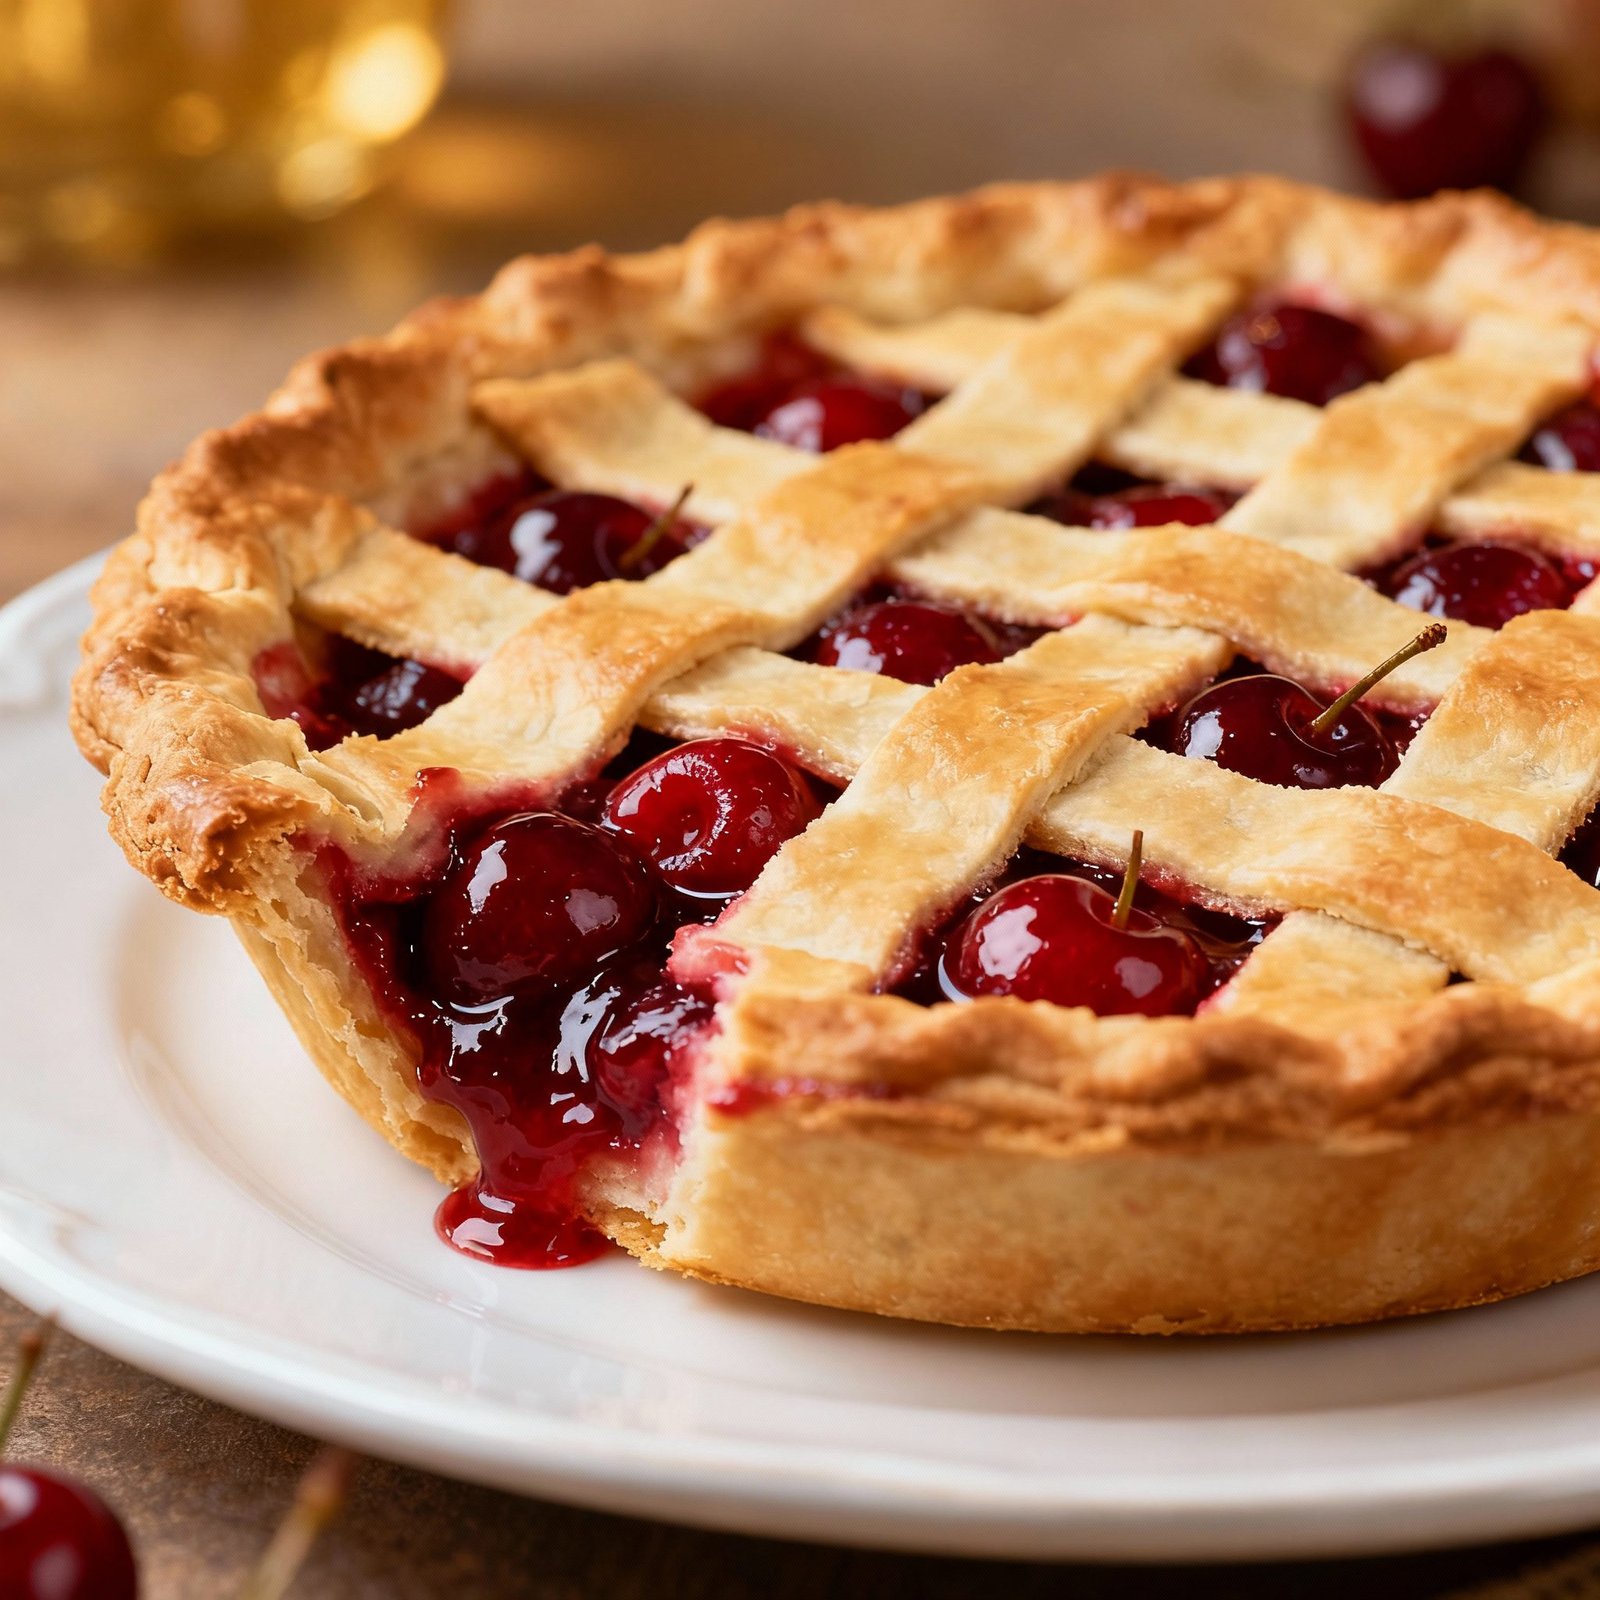
- Bake: Bake the pie in the preheated oven for 45-50 minutes, or until the crust is golden brown and the filling is bubbling. If the crust starts to brown too quickly, you can tent it with aluminum foil to prevent it from burning.
- Cool: Remove the pie from the oven and let it cool completely on a wire rack before slicing and serving. This is important because the filling will thicken as it cools.
Tips for Success
- Don’t overmix the filling: When combining the cherry pie filling with the lemon juice, almond extract, and cinnamon, be careful not to overmix. Overmixing can make the filling too thin.
- Keep the crust cold: Working with cold pie crust is essential for achieving a flaky texture. If the crust becomes too warm, it will be difficult to handle and may result in a tough pie.
- Prevent a soggy bottom crust: To prevent a soggy bottom crust, you can pre-bake the bottom crust for about 10 minutes before adding the filling. This will help to set the crust and prevent it from absorbing too much moisture from the filling.
- Use a pie shield: If your pie crust tends to brown too quickly, you can use a pie shield or strips of aluminum foil to protect the edges of the crust.
- Let the pie cool completely: Resist the urge to cut into the pie while it’s still hot. Letting the pie cool completely allows the filling to thicken and set, making it easier to slice and serve.
- Consider using a lattice top: For a more visually appealing pie, consider using a lattice top instead of a full top crust. A lattice top allows more of the filling to be visible and adds a touch of elegance to the pie.
- Add a crumb topping: For a different texture and flavor, consider adding a crumb topping to the pie instead of a top crust. A crumb topping can be made with flour, sugar, butter, and spices.
Storage Instructions
Store leftover cherry pie at room temperature for up to 2 days, or in the refrigerator for up to 4 days. To prevent the crust from becoming soggy, store the pie uncovered or loosely covered. You can also freeze the pie for up to 2 months. To freeze, wrap the pie tightly in plastic wrap and then in aluminum foil. Thaw the pie in the refrigerator overnight before serving. You can reheat the pie in a preheated oven at 350°F (175°C) for about 15-20 minutes, or until warmed through.
FAQ
Q: Can I use a different type of fruit filling?
A: Absolutely! This recipe works well with other canned fruit pie fillings, such as apple, blueberry, or peach. Just adjust the spices accordingly to complement the fruit. For example, you might use nutmeg with apple pie filling or cardamom with peach pie filling.
Q: Can I use a homemade pie crust?
A: Yes, you can definitely use a homemade pie crust. In fact, a homemade crust will often result in a flakier and more flavorful pie. Just make sure to use a recipe that yields enough dough for a double-crust pie.
Q: Can I add other ingredients to the filling?
A: Yes, feel free to experiment with adding other ingredients to the filling. Some popular additions include chopped nuts (such as almonds or pecans), dried cranberries, or a splash of bourbon or rum.
Q: My pie crust is browning too quickly. What should I do?
A: If your pie crust is browning too quickly, you can tent it with aluminum foil. Simply loosely cover the pie with a sheet of aluminum foil, making sure to leave a small opening for steam to escape.
Q: My pie filling is too runny. What can I do?
A: If your pie filling is too runny, you can try adding a tablespoon of cornstarch or tapioca starch to the filling mixture before baking. This will help to thicken the filling.
Conclusion
This cherry pie recipe with canned filling is a testament to the fact that delicious desserts don’t have to be complicated. By utilizing the convenience of canned filling and enhancing it with a few simple ingredients, you can create a pie that tastes homemade without spending hours in the kitchen. Whether you’re a seasoned baker or a beginner, this recipe is sure to become a go-to for satisfying your sweet tooth. So, grab a can of cherry pie filling, roll out the crust, and get ready to enjoy a slice of effortless deliciousness!