🍗 The Ultimate Chicken Fried Chicken Recipe (Crispy & Juicy!)
Look, let’s just be real for a second. You didn’t click on this because you’re looking for a light, sensible salad to fuel your yoga session. You’re here because you want something that crunches loudly when you bite into it, something juicy and savory, and something that absolutely demands to be smothered in creamy white gravy. You’re craving comfort food at its absolute peak, and honestly? Same. This chicken fried chicken recipe is practically a spiritual experience, and I’m going to walk you through it so you don’t burn your kitchen down.

Why This Recipe is Awesome
Okay, so why this specific chicken fried chicken recipe? Because it respects the sacred balance of the universe: maximum crunch on the outside, zero dryness on the inside.
If you’ve ever ordered this at a diner and received a sad, rubbery piece of chicken clad in soggy breading that slides right off, you know the heartbreak I’m talking about. That is not what we are doing here today.
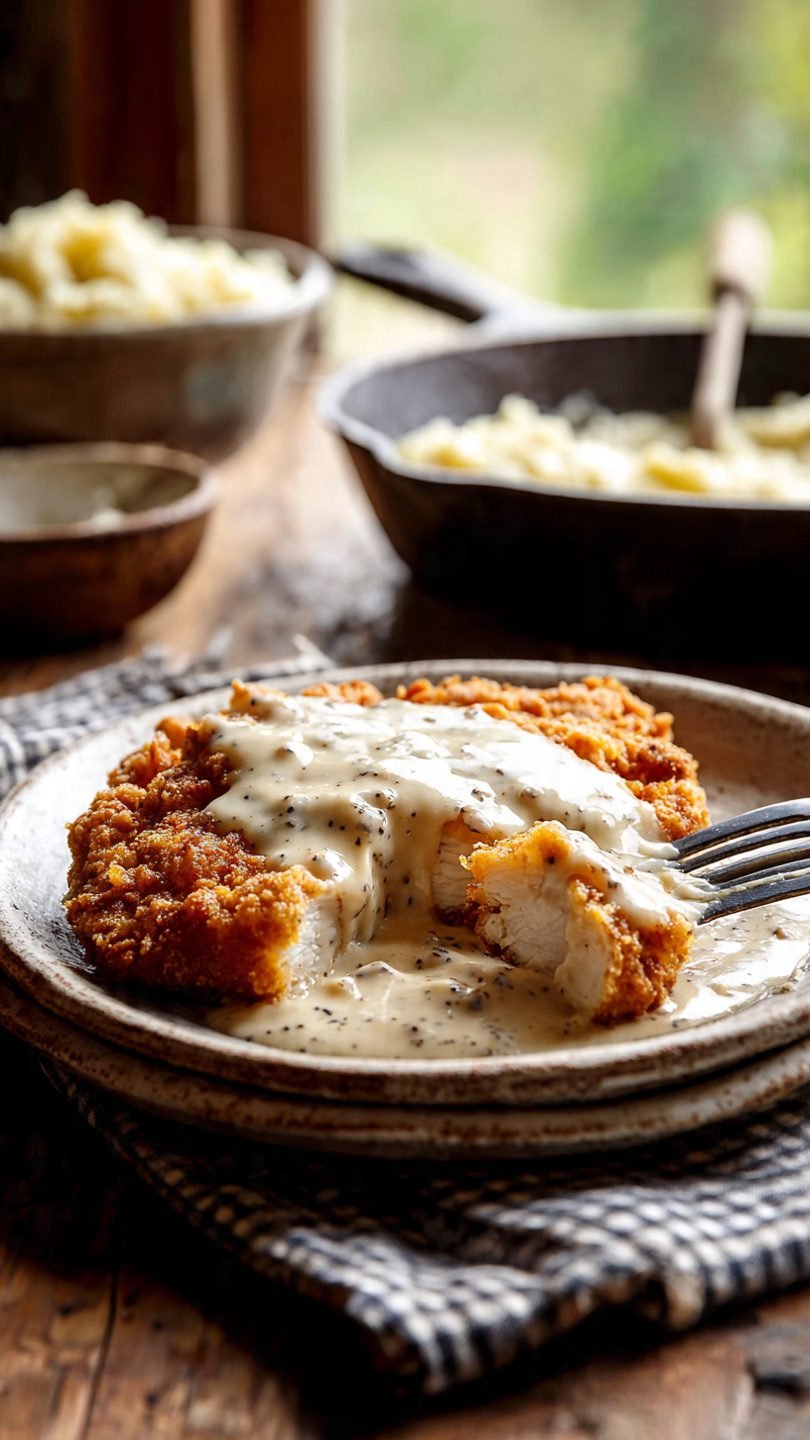
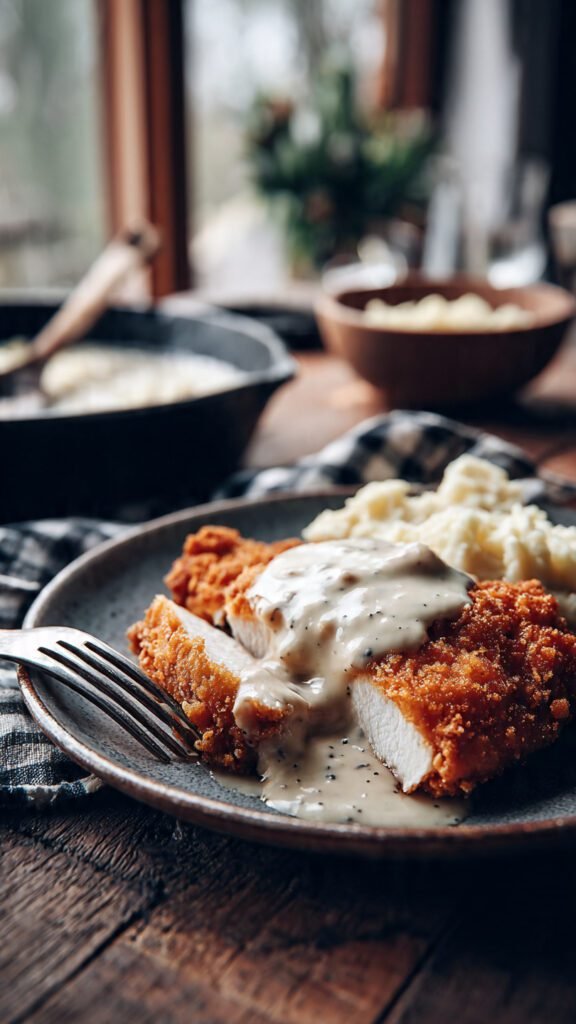
We are creating a masterpiece. The crust on this chicken is shatteringly crisp. It’s golden-brown, deeply seasoned, and has all those little craggy bits that hold onto gravy like their life depends on it.
But the real magic happens inside. Because we aren’t afraid of a little prep work, the chicken remains incredibly tender and juicy. We’re talking melt-in-your-mouth tender. It’s the kind of meal that makes you close your eyes and do a little happy food dance in your chair. Plus, let’s be honest, the name itself is a fun little riddle. “Chicken fried chicken.” It’s chicken cooked in the style of chicken fried steak. It’s confusing, it’s delicious, and it’s about to be your new favorite thing.
Ingredients You’ll Need
Don’t panic. You probably have 90% of this stuff in your pantry right now. If you have to run to the store, it’s worth the trip.
The Star of the Show:
- Boneless, Skinless Chicken Breasts: Get two large ones. We’re going to beat them up later (therapeutically, of course).
The Marinade (Don’t Skip This):
- Buttermilk: The MVP of tenderizing. If you don’t have it, see the substitutions section below, but real buttermilk is king.
- Hot Sauce: Just a dash. We aren’t making buffalo chicken; we just want a hum of background flavor.
The Dredge (The Crunch Factor):
- All-Purpose Flour: The foundation of our crust.
- Cornstarch: My secret weapon. A little bit of cornstarch mixed with flour guarantees a crispier, lighter coating than flour alone.
- Baking Powder: Just a pinch helps aerate the breading, making it puffy and crunchy rather than dense and leaden.
The Flavor Bomb (Seasoning):
- Salt & Black Pepper: Be generous. Bland breading is a crime against humanity.
- Garlic Powder & Onion Powder: The savory duo.
- Smoked Paprika: For color and a hint of smoky goodness.
- Cayenne Pepper: Optional, if you want a little kick.
For Frying:
- Vegetable or Canola Oil: You need an oil with a high smoke point. Do not use your fancy extra virgin olive oil here; it will smoke, burn, and taste awful.
The Gravy (Liquid Gold):
- Pan Drippings: The flavorful bits left after frying.
- Butter: If you need extra fat.
- Flour: To make the roux.
- Whole Milk: Don’t use skim milk here. We’re already deep-frying; live a little.
Step-by-Step Instructions
Alright, grab an apron. Things are about to get messy in the best way possible.
1. The Therapeutic Pound Take your chicken breasts. Slice them in half horizontally (butterflying them) so you have four thinner cutlets. Now, place them between pieces of plastic wrap. Grab a meat mallet or, if you don’t own one, a heavy rolling pin or a small cast-iron skillet works wonders. Gently pound the chicken until each piece is about 1/4-inch thick. This is crucial. Thin chicken cooks quickly, ensuring the meat is done at the exact moment the crust is golden. If they are too thick, the crust burns before the middle cooks.
2. The Buttermilk Bath In a shallow bowl, whisk together the buttermilk and hot sauce. Submerge your thinned chicken cutlets in this glorious mixture. Let them hang out in the fridge for at least 30 minutes, but an hour or two is better. The acidity in the buttermilk breaks down protein structures in the chicken, ensuring it stays incredibly tender during the high heat of frying.
3. The Seasoned Dredge Setup While the chicken is marinating, set up your station. In a large, wide bowl (pie plates work great for this), whisk together the flour, cornstarch, baking powder, and all those spices. Taste a tiny pinch of the flour mixture. Does it taste seasoned? If it tastes like plain flour, add more salt.
4. The Double Dip Technique This is where you need to focus. We want a substantial crust. Take a piece of chicken out of the buttermilk, letting the excess drip off. Dredge it completely in the flour mixture, pressing down hard so the flour adheres. Now—and this is the secret—dunk it back into the buttermilk briefly, then back into the flour again. Press the flour in, flip it, and shake off the excess. Place the breaded chicken on a wire rack while you do the rest.
- Pro-Tip: Use the “wet hand/dry hand” method. Keep one hand for the buttermilk bowl and the other for the flour bowl. Otherwise, you will end up with “club hand”—a giant, unusable mitt of paste on your fingers.
5. The Fry Zone Grab your largest, heaviest skillet (cast iron is best here). Pour in about an inch of oil. Heat it over medium-high until it reaches 350°F to 375°F. If you don’t have a thermometer, flick a tiny bit of flour into the oil. If it sizzles immediately, you’re good.
Carefully lay two pieces of chicken into the hot oil, laying them away from you so you don’t splash hot grease on yourself. Do not overcrowd the pan. If you put too much cold chicken in at once, the oil temperature drops too rapidly. Instead of frying and searing the crust, the chicken will steam and soak up grease. Gross.
Fry for about 3–5 minutes per side. You are looking for a deep golden-brown color and an internal temperature of 165°F. When done, move them to a clean wire rack set over a baking sheet. Do not put fried food on paper towels. Paper towels steam the bottom of the chicken, making your hard-earned crust soggy. A wire rack lets air circulate, keeping it crispy.
6. The Gravy Finale Once all the chicken is fried, pour off most of the oil from the skillet, leaving about 3 tablespoons of fat and all those crunchy browned bits (the “fond”) in the bottom. Keep the heat on medium. Whisk in 3 tablespoons of flour. Cook this roux, stirring constantly, for about a minute until it smells nutty and looks paste-like. This cooks out the raw flour taste.
Slowly—I mean slowly—pour in the milk while whisking like a maniac. If you dump the milk in all at once, you’ll get lumpy gravy. Whisk until smooth. Bring it to a gentle simmer; it will thicken as it bubbles. Season heavily with salt and LOTS of black pepper. If it’s too thick, add a splash more milk. Serve immediately over that glorious crispy chicken.
Common Mistakes to Avoid
- The Oil isn’t Hot Enough: This is the number one dream killer. If your oil is only 300°F, the breading will just drink up the oil. The result is greasy, heavy chicken. Buy a cheap kitchen thermometer; it changes the game.
- Skipping the Pounding: If your chicken breasts are an inch thick in the middle, you’re going to have a bad time. The outside will be charcoal before the inside is safe to eat. Pound them thin!
- Being Shy with Salt: Flour has zero flavor. Chicken breast has almost zero flavor. If you don’t aggressively season your flour dredge, your final product will taste like crispy air.
- Rushing the Gravy Milk: Dumping cold milk recklessly into hot oil and flour creates impenetrable lumps of dough. Whisk slowly and steadily.
Alternatives & Substitutions
- The Buttermilk Hack: No buttermilk? No problem. FYI, you can make your own. Just add 1 tablespoon of white vinegar or lemon juice to just under a cup of regular milk. Let it sit for 5 minutes until it looks curdled and gross. That’s perfect.
- Gluten-Free: You can absolutely make this GF. Swap the all-purpose flour for a high-quality “cup-for-cup” gluten-free flour blend. The texture might be slightly different, but it still scratches the itch.
- Air Fryer? Look, can you? Yes. Should you? IMO, no. It will be chicken tenders, not chicken fried chicken. It won’t have that distinct, craggy, deep-fried soul. If you must, spray the breaded chicken generously with oil and air fry at 375°F for 12-15 minutes, flipping halfway. But don’t say I didn’t warn you.
FAQ (Frequently Asked Questions)
- Wait, is this Chicken Fried Steak? No, but they are cousins. Chicken fried steak is made with thin, tenderized beef cubed steak cooked in this exact same manner. This is… chicken, fried like steak.
- Can I prep this ahead of time? You can pound the chicken and leave it in the buttermilk marinade overnight. You can even mix up the flour dredge ahead of time. But do not bread the chicken until just before you are ready to fry. If heavily breaded chicken sits around, the flour gets gummy.
- Why is my crust falling off? Usually, this means your chicken was too wet when it hit the first flour dusting, or you didn’t press the flour in hard enough. Also, let the chicken rest for 5 minutes on the rack after breading it, before it hits the oil. This helps the crust set.
- How do I reheat leftovers? Please do not microwave this. The microwave is where crispy food goes to die. Reheat leftovers in an oven or toaster oven at 350°F until heated through and crispy again (about 10–15 minutes).
- What do I serve this with? Mashed potatoes are non-negotiable. Green beans (cooked with bacon) are highly recommended. A fluffy biscuit wouldn’t hurt anybody, either.

Final Thoughts
There you have it. You have conquered the art of the chicken fried chicken recipe. Your kitchen probably smells like a Southern diner, there’s likely flour dusting your countertops, and you are about to have an incredibly satisfying meal.
Don’t stress if your first attempt isn’t picture-perfect. Frying is a skill that takes a little practice, mostly getting a feel for oil temperature regulation. But even “imperfect” fried chicken covered in gravy is still delicious. So grab a fork, forget about counting macros for one night, and enjoy the crunch!