Coffee Jelly Recipe Filipino: A Sweet & Caffeinated Treat!
Coffee jelly, or “kopi jeli” as it’s sometimes called, is a delightful and refreshing dessert popular across Asia. While it might sound unusual, the combination of subtly bitter coffee flavor and jiggly, cool texture is surprisingly addictive. This Filipino-style coffee jelly recipe builds upon the classic, adding a touch of local flair and sweetness that makes it the perfect ending to any meal, especially on a hot day. Forget your usual leche flan or halo-halo for a moment – coffee jelly is here to steal the dessert spotlight! This recipe is simple, requires minimal ingredients, and is incredibly customizable, allowing you to adjust the sweetness and coffee strength to your liking. Get ready to experience a unique and satisfying dessert that will surely become a family favorite.
Why This Recipe Works
This recipe is successful because it focuses on achieving the perfect balance of coffee flavor, sweetness, and texture. Here’s a breakdown:
- Strong Coffee Base: Using a concentrated coffee base ensures that the jelly has a robust and authentic coffee flavor that isn’t diluted by the addition of gelatin and sugar. We recommend using strong brewed coffee or espresso.
- Gelatin Ratio: The ratio of gelatin to liquid is crucial for the right texture. We use just enough gelatin to create a firm but still delightfully jiggly jelly. Too much gelatin will result in a rubbery texture, while too little will prevent the jelly from setting properly.
- Sweetness Control: The recipe allows for flexibility in adjusting the sugar level. Filipinos often prefer a slightly sweeter dessert, but you can easily reduce the sugar if you prefer a more subtle sweetness.
- Creamy Topping: The creamy topping, often made with evaporated milk or a simple cream, provides a contrasting texture and richness that complements the bitterness of the coffee. This adds a layer of indulgence and makes the dessert even more satisfying.
- Easy to Customize: This recipe is a great starting point. You can experiment with different types of coffee, add flavor extracts like vanilla or chocolate, or even incorporate other ingredients like tapioca pearls for a unique twist.
Ingredients
- 4 cups Strong Brewed Coffee: Use your favorite brand or blend. Let it cool slightly before adding the gelatin.
- 1/2 cup Granulated Sugar: Adjust to your desired sweetness.
- 2 tablespoons Unflavored Gelatin Powder: This is the key to setting the jelly.
- 1/2 cup Cold Water: For blooming the gelatin.
- 1 can (12 oz) Evaporated Milk: For the creamy topping. You can also use heavy cream or a combination of both.
- 1/4 cup Sweetened Condensed Milk: (Optional) To sweeten the evaporated milk topping. Adjust to taste.
- (Optional) Vanilla Extract: A few drops to enhance the flavor of the topping.

Instructions
- Bloom the Gelatin: In a small bowl, sprinkle the gelatin powder over the cold water. Let it sit for 5-10 minutes until it softens and becomes a thick paste. This process, called blooming, ensures that the gelatin dissolves evenly and prevents lumps.
- Dissolve the Gelatin: Heat the brewed coffee in a saucepan over medium heat. Do not boil. Add the sugar and stir until it dissolves completely. Once the sugar is dissolved, remove the coffee from the heat. Add the bloomed gelatin to the hot coffee and stir until it is completely dissolved. Ensure there are no gelatin granules remaining.
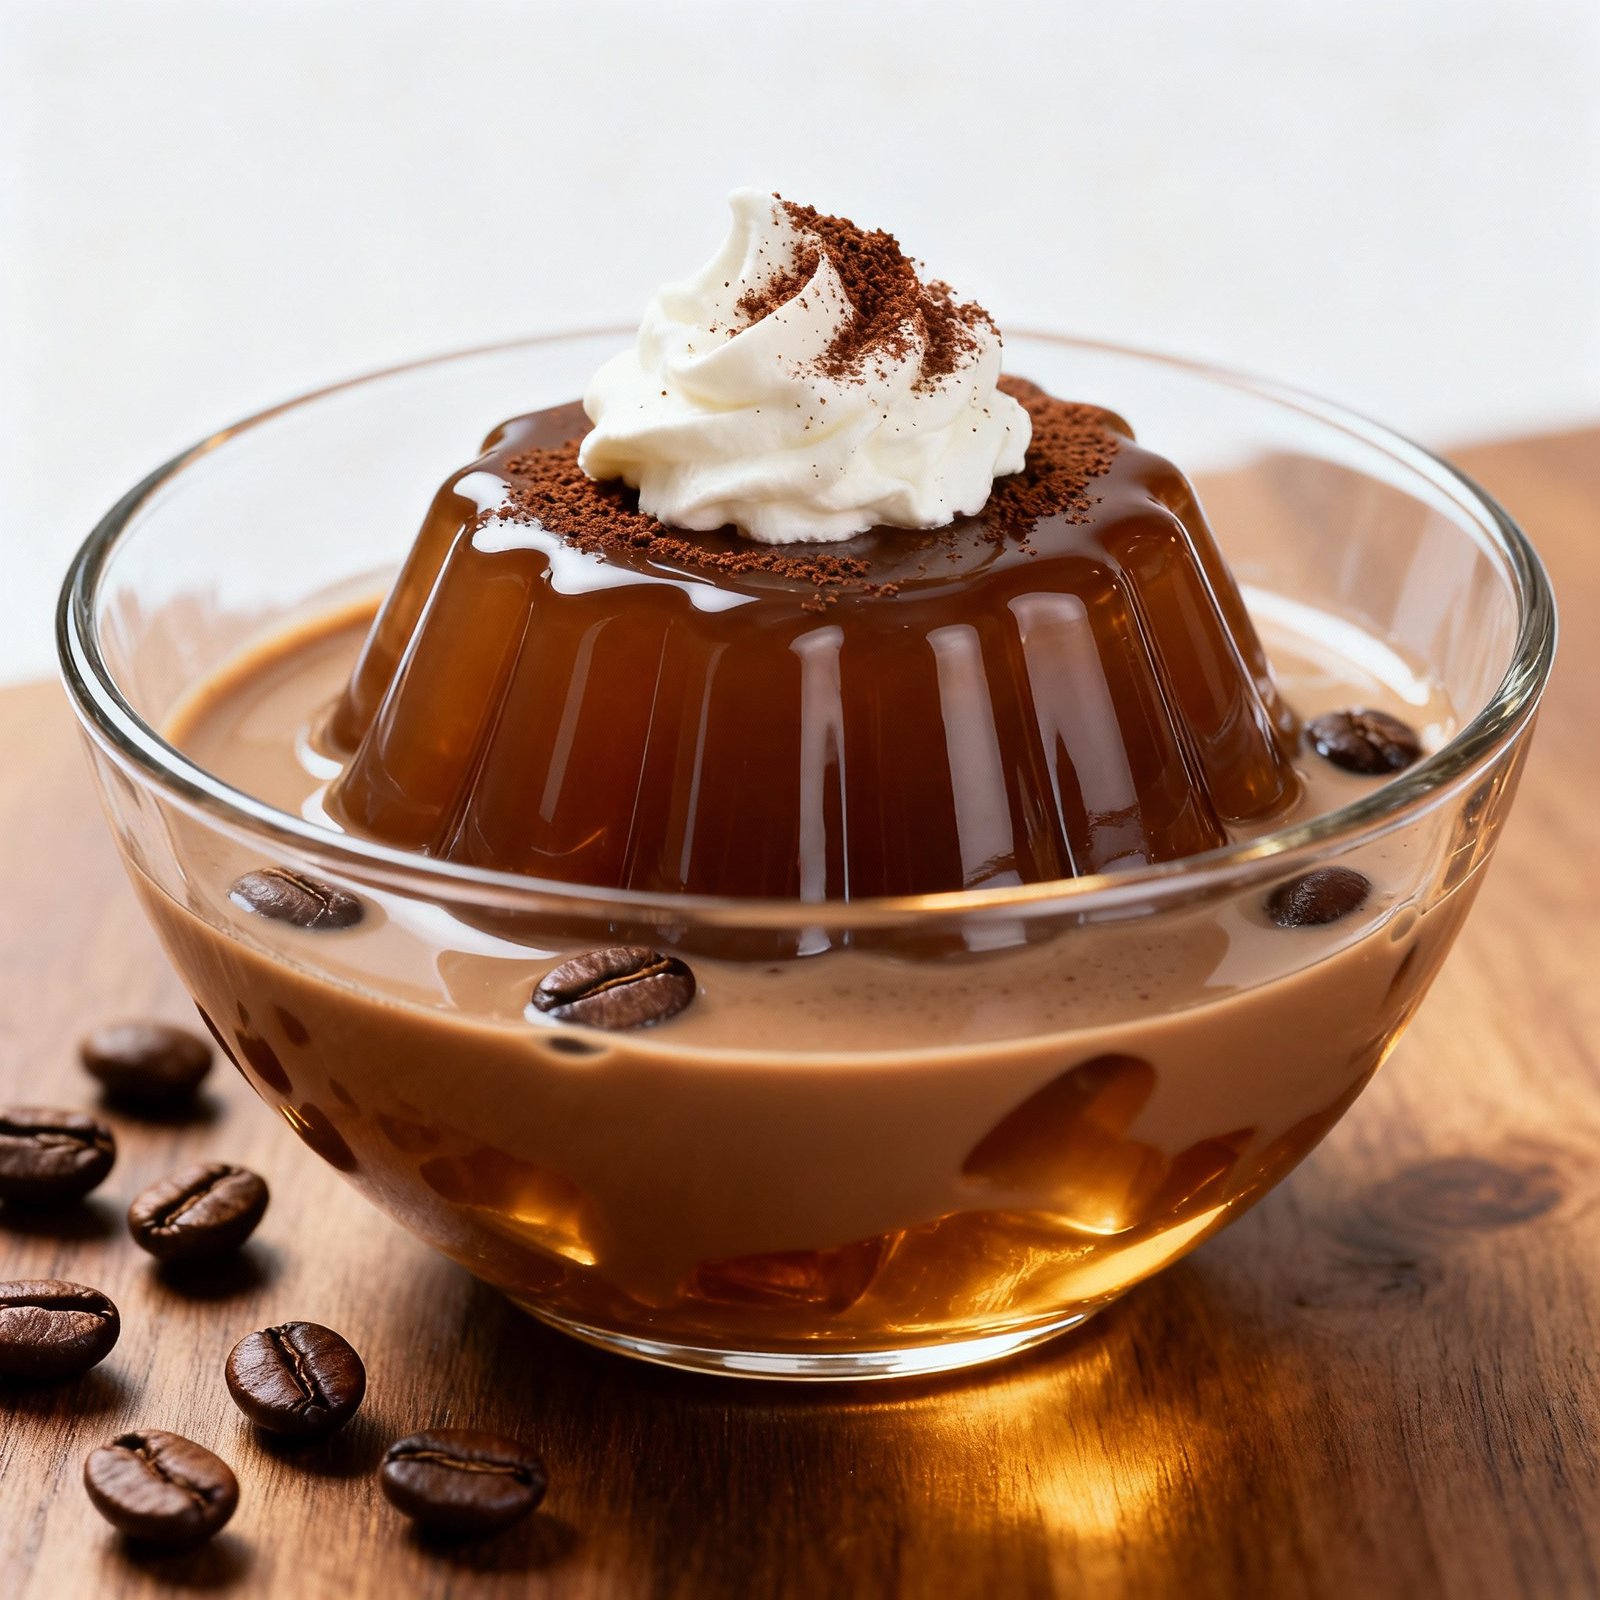
- Pour into Molds: Pour the coffee mixture into a serving dish or individual molds. Clear glass bowls or cups showcase the beautiful dark color of the jelly.
- Chill: Cover the dish or molds with plastic wrap and refrigerate for at least 4 hours, or preferably overnight, until the jelly is firm and set.
- Prepare the Topping: While the jelly is chilling, prepare the creamy topping. In a bowl, combine the evaporated milk and sweetened condensed milk (if using). Add a few drops of vanilla extract (optional). Stir well to combine. Adjust the sweetness to your liking by adding more or less sweetened condensed milk.
- Serve: Once the jelly is set, cut it into cubes or leave it as is. Spoon the creamy topping over the coffee jelly and serve chilled. Garnish with a sprinkle of coffee powder or chocolate shavings for a more elegant presentation (optional).
Tips for Success
- Use High-Quality Coffee: The flavor of the coffee is the star of this dessert, so choose a coffee that you enjoy. Strong brewed coffee or espresso will give the best results.
- Don’t Boil the Coffee: Boiling the coffee can alter its flavor and potentially affect the setting of the gelatin. Heat it gently just until the sugar and gelatin are dissolved.
- Ensure Gelatin is Fully Dissolved: Undissolved gelatin will result in a grainy texture. Stir thoroughly until the gelatin is completely dissolved.
- Adjust Sweetness to Taste: The amount of sugar can be adjusted to your preference. Start with the recommended amount and add more if needed.
- Chill Thoroughly: Allow the jelly to chill for at least 4 hours, or preferably overnight, to ensure it is fully set and firm.
- Experiment with Flavors: Add a teaspoon of vanilla extract, almond extract, or even a splash of coffee liqueur to the coffee mixture for a unique flavor twist.
- Try Different Toppings: Instead of evaporated milk, try using heavy cream, coconut cream, or even a dollop of whipped cream.
Storage Instructions
Coffee jelly can be stored in the refrigerator for up to 3 days. Keep it covered with plastic wrap to prevent it from drying out. It’s best to store the jelly and the creamy topping separately and combine them just before serving to prevent the jelly from becoming soggy. Do not freeze coffee jelly, as freezing will alter its texture and make it watery upon thawing.

FAQ
Q: Can I use instant coffee?
A: While you can use instant coffee, the flavor will not be as rich or authentic as using brewed coffee or espresso. If using instant coffee, use a high-quality brand and dissolve it in hot water before adding it to the recipe.
Q: Can I use agar-agar instead of gelatin?
A: Yes, you can substitute agar-agar for gelatin. Use approximately 1 tablespoon of agar-agar powder for every 2 tablespoons of gelatin. Agar-agar is a vegetarian alternative to gelatin. Follow the instructions on the agar-agar package for proper preparation.
Q: My coffee jelly didn’t set. What went wrong?
A: There are several reasons why your coffee jelly might not have set. The most common reasons are: not using enough gelatin, not allowing the gelatin to bloom properly, or not chilling the jelly for a sufficient amount of time. Make sure to follow the recipe instructions carefully and allow the jelly to chill for at least 4 hours, or preferably overnight.
Q: Can I make this recipe ahead of time?
A: Yes, coffee jelly can be made ahead of time. It can be stored in the refrigerator for up to 3 days. Prepare the creamy topping separately and add it just before serving.
Q: Can I add other ingredients to the coffee jelly?
A: Absolutely! Feel free to get creative and add other ingredients to the coffee jelly, such as tapioca pearls, nata de coco, or even small pieces of chocolate.
Conclusion
This Filipino-style coffee jelly recipe is a simple yet satisfying dessert that’s perfect for any occasion. With its unique combination of coffee flavor and jiggly texture, it’s sure to be a hit with both kids and adults. The flexibility of this recipe allows you to customize the sweetness and coffee strength to your liking, making it a truly personalized treat. So, ditch the usual desserts and give this coffee jelly recipe a try – you won’t be disappointed! Enjoy!