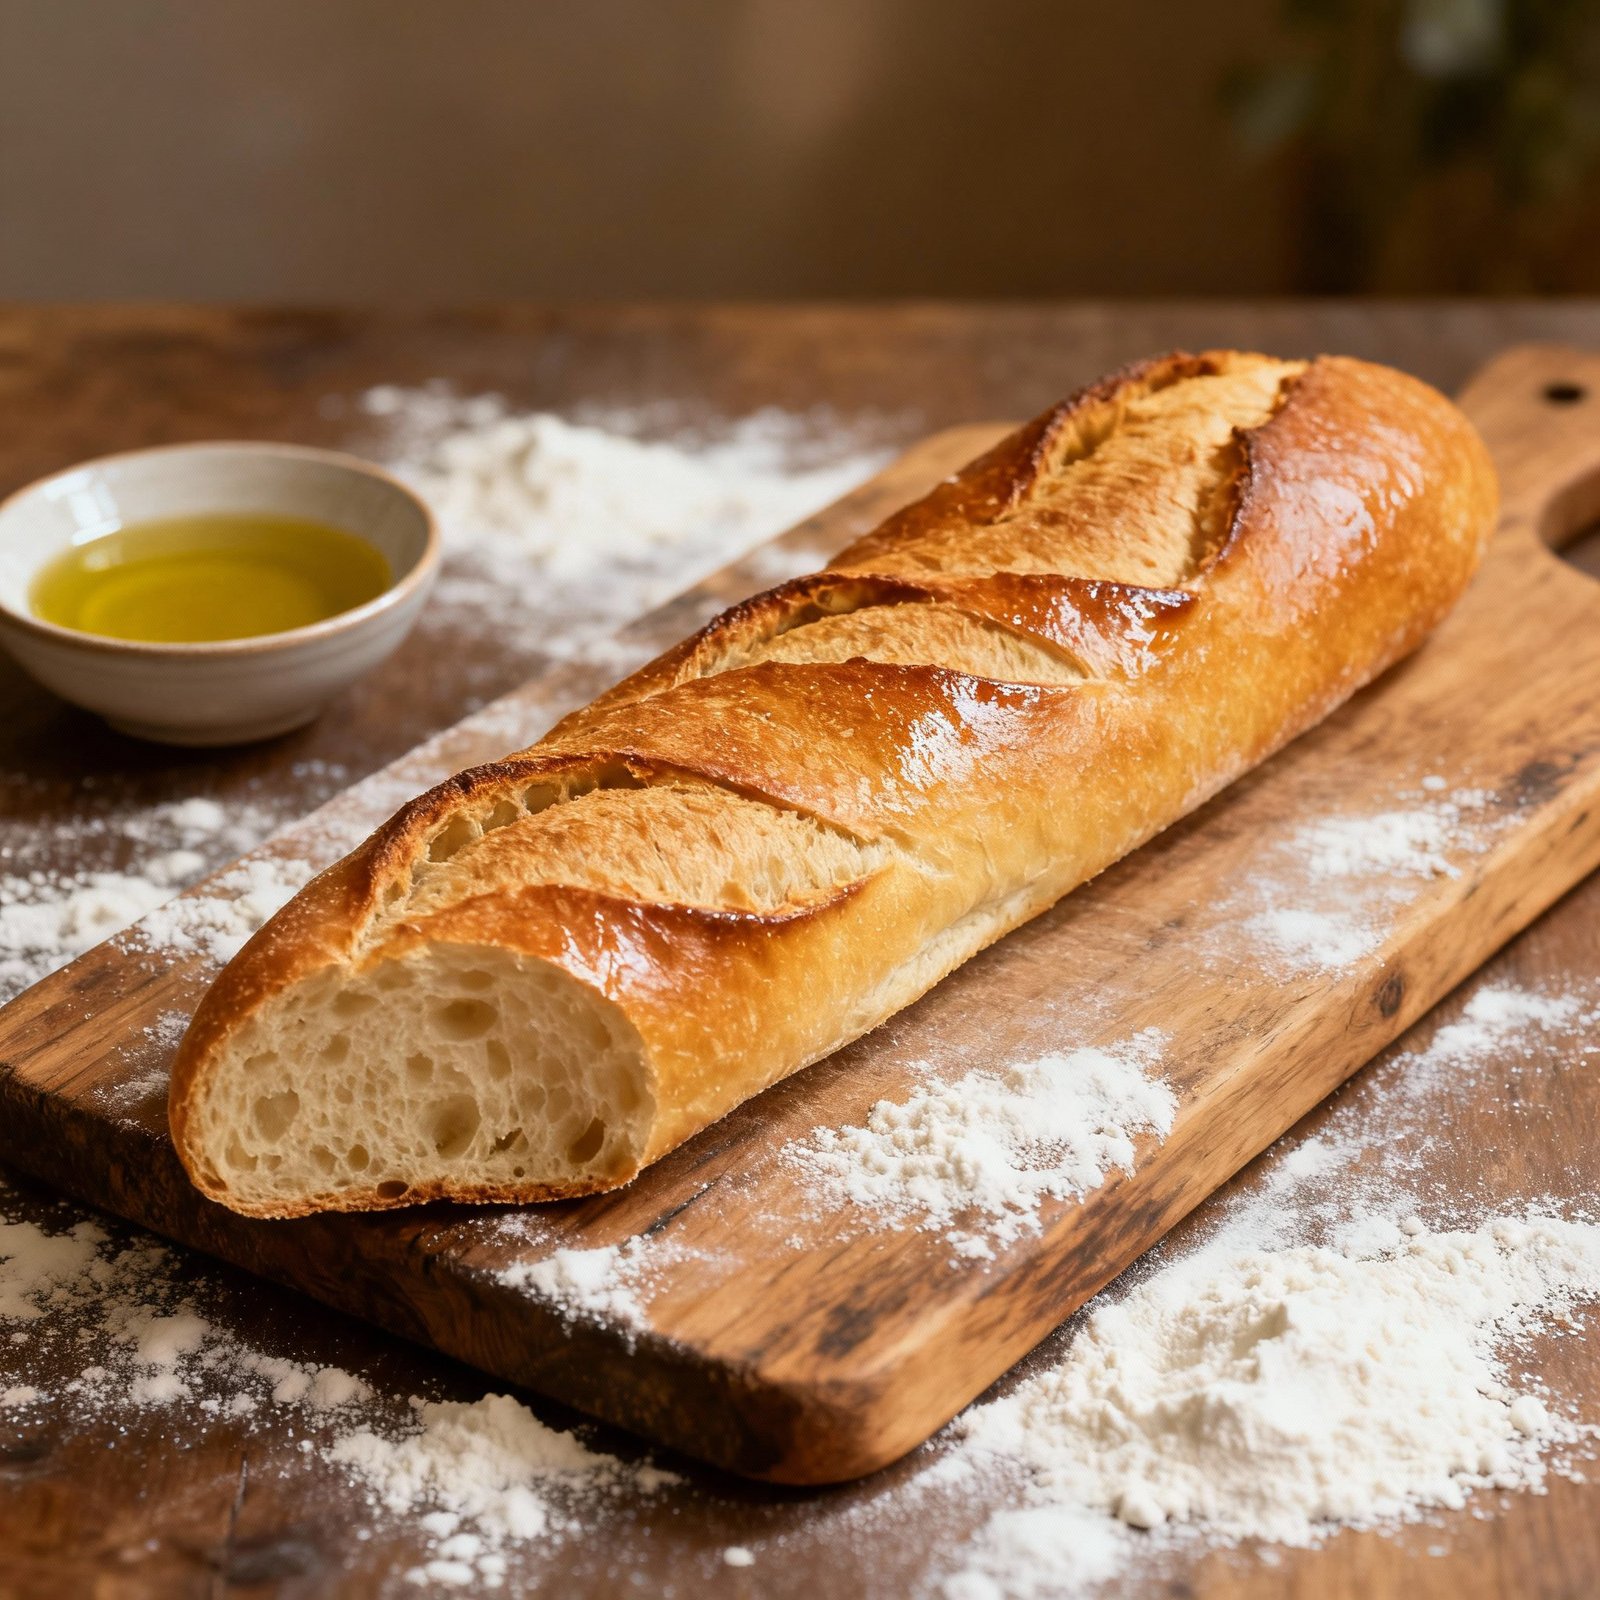
Crusty French Bread Recipe: The Authentic Taste of Paris in Your Kitchen!
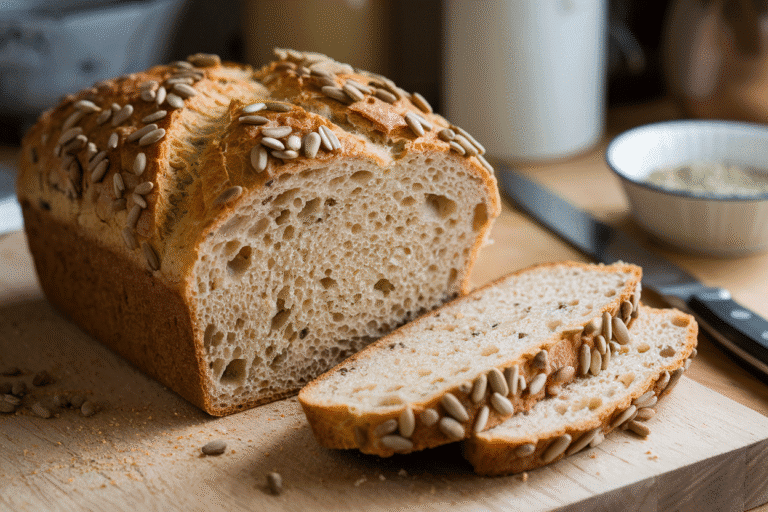
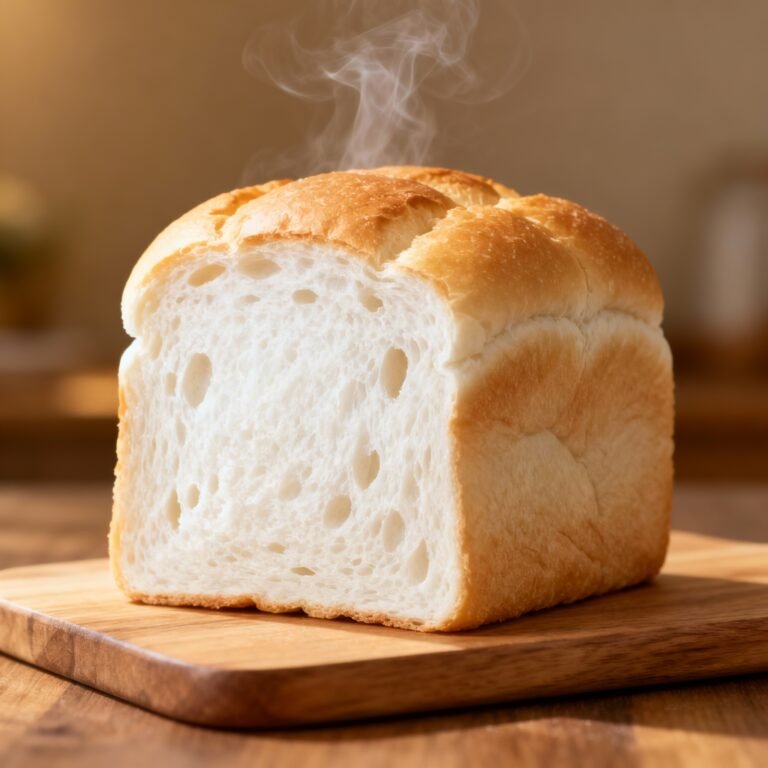
Imagine sinking your teeth into a loaf of perfectly crusty French bread, the kind that shatters with a satisfying crackle, giving way to a soft, airy interior. The aroma alone is enough to transport you to a Parisian boulangerie. Now, stop imagining and start baking! This recipe brings that authentic taste to your own kitchen, no plane ticket required. It’s simpler than you think, and the results are truly rewarding. Whether you’re serving it alongside a hearty soup, using it for gourmet sandwiches, or simply enjoying it with butter and a sprinkle of sea salt, this crusty French bread will elevate any meal.
Why This Recipe Works
This recipe isn’t just about throwing ingredients together; it’s about understanding the science behind great bread. Here’s why this recipe consistently delivers that coveted crusty exterior and soft, chewy interior:
- High Hydration: The high water content (high hydration dough) is key to creating the airy, open crumb structure that is characteristic of French bread. The water steams during baking, creating pockets of air.
- Autolyse: We start with an autolyse, a simple step where you mix the flour and water and let it rest. This allows the flour to fully hydrate, developing gluten and resulting in a more extensible dough. This translates to better rise and a more tender crumb.
- Minimal Kneading: Over-kneading can lead to a tough bread. This recipe focuses on gentle handling and time to develop gluten. The “stretch and fold” technique strengthens the dough without overworking it.
- Baking with Steam: Creating steam in the oven is crucial for achieving that signature crust. The steam keeps the surface of the dough moist for longer, allowing it to expand fully before the crust sets. This results in a thin, crisp crust. We’ll cover several methods for creating steam in a home oven.
- Cooling Properly: Allowing the bread to cool completely on a wire rack is essential. This allows excess moisture to escape, preventing a soggy crust.
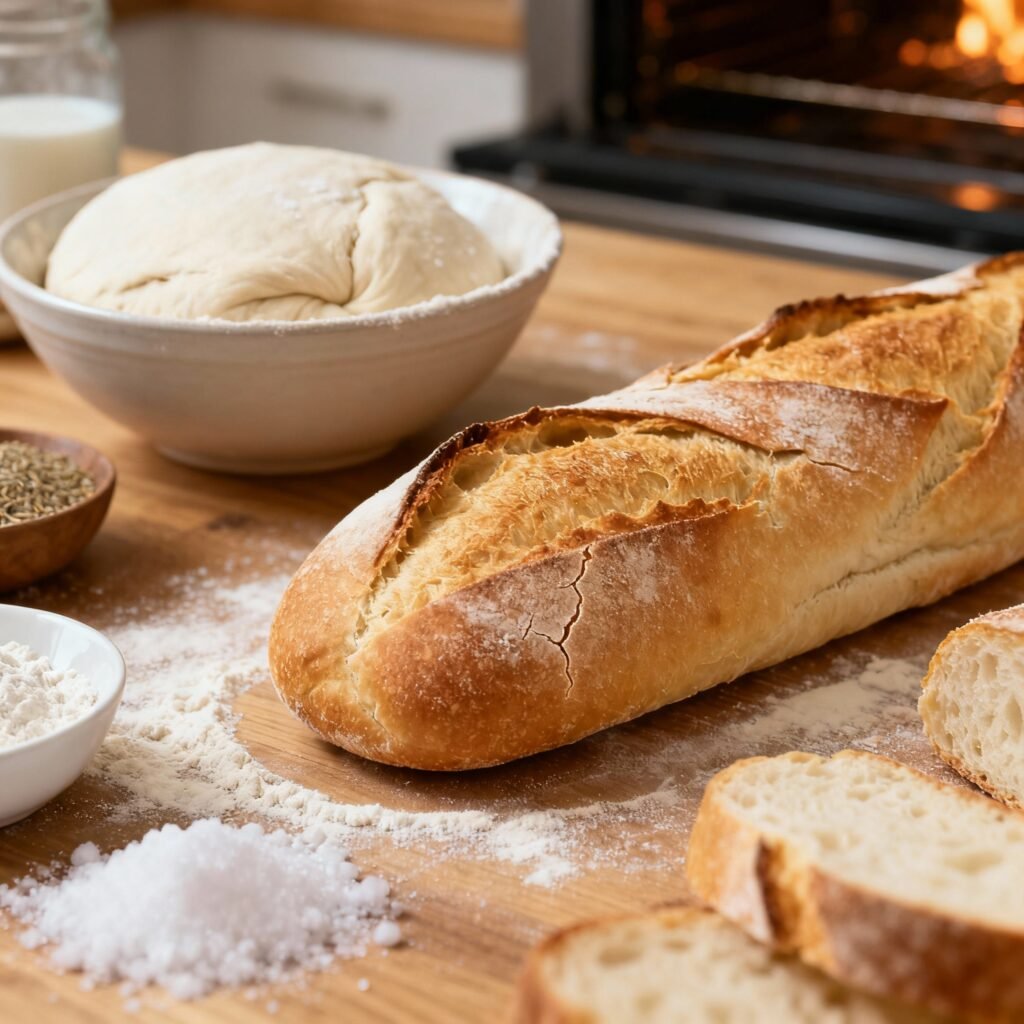
Ingredients
- 500g (approx. 4 cups) Bread Flour: Bread flour has a higher protein content than all-purpose flour, which is essential for developing strong gluten and creating a chewy texture.
- 375g (1 ½ cups + 2 tablespoons) Water, lukewarm (about 90-100°F): Lukewarm water activates the yeast and helps it thrive.
- 10g (2 teaspoons) Salt: Salt controls the yeast activity and enhances the flavor of the bread.
- 2g (½ teaspoon) Instant Dry Yeast: Instant dry yeast is convenient and reliable. If using active dry yeast, you’ll need to proof it in warm water with a pinch of sugar for about 5-10 minutes before adding it to the dough.
Instructions
- Autolyse (30 minutes): In a large bowl, combine the bread flour and water. Mix until just combined, forming a shaggy dough. Cover the bowl with plastic wrap or a damp towel and let it rest for 30 minutes.
- Add Yeast and Salt (5 minutes): Sprinkle the instant dry yeast and salt over the autolysed dough. Using your hands or a dough scraper, gently mix until the yeast and salt are fully incorporated. The dough will be sticky.
- Bulk Fermentation with Stretch and Folds (2-3 hours): Cover the bowl again and let the dough rise in a warm place for 2-3 hours, or until it has almost doubled in size. Every 30 minutes, perform a set of stretch and folds. To do this, gently lift one side of the dough and stretch it upwards, then fold it over onto itself. Rotate the bowl 90 degrees and repeat. Do this a total of four times, stretching and folding all four sides of the dough. This strengthens the gluten and develops the dough’s structure.
- Divide and Shape (15 minutes): Gently turn the dough out onto a lightly floured surface. Divide the dough in half. Shape each half into a long, thin baguette. To do this, gently flatten the dough into a rectangle. Fold the top third of the dough down towards the center, then fold the bottom third up towards the center. Gently press the seam to seal. Roll the dough back and forth to create a long, even baguette, tapering the ends slightly.
- Proofing (30-60 minutes): Place the shaped baguettes on a baking sheet lined with parchment paper. Cover loosely with plastic wrap or a damp towel and let them proof for 30-60 minutes, or until they have puffed up slightly.
- Preheat Oven (30 minutes): Preheat your oven to 450°F (232°C) with a baking stone or baking steel on the middle rack. Place an empty oven-safe pan on the bottom rack.
- Create Steam (5 minutes): Just before baking, score the baguettes diagonally with a sharp knife or lame. Score deeply, about ½ inch deep. Carefully pour 1 cup of hot water into the empty pan on the bottom rack. This will create steam in the oven. Immediately place the baking sheet with the baguettes onto the preheated baking stone or steel.
- Bake (20-25 minutes): Bake for 20-25 minutes, or until the baguettes are golden brown and the crust is firm. The internal temperature should be around 200-210°F (93-99°C). If the crust is browning too quickly, you can lower the oven temperature to 425°F (220°C) for the last 5-10 minutes.
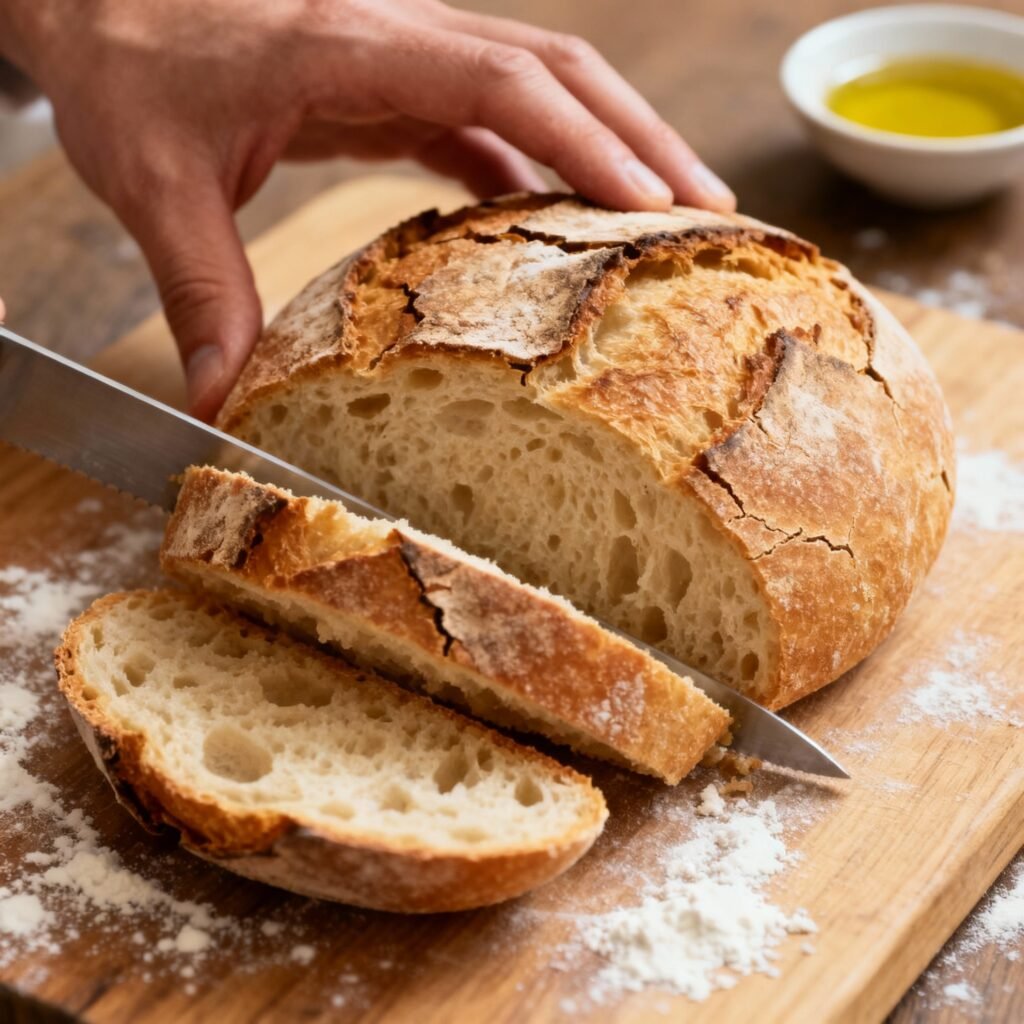
- Cool (1-2 hours): Transfer the baguettes to a wire rack and let them cool completely before slicing and serving. This is crucial for achieving the perfect crust.
Tips for Success
- Use a Kitchen Scale: Baking is a science, and accuracy is key. Using a kitchen scale to measure your ingredients will ensure consistent results.
- Don’t Over-Knead: Over-kneading can result in a tough bread. The stretch and fold technique is a gentle way to develop gluten without overworking the dough.
- Proofing Time Varies: The proofing time will vary depending on the temperature of your kitchen. Keep an eye on the dough and let it rise until it has almost doubled in size.
- Mastering Steam: If you don’t have a baking stone or steel, you can bake the baguettes directly on a baking sheet. For more steam, you can also spray the inside of the oven with water several times during the first 10 minutes of baking. Another option is to use a Dutch oven. Preheat the Dutch oven in the oven, carefully place the shaped dough inside, score, and bake covered for 20 minutes, then uncovered for 5-10 minutes to brown the crust.
- Scoring is Key: Scoring the baguettes allows the steam to escape during baking, preventing the bread from bursting. Use a sharp knife or lame and score deeply at a 45-degree angle.
- Listen to Your Bread: A hollow sound when you tap the bottom of the bread indicates that it is fully baked.
Storage Instructions
French bread is best enjoyed fresh on the day it is baked. However, you can store it in a paper bag at room temperature for up to 2 days. To refresh day-old bread, lightly sprinkle it with water and bake it in a preheated oven at 350°F (175°C) for 5-10 minutes. You can also freeze the bread for longer storage. Wrap it tightly in plastic wrap and then in aluminum foil. Thaw completely before refreshing in the oven.
FAQ
- Can I use all-purpose flour instead of bread flour? While bread flour is recommended for the best results, you can use all-purpose flour in a pinch. The bread will be slightly less chewy and may not rise as much.
- Can I use active dry yeast instead of instant dry yeast? Yes, but you will need to proof the active dry yeast in warm water with a pinch of sugar for about 5-10 minutes before adding it to the dough.
- My dough is too sticky. What should I do? A sticky dough is normal for high-hydration dough. Resist the urge to add more flour, as this will make the bread tough. Just be gentle when handling the dough and use a dough scraper if needed.
- My bread is not crusty enough. What did I do wrong? The most common reason for a soft crust is not enough steam in the oven. Make sure you are creating enough steam by using one of the methods described above. Also, ensure that you are cooling the bread completely on a wire rack to allow excess moisture to escape.
- Can I add herbs or other flavorings to the dough? Absolutely! Feel free to experiment with adding herbs, cheese, or other flavorings to the dough. Add them after the autolyse, when you add the yeast and salt.
Conclusion
Congratulations! You’re now equipped to bake your own perfectly crusty French bread at home. This recipe may require a bit of practice, but the reward – that satisfying crunch and the delicious, airy interior – is well worth the effort. So, gather your ingredients, put on your apron, and get ready to experience the taste of Paris in your own kitchen. Happy baking!