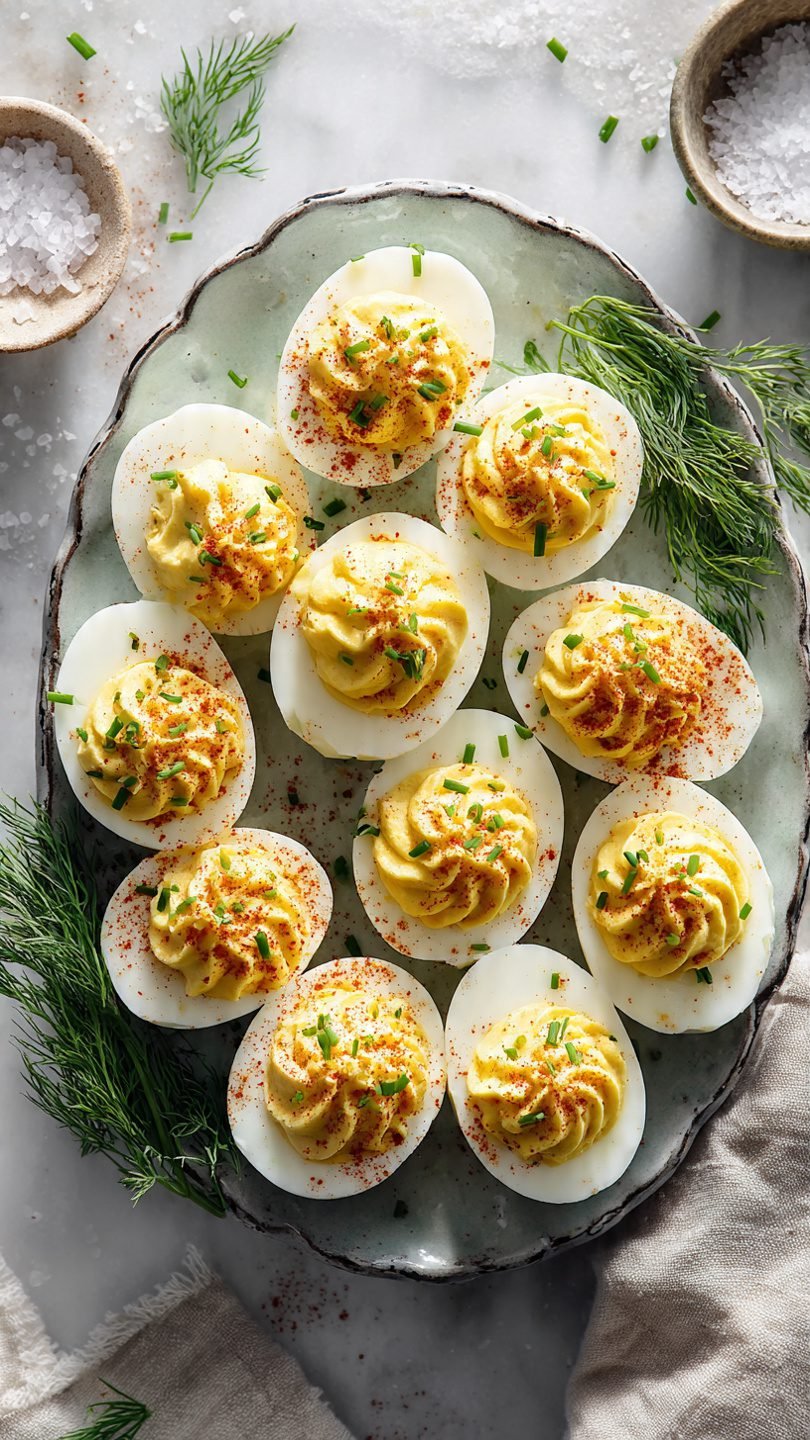
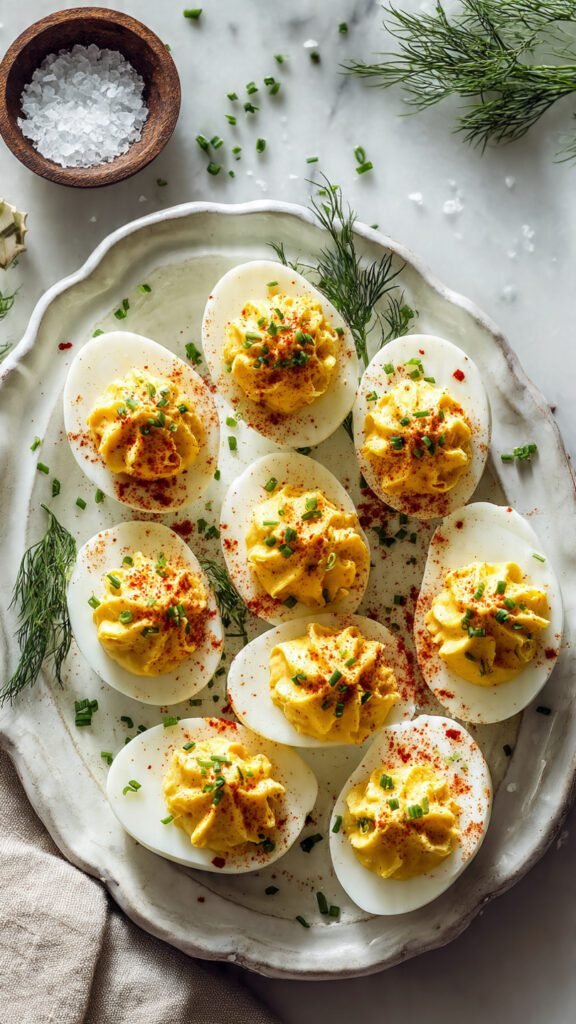
🥚 The Best Easy Deviled Eggs Recipe Ever
So, you’ve been invited to a potluck, a barbecue, or a holiday dinner, and you waited until the absolute last minute to figure out what you’re bringing. Or maybe you’re just sitting on your couch at 2 PM on a Tuesday craving a snack that tastes like pure nostalgia. I see you.
Let’s be real for a second: Deviled eggs are the undisputed champions of finger foods. They are the first thing to vanish from the appetizer table, usually before the host has even finished setting out the napkins. But despite their popularity, people manage to mess them up constantly. We’ve all been victims of the rubbery whites, the chalky yolks, or the bland, flavorless filling that tastes like sadness.
Today, we are fixing that. We are making the best easy deviled eggs recipe known to mankind. It’s classic, it’s creamy, and it requires zero culinary degree to pull off. Let’s get cracking (pun absolutely intended).
Why This Recipe is Awesome
Look, I’m not here to reinvent the wheel. I’m just here to put better tires on it. Here is why this specific recipe is going to change your life—or at least your lunch plans.
- The Texture is Unbeatable: We aren’t doing lumpy yolks here. We are aiming for a filling so smooth it feels like velvet on your tongue. I’ll show you the secret technique (which takes 30 extra seconds) to ensure you never have a grainy filling again.
- It’s Idiot-Proof: Listen, even I have burned toast before. But this? It’s genuinely hard to mess up if you follow the steps. I’ve broken down the science of the hard-boil so you don’t end up with that nasty green ring around the yolk.
- The Flavor Balance: A lot of recipes are just mayo and yolk. Boring. We are hitting the “Golden Trifecta” of fat, acid, and salt. The result is a savory, tangy bite that makes your brain light up.
- It’s Cheaper Than Therapy: You can make a platter of 24 of these bad boys for like, three dollars. In this economy? That’s a miracle.
- Highly Customizable: Once you master this base, you can go wild. Bacon? Sure. Jalapeños? Why not. Truffle oil? Okay, fancy pants. But you need this perfect base first.
Ingredients You’ll Need
We are keeping it classic. Do not try to get cute with substitutions yet. Master the OG version first.
- Eggs (Large): You want eggs that are about a week old. Fresh farm eggs are amazing for breakfast, but they are a nightmare to peel. Old eggs = easy peeling.
- Mayonnaise: Use the real stuff. If you use Miracle Whip, I cannot be held responsible for the outcome (and we might have to re-evaluate our friendship).
- Dijon Mustard: This adds a depth of flavor and a little spicy kick that standard yellow mustard just can’t compete with.
- Apple Cider Vinegar: Just a splash. This cuts through the heaviness of the yolk and mayo. It brightens the whole dish up.
- Salt & Black Pepper: To taste. Freshly cracked pepper is always a win here.
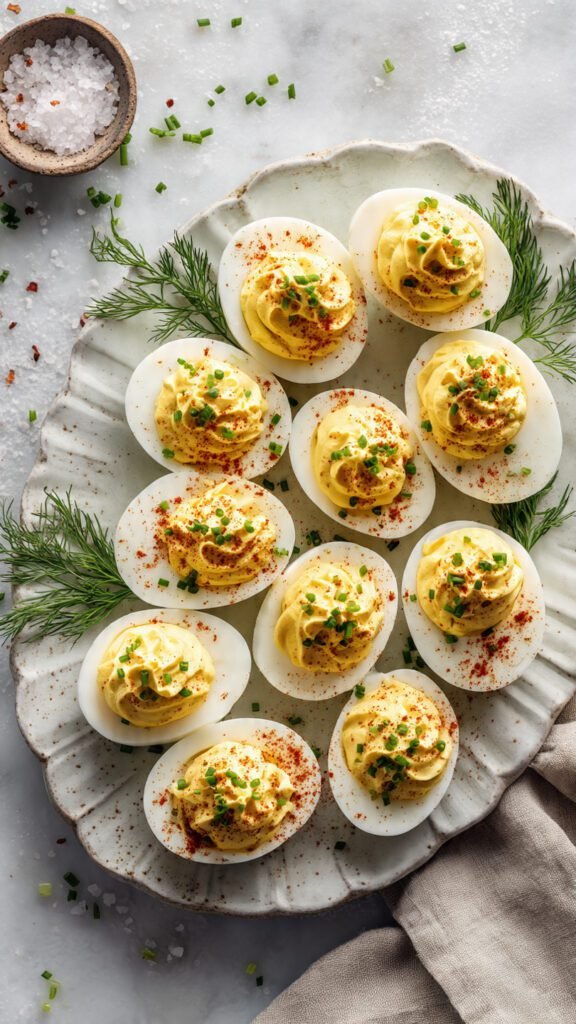
- Smoked Paprika: Strictly for garnish, but let’s be honest, is it even a deviled egg without the red dust?
- Chives (Optional): For a little green pop so people know you’re fancy.
Step-by-Step Instructions
Alright, apron on. Let’s do this. I’ve broken this down into excruciating detail because the magic is in the method.
1. The Setup (Don’t Skip This)
Take your eggs out of the fridge about 15 minutes before you start. Cold eggs dropping into boiling water are more likely to crack because of thermal shock. While they sit, fill a large bowl with cold water and ice. This is your “stop cooking immediately” button later.
2. The Perfect Boil
There are two schools of thought: Starting in cold water or dropping into boiling water. The Method: Bring a pot of water to a rolling boil first. Gently lower the eggs in with a slotted spoon (don’t drop them like hot potatoes, you’ll crack the shells). Lower the heat to medium-high so it’s a gentle boil, not a violent one. The Timing: Set a timer for exactly 12 minutes. Science Tip: Why 12 minutes? This sets the yolk firmly without turning it into chalk. If you go too long, the sulfur in the white reacts with the iron in the yolk, creating ferrous sulfide—aka that gross green ring. We don’t do green rings here.
3. The Ice Bath Shock
As soon as that timer beeps, move those eggs immediately into your prepared ice bath. Let them sit there for at least 15 minutes. Why? As the egg cools rapidly, the egg white contracts slightly, pulling away from the shell membrane. This is the secret to those smooth, magazine-quality peeled eggs.

4. The Peel
Crack the shell gently all over by tapping it on the counter. Start peeling at the wide end (where the air pocket usually is). Peel them under cool running water or submerged in the water bowl. The water helps slip between the membrane and the white.
5. Slice and Separate
Slice the eggs in half lengthwise. Wipe your knife with a damp paper towel between cuts to keep the yolks from smearing on the whites. Gently pop the yolks out into a medium bowl and place the whites on your serving platter.
6. The Mash (The Secret to Smoothness)
Crucial Step: Mash the yolks with a fork first to break them up. BUT, for the best easy deviled eggs recipe results, push the yolks through a fine-mesh sieve. Sensory Detail: I know, it’s an extra dish to wash. But pushing them through the sieve turns the yolks into a fluffy, aerated powder rather than chunky bits. This ensures your filling is silky smooth and luxurious.
7. The Mix
Add your mayonnaise, Dijon mustard, vinegar, salt, and pepper to the yolk powder. Mix it vigorously. You want to emulsify the fats. Keep mixing until it looks glossy and holds its shape. Taste it! Does it need more salt? A little more zip? Adjust it now.
8. The Fill
You can use a spoon if you want, but it usually looks messy. Pro Tip: Put the filling into a Ziploc bag. Push the air out and seal it. Snip one bottom corner off (start small!). Now you have a DIY piping bag. Squeeze the filling into the egg white cavities in a swirling motion. It looks professional and takes half the time.
9. The Garnish
Dust lightly with smoked paprika. I like to hold the spice jar high above the eggs so the powder drifts down like savory snow, rather than clumping in one spot. Top with chopped chives if you’re feeling it.
Common Mistakes to Avoid
Even smart people make bad eggs. Avoid these pitfalls to keep your foodie reputation intact.
- Using Brand New Eggs: I mentioned this earlier, but it bears repeating. Fresh eggs have a lower pH, which causes the white to adhere tightly to the shell membrane. If your eggs look like the surface of the moon after peeling, they were too fresh.
- Overboiling: If your yolks are grey or green, you cooked them to death. It not only looks unappetizing, but it also smells like sulfur (farts). Set a timer. Respect the timer.
- Making Them Too Far in Advance: You can prep the boiled eggs a day or two ahead, but don’t fill them until the day of serving. If you fill them too early, the yolk mixture forms a weird, crusty skin on top. Gross.
- Using a Metal Spoon to Mix: Okay, this is nitpicky, but sometimes metal reacts with the sulfur in the eggs and gives a metallic taste. Use a silicone spatula or a wooden spoon if you can.
- Forgetting the Acid: If you skip the vinegar or rely only on mayo, the egg will feel “heavy” and coat your mouth in grease. You need the acid to cut through the fat.
Alternatives & Substitutions
Feeling adventurous? Once you’ve nailed the classic, try these spins.
- The “Southern Belle”: Swap the Dijon for yellow mustard and add a tablespoon of sweet pickle relish. It adds a crunchy texture and a sweet-tangy vibe.
- The “Spicy Boi”: Mix sriracha into the filling and top with a slice of pickled jalapeño. IMO, this is the superior version, but not everyone handles heat well.
- The “Guac-iled Egg”: Replace half the mayo with ripe avocado. It makes them distinctively green and super creamy. Plus, healthy fats!
- Bacon Ranch: Add a little dry ranch seasoning to the yolk mix and top with crispy bacon bits. This is usually the crowd favorite at Super Bowl parties.
- No Mayo? You can substitute full-fat Greek yogurt or sour cream. It will be tangier and less rich, but still edible.
FAQ (Frequently Asked Questions)
1. Can I make these the night before? You can boil and peel the eggs up to 2 days in advance (store them in the fridge). You can even make the filling mix and store it in a sealed Ziploc bag. But don’t pipe the filling into the whites until a few hours before serving.
2. How long can deviled eggs sit out? The “danger zone” for food safety is real. Since this is egg and mayo based, don’t leave them out at room temperature for more than 2 hours. If you’re at an outdoor barbecue in the sun? 1 hour max. Don’t poison your friends.
3. Why is my filling runny? You likely added too much liquid (vinegar or pickle juice) or didn’t dry the egg whites off after rinsing them. If it’s soup, you can try adding a little more hard-boiled yolk (if you have extras) or a tiny bit of instant mashed potato flakes (weird hack, but it works) to thicken it up.
4. Can I freeze deviled eggs? Absolutely not. Do not do this. The whites will turn rubbery and release water when thawed, and the filling will separate. Just eat them all. It’s a sacrifice, but I believe in you.
5. How do I transport them without them sliding everywhere? If you don’t have a dedicated deviled egg platter (who does?), use a muffin tin! Put a cupcake liner in each hole and place an egg or two in each. It keeps them upright and safe during the car ride.
6. Is this keto-friendly? Yes! Deviled eggs are naturally low carb and high fat. They are basically the keto mascot.
Final Thoughts
There you have it—the best easy deviled eggs recipe to add to your repertoire. It’s simple, it’s delicious, and it’s scientifically proven (by me) to make you the most popular person at the party.
Whether you’re making these for a fancy holiday dinner or just eating six of them standing in front of your open fridge at midnight (no judgment), the key is treating the ingredients with a little respect. Chill the eggs properly, whip that filling until it’s smooth, and don’t skimp on the salt.
Now go impress someone—or yourself—with your new culinary skills. You’ve earned it!