Dill Pickle Recipe Canning: Crunchy, Tangy Perfection!
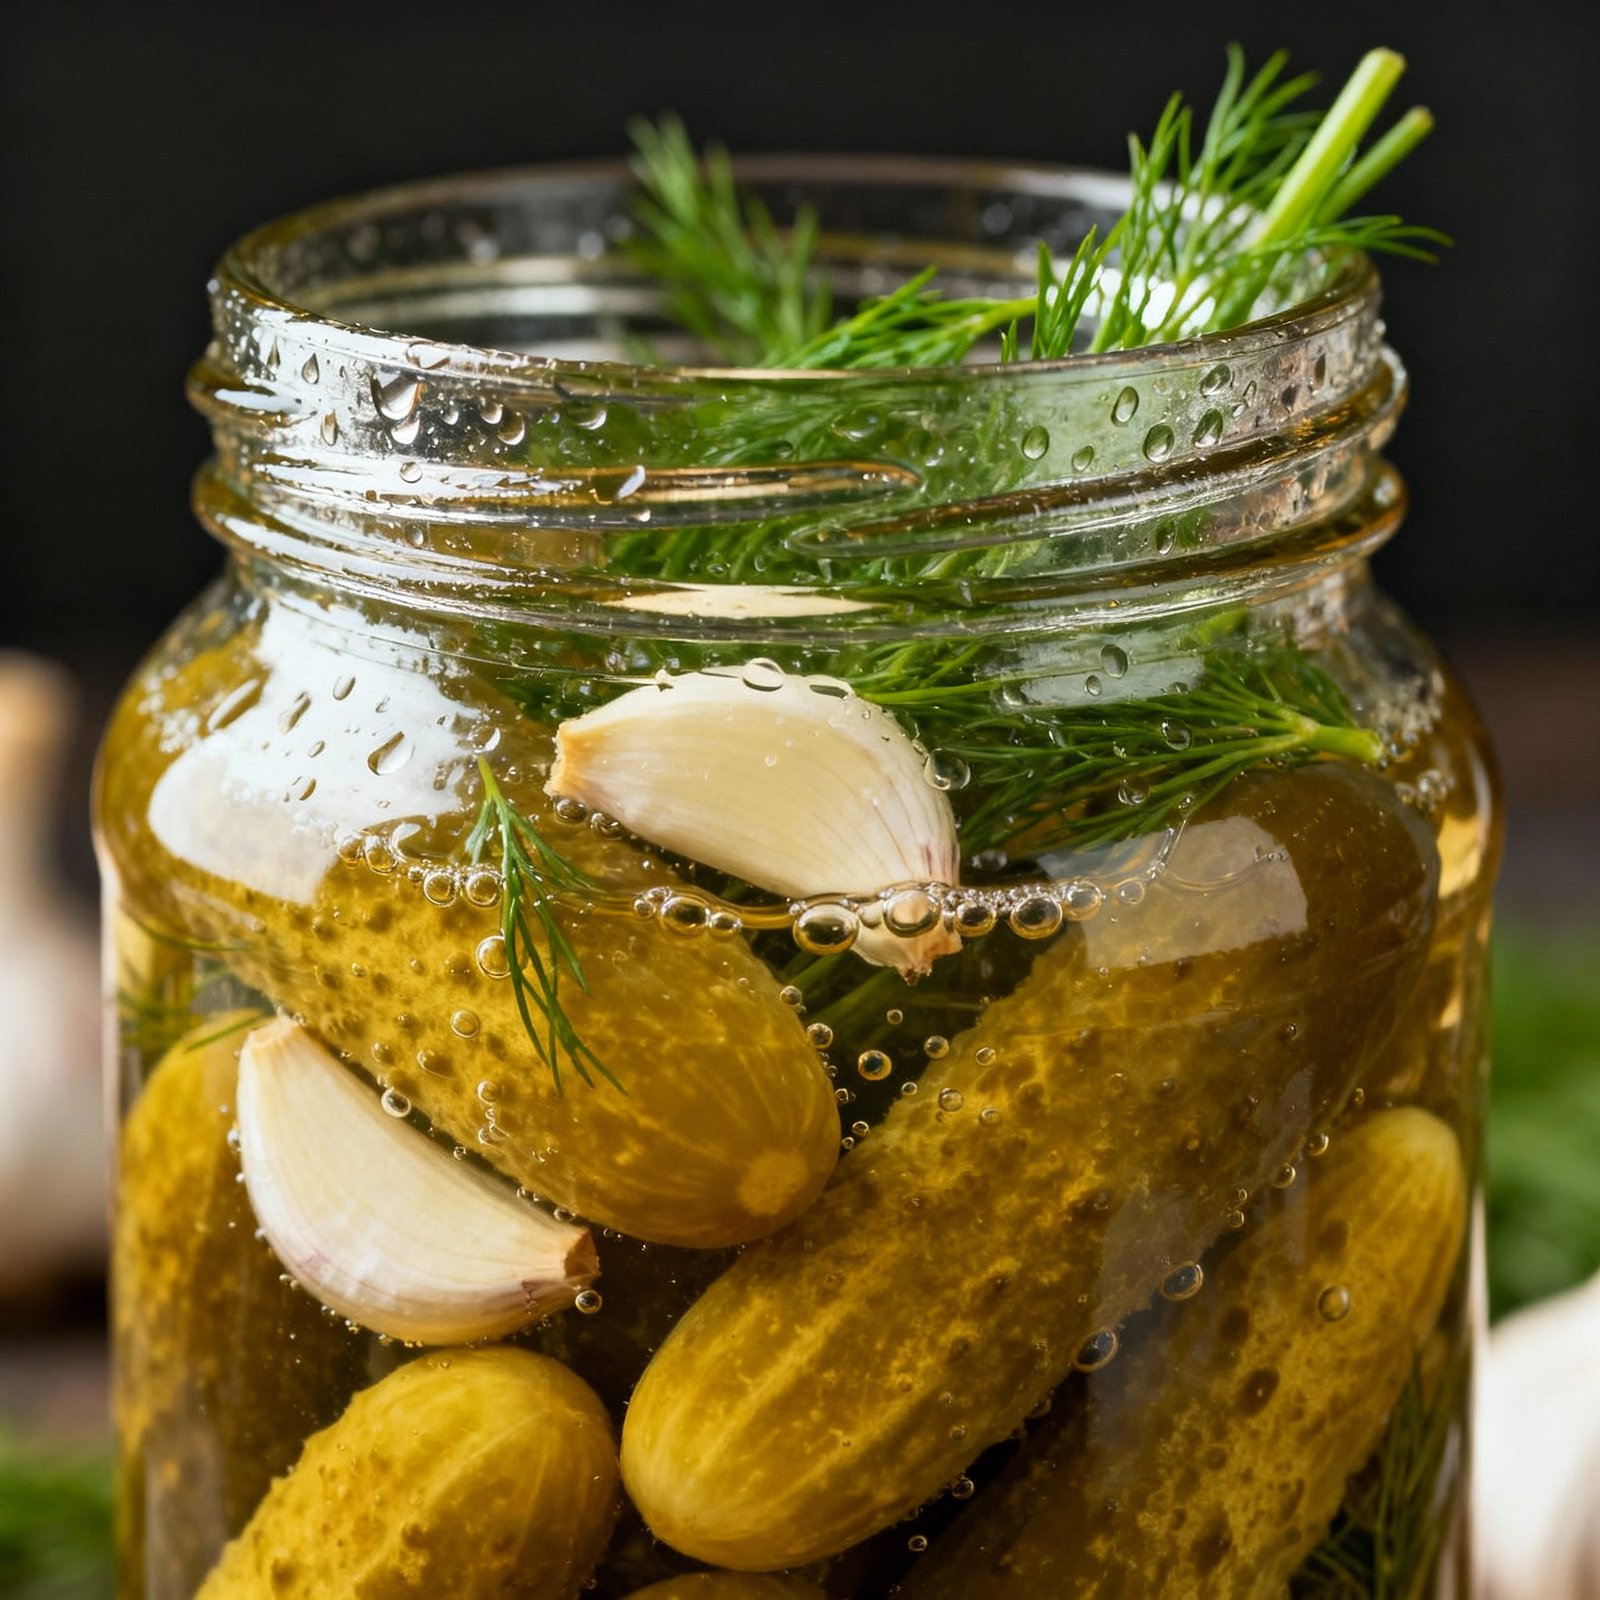
There’s nothing quite like the satisfying crunch and tangy bite of a homemade dill pickle. And when you can capture that flavor and preserve it for months to come, well, that’s just pure kitchen magic! This recipe will guide you through the process of canning dill pickles, ensuring you create jars filled with crisp, flavorful pickles that will be the star of your sandwiches, charcuterie boards, or simply enjoyed straight from the jar.
Why This Recipe Works
This dill pickle recipe is meticulously crafted to ensure both delicious flavor and safe preservation. Here’s what makes it a winner:
- Brine Balance: The ratio of vinegar, water, and salt is crucial for both flavor and preservation. Too little vinegar, and your pickles might not be acidic enough to prevent spoilage. Too much, and they’ll be overly tart. This recipe strikes the perfect balance.
- Crisp Pickles: We use techniques like adding tannins (from grape leaves or pickle crisp granules) and trimming the blossom end of the cucumbers to help maintain their crispness during the canning process.
- Flavor Infusion: Fresh dill, garlic, and spices like peppercorns and mustard seeds infuse the pickles with a classic dill flavor that’s far superior to store-bought varieties.
- Safe Canning Practices: We emphasize proper sterilization, processing times, and headspace to ensure a safe and shelf-stable product. Following these instructions carefully is essential for preventing botulism and other foodborne illnesses.
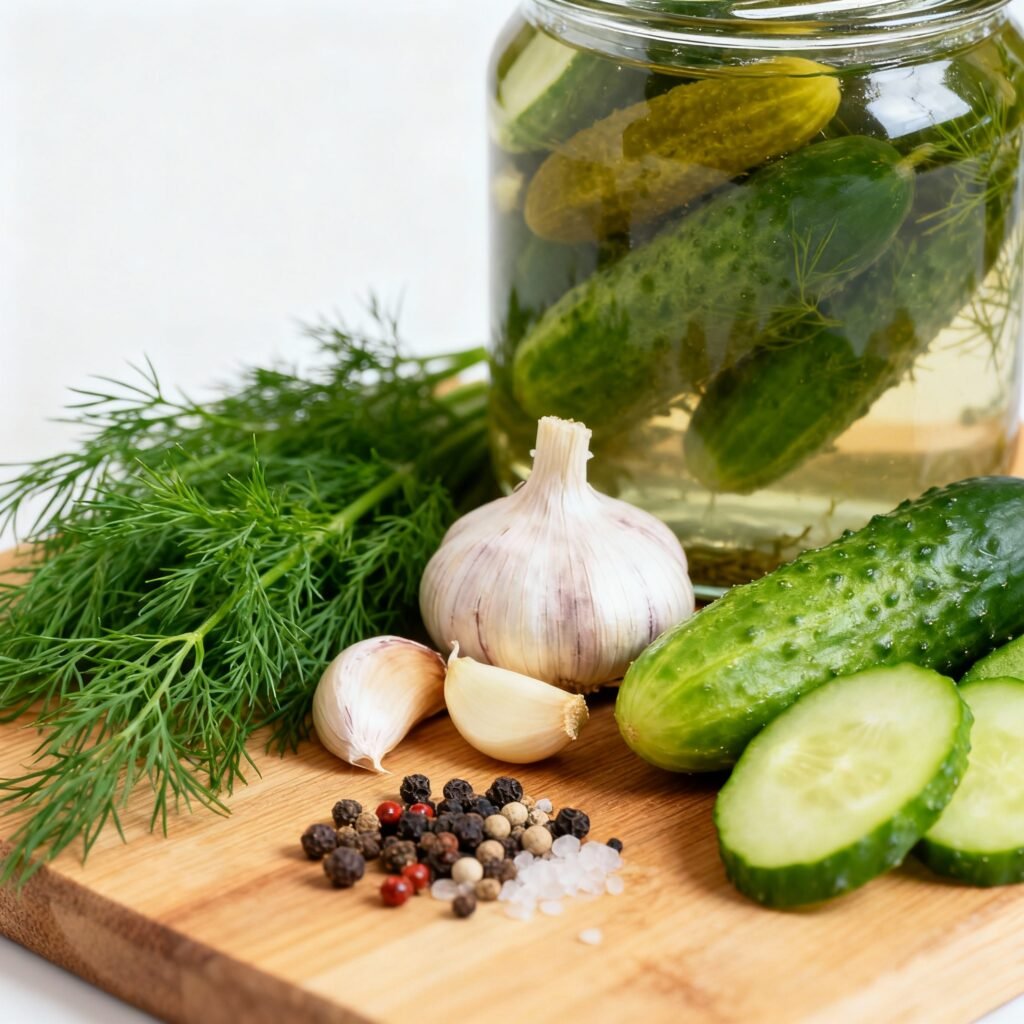
Ingredients
- 4 pounds pickling cucumbers (about 4-5 inches long)
- 8 cups water
- 4 cups white vinegar (5% acidity)
- 1/2 cup canning salt (not iodized table salt)
- 8 cloves garlic, peeled
- 8 sprigs fresh dill
- 2 tablespoons yellow mustard seeds
- 1 tablespoon black peppercorns
- Optional: 8 grape leaves or 1 teaspoon pickle crisp granules
- Optional: 1/2 teaspoon red pepper flakes (for a spicy kick)
Instructions
- Prepare the Cucumbers: Wash the cucumbers thoroughly under cold running water. Trim about 1/8 inch off the blossom end of each cucumber. This contains enzymes that can cause softening during canning.
- Sterilize the Jars and Lids: Wash your canning jars, lids, and bands in hot, soapy water. Rinse well. Sterilize the jars by placing them in a boiling water bath canner filled with enough water to cover the jars by at least 1 inch. Bring the water to a boil and boil for 10 minutes. Keep the jars hot until ready to use. You can also sterilize them in a dishwasher with a sterilization cycle. Place the lids in a small saucepan with water and simmer (do not boil) until ready to use.
- Prepare the Brine: In a large, non-reactive saucepan (stainless steel or enamel), combine the water, vinegar, and canning salt. Bring to a boil over medium-high heat, stirring until the salt is dissolved.
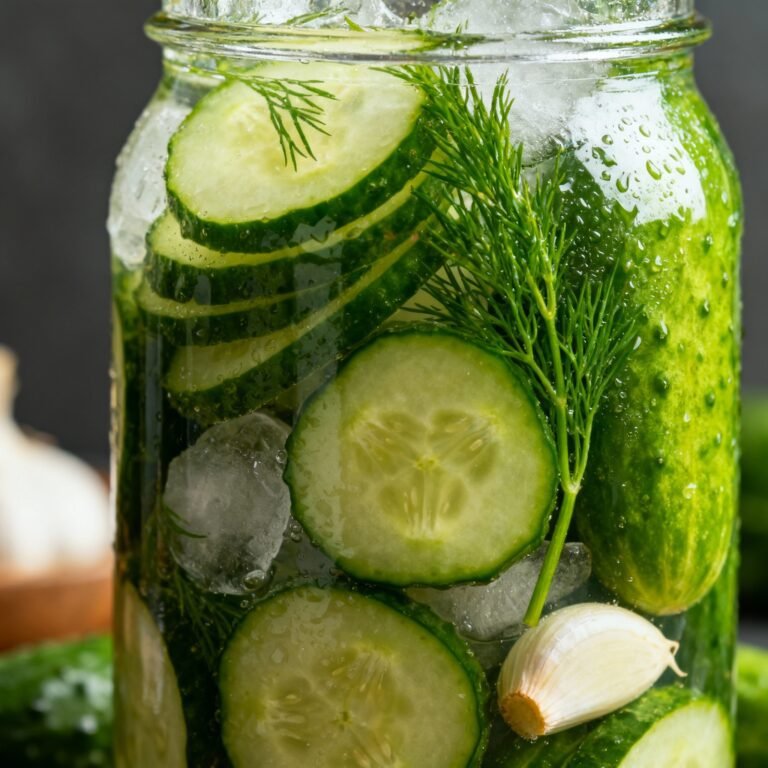
- Pack the Jars: In each hot, sterilized jar, place 1 clove of garlic, 1 sprig of fresh dill, 1/4 teaspoon mustard seeds, and a few peppercorns. If using, add a grape leaf or 1/8 teaspoon of pickle crisp granules to each jar.
- Fill the Jars: Pack the cucumbers tightly into the jars, leaving about 1/2 inch of headspace (the space between the top of the cucumbers and the rim of the jar).
- Pour in the Brine: Carefully pour the hot brine over the cucumbers in each jar, maintaining the 1/2 inch headspace. Use a non-metallic utensil (like a plastic knife or bubble remover) to remove any air bubbles trapped inside the jars.
- Wipe the Rims and Apply Lids: Wipe the rims of the jars with a clean, damp cloth to remove any spills or drips. Place a lid on each jar and screw on a band until fingertip tight (not too tight, not too loose).
- Process in a Boiling Water Bath: Carefully lower the filled jars into the boiling water bath canner, ensuring that the water covers the jars by at least 1 inch. Bring the water back to a rolling boil.
- Processing Time: Process the jars for the following times, adjusting for altitude:
- Pint jars: 10 minutes (0-1000 feet), 15 minutes (1001-6000 feet), 20 minutes (above 6000 feet)
- Quart jars: 15 minutes (0-1000 feet), 20 minutes (1001-6000 feet), 25 minutes (above 6000 feet)
- Cool the Jars: Turn off the heat and carefully remove the jars from the canner using a jar lifter. Place the jars on a towel-lined surface, leaving at least 1 inch of space between the jars. Do not tighten the bands.
- Check for Seals: Let the jars cool completely for 12-24 hours. As the jars cool, you should hear a popping sound as the lids seal. After cooling, check the seals by pressing down on the center of each lid. If the lid doesn’t flex or move, it’s sealed. If the lid flexes, it’s not sealed, and you’ll need to reprocess the jar with a new lid or refrigerate the pickles and consume them within a few weeks.
Tips for Success
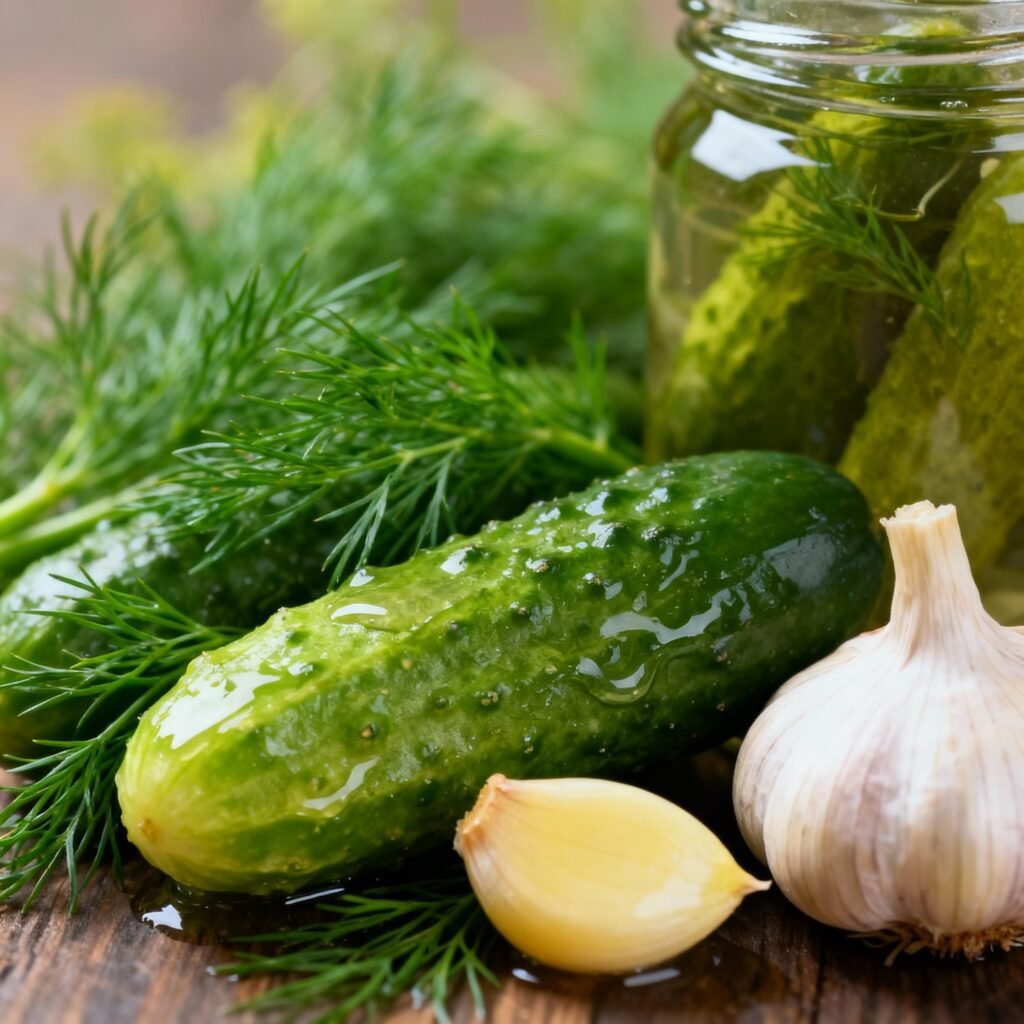
- Use Fresh, Firm Cucumbers: The quality of your cucumbers will directly impact the quality of your pickles. Choose small to medium-sized pickling cucumbers that are firm and free from blemishes.
- Don’t Skip the Salt: Canning salt is essential for proper preservation. Do not use iodized table salt, as it can cause discoloration and cloudiness in the brine.
- Maintain Headspace: Proper headspace is crucial for creating a vacuum seal. Too little headspace can cause the jars to overflow during processing, while too much headspace can prevent a proper seal.
- Adjust for Altitude: Processing times need to be adjusted based on your altitude. Higher altitudes require longer processing times due to the lower boiling point of water.
- Be Patient: Allow the pickles to sit for at least 2-3 weeks before opening a jar. This will give the flavors time to develop and mellow.
Storage Instructions
Store sealed jars of dill pickles in a cool, dark, and dry place, such as a pantry or basement. Properly canned pickles can be stored for up to one year. Once opened, refrigerate the pickles and consume them within a few weeks.
FAQ
Q: Can I use regular table salt instead of canning salt?
A: No, it is not recommended. Iodized table salt contains iodine, which can cause discoloration and cloudiness in the brine. Canning salt is pure sodium chloride and is specifically designed for canning.
Q: My pickles are soft. What did I do wrong?
A: Several factors can contribute to soft pickles. Using overripe or bruised cucumbers, not trimming the blossom end, using too weak of a brine, or over-processing can all lead to soft pickles. Make sure to follow the recipe carefully and use fresh, firm cucumbers.
Q: Can I add other spices to the pickles?
A: Yes, you can customize the flavor of your pickles by adding other spices such as dried chili peppers, bay leaves, or coriander seeds. However, be sure to use spices that are safe for canning and do not alter the acidity of the brine.
Q: One of my jars didn’t seal. What should I do?
A: If a jar doesn’t seal, you have two options: either reprocess the jar with a new lid within 24 hours, or refrigerate the pickles and consume them within a few weeks.
Conclusion
Canning dill pickles is a rewarding experience that allows you to enjoy the taste of summer all year round. By following this recipe and paying attention to detail, you can create jars of crunchy, tangy, and flavorful pickles that will impress your family and friends. So gather your ingredients, prepare your jars, and get ready to embark on a pickling adventure! Happy canning!