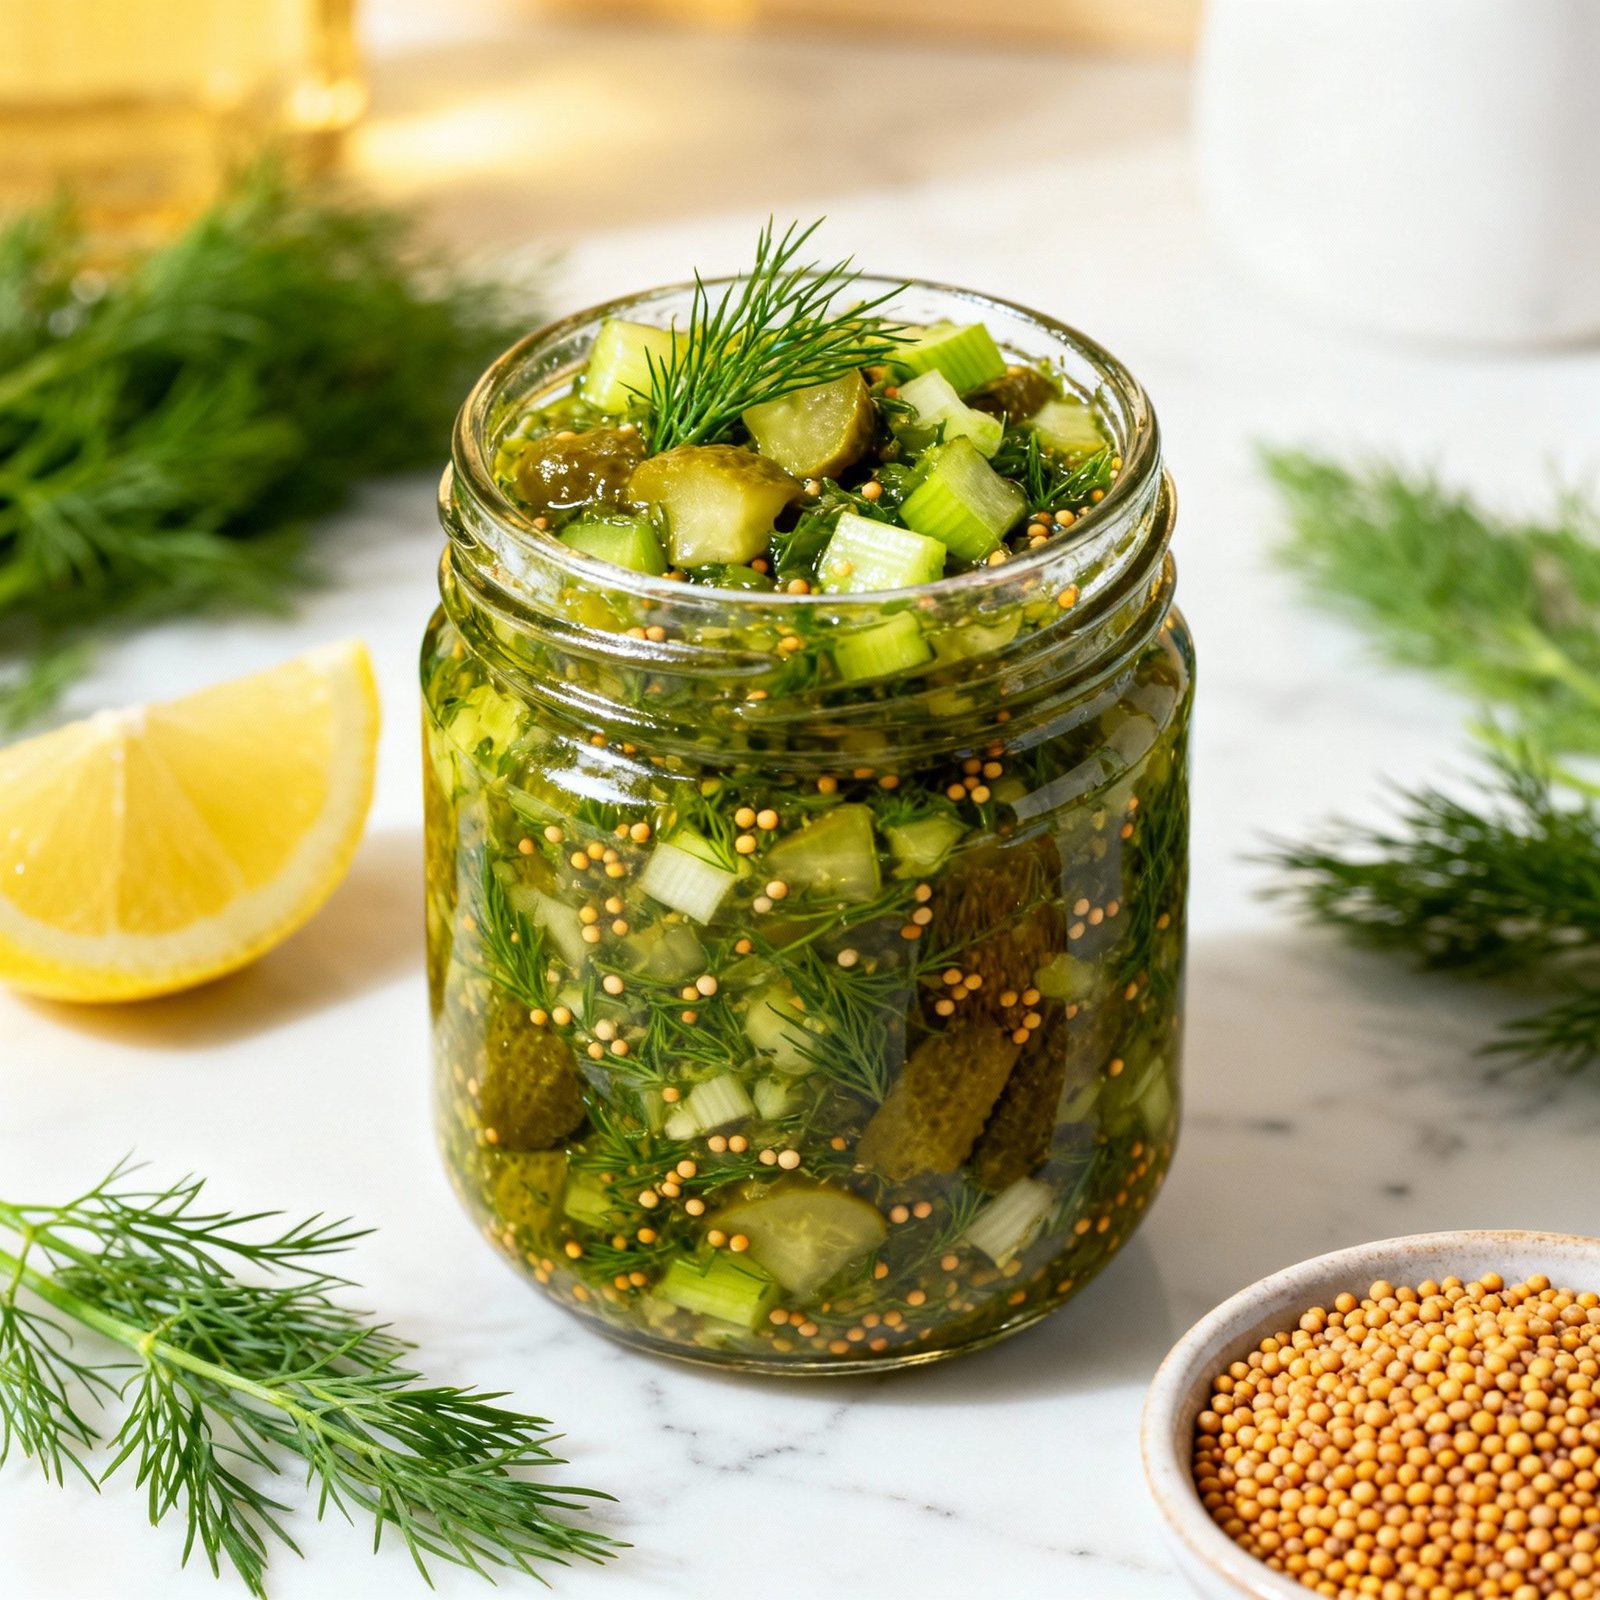
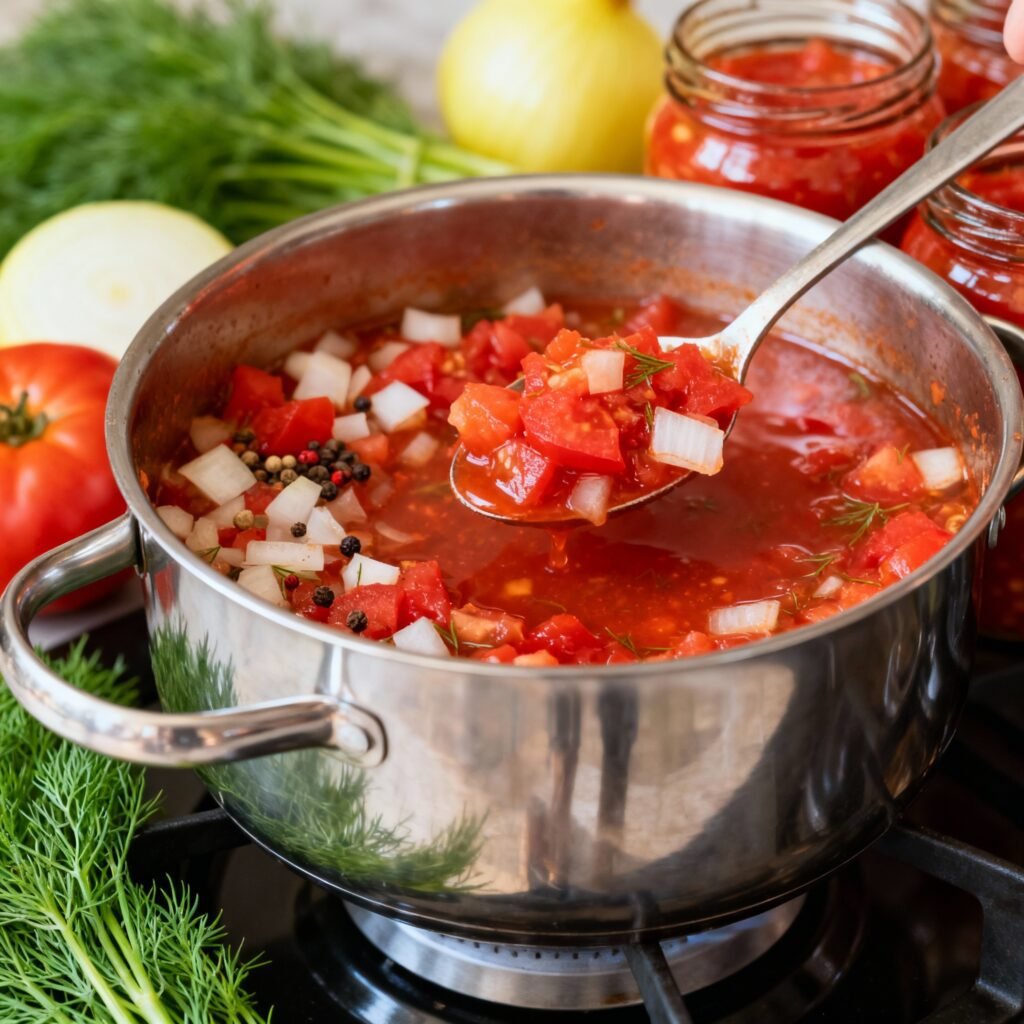
Dill Relish Canning Recipe: A Taste of Summer All Year Long!
Imagine biting into a crisp, flavorful relish bursting with the taste of fresh dill and garden vegetables, even in the dead of winter. With this dill relish canning recipe, that dream becomes a delicious reality! This recipe is perfect for preserving the bounty of your garden or enjoying the peak-season flavors of summer throughout the year. Whether you’re slathering it on hot dogs, mixing it into potato salad, or simply enjoying it as a tangy side dish, this homemade dill relish is sure to become a family favorite.
Why This Recipe Works
This recipe isn’t just about throwing ingredients together; it’s carefully crafted to ensure a safe and flavorful canned product. Here’s why it works so well:
- Vinegar Balance: The precise ratio of vinegar to vegetables creates the necessary acidity to prevent spoilage during the canning process. This is crucial for food safety.
- Proper Processing Time: Following the recommended processing time in a boiling water bath ensures that all harmful bacteria are eliminated, guaranteeing a shelf-stable relish.
- Dill’s Flavor Enhancement: Fresh dill not only provides a distinct and refreshing flavor but also helps to preserve the vibrant green color of the vegetables.
- Versatile Vegetables: The combination of cucumbers, onions, and peppers provides a delightful mix of textures and flavors that complement each other perfectly.
- Sugar’s Role: A touch of sugar balances the acidity of the vinegar and enhances the overall sweetness of the relish, creating a harmonious flavor profile.
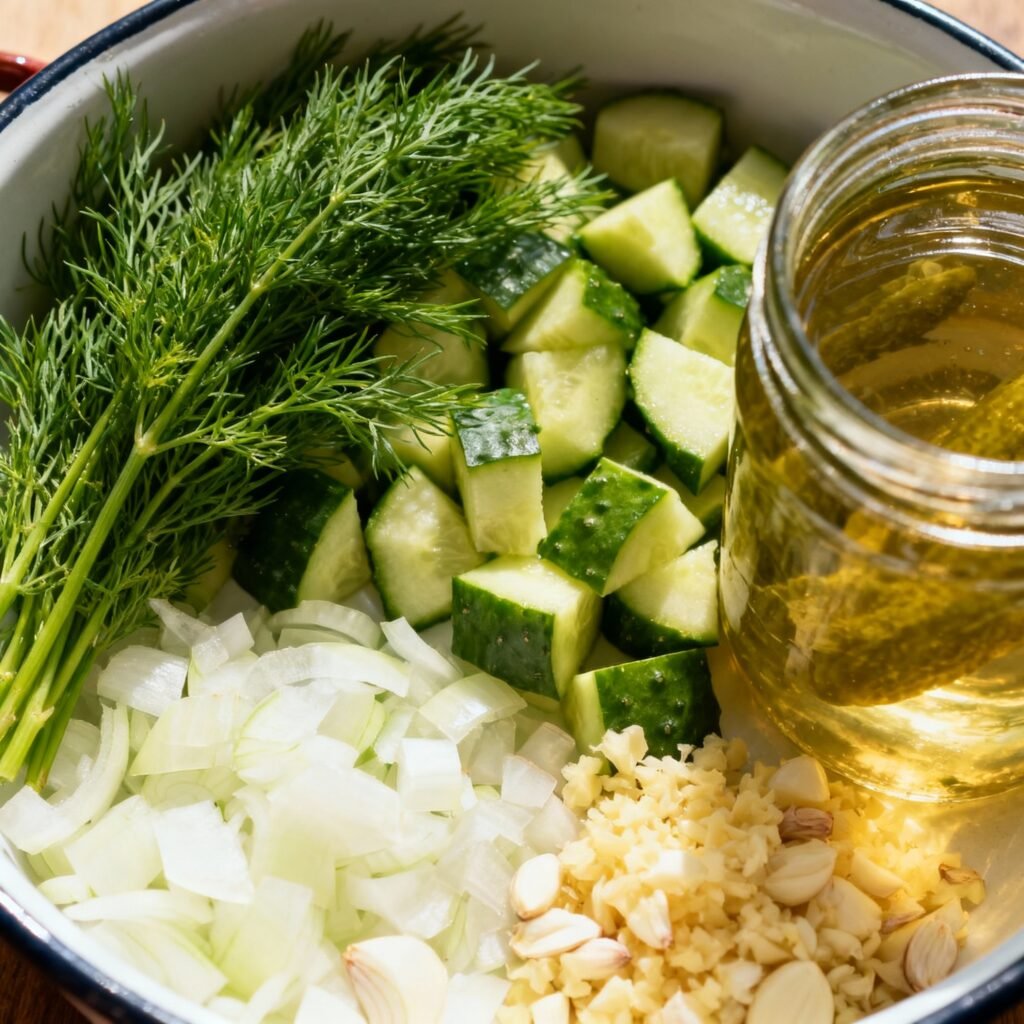
Ingredients
- 6 cups finely chopped cucumbers (about 4-5 medium cucumbers)
- 2 cups finely chopped onions (about 2 medium onions)
- 2 cups finely chopped green bell peppers (about 2 medium peppers)
- 1 cup finely chopped red bell peppers (about 1 medium pepper)
- 1/4 cup pickling salt
- 4 cups white vinegar (5% acidity)
- 2 cups granulated sugar
- 1/4 cup fresh dill, chopped (or 2 tablespoons dried dill weed)
- 1 teaspoon celery seed
- 1 teaspoon mustard seed
- 1/2 teaspoon turmeric (optional, for color)
Instructions
- Prepare the Vegetables: Wash all vegetables thoroughly. Finely chop the cucumbers, onions, and bell peppers. You can use a food processor for this, but be careful not to over-process them into a mush.
- Salt and Drain: In a large, non-reactive bowl (stainless steel or glass), combine the chopped vegetables and pickling salt. Mix well and cover with ice. Let stand for at least 2 hours, or preferably overnight, in the refrigerator. This step helps draw out excess moisture from the vegetables, resulting in a crisper relish.
- Rinse and Drain Again: After the soaking period, drain the vegetables in a colander and rinse them thoroughly under cold running water to remove the salt. Drain well again, pressing out any excess moisture. You can use a clean kitchen towel or cheesecloth to help with this step.
- Prepare the Brine: In a large, stainless steel saucepan, combine the white vinegar, sugar, dill, celery seed, mustard seed, and turmeric (if using). Bring the mixture to a boil over medium-high heat, stirring constantly until the sugar is dissolved.
- Add Vegetables to Brine: Carefully add the drained vegetables to the boiling vinegar mixture. Return to a boil, then reduce the heat to a simmer and cook for 10 minutes, stirring occasionally.
- Prepare Jars and Lids: While the relish is simmering, prepare your canning jars and lids. Wash the jars in hot, soapy water and rinse them thoroughly. Sterilize the jars by boiling them in a large pot of water for 10 minutes. Keep the jars hot until ready to use. You can also use a dishwasher with a sanitize cycle. Heat the canning lids in a small saucepan of simmering water. Do not boil the lids.
- Fill the Jars: Using a jar lifter, carefully remove the hot jars from the boiling water. Ladle the hot relish into the hot jars, leaving 1/2 inch of headspace. Remove any air bubbles by gently tapping the jars on the counter or using a non-metallic utensil. Wipe the rims of the jars with a clean, damp cloth.
- Seal the Jars: Place a hot lid on each jar and screw on the band fingertip tight. Do not overtighten the bands.
- Process in a Boiling Water Bath: Place the filled jars in a boiling water bath canner. The water should cover the jars by at least 1 inch. Bring the water to a rolling boil and process for 15 minutes for pint jars and 20 minutes for quart jars. Adjust processing time for altitude: Add 5 minutes for 1,001-3,000 feet, 10 minutes for 3,001-6,000 feet, and 15 minutes for 6,001-8,000 feet.
- Cool and Check Seals: After processing, turn off the heat and carefully remove the jars from the canner using a jar lifter. Place the jars on a towel-lined surface to cool completely for 12-24 hours. As the jars cool, you should hear a “popping” sound, indicating that the lids have sealed properly. After 24 hours, check the seals by pressing down on the center of each lid. If the lid doesn’t flex or move, it’s sealed. If the lid flexes, the jar didn’t seal properly and should be refrigerated and used within a few weeks.
- Remove Bands and Store: Once the jars are completely cool and sealed, remove the bands. Wash the jars with warm, soapy water and dry them thoroughly. Label the jars with the date and contents.
Tips for Success
- Use Fresh, High-Quality Ingredients: The better the quality of your ingredients, the better your relish will taste.
- Don’t Skip the Salting Step: This step is crucial for removing excess moisture and ensuring a crisp relish.
- Use Pickling Salt: Pickling salt is pure sodium chloride and doesn’t contain any additives that can cloud the brine.
- Ensure Proper Headspace: Leaving the correct amount of headspace is essential for proper sealing.
- Don’t Overtighten the Bands: Overtightening the bands can prevent air from escaping during processing, which can lead to seal failure.
- Adjust Processing Time for Altitude: It’s important to adjust the processing time based on your altitude to ensure proper preservation.
- Be Patient: Allow the relish to sit for at least a few weeks before opening a jar to allow the flavors to meld together.
Storage Instructions
Properly canned dill relish can be stored in a cool, dark, and dry place for up to 1 year. Once opened, refrigerate the relish and use it within a few weeks.
FAQ
Q: Can I use different types of peppers?
A: Yes, you can use other types of bell peppers, such as yellow or orange. You can also add a small amount of hot peppers for a spicy kick, but be sure to wear gloves when handling hot peppers.
Q: Can I use dried dill instead of fresh?
A: Yes, you can use dried dill weed. Use 2 tablespoons of dried dill weed for every 1/4 cup of fresh dill.
Q: Can I reduce the amount of sugar?
A: While you can slightly reduce the amount of sugar, it’s important to maintain the vinegar-to-vegetable ratio for safety. Sugar also contributes to the flavor and texture of the relish.
Q: What if my jars don’t seal?
A: If a jar doesn’t seal properly, refrigerate the relish immediately and use it within a few weeks. You can also reprocess the relish with new lids, but the quality may be slightly affected.
Q: My relish is too sour. What can I do?
A: Letting the relish sit for a few weeks will help mellow the flavors. You can also add a small amount of sugar to balance the acidity.
Conclusion
This dill relish canning recipe is a fantastic way to preserve the flavors of summer and enjoy a delicious, homemade condiment all year long. With its crisp texture, tangy flavor, and ease of preparation, this recipe is sure to become a staple in your pantry. So gather your ingredients, follow the instructions carefully, and get ready to enjoy the taste of summer in every bite!