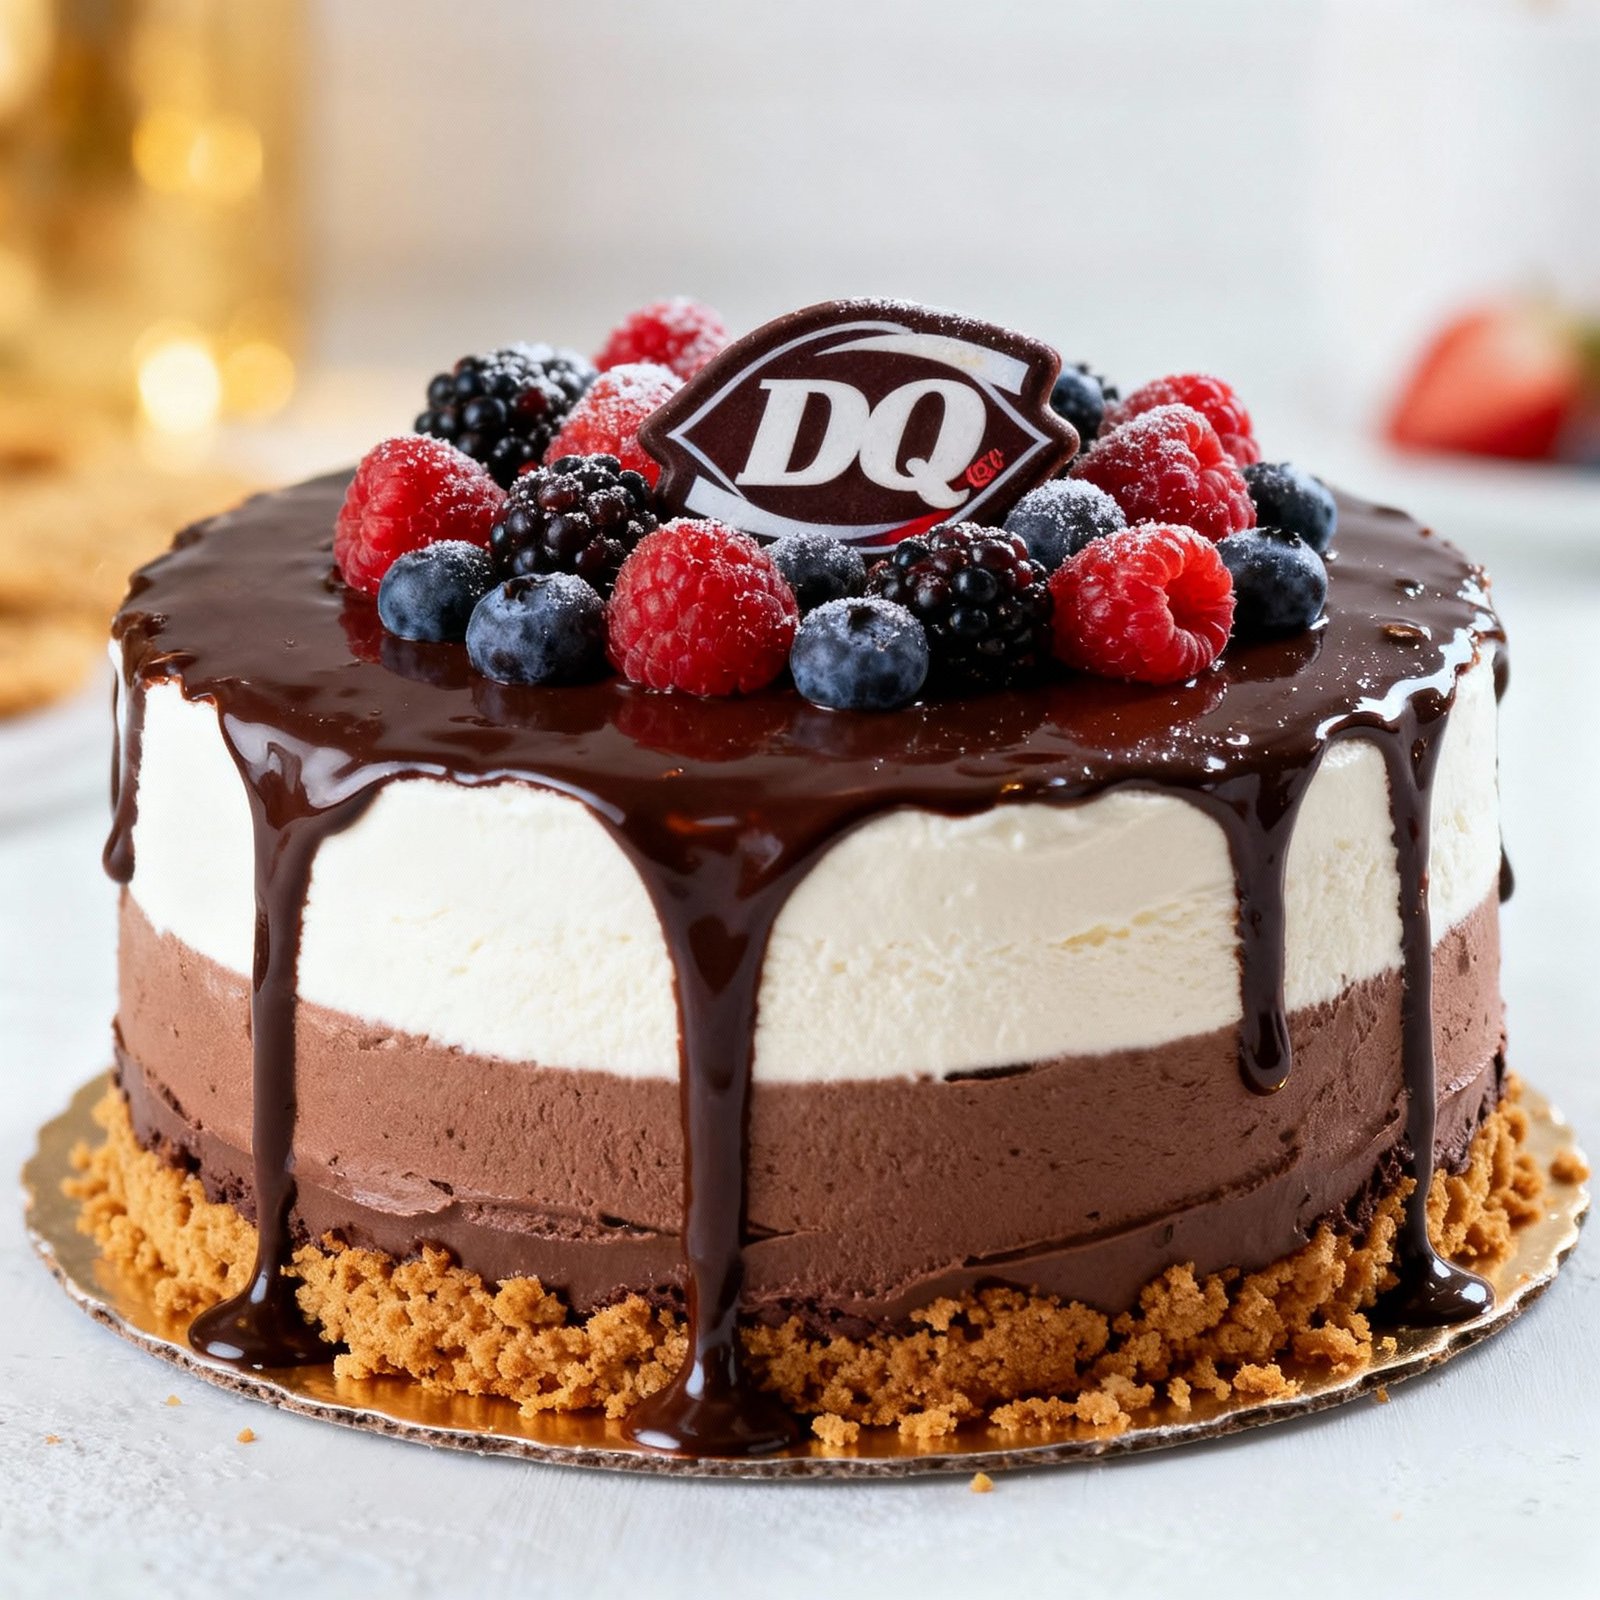
DQ Ice Cream Cake Recipe: The Ultimate Copycat Guide!
Few things scream celebration like a DQ ice cream cake. That iconic fudge and crunch center nestled between layers of creamy ice cream is the stuff of childhood dreams (and adulthood cravings!). But let’s be honest, buying one can be a bit pricey, and sometimes you just want to control the ingredients and put your own personal touch on it. That’s where this recipe comes in! This copycat recipe allows you to create a stunning and delicious DQ-inspired ice cream cake right in your own kitchen, perfect for birthdays, holidays, or just because you deserve a sweet treat.
Why This Recipe Works
This recipe isn’t just about throwing some ice cream together and hoping for the best. It’s carefully crafted to mimic the authentic DQ experience, focusing on these key elements:
- The Fudge and Crunch Center: This is the heart and soul of a DQ ice cream cake. We’ll show you how to recreate that irresistible combination of rich fudge and crispy chocolate cookie crumbs.
- Ice Cream Selection: We’ll guide you on choosing the right ice cream flavors and textures to achieve that classic DQ taste. Vanilla and chocolate are the traditional choices, but feel free to experiment!
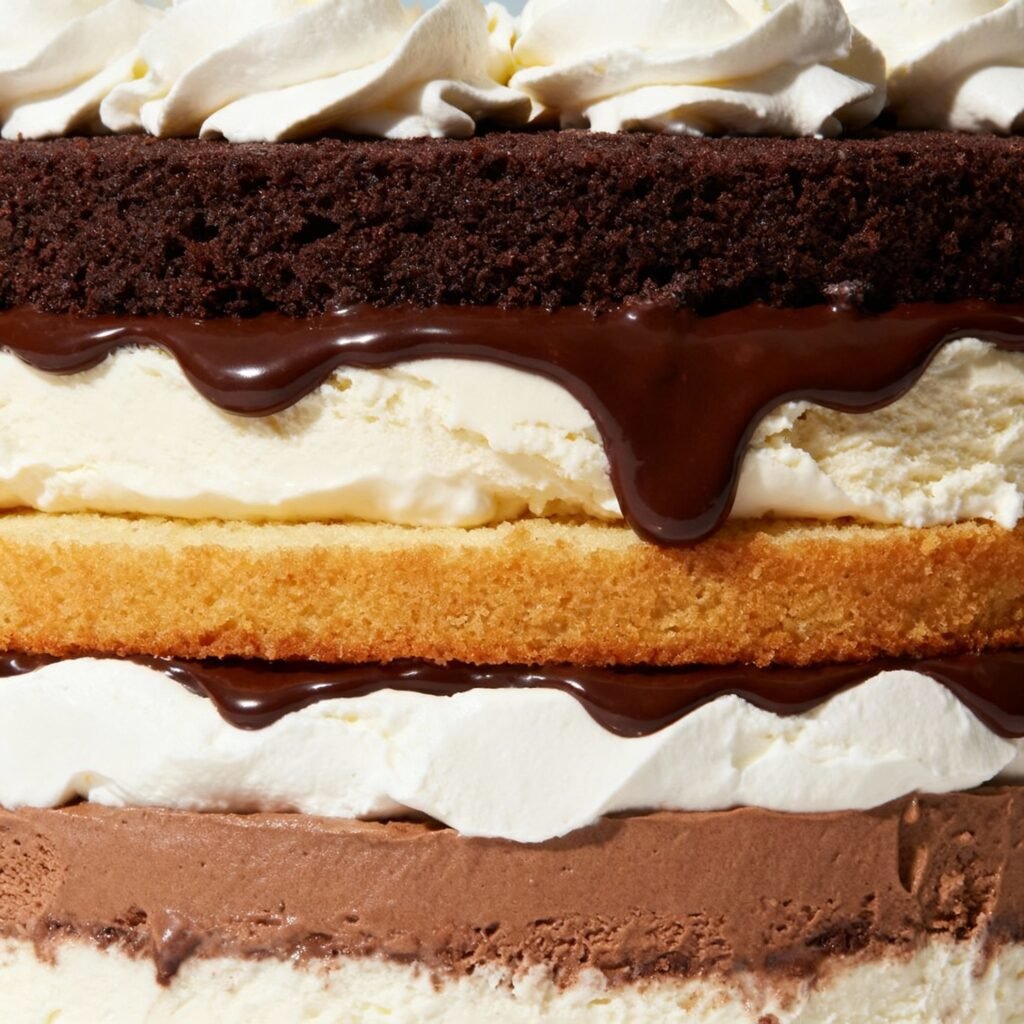
- The Layering Technique: Proper layering is crucial for creating a visually appealing and structurally sound cake. We’ll break down the process step-by-step to ensure success.
- Easy to Follow Instructions: Even if you’re not an experienced baker, this recipe is designed to be straightforward and easy to understand.
Ingredients
- Ice Cream:
- 1 (48 oz) container of vanilla ice cream, softened
- 1 (48 oz) container of chocolate ice cream, softened
- Fudge Layer:
- 1 cup heavy cream
- 1 cup semi-sweet chocolate chips
- 1/4 cup corn syrup
- 1 tablespoon butter
- 1 teaspoon vanilla extract
- Crunch Layer:
- 1 1/2 cups chocolate sandwich cookies (like Oreos), crushed
- 1/2 cup hot fudge sauce (store-bought or homemade)
- Whipped Topping:
- 1 (8 oz) container of whipped topping, thawed
- Optional Decorations:
- Sprinkles
- Chocolate shavings
- Maraschino cherries
Instructions
- Prepare the Cake Pan: Line a 9-inch springform pan with plastic wrap, ensuring the wrap overhangs the edges. This will make it easier to remove the cake later.
- Soften the Ice Cream: Allow both the vanilla and chocolate ice cream to soften slightly at room temperature for about 15-20 minutes. They should be easily spreadable but not completely melted.
- Create the Bottom Layer: Spread the softened vanilla ice cream evenly into the bottom of the prepared pan. Use the back of a spoon or an offset spatula to create a smooth surface. Freeze for at least 1 hour, or until firm.
- Make the Fudge Layer: In a medium saucepan, combine the heavy cream, chocolate chips, corn syrup, and butter. Heat over medium-low heat, stirring constantly, until the chocolate is melted and the mixture is smooth. Remove from heat and stir in the vanilla extract. Let the fudge cool slightly.
- Prepare the Crunch Layer: In a medium bowl, combine the crushed chocolate sandwich cookies and the hot fudge sauce. Mix well until the cookie crumbs are evenly coated with fudge.
- Assemble the Fudge and Crunch Layer: Remove the cake pan from the freezer. Spread the cooled fudge evenly over the frozen vanilla ice cream layer. Then, carefully spread the chocolate cookie crumb mixture over the fudge layer. Press down gently to ensure it adheres. Freeze for another hour, or until firm.
- Add the Top Layer: Remove the cake pan from the freezer. Spread the softened chocolate ice cream evenly over the fudge and crunch layer. Smooth the surface and return to the freezer for at least 3 hours, or preferably overnight, to allow the cake to fully set.
- Decorate the Cake: Remove the cake from the freezer about 15 minutes before serving. Lift the cake out of the springform pan using the overhanging plastic wrap. Place it on a serving plate. Frost the cake with the thawed whipped topping.
- Add Decorations: Decorate the cake with sprinkles, chocolate shavings, maraschino cherries, or any other desired toppings.
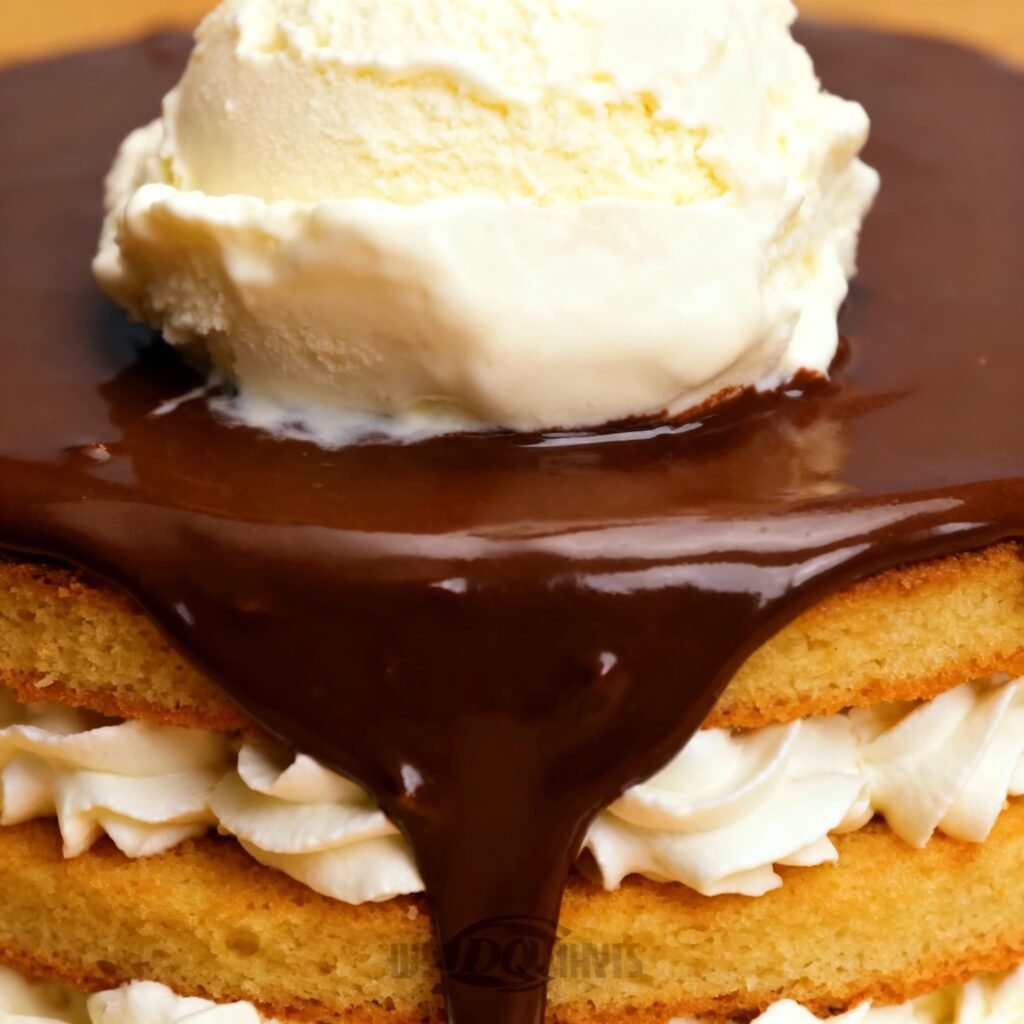
- Serve and Enjoy: Slice and serve the DQ ice cream cake immediately.
Tips for Success
- Don’t Over-Soften the Ice Cream: The ice cream should be spreadable, but not melted. If it’s too soft, it will be difficult to layer and the cake will become a soupy mess.
- Cool the Fudge: Allow the fudge to cool slightly before spreading it over the ice cream layer. If it’s too hot, it will melt the ice cream.
- Press the Crunch Layer: Gently press the chocolate cookie crumb mixture into the fudge layer to ensure it adheres properly.
- Freeze Between Layers: Freezing the cake between each layer is crucial for creating a stable and well-defined cake. Don’t skip this step!
- Use High-Quality Ingredients: Using good quality ice cream and chocolate will make a noticeable difference in the final taste of the cake.
- Get Creative with Flavors: While vanilla and chocolate are the classic choices, feel free to experiment with other ice cream flavors. Strawberry, cookies and cream, or mint chocolate chip would all be delicious options.
Storage Instructions
Store leftover DQ ice cream cake in the freezer, tightly wrapped in plastic wrap or in an airtight container, for up to 1 week. For best results, consume within 3-5 days to prevent freezer burn.
FAQ
- Can I use a different size pan? While this recipe is designed for a 9-inch springform pan, you can use a different size pan. However, you may need to adjust the baking time and the amount of ingredients accordingly.
- Can I make this cake ahead of time? Yes, you can make this cake ahead of time. In fact, it’s recommended to make it at least 24 hours in advance to allow it to fully set.
- Can I use store-bought fudge? Yes, you can use store-bought fudge instead of making your own. Just make sure to warm it slightly before spreading it over the ice cream layer.
- Can I use a different type of cookie for the crunch layer? Yes, you can use other types of cookies for the crunch layer. Chocolate graham crackers or other chocolate cookies would work well.
- My fudge layer is too hard. What can I do? The fudge layer may become too hard if it’s been in the freezer for too long. Let the cake sit at room temperature for a few minutes before serving to soften the fudge.
Conclusion
There you have it! A homemade DQ ice cream cake that rivals the original. This recipe is a fun and rewarding way to celebrate any occasion, and it’s sure to impress your friends and family. So gather your ingredients, put on your apron, and get ready to create a delicious and unforgettable treat. Enjoy!