Dutch Crunch Bread Recipe: The Secret to Crackly Perfection!
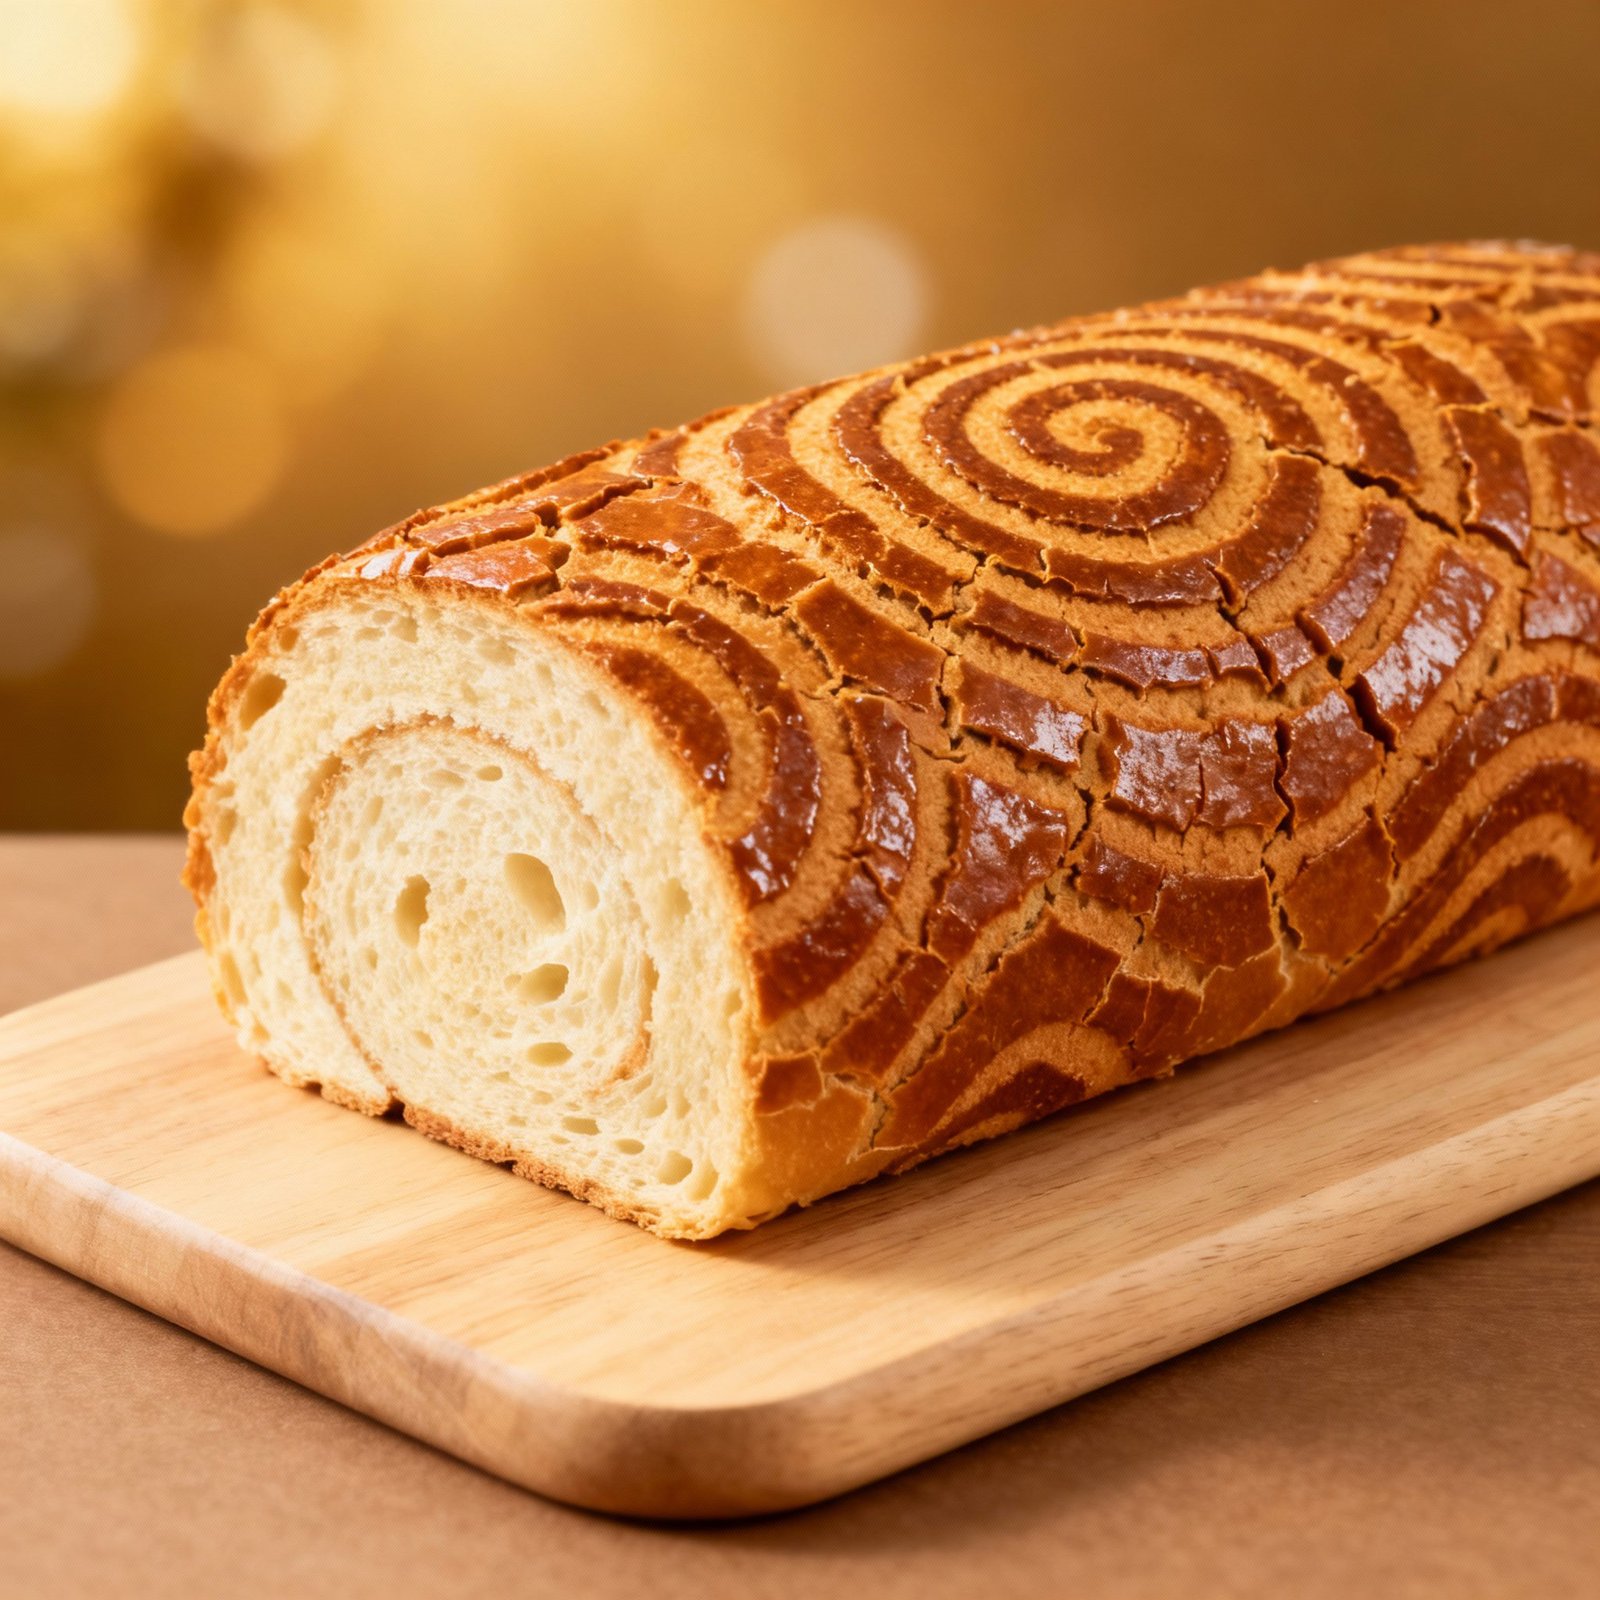
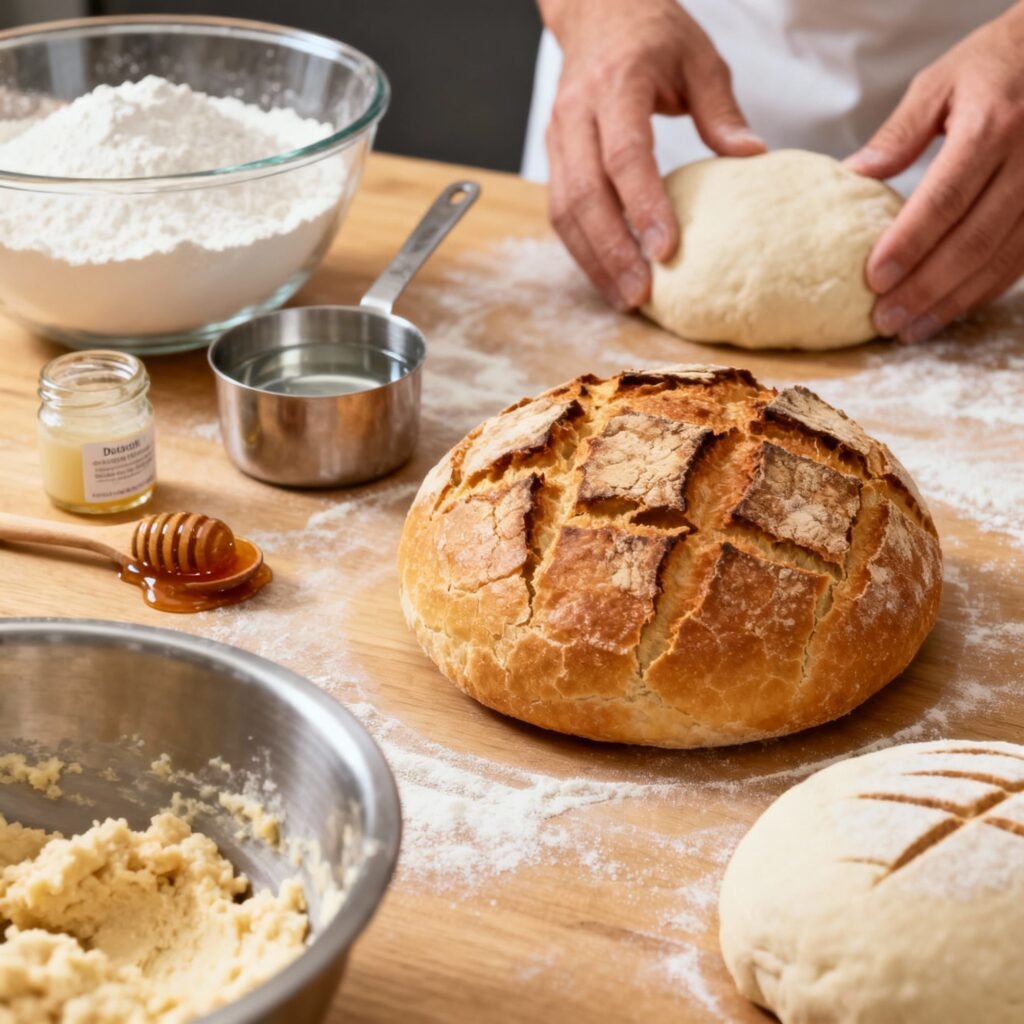
Imagine sinking your teeth into a loaf of bread with a shatteringly crisp, tiger-striped crust that gives way to a soft, airy interior. That, my friends, is the magic of Dutch Crunch bread, also known as Tiger Bread. This iconic San Francisco bakery staple is surprisingly easy to make at home, and once you taste the difference between homemade and store-bought, you’ll never go back. This recipe provides a detailed, foolproof guide to creating the perfect Dutch Crunch loaf, complete with tips and tricks to ensure crusty, crackly success every time.
Why This Recipe Works
This recipe is designed to maximize that signature crackly crust while maintaining a soft and flavorful crumb. Here’s why it works:
- Yeast Activation: We start by properly activating the yeast to ensure a good rise and a light, airy texture.
- Hydration: The dough has a good balance of hydration, creating a pliable dough that’s easy to work with and results in a moist interior.
- Proofing Time: A sufficient proofing time allows the yeast to fully develop the dough’s flavor and texture.
- Rice Flour Crust: The secret to the crackly crust lies in the rice flour paste. Rice flour doesn’t contain gluten, which allows the crust to dry out and crack beautifully in the oven.
- Sugar in the Crust: The sugar in the rice flour paste caramelizes during baking, contributing to the beautiful golden color and enhancing the crackling effect.
- Baking Temperature: The high baking temperature creates steam within the dough, helping it rise quickly and develop a crispy crust.
Ingredients
For the Dough:
- 1 cup (240ml) warm water (105-115°F / 40-46°C)
- 2 ¼ teaspoons (7g) active dry yeast
- 1 tablespoon (12g) granulated sugar
- 2 ½ cups (315g) all-purpose flour, plus more for dusting
- 1 teaspoon (6g) salt
- 2 tablespoons (30ml) olive oil, plus more for greasing
For the Dutch Crunch Topping:
- ½ cup (60g) rice flour
- ¼ cup (60ml) warm water
- 1 tablespoon (12g) granulated sugar
- 1 teaspoon (3g) sesame oil (optional, but adds flavor)
- ½ teaspoon (3g) active dry yeast
- Pinch of salt
Instructions
- Activate the Yeast: In a large bowl, combine the warm water, yeast, and sugar for the dough. Let it sit for 5-10 minutes until foamy, indicating the yeast is active.
- Make the Dough: Add the flour, salt, and olive oil to the yeast mixture. Stir until a shaggy dough forms.
- Knead the Dough: Turn the dough out onto a lightly floured surface and knead for 5-7 minutes until smooth and elastic. Alternatively, use a stand mixer with a dough hook for 5 minutes.
- First Rise: Grease a large bowl with olive oil. Place the dough in the bowl, turning to coat. Cover with plastic wrap or a clean kitchen towel and let rise in a warm place for 1-1.5 hours, or until doubled in size.
- Prepare the Dutch Crunch Topping: While the dough is rising, prepare the topping. In a separate bowl, whisk together the rice flour, warm water, sugar, sesame oil (if using), yeast, and salt until smooth. The mixture should be a thick, spreadable paste. Cover and let sit for 30 minutes. This allows the yeast in the topping to activate.
- Shape the Dough: Gently punch down the risen dough to release the air. Turn it out onto a lightly floured surface and shape it into a round loaf, an oblong loaf, or divide it into smaller rolls.
- Second Rise: Place the shaped dough on a baking sheet lined with parchment paper. Cover loosely with plastic wrap or a clean kitchen towel and let rise for another 30-45 minutes, or until slightly puffed.
- Apply the Dutch Crunch Topping: Gently spread the rice flour paste over the top of the loaf, leaving a ½-inch border around the bottom. The topping should be applied generously but not too thickly. Don’t worry if it drips down the sides a little; it adds to the rustic look.
- Bake: Preheat your oven to 400°F (200°C). Bake for 25-35 minutes, or until the crust is golden brown and the bread sounds hollow when tapped on the bottom. The internal temperature should reach 200-210°F (93-99°C).
- Cool: Let the bread cool on a wire rack for at least 30 minutes before slicing and serving. This allows the crust to set properly.
Tips for Success
- Water Temperature is Key: Make sure the water used to activate the yeast is within the recommended temperature range (105-115°F / 40-46°C). Too hot, and you’ll kill the yeast. Too cold, and it won’t activate properly.
- Don’t Over-Knead: Over-kneading can result in a tough loaf. Knead until the dough is smooth and elastic, but not overly stiff.
- Proper Proofing: Allow the dough to rise in a warm, draft-free place. A warm oven (turned off) or a microwave (with a cup of hot water) can provide the ideal environment.
- Rice Flour is Essential: Don’t substitute rice flour with other types of flour. The lack of gluten in rice flour is what creates the characteristic crackly crust.
- Generous Topping: Don’t be shy with the rice flour topping. A generous layer is key to achieving the desired crackly effect.
- Steam in the Oven: For an even crispier crust, you can add steam to the oven during the first 10 minutes of baking. Place a baking sheet filled with hot water on the bottom rack of the oven.
- Oven Variations: Baking times may vary depending on your oven. Keep an eye on the bread and adjust the baking time as needed.
Storage Instructions
Dutch Crunch bread is best enjoyed fresh, on the day it’s baked. However, you can store it properly to maintain its quality for a few days.
- Room Temperature: Store the bread in a paper bag or loosely wrapped in plastic wrap at room temperature for up to 2 days.
- Freezing: For longer storage, freeze the bread. Slice it before freezing for easy thawing. Wrap the slices tightly in plastic wrap, then place them in a freezer bag. Frozen bread can be stored for up to 2 months. Thaw at room temperature or in the oven.
FAQ
Q: Can I use bread flour instead of all-purpose flour?
A: Yes, you can use bread flour. It will result in a slightly chewier texture.
Q: Can I add other flavors to the dough?
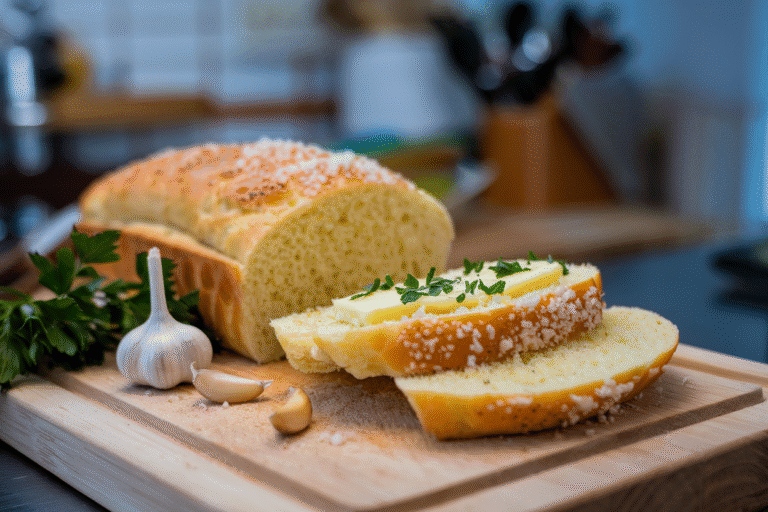
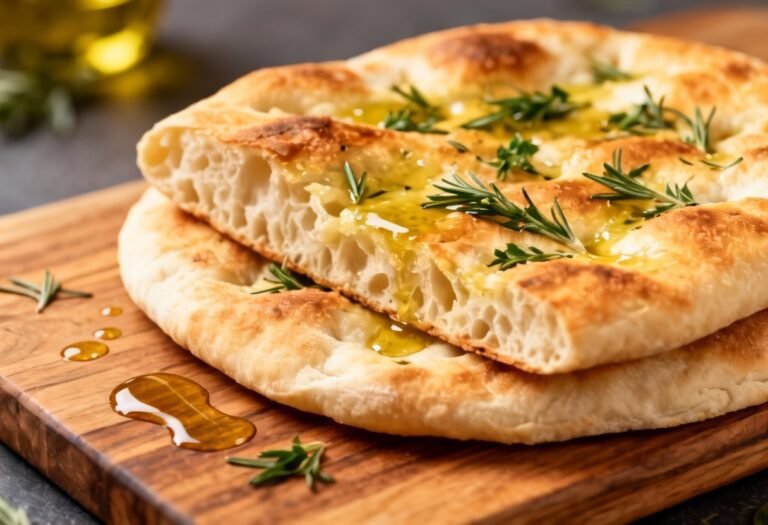
A: Absolutely! You can add herbs, cheese, or spices to the dough for a customized flavor. Rosemary, garlic, and Parmesan cheese are great additions.
Q: My Dutch Crunch topping isn’t cracking. What went wrong?
A: Several factors could contribute to this. Make sure you’re using rice flour, not another type of flour. Ensure the topping is applied generously and that your oven temperature is accurate. Adding steam to the oven can also help.
Q: Can I make this recipe gluten-free?
A: While the topping is already gluten-free, you’ll need to use a gluten-free bread recipe for the dough. Be sure to find a recipe that’s specifically designed for bread making and follow the instructions carefully.
Q: Can I use instant yeast instead of active dry yeast?
A: Yes, you can. If using instant yeast, you can skip the initial activation step and add it directly to the flour.
Conclusion
Making Dutch Crunch bread at home is a rewarding experience. The combination of the crackly crust and the soft, airy interior is simply irresistible. With this recipe and these tips, you’ll be able to create bakery-quality Dutch Crunch bread in your own kitchen. So, gather your ingredients, preheat your oven, and get ready to enjoy the delightful crunch of homemade Tiger Bread!