This Easy Apple Crisp Recipe Is Your 45-Minute Shortcut to Cozy, Crowd-Pleasing Magic
👩🍳 The Home Chef's Essential Kitchen
Consistently cooking incredible, healthy meals at home is so much easier when you aren't fighting with cheap tools. These are the 5 absolute powerhouse kitchen essentials that professional chefs and serious home cooks rely on every single day to get perfect results.
🍳 Lodge 10.25" Cast Iron Skillet
The single greatest value in all of cookware. It retains heat infinitely better than cheap non-stick pans, allowing you to get a restaurant-quality crust on steaks or perfect crispy edges on cornbread. With proper care, this $20 pan will literally outlive you.
🔪 Victorinox Fibrox Pro 8" Chef's Knife
A dull knife makes cooking a frustrating chore. This specific blade is the undisputed champion of the culinary world—it holds a terrifyingly sharp edge, features a comfortable non-slip grip, and performs identical to German knives that cost quadruple the price.
🌡️ ThermoPro Instant Read Thermometer
Never serve dry chicken or undercooked pork again. An instant-read thermometer is the secret difference between amateur cooks who 'guess' when protein is done, and professionals who know exactly when to pull meat off the heat for maximum juiciness.
🍲 Lodge Enameled Cast Iron Dutch Oven
The ultimate workhorse for soups, stews, braised short ribs, and baking crusty artisanal bread. The enameled interior provides incredible heat distribution for slow-cooking while eliminating the intense seasoning maintenance required by bare cast iron.
🥄 Bpa-Free Silicone Utensil Set
Throw away those melting plastic spatulas and bacteria-harboring wooden spoons. This pure silicone set is heat-resistant up to 600°F, won't scratch your expensive pans, and features seamless designs that make cleaning out thick sauces and batters effortless.
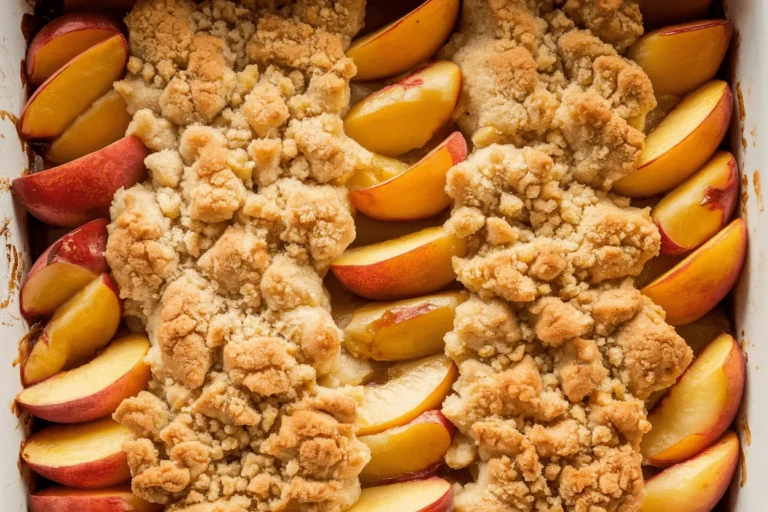
You want dessert that looks homemade, tastes like a fall bakery, and doesn’t require a culinary degree or a blowtorch. This easy apple crisp recipe is the answer. It’s crunchy, buttery, juicy, and shamelessly simple—like apple pie’s confident older sibling who skipped the crust drama.
If you can slice apples and stir, you’re in. And yes, it makes your entire kitchen smell like a candle shop in the best way possible.
Why This Recipe Works
This crisp nails the balance: tender, saucy apples under a buttery, golden crumble that stays crisp. The topping uses both oats and flour for crunch and structure, while brown sugar brings caramel vibes that love apples.
A touch of lemon sharpens the flavor and keeps apples from turning bland.
We layer the apples with sugar and spices so the fruit releases just enough juice to bubble without drowning the topping. Melted butter means faster mixing and better clumps—because those crunchy clusters are the point, right? And baking at a slightly higher temp ensures the apples soften as the top crisps up, no soggy zones.
What You’ll Need (Ingredients)
- 6–7 medium apples (about 2 to 2.5 lbs).
Use a mix: Granny Smith + Honeycrisp is clutch.
- 2 tablespoons lemon juice (fresh is best).
- 1/3 cup granulated sugar (for the filling).
- 2 teaspoons ground cinnamon, divided.
- 1/4 teaspoon ground nutmeg (optional but recommended).
- 1 teaspoon vanilla extract.
- 1 tablespoon cornstarch (or 2 tsp flour) to thicken the juices.
- 1 cup old-fashioned rolled oats (not quick oats).
- 3/4 cup all-purpose flour.
- 2/3 cup packed brown sugar (light or dark for deeper flavor).
- 1/2 teaspoon kosher salt.
- 1/2 cup (1 stick) unsalted butter, melted.
- Optional add-ins: 1/2 cup chopped pecans or walnuts, 1/4 cup raisins, or 1/4 cup caramel sauce for drizzling post-bake.
The Method – Instructions
- Preheat and prep. Heat oven to 350°F (175°C). Grease a 9×9-inch baking dish or similar (an oval 2-quart works too).
- Slice the apples. Peel if you like (I do). Core and slice into 1/4-inch thick wedges.
Too thick = crunchy apples. Too thin = applesauce. Aim for Goldilocks.
- Toss the filling. In a large bowl, combine apples, lemon juice, granulated sugar, 1 teaspoon cinnamon, nutmeg, vanilla, and cornstarch.
Stir to coat evenly. Transfer to the baking dish and spread into an even layer.
- Make the crisp topping. In another bowl, mix oats, flour, brown sugar, salt, and remaining 1 teaspoon cinnamon. Pour in melted butter and stir until clumps form.
Add nuts if using. You want pebbly clusters—no dry pockets.
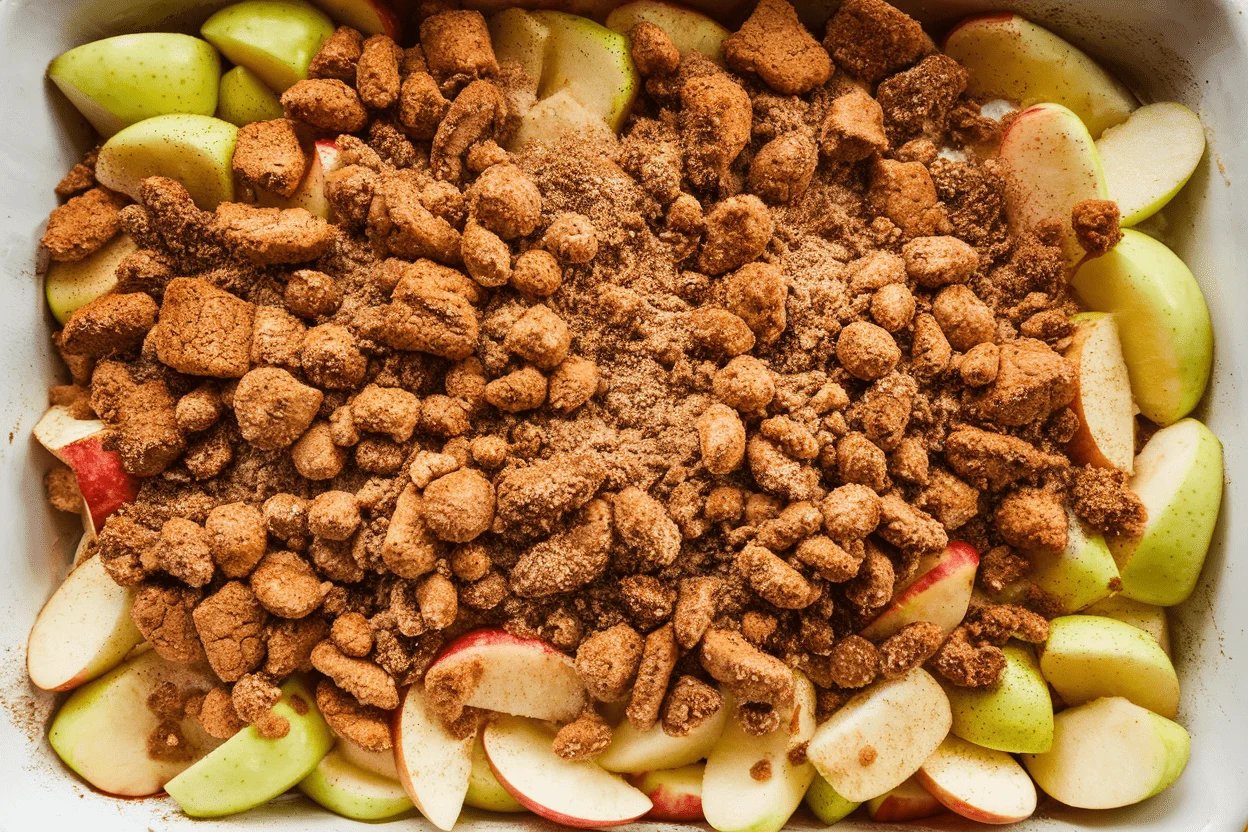
- Assemble. Scatter the topping evenly over the apples. Don’t press it down hard—lightly cover so steam can escape and crisp can crisp.
- Bake. Bake 38–45 minutes, until the topping is deeply golden and the apple juices are bubbling at the edges.
If the top is browning too fast, tent loosely with foil.
- Rest. Let it sit 10–15 minutes. This helps the juices thicken so you get saucy—not soupy—spoons.
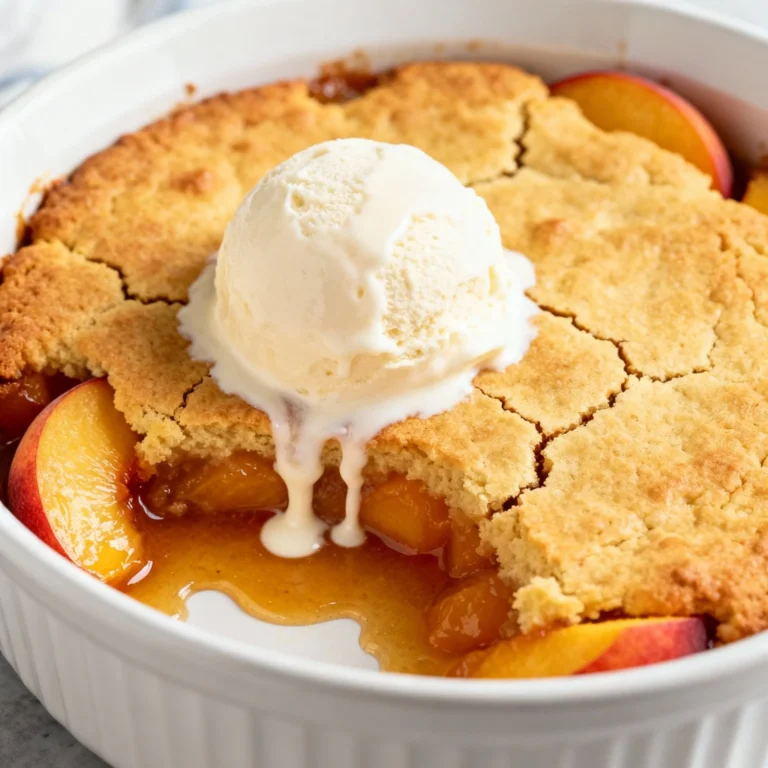
- Serve. Scoop warm with vanilla ice cream, whipped cream, or a drizzle of warm caramel. Breakfast tomorrow?
Absolutely—no one’s judging.
Storage Instructions
- Room temp: Cover and keep up to 1 day if your kitchen is cool.
- Fridge: Store covered for 4–5 days. The topping softens slightly but reheats well.
- Reheat: Warm individual portions in the microwave for 30–45 seconds, or revive the whole dish in a 325°F oven for 10–15 minutes to re-crisp.
- Freeze: Freeze baked and cooled crisp, tightly wrapped, up to 2 months. Thaw in the fridge overnight, then reheat at 325°F until bubbly.
Benefits of This Recipe
- Fast and forgiving: No pastry, no stress, no weird steps.
It’s weeknight-friendly.
- Scalable: Double it for a 9×13 pan, or split into ramekins for personal crisps. Instant portion control—kind of.
- Flexible with apples: Use what you’ve got. A mix boosts depth and texture.
- Nostalgic flavors, modern shortcut: All the cozy spice, none of the fuss.
FYI, it’s also a great “bring to the neighbors” flex.
- Budget-friendly crowd-pleaser: Simple ingredients, huge payoff. The ROI in compliments is ridiculous.
Don’t Make These Errors
- Cutting apples too thick. You’ll end up with al dente apples. Slice to 1/4 inch for tender but intact texture.
- Skipping cornstarch. That tiny spoon makes the sauce glossy, not watery.
Omit at your own soggy risk.
- Using quick oats. They turn mushy. Rolled oats = crisp city.
- Overpacking the topping. Pressing it down traps steam and kills crunch. Sprinkle, don’t smash.
- Underbaking. Brown means flavor.
Pull it when juices bubble and the top is deeply golden, not pale.
Alternatives
- Gluten-free: Use certified GF oats and swap flour for almond flour or a 1:1 GF blend. If using almond flour, add 2 tablespoons extra to help clumping.
- Dairy-free: Use coconut oil or a quality vegan butter. Add a pinch more salt if using coconut oil.
- Lower sugar: Reduce granulated sugar in the filling to 2 tablespoons and brown sugar in topping to 1/2 cup.
Apples still shine.
- Spice swaps: Try apple pie spice, cardamom, or a hint of ginger. Want bold? Add 1/4 teaspoon cloves (light hand, it’s potent).
- Fruit remix: Toss in pears, fresh cranberries, or a handful of blackberries for contrast.
Adjust sugar slightly if using tart add-ins.
- Nutty crunch: Pecans or walnuts add texture and a toasty flavor. Toast them first for extra oomph, IMO.
FAQ
What are the best apples for crisp?
Use a mix for flavor and texture. Granny Smith keeps its shape and adds tartness, while Honeycrisp, Fuji, or Pink Lady bring sweetness and juice.
Mixing two types is the secret weapon.
Do I have to peel the apples?
Nope. Peels add color and fiber. The texture is slightly chewier with peels on; if you want classic bakery-style softness, peel them.
Can I make this ahead?
Yes.
Assemble the filling and topping separately up to 24 hours ahead. Refrigerate both, then assemble and bake when ready. Or bake fully and reheat at 325°F before serving.
Why is my topping not crispy?
Likely reasons: quick oats, too much moisture, or underbaking.
Use rolled oats, don’t press the topping down, and bake until it’s dark golden and bubbling at the edges.
Can I make it in a 9×13 pan?
Yes—just 1.5x the topping so you don’t skimp on crunch. Bake time may extend to 45–50 minutes.
Is cornstarch necessary?
It’s not mandatory, but it keeps the filling from getting watery. If skipping, expect a looser sauce.
Flour works in a pinch—use 2 teaspoons.
What should I serve with it?
Vanilla ice cream is elite. Whipped cream, crème fraîche, or salted caramel also play well. For breakfast, try Greek yogurt for a tangy contrast.
🍰 The Master Baker & Prep Kit
Baking is a science, and meal prep requires efficiency. If you want consistently flaky pie crusts, perfectly risen cakes, and healthy meals ready for the week, these are the 5 upgrade tools that take your execution to the next level.
⚖️ OXO Good Grips 11lb Food Scale
The secret to why bakery bread and cookies are always perfect while home batches vary wildly. Measuring by weight (grams) instead of volume (cups) guarantees precise hydration and flawlessly consistent results every single time you bake.
🧑🍳 KitchenAid Classic Stand Mixer
The undisputed holy grail of the kitchen. From aggressively kneading heavy pizza doughs to whipping meringues into stiff peaks, this powerful motor saves your arms from exhaustion and cuts your hands-on prep time in half.
🍪 Silpat Premium Silicone Baking Mats
Stop wasting money on rolls of parchment paper or agonizing over cookies permanently fused to your metal pans. These reusable, professional-grade silicone mats ensure completely even heat distribution and instantly release even the stickiest caramel.
🌪️ Braun MultiQuick Immersion Blender
The ultimate shortcut tool for creamy tomato soups, lump-free gravies, and rapid smoothies. Avoid the burns and mess of dangerously transferring boiling liquids in batches to a traditional blender by simply blending right inside your cooking pot.
🍱 Premium Glass Meal Prep Containers
If you want to bake and cook healthier, batch preparation is required. These durable glass containers transition safely from freezer to microwave, never absorb tomato sauce stains, and feature airtight seals to keep your hard work fresh all week.
In Conclusion
This easy apple crisp recipe delivers everything you want in a dessert: bold flavor, perfect texture, and minimal effort.
It’s the kind of reliable, repeatable win that turns “we have apples” into “we’re heroes.” Keep it simple, bake it golden, and serve it warm. Your future self (and anyone you share it with) will thank you—loudly.