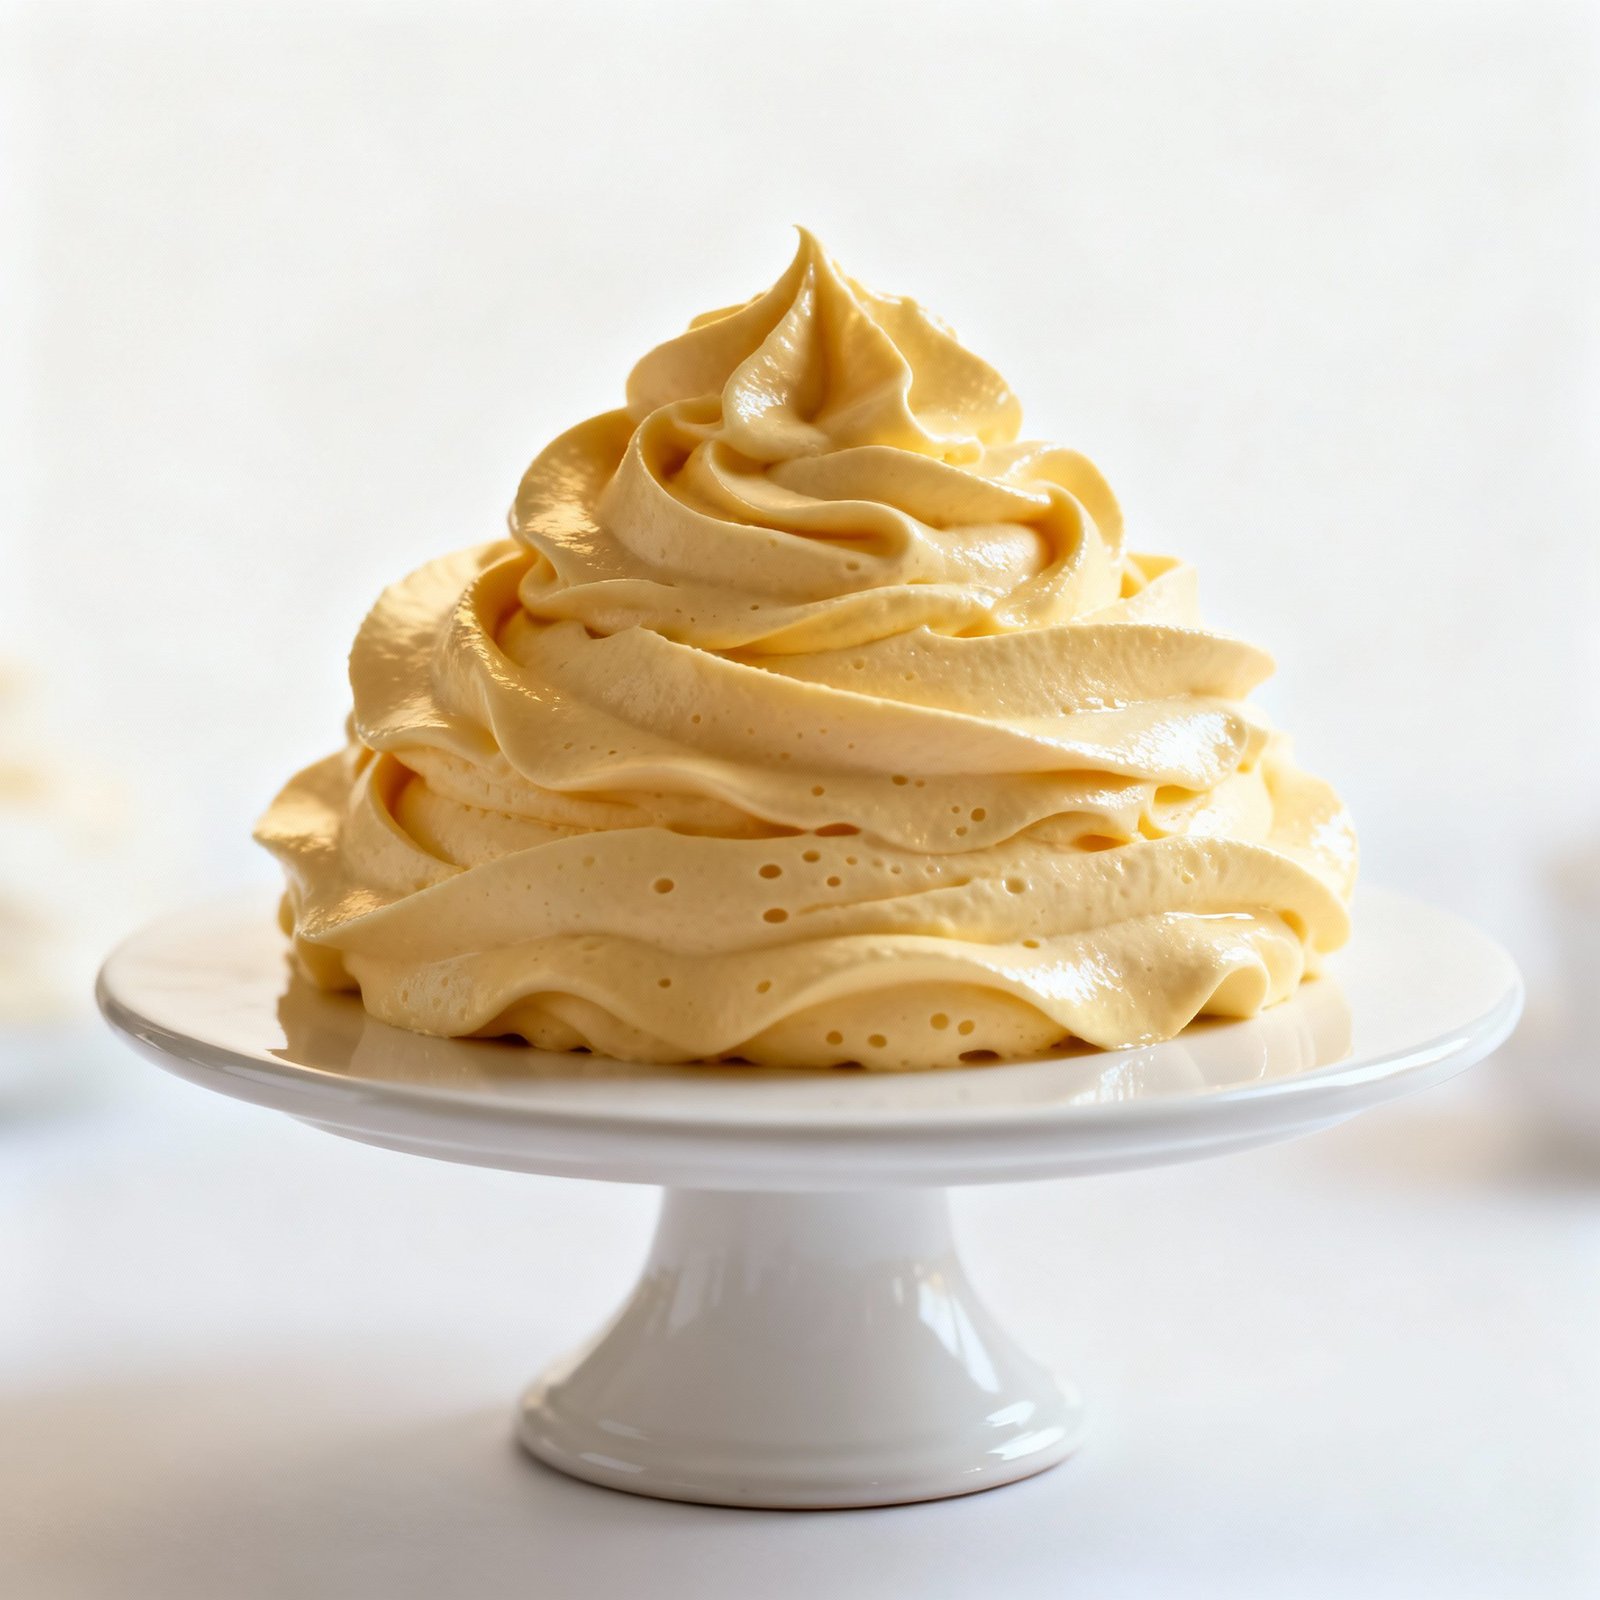
Easy Cake Frosting Recipe: The Dreamy, Creamy Cloud You Need!
Let’s face it, the perfect cake isn’t just about the sponge. It’s about that glorious, swoon-worthy frosting that elevates it from ordinary to extraordinary. But who has time for complicated recipes with finicky ingredients and endless steps? Not you! This easy cake frosting recipe delivers a lusciously smooth, utterly delicious, and incredibly versatile frosting in minutes. Whether you’re topping cupcakes, layering a birthday cake, or just looking for a sweet treat to lick off a spoon (we won’t judge!), this recipe is your new best friend.
Forget store-bought frosting packed with artificial flavors and preservatives. This homemade version is bursting with real flavor, customizable to your preferences, and ridiculously easy to make. Get ready to impress your friends and family with a cake that tastes as good as it looks. Let’s get frosting!
Why This Recipe Works
This recipe isn’t just easy; it’s also foolproof. Here’s why it works so well:
- Simple Ingredients: We’re talking pantry staples here. No exotic ingredients or hard-to-find items required.
- Foolproof Method: The instructions are clear, concise, and designed to prevent common frosting mishaps.
- Perfect Texture: The ratio of ingredients ensures a smooth, creamy, and easily spreadable frosting. No grainy or lumpy frosting here!
- Customizable Flavor: This recipe is a blank canvas for your creativity. Add extracts, fruit purees, or even a touch of liqueur to create your signature frosting.
- Quick and Easy: From start to finish, you’ll have a beautiful bowl of frosting ready in under 15 minutes.
Ingredients
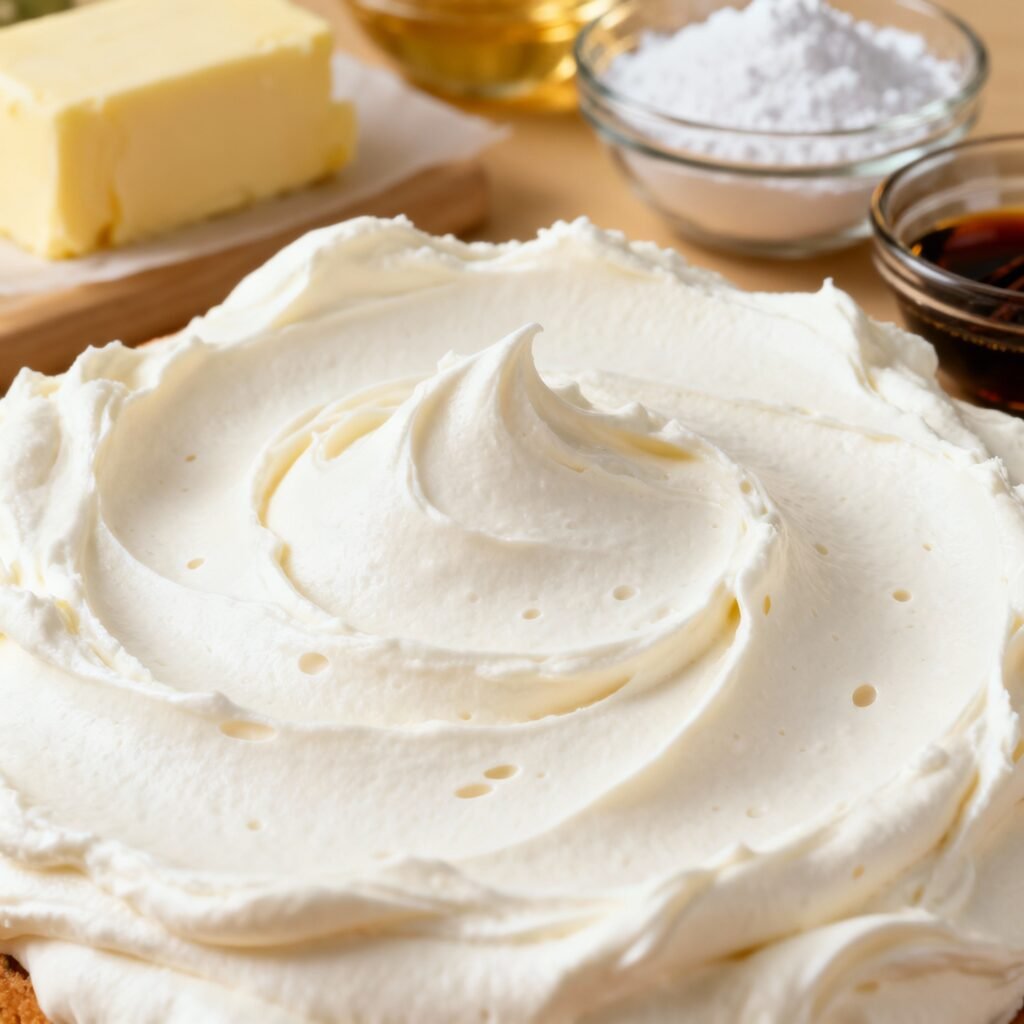
- 1 cup (2 sticks) unsalted butter, softened to room temperature
- 3-4 cups powdered sugar, sifted
- 1/4 cup milk (or heavy cream for extra richness)
- 1 teaspoon vanilla extract
- Pinch of salt
Instructions
Follow these simple steps for perfect frosting every time:
- Cream the Butter: In a large mixing bowl (or the bowl of your stand mixer), beat the softened butter with an electric mixer on medium speed until light and fluffy. This usually takes about 2-3 minutes. Scraping down the sides of the bowl occasionally ensures even mixing.
- Add Powdered Sugar: Gradually add the sifted powdered sugar, one cup at a time, beating on low speed after each addition. Sifting the powdered sugar is crucial for a smooth frosting. If you skip this step, you might end up with lumps.
- Incorporate Milk and Vanilla: Pour in the milk (or heavy cream) and vanilla extract. Beat on low speed until just combined.
- Whip to Perfection: Increase the mixer speed to medium-high and beat for 2-3 minutes, or until the frosting is light, fluffy, and smooth. The longer you beat it, the lighter and airier it will become.
- Adjust Consistency (if needed): If the frosting is too thick, add a tablespoon of milk at a time until you reach your desired consistency. If it’s too thin, add a tablespoon of powdered sugar at a time.
- Add Color (optional): If you want to tint your frosting, add a few drops of gel food coloring and mix until evenly distributed. Gel food coloring is preferred over liquid food coloring because it’s more concentrated and won’t affect the frosting’s consistency.
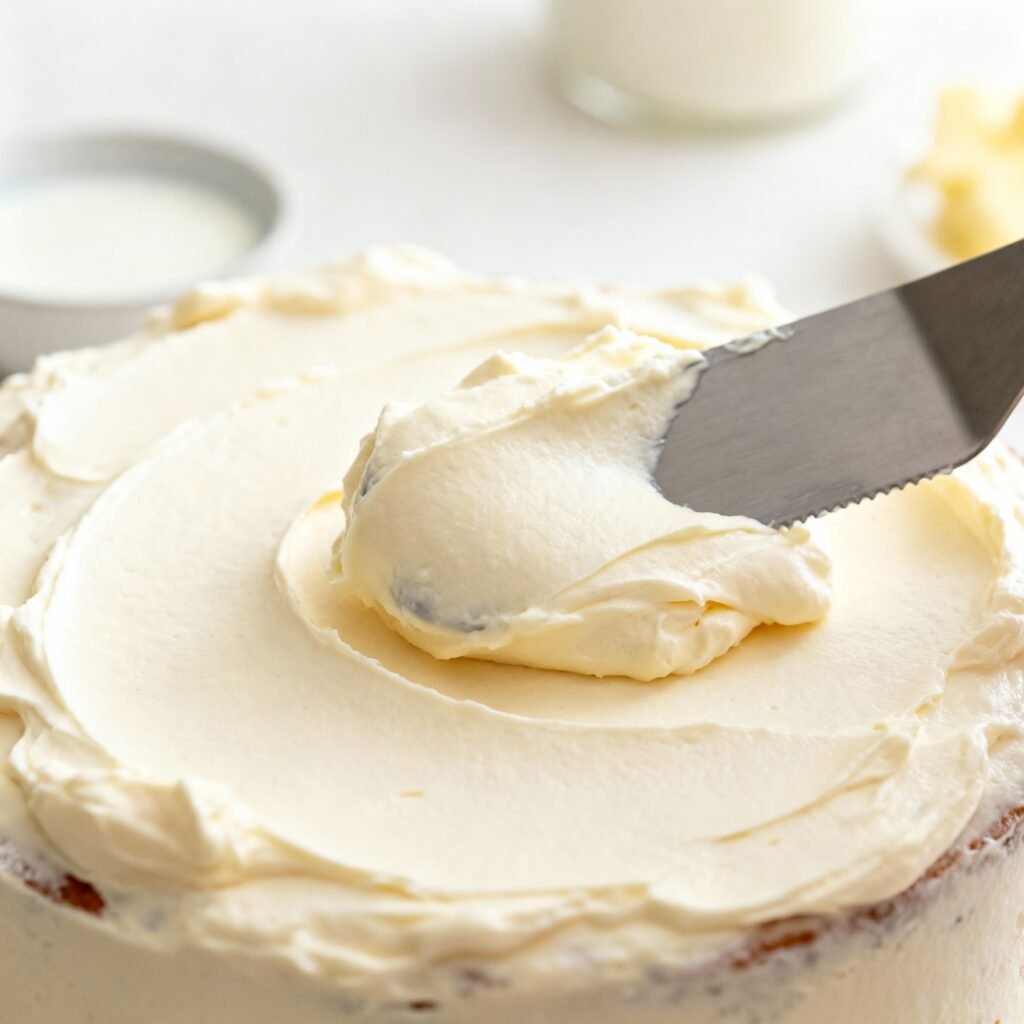
- Time to Frost! Your frosting is now ready to use. Spread it generously on your cake or cupcakes and enjoy!
Tips for Success
Here are a few tips to ensure your frosting turns out perfectly every time:
- Softened Butter is Key: Make sure your butter is truly softened to room temperature, but not melted. It should be soft enough that you can easily press a finger into it. This is crucial for a smooth and creamy frosting.
- Sift Your Powdered Sugar: This prevents lumps and ensures a silky smooth texture.
- Don’t Overmix: Once the ingredients are combined, avoid overmixing the frosting. Overmixing can incorporate too much air and make the frosting unstable.
- Taste and Adjust: Taste the frosting and adjust the sweetness or flavor as needed. You can add a pinch of salt to balance the sweetness or a few drops of lemon juice for a tangy twist.
- Use Gel Food Coloring: Gel food coloring is more concentrated and won’t thin out the frosting like liquid food coloring.
- Chill for Easier Piping: If you’re planning to pipe the frosting, chill it in the refrigerator for about 30 minutes before transferring it to a piping bag. This will make it easier to handle and create more defined designs.
Storage Instructions
Leftover frosting can be stored in an airtight container in the refrigerator for up to 5 days. Before using, let it come to room temperature and re-whip it with an electric mixer until smooth and fluffy. You can also freeze the frosting for up to 2 months. Thaw it in the refrigerator overnight and re-whip before using.
FAQ
Q: Can I use salted butter?
A: While you can use salted butter, unsalted butter is preferred because it gives you more control over the saltiness of the frosting. If you use salted butter, omit the pinch of salt in the recipe.
Q: Can I use a different extract instead of vanilla?
A: Absolutely! Almond extract, lemon extract, or even a splash of coffee liqueur can add a unique flavor to your frosting.
Q: My frosting is too thick. What should I do?
A: Add milk (or heavy cream) one tablespoon at a time until you reach your desired consistency. Be careful not to add too much liquid, or the frosting will become too thin.
Q: My frosting is too thin. What should I do?
A: Add powdered sugar one tablespoon at a time until you reach your desired consistency.
Q: Can I make this frosting ahead of time?
A: Yes! You can make the frosting up to 5 days in advance and store it in the refrigerator. Just be sure to re-whip it before using.
Q: Can I use this frosting for decorating?
A: Yes, this frosting is perfect for decorating! Chill it for 30 minutes before piping for best results.
Conclusion
There you have it – a foolproof, easy cake frosting recipe that will transform your baked goods from simple to spectacular. With its creamy texture, customizable flavor, and effortless preparation, this is the only frosting recipe you’ll ever need. So, grab your mixer, gather your ingredients, and get ready to create a dreamy, creamy cloud of frosting that will have everyone asking for seconds. Happy baking (and frosting)!