Easy Ciabatta Bread Recipe: No-Knead Perfection!
Craving that airy, chewy texture of authentic Italian ciabatta bread but intimidated by the thought of kneading for hours? Fear not! This recipe is your secret weapon to effortlessly achieving bakery-quality ciabatta at home. We’ve simplified the process, eliminating the need for extensive kneading and complex techniques, so you can enjoy fresh, flavorful ciabatta with minimal effort. Get ready to impress your friends and family with this surprisingly easy and incredibly delicious recipe!
Why This Recipe Works
This recipe is all about simplicity and harnessing the power of time. Here’s why it works so well:
- No-Knead Method: The high hydration dough and long fermentation time develop gluten naturally, eliminating the need for strenuous kneading. This makes the process incredibly easy and accessible for bakers of all skill levels.
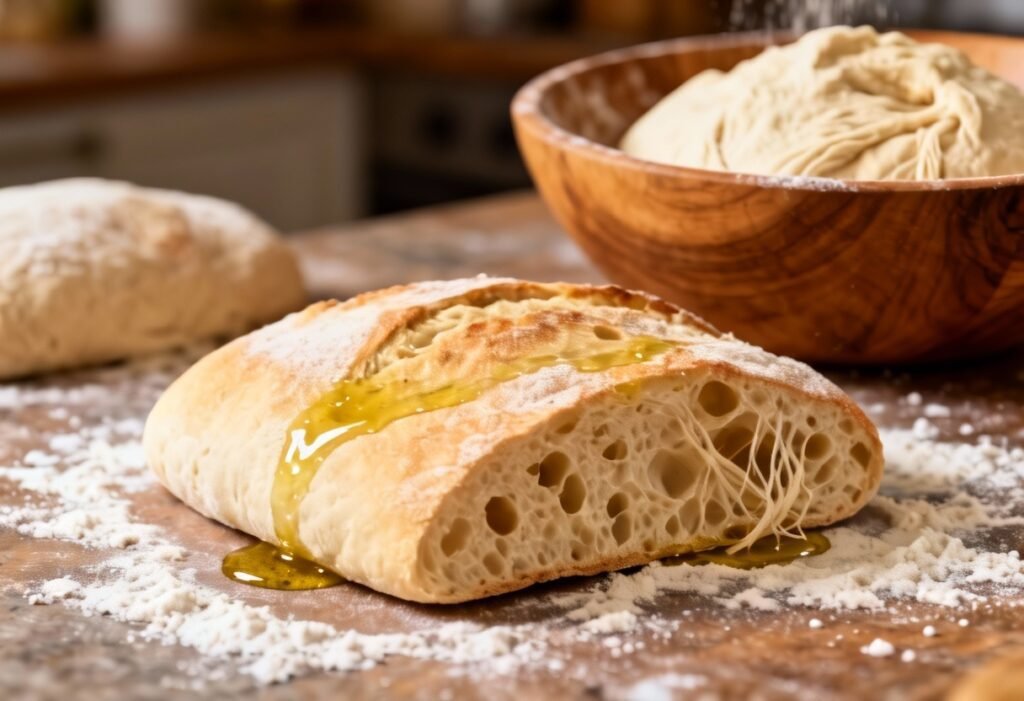
- High Hydration: The high water content creates a dough that’s light and airy, resulting in the characteristic large holes and chewy texture of ciabatta.
- Long Fermentation: The extended fermentation period allows the yeast to work its magic, developing complex flavors and creating a more digestible bread.
- Simple Ingredients: We use just a handful of basic ingredients that you likely already have in your pantry. No fancy flours or equipment required!
- Foolproof Instructions: Our step-by-step instructions are clear, concise, and easy to follow, ensuring success even for beginner bakers.
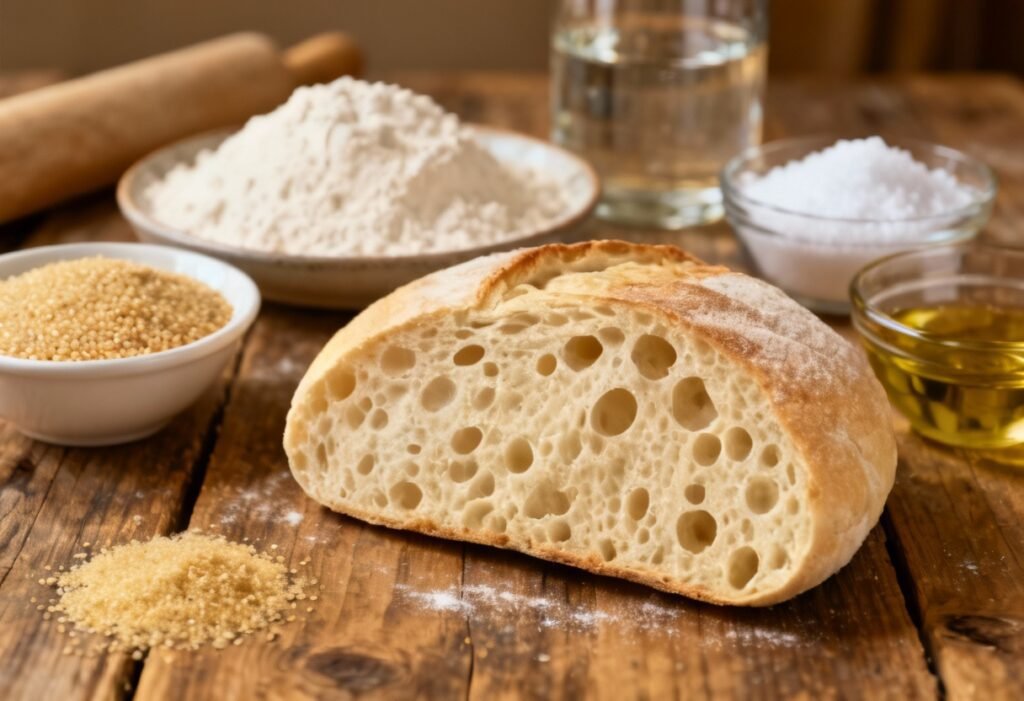
Ingredients
- 4 cups (500g) all-purpose flour, plus more for dusting
- 2 teaspoons (8g) salt
- 1/2 teaspoon (1.5g) active dry yeast
- 3 cups (720ml) lukewarm water (about 105-115°F or 40-46°C)
- Olive oil, for greasing
Instructions
- Combine Dry Ingredients: In a large bowl, whisk together the flour, salt, and yeast.
- Add Water: Gradually add the lukewarm water to the dry ingredients, mixing with a wooden spoon or spatula until just combined. The dough will be very wet and shaggy – that’s perfectly normal!
- First Rise (Bulk Fermentation): Cover the bowl tightly with plastic wrap or a lid. Let the dough rise at room temperature for 12-18 hours. The dough should at least double in size and be bubbly.
- Gently Deflate and Shape: Lightly flour a clean work surface. Gently turn the dough out onto the floured surface. Be careful not to deflate it too much. Gently stretch the dough into a large rectangle, about 12×18 inches.
- Divide and Shape: Using a bench scraper or a sharp knife, divide the rectangle into 4-6 equal-sized pieces. Gently transfer each piece to a baking sheet lined with parchment paper, being careful not to deflate them too much. They will look a bit messy – that’s part of the ciabatta charm!
- Second Rise (Proofing): Cover the shaped loaves loosely with plastic wrap or a clean kitchen towel. Let them rise for another 30-60 minutes, or until slightly puffed up.
- Preheat Oven: Preheat your oven to 450°F (232°C) with a baking stone or pizza stone inside (if you have one). If you don’t have a baking stone, you can use a regular baking sheet.
- Bake: Just before baking, lightly dust the tops of the loaves with flour. Carefully slide the parchment paper with the loaves onto the preheated baking stone or baking sheet.
- Create Steam: To create steam, which helps the bread develop a crispy crust, pour about 1 cup of hot water into a preheated oven-safe dish (like a cast iron skillet) on the bottom rack of the oven. Be careful, as the steam will be very hot! Alternatively, you can spray the oven walls with water a few times during the first 10 minutes of baking.
- Bake Time: Bake for 20-25 minutes, or until the loaves are golden brown and sound hollow when tapped on the bottom.
- Cool: Transfer the baked ciabatta loaves to a wire rack to cool completely before slicing and serving.
Tips for Success
- Use Lukewarm Water: The water temperature is crucial for activating the yeast. Too hot, and you’ll kill the yeast; too cold, and it won’t activate properly. Aim for 105-115°F (40-46°C).
- Don’t Overmix: Overmixing the dough will develop too much gluten, resulting in a dense bread. Mix just until the ingredients are combined.
- Be Patient with the Rise: The long fermentation time is key to developing flavor. Don’t rush the process!
- Handle the Dough Gently: The dough is very delicate, so handle it with care when shaping and transferring it to the baking sheet. Avoid deflating it too much.
- Create Steam: Steam is essential for creating a crispy crust. If you don’t have a baking stone or cast iron skillet, you can still achieve good results by spraying the oven walls with water.
- Don’t Overbake: Overbaking will result in a dry bread. Bake until the loaves are golden brown and sound hollow when tapped.
- Adjust Baking Time: Baking times may vary depending on your oven. Keep an eye on the bread and adjust the baking time as needed.
- Experiment with Flavors: Once you’ve mastered the basic recipe, feel free to experiment with adding herbs, cheese, or other flavorings to the dough.
- Use a Kitchen Scale: For the most accurate results, use a kitchen scale to measure the ingredients by weight. This is especially important for the flour and water.
- Embrace the Imperfection: Ciabatta is meant to be rustic and irregular. Don’t worry if your loaves don’t look perfect. It’s the taste that matters!
Storage Instructions
Store leftover ciabatta bread in an airtight container at room temperature for up to 2 days. For longer storage, you can freeze the bread. Wrap the loaves tightly in plastic wrap and then in foil, or place them in a freezer-safe bag. Frozen ciabatta will keep for up to 2 months. To thaw, let the bread sit at room temperature for several hours or overnight. You can also refresh the bread by lightly toasting it or warming it in the oven.
FAQ
- Can I use instant yeast instead of active dry yeast? Yes, you can use instant yeast. You don’t need to proof it in water first. Just add it directly to the dry ingredients.
- Can I use bread flour instead of all-purpose flour? Yes, bread flour will result in a slightly chewier bread.
- What if my dough is too sticky? The dough is supposed to be very wet and sticky. Don’t add more flour unless it’s completely unmanageable. Just make sure to flour your work surface well when shaping the loaves.
- Can I make the dough ahead of time? Yes, you can refrigerate the dough after the first rise for up to 24 hours. This will slow down the fermentation process and allow the flavors to develop even further. Let the dough come to room temperature for about an hour before shaping and baking.
- Why is my ciabatta dense? This could be due to several factors, such as overmixing the dough, not letting it rise enough, or using water that was too hot or too cold.
- My ciabatta didn’t get the big holes. What did I do wrong? The size of the holes depends on the hydration of the dough and the fermentation process. Make sure you’re using the correct amount of water and allowing the dough to rise for the recommended time. Also, be gentle when shaping the loaves to avoid deflating them too much.
Conclusion
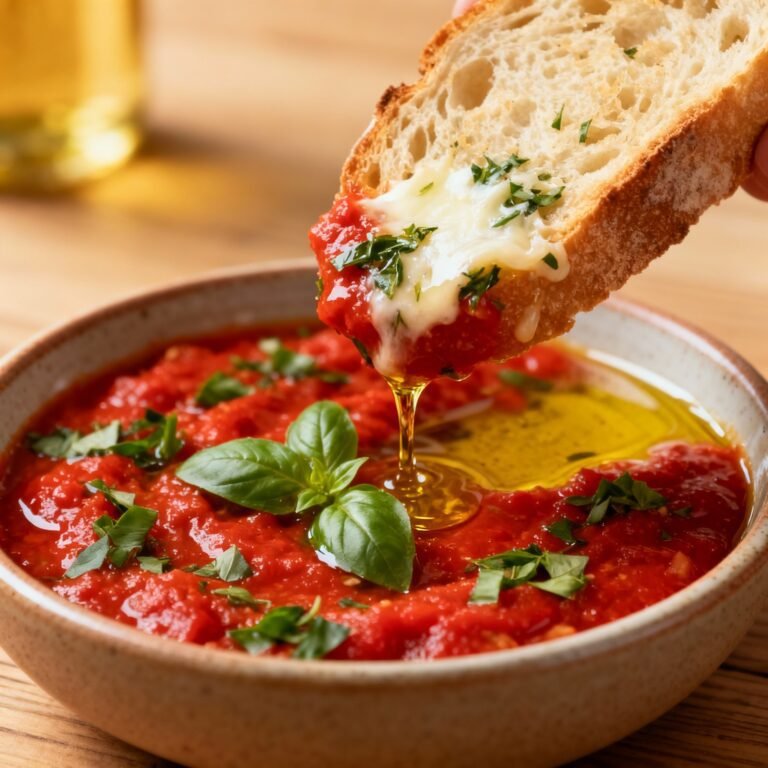
This easy no-knead ciabatta bread recipe is a game-changer for anyone who loves fresh, homemade bread but doesn’t have the time or inclination for extensive kneading. With just a few simple ingredients and minimal effort, you can create bakery-worthy ciabatta that’s perfect for sandwiches, dipping in olive oil, or enjoying on its own. So, go ahead and give it a try – you might just surprise yourself with how easy and delicious it is! Happy baking!