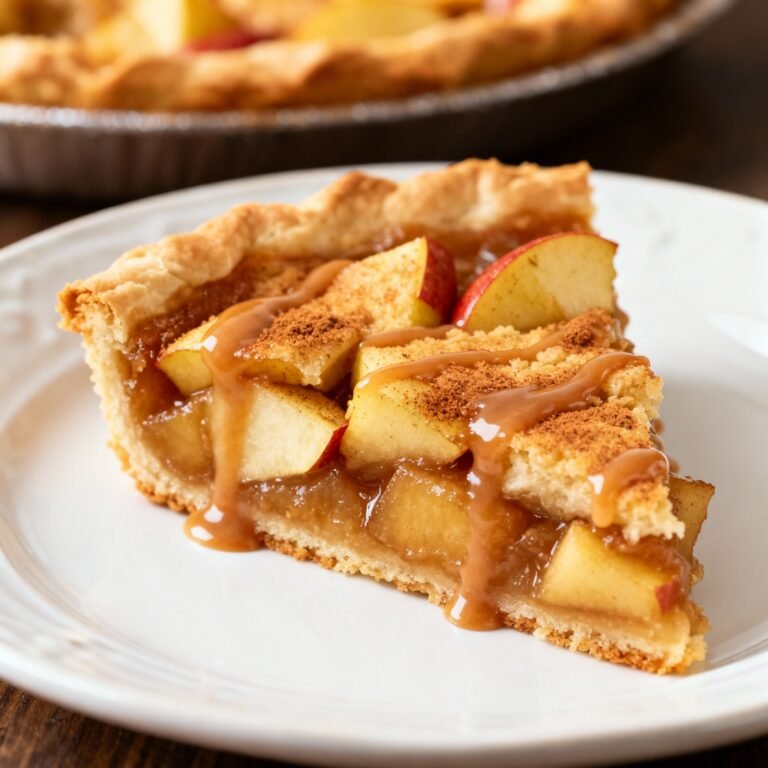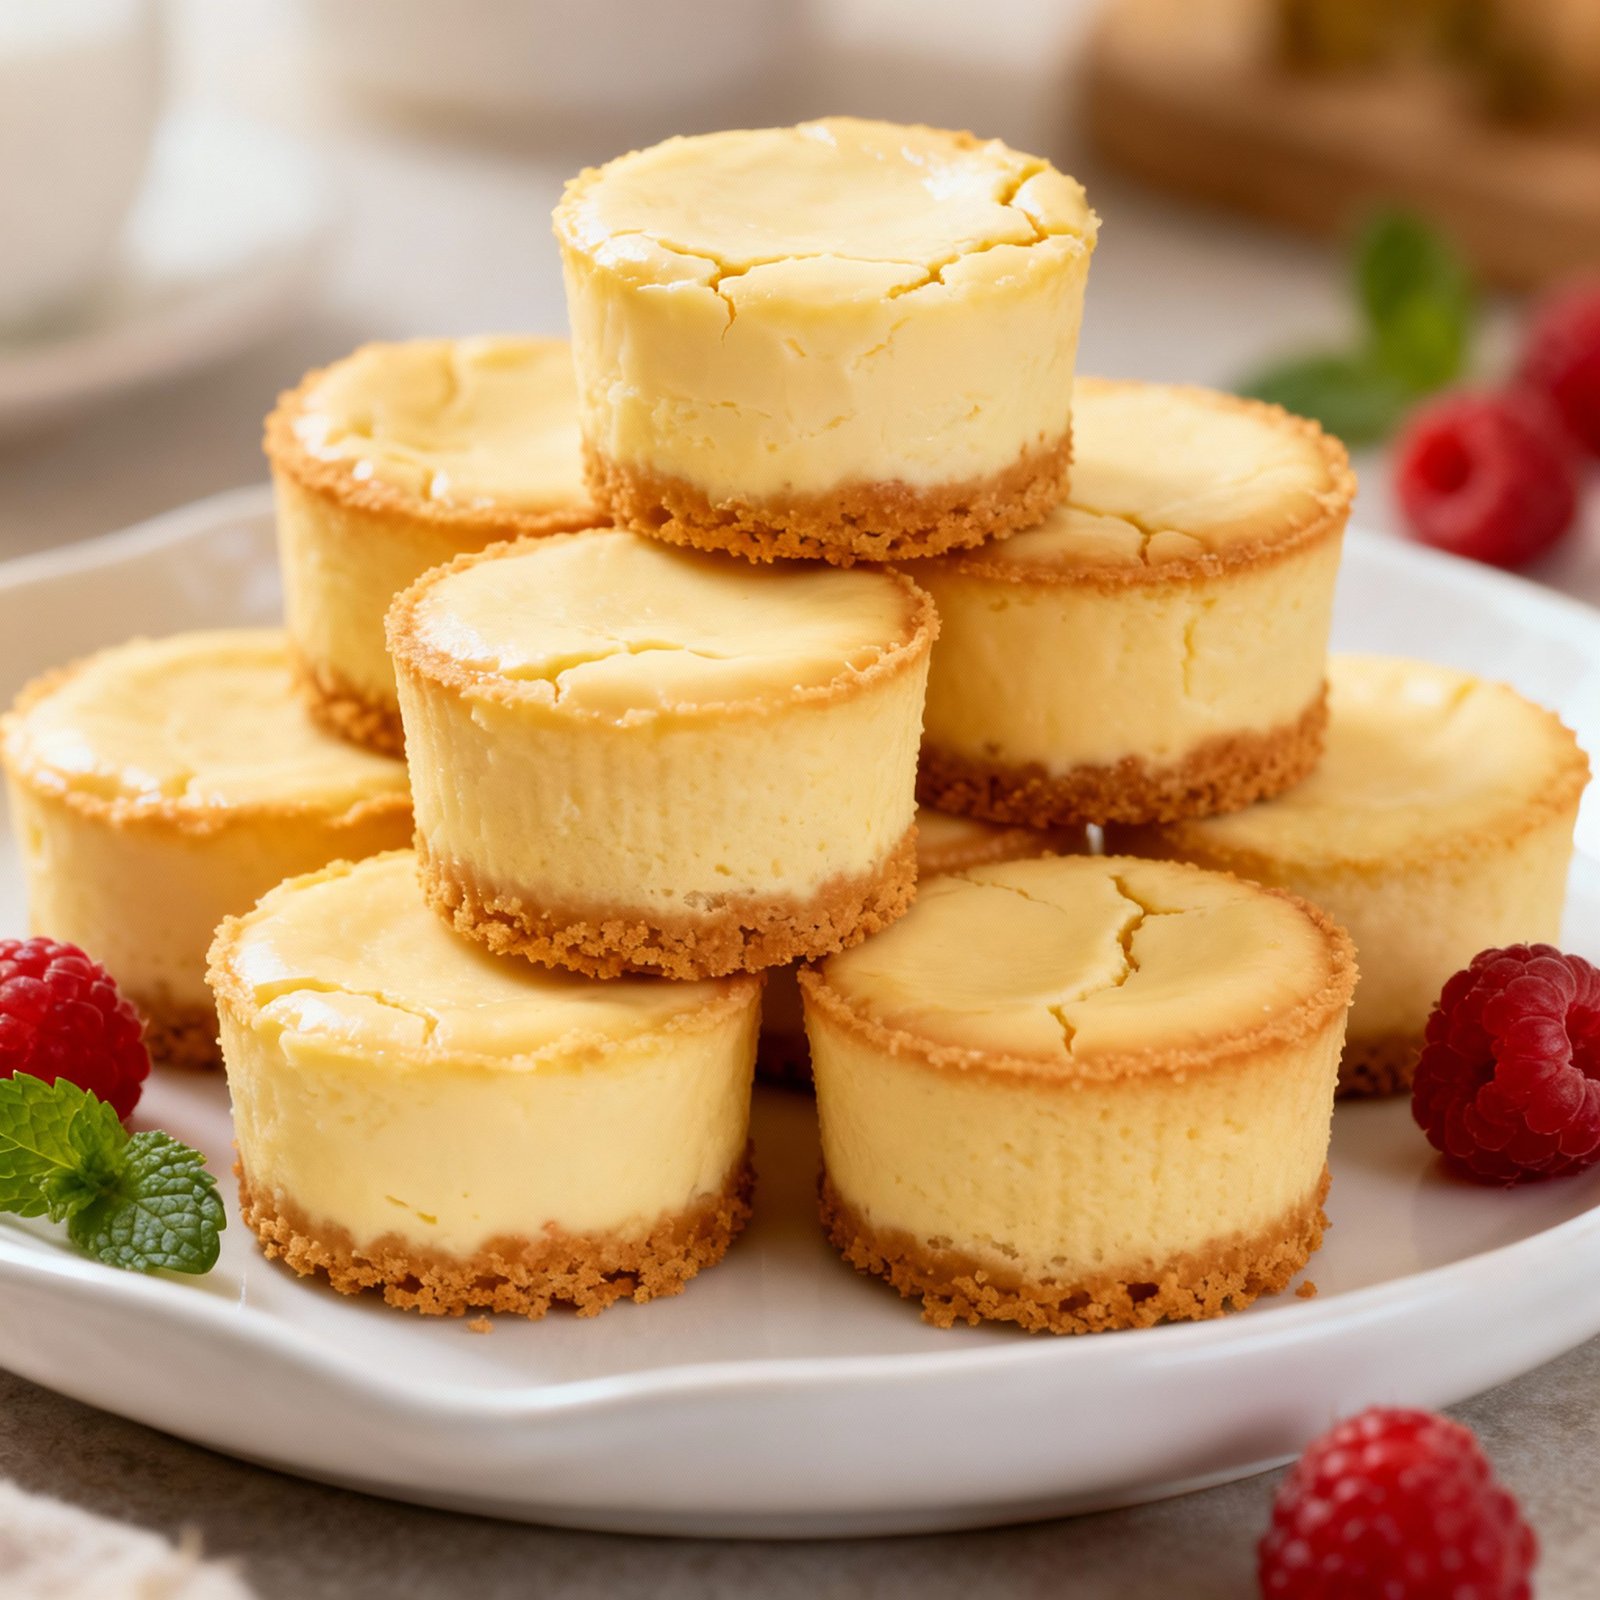
Easy Mini Cheesecake Recipe: Bite-Sized Bliss!
Craving a decadent dessert but short on time? Look no further! This easy mini cheesecake recipe delivers all the creamy, tangy goodness of a classic cheesecake in adorable, perfectly portioned bites. Forget complicated water baths and hours of baking – these mini cheesecakes are incredibly simple to make and ready in a fraction of the time. Perfect for parties, potlucks, or simply satisfying your sweet tooth, these little treats are guaranteed to be a crowd-pleaser. Get ready to experience cheesecake heaven, one mini bite at a time!
Why This Recipe Works
This recipe is designed for simplicity and success, even for beginner bakers. Here’s why it’s a winner:
- No Water Bath Required: The small size of the cheesecakes allows them to bake evenly without the need for a water bath, eliminating a common source of cheesecake anxiety.
- Simple Ingredients: We use readily available ingredients that you probably already have in your pantry and refrigerator.
- Quick Baking Time: These mini cheesecakes bake in under 20 minutes, making them ideal for last-minute dessert cravings.
- Customizable: The basic recipe is a blank canvas! Add your favorite flavors, toppings, and crust variations to create your own signature mini cheesecakes.
- Perfectly Portioned: Individual servings mean no slicing, no mess, and built-in portion control (though you might find yourself reaching for more than one!).
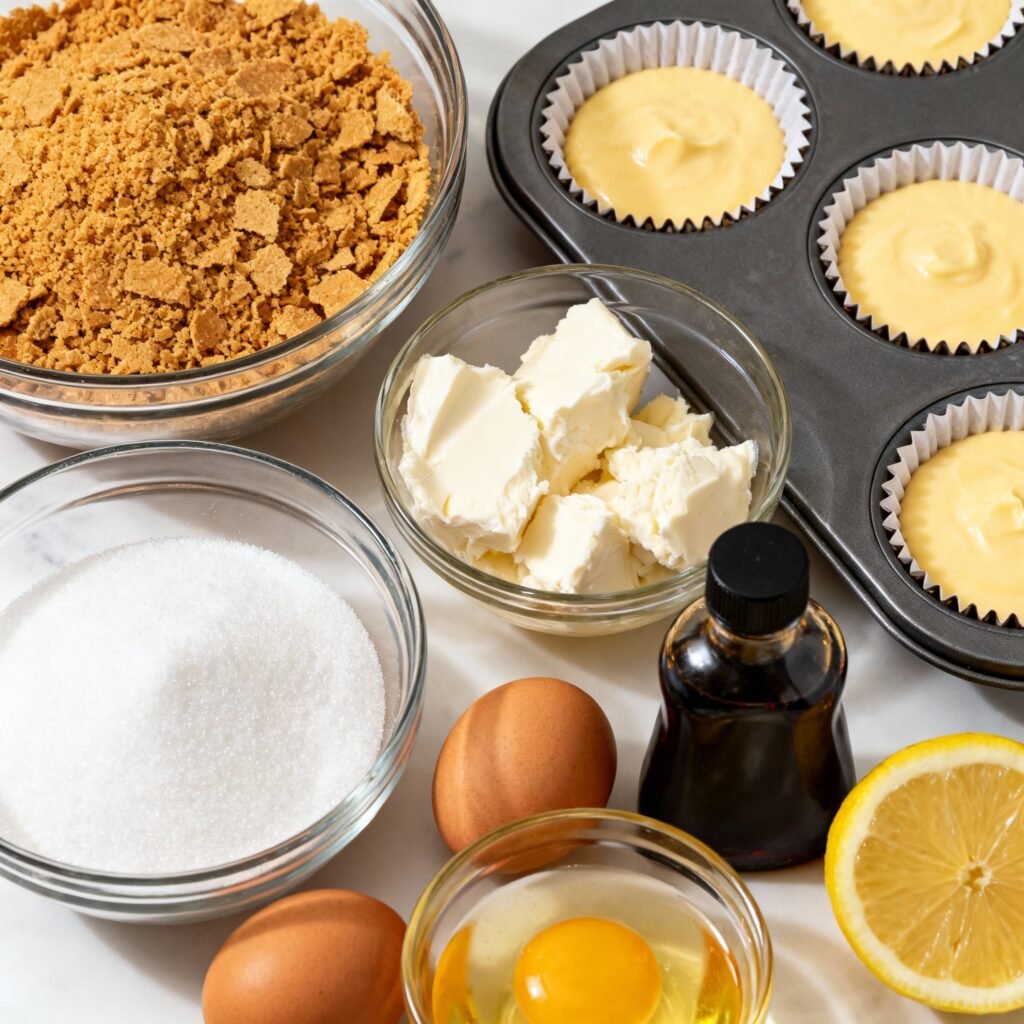
Ingredients
- For the Crust:
- 1 ½ cups graham cracker crumbs (about 12 graham crackers)
- 5 tablespoons unsalted butter, melted
- 2 tablespoons granulated sugar
- For the Filling:
- 16 ounces cream cheese, softened to room temperature
- ½ cup granulated sugar
- 2 large eggs
- 2 teaspoons vanilla extract
- ¼ cup sour cream (optional, for extra tang)
Instructions
- Preheat and Prep: Preheat your oven to 350°F (175°C). Line a 12-cup muffin tin with paper liners.
- Make the Crust: In a medium bowl, combine the graham cracker crumbs, melted butter, and sugar. Mix until well combined and the mixture resembles wet sand.
- Press the Crust: Press approximately 2 tablespoons of the graham cracker mixture into the bottom of each muffin liner. Use the bottom of a measuring cup or your fingers to firmly pack the crust.
- Prepare the Filling: In a large bowl, beat the softened cream cheese and sugar together with an electric mixer until smooth and creamy. Be sure to scrape down the sides of the bowl to ensure everything is evenly incorporated.
- Add the Eggs and Vanilla: Beat in the eggs one at a time, mixing well after each addition. Stir in the vanilla extract and sour cream (if using). Do not overmix at this stage, as this can incorporate too much air and cause the cheesecakes to crack.
- Fill the Liners: Spoon the cheesecake filling into the muffin liners, filling each one almost to the top.
- Bake: Bake for 15-18 minutes, or until the edges are set and the centers are just slightly jiggly.
- Cool and Chill: Turn off the oven and crack the oven door slightly. Let the mini cheesecakes cool in the oven for about 30 minutes. This gradual cooling helps prevent cracking. Then, remove the cheesecakes from the muffin tin and let them cool completely on a wire rack. Once cooled, refrigerate for at least 2 hours before serving.
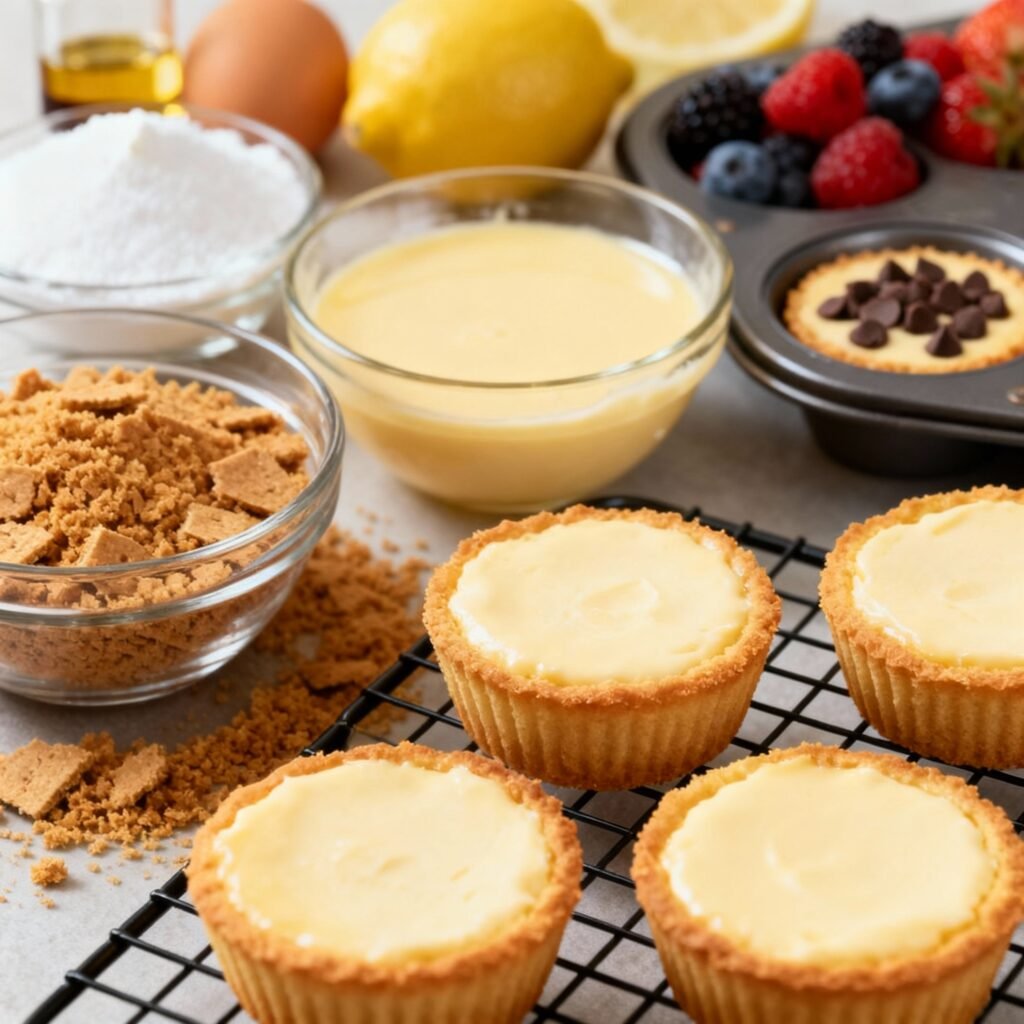
- Garnish and Serve: Before serving, garnish with your favorite toppings, such as fresh berries, chocolate shavings, whipped cream, or a drizzle of caramel sauce.
Tips for Success
- Room Temperature Cream Cheese is Key: Softened cream cheese is essential for a smooth and creamy filling. If your cream cheese is cold, it will be difficult to beat out the lumps, resulting in a grainy texture.
- Don’t Overmix: Overmixing the filling can incorporate too much air, causing the cheesecakes to puff up and then collapse, leading to cracks. Mix until just combined.
- Cool Gradually: The gradual cooling process is crucial for preventing cracks. Don’t skip the step of cooling them in the oven with the door ajar.
- Customize Your Crust: Experiment with different crusts! Try using Oreo crumbs, gingersnap crumbs, or even a gluten-free graham cracker alternative.
- Flavor Variations: Add a tablespoon of lemon zest to the filling for a bright, citrusy flavor. Swirl in some melted chocolate or fruit preserves for a marbled effect.
- Toppings Galore: The possibilities are endless when it comes to toppings! Fresh fruit, chocolate sauce, caramel sauce, whipped cream, sprinkles, chopped nuts – let your creativity shine!
Storage Instructions
Store leftover mini cheesecakes in an airtight container in the refrigerator for up to 3-4 days. You can also freeze them for longer storage. To freeze, place the cooled cheesecakes on a baking sheet lined with parchment paper and freeze for about 2 hours, or until solid. Then, transfer them to a freezer-safe container or bag. Frozen mini cheesecakes can be stored for up to 2 months. Thaw in the refrigerator overnight before serving.
FAQ
- Can I use a different size muffin tin?
Yes, you can use a different size muffin tin, but you’ll need to adjust the baking time accordingly. Keep a close eye on them and check for doneness frequently.
- Can I make these ahead of time?
Absolutely! Mini cheesecakes are perfect for making ahead of time. They can be stored in the refrigerator for several days or frozen for longer storage.
- My cheesecakes cracked. What did I do wrong?
Cracking is often caused by overbaking or sudden temperature changes. Be sure to cool the cheesecakes gradually in the oven with the door ajar. Also, avoid overmixing the filling.
- Can I use low-fat cream cheese?
While you can use low-fat cream cheese, the texture and flavor may be slightly different. Full-fat cream cheese will give you the best results in terms of creaminess and richness.
- Can I make this recipe gluten-free?
Yes! Simply use gluten-free graham crackers or another gluten-free cookie for the crust.
Conclusion
These easy mini cheesecakes are a delightful treat that’s perfect for any occasion. With their simple ingredients, quick baking time, and endless customization options, they’re sure to become a new favorite in your dessert repertoire. So, go ahead and whip up a batch of these bite-sized beauties and experience the joy of homemade cheesecake, without all the fuss. Happy baking!