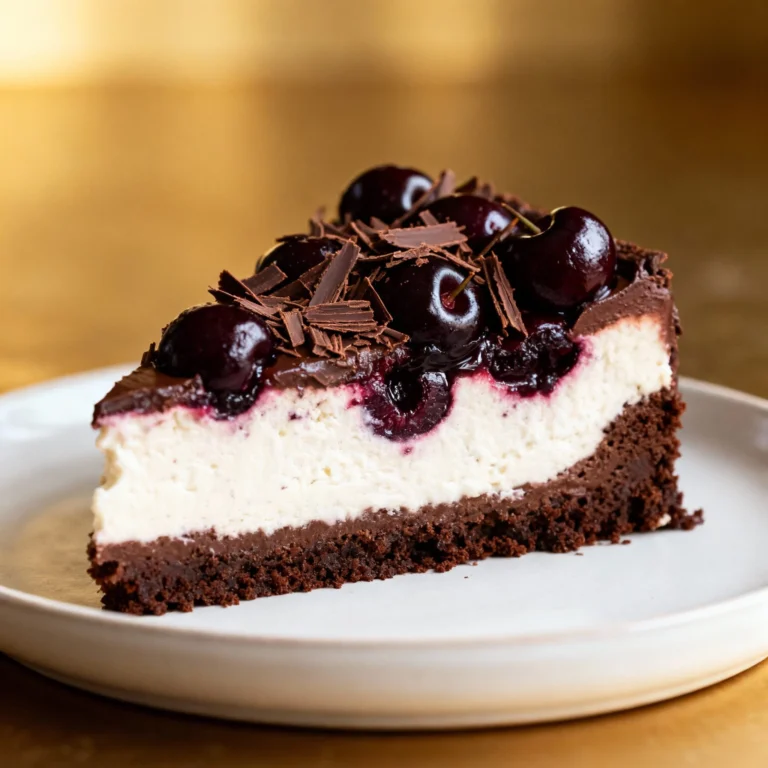
Easy Mug Cake Recipe That’ll Save Your Sweet Tooth in 90 Seconds Flat
👩🍳 The Home Chef's Essential Kitchen
Consistently cooking incredible, healthy meals at home is so much easier when you aren't fighting with cheap tools. These are the 5 absolute powerhouse kitchen essentials that professional chefs and serious home cooks rely on every single day to get perfect results.
🍳 Lodge 10.25" Cast Iron Skillet
The single greatest value in all of cookware. It retains heat infinitely better than cheap non-stick pans, allowing you to get a restaurant-quality crust on steaks or perfect crispy edges on cornbread. With proper care, this $20 pan will literally outlive you.
🔪 Victorinox Fibrox Pro 8" Chef's Knife
A dull knife makes cooking a frustrating chore. This specific blade is the undisputed champion of the culinary world—it holds a terrifyingly sharp edge, features a comfortable non-slip grip, and performs identical to German knives that cost quadruple the price.
🌡️ ThermoPro Instant Read Thermometer
Never serve dry chicken or undercooked pork again. An instant-read thermometer is the secret difference between amateur cooks who 'guess' when protein is done, and professionals who know exactly when to pull meat off the heat for maximum juiciness.
🍲 Lodge Enameled Cast Iron Dutch Oven
The ultimate workhorse for soups, stews, braised short ribs, and baking crusty artisanal bread. The enameled interior provides incredible heat distribution for slow-cooking while eliminating the intense seasoning maintenance required by bare cast iron.
🥄 Bpa-Free Silicone Utensil Set
Throw away those melting plastic spatulas and bacteria-harboring wooden spoons. This pure silicone set is heat-resistant up to 600°F, won't scratch your expensive pans, and features seamless designs that make cleaning out thick sauces and batters effortless.
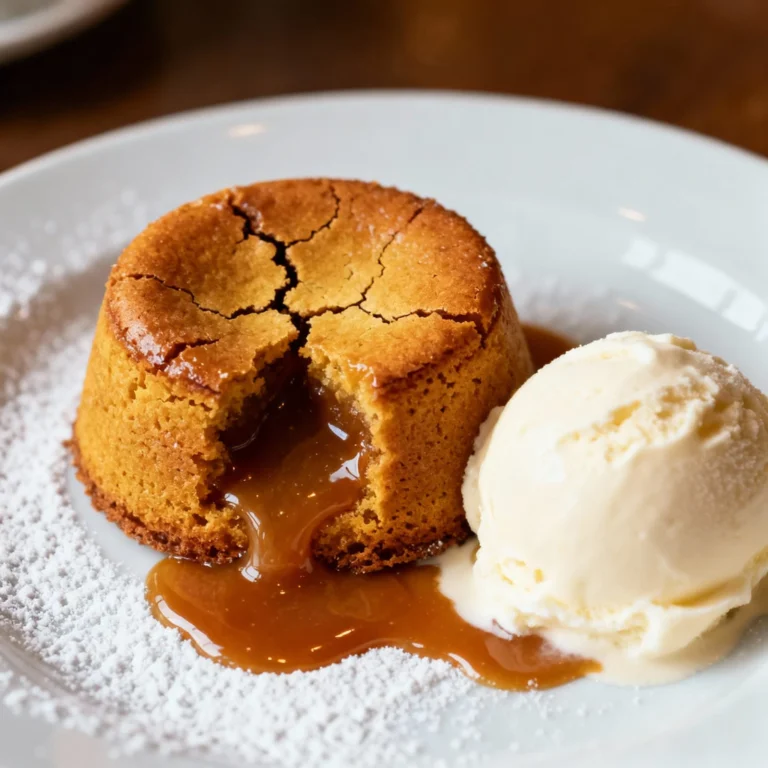
Skip the oven flex. You want dessert now, not in 45 minutes. This easy mug cake recipe is the kind of late-night hero you didn’t know you needed—minimal ingredients, zero drama, and big flavor.
It’s like a bakery snuck into your microwave and signed an NDA. One mug, one fork, and no evidence left behind except satisfaction.
The Secret Behind This Recipe
The magic is in the ratios. Too much liquid and you get gummy; too much flour and it turns into a rubber coaster.
This formula balances fat, sugar, and moisture so you get a soft, tender crumb in under two minutes. Another secret? Using oil instead of butter creates a fluffier texture fast.
Butter is delicious but takes time to fully melt into the batter; oil gets you immediate, even moisture. And a tiny splash of coffee or hot water (yep) makes the cocoa bloom, giving you deeper chocolate flavor with basically no effort.
Ingredients Breakdown
- 1/4 cup (30 g) all-purpose flour – Provides structure without turning dense.
- 2 tablespoons (12 g) unsweetened cocoa powder – Go Dutch-processed for smoother chocolate flavor.
- 2 1/2 tablespoons (30 g) granulated sugar – Sweetness plus tenderness; you can swap part for brown sugar.
- 1/4 teaspoon baking powder – Lifts the cake so it doesn’t feel like pudding.
- Pinch of salt – Amplifies flavor; don’t skip.
- 3 tablespoons milk (dairy or unsweetened almond/oat) – Moisture and tenderness.
- 2 tablespoons neutral oil (canola, vegetable, light olive) – Keeps it soft and prevents dryness.
- 1/2 teaspoon vanilla extract – Makes it taste “real” and not microwaved.
- 1 teaspoon brewed coffee or hot water (optional) – Blooms cocoa for richer flavor.
- 1 tablespoon chocolate chips or chopped chocolate (optional) – Pocket of melty goodness, a mini lava effect.
Instructions
- Pick the right mug. Use a microwave-safe mug that holds at least 12 ounces. Tall and straight-sided beats wide and shallow for even rise.
- Mix dry ingredients first. Add flour, cocoa, sugar, baking powder, and a pinch of salt to the mug.
Stir with a fork until uniform—no streaks.
- Add wet ingredients. Pour in milk, oil, vanilla, and coffee/hot water if using. Stir until smooth, scraping the bottom and corners. Batter should be thick but pourable.
- Fold in extras. Sprinkle in chocolate chips and gently mix.
Keep a few chips on top for a “bakery” look. Because aesthetics matter, obviously.
- Microwave smart. Heat on high for 45 seconds, then check. Continue in 10–15 second bursts until the top looks set and springs back lightly.
Total time is usually 55–75 seconds depending on your microwave.
- Let it rest. Wait 1 minute. Residual heat finishes the center so you don’t end up with a molten mess or a dry brick.
- Top and serve. Add a scoop of ice cream, a drizzle of peanut butter, or a dusting of powdered sugar. Eat straight from the mug like a rebel.
Keeping It Fresh
This is a make-and-eat situation.
Mug cake dries out fast because microwaves heat water molecules aggressively—great for speed, not for long-term moisture. If you must save it, wrap the cooled cake and refrigerate up to 24 hours. To revive, sprinkle 1 teaspoon milk over the top, then microwave for 10–15 seconds.
It won’t be day-one perfect, but it’ll still do the job. Better plan: pre-measure dry mix in baggies so you can make a fresh one in 90 seconds whenever the craving hits. Pro-level laziness.
What’s Great About This
- Speed: From zero to dessert in under two minutes.
No preheating. No pans to scrub.
- Small-batch sanity: One portion means no leftovers glaring at you at 11 p.m.
- Customizable: Chocolate chips, peanut butter, Nutella, crushed cookies—go wild.
- Beginner-friendly: No mixer, no sifting, no fancy steps. Just stir and nuke.
- Budget-friendly: Pantry staples, tiny quantities.
Your wallet can relax.
Don’t Make These Errors
- Overcooking. The cake should look just set on top. If it’s pulling from the sides and looks dry, you’ve gone too far.
- Wrong mug size. Too small and it overflows; too wide and it dries out around the edges.
- Skipping the salt. It’s not optional. Salt makes chocolate taste more chocolatey.
Science and taste buds agree.
- Under-mixing the corners. Dry pockets of flour are not a fun surprise. Scrape the bottom and edges.
- Using butter straight up. If you swap oil for butter, melt it fully and let it cool slightly, or you’ll scramble the texture, IMO.
Different Ways to Make This
- Peanut Butter Swirl: Drop 1 teaspoon peanut butter in the center before microwaving. It sinks into a gooey core.
- Cookies & Cream: Use 2 tablespoons sugar total and fold in 2 crushed chocolate sandwich cookies.
- Salted Caramel: Drizzle 1 teaspoon caramel on top post-cook and finish with flaky sea salt.
Yes, it’s extra. Worth it.
- Mocha Madness: Replace milk with half milk, half coffee. Add a pinch of instant espresso powder.
- Mint Chocolate: Add 1/8 teaspoon peppermint extract and swap chips for chopped mint chocolate.
- Gluten-Free: Use a 1:1 gluten-free flour blend with xanthan gum.
Texture stays soft if you don’t overcook.
- Dairy-Free/Vegan: Use plant milk and dairy-free chips. Swap granulated sugar for coconut sugar for a deeper vibe, FYI.
- Red Velvet Twist: Reduce cocoa to 1 tablespoon, add a drop of red food coloring, and top with cream cheese frosting.
FAQ
Can I make this without cocoa powder?
Yes. For a vanilla version, omit cocoa, increase flour to 6 tablespoons total, add 1 extra teaspoon sugar, and keep everything else the same.
Optional: add a few white chocolate chips or sprinkles for a “funfetti” moment.
Why did my mug cake turn rubbery?
It was likely overcooked or had too much flour. Microwaves vary wildly; start low on time and add in short bursts. Also, stick to oil or fully melted butter and measure with level spoonfuls.
Can I double the recipe?
Better to make two separate mugs.
A double portion in one mug cooks unevenly—dry edges, gooey core. If you insist, use a larger bowl and extend cooking time in short increments, watching closely.
Is brown sugar okay instead of white?
Absolutely. Brown sugar adds moisture and a slight caramel note.
Use the same amount, but expect a slightly darker, denser crumb—in a good way.
What wattage are these times for?
The times assume around 1000 watts. If your microwave is weaker (700–800 W), add 10–20 seconds. If stronger (1200 W+), reduce the initial cook time to 35–40 seconds.
Can I add an egg?
You can, but for a single serving it tends to make the cake chewy and eggy.
This formula is intentionally egg-free for a tender, soft crumb.
How do I know it’s done?
The top should look set and slightly glossy, not wet. Press lightly with a finger; it should spring back. A few moist crumbs are perfect; wet batter means give it 10–15 more seconds.
The Bottom Line
This easy mug cake recipe is the fast-track dessert that respects your time and your cravings.
With the right ratios, a decent mug, and a minute in the microwave, you get a rich, soft cake that tastes like you tried way harder than you did. Customize it, keep a stash of dry mix on hand, and accept the truth: you’re now the person who can make great cake at 11:37 p.m. with one fork and a microwave. Legendary.