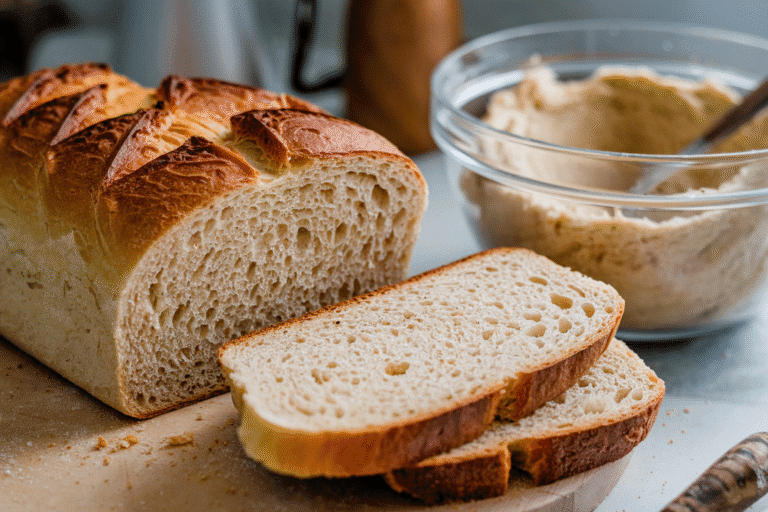
Fast Sourdough Bread Recipe: Ready in Under 24 Hours!
Craving the tangy, chewy goodness of homemade sourdough but don’t have days to dedicate to the process? You’re not alone! Many bakers are intimidated by the traditional long fermentation times. This recipe throws that notion out the window! We’ve developed a method for achieving incredible sourdough flavor and texture in under 24 hours. Yes, you read that right! Get ready to enjoy warm, crusty sourdough bread without the usual commitment. This recipe is perfect for busy weeknights, spontaneous baking urges, or anyone simply wanting a faster path to sourdough success.
Why This Recipe Works
This recipe achieves its speed through a few key strategies:
- Higher Levain Percentage: We use a larger amount of active sourdough starter (levain) than traditional recipes. This jumpstarts the fermentation process and accelerates the rise.
- Warm Environment: Maintaining a warm environment (around 75-80°F / 24-27°C) encourages yeast activity and speeds up fermentation.
- Shorter Bulk Fermentation: By carefully monitoring the dough and using the right levain percentage, we can significantly reduce the bulk fermentation time without sacrificing flavor.
- Strategic Kneading: Proper kneading develops gluten quickly, providing the structure needed for a strong rise in a shorter timeframe.
Don’t let the speed fool you – this bread is packed with authentic sourdough flavor and boasts a beautiful open crumb. It’s the perfect balance of convenience and quality.
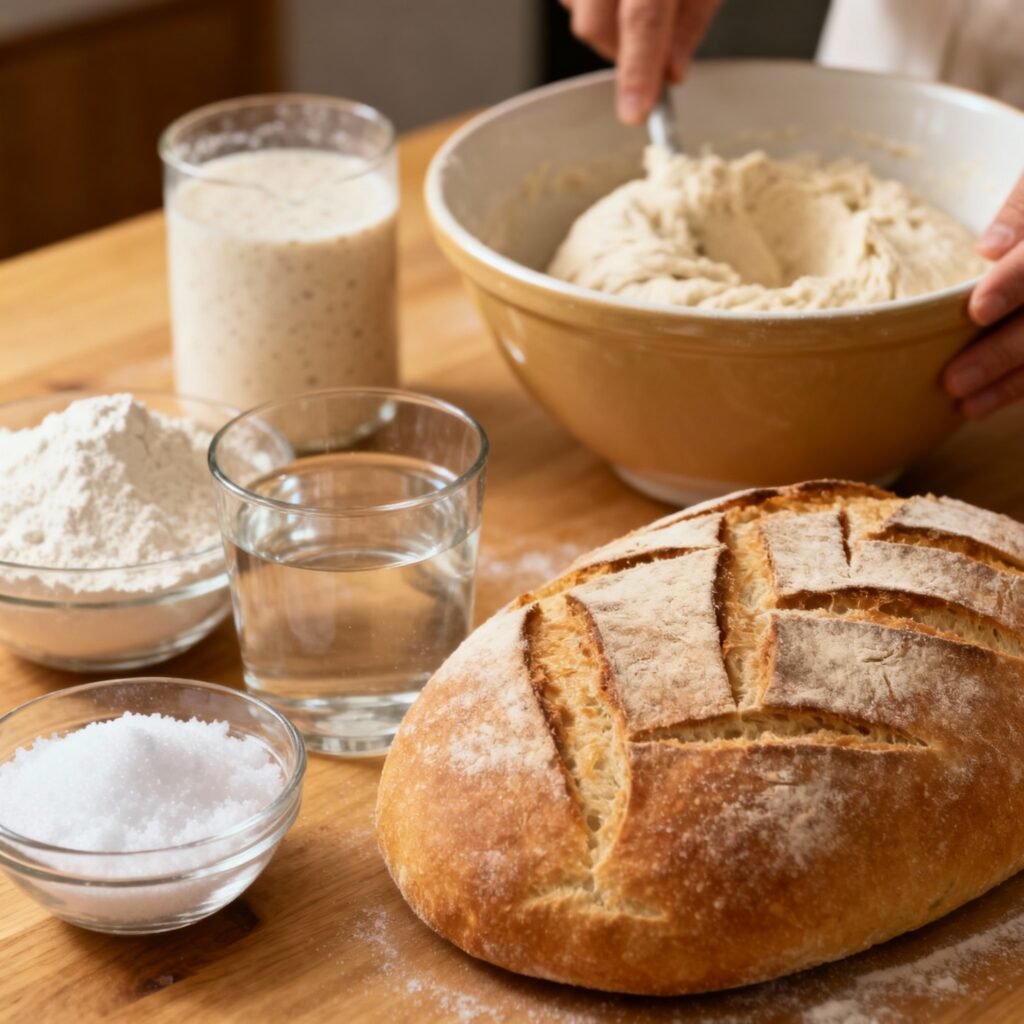
Ingredients
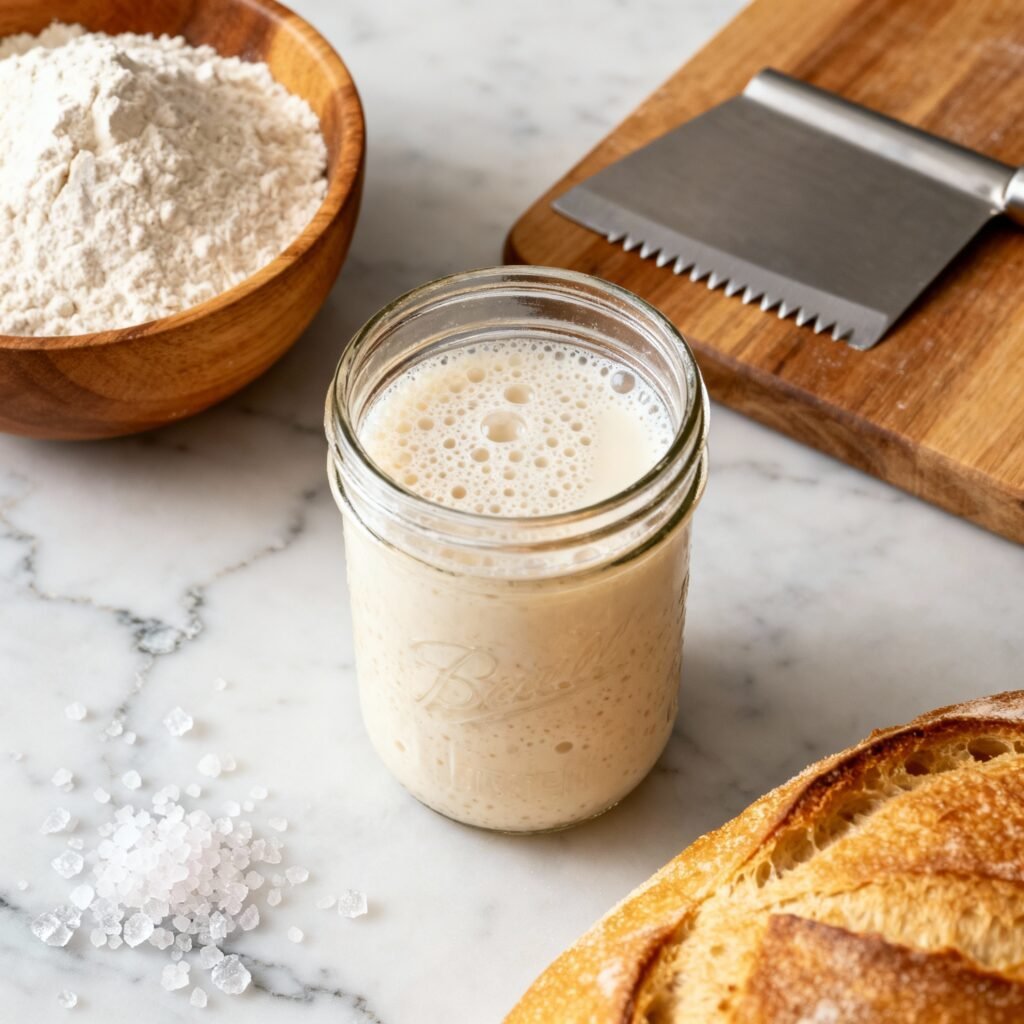
- Active Sourdough Starter (Levain): 150g (about 2/3 cup) – Your starter should be bubbly and doubled in size after feeding. This is crucial!
- Warm Water: 350g (about 1 1/2 cups) – Temperature should be between 90-95°F (32-35°C).
- Bread Flour: 500g (about 4 cups) – Bread flour is essential for its high gluten content, which provides structure.
- Salt: 10g (about 2 teaspoons) – Salt controls yeast activity and enhances flavor.
Instructions
- Autolyse (30 minutes): In a large bowl, combine the bread flour and warm water. Mix until just combined, forming a shaggy dough. Cover and let rest for 30 minutes. This allows the flour to fully hydrate, improving gluten development.
- Incorporate Levain and Salt (10 minutes): Add the active sourdough starter (levain) to the autolysed dough. Mix well until the levain is fully incorporated. Then, add the salt and mix again until evenly distributed. The dough will be sticky.
- Knead (8-10 minutes): Knead the dough on a lightly floured surface for 8-10 minutes, or until it becomes smooth and elastic. You can also use a stand mixer with a dough hook for this step. The dough should pass the windowpane test (you should be able to stretch a small piece of dough thin enough to see light through it without tearing).
- Bulk Fermentation (3-4 hours): Place the dough in a lightly oiled bowl, turning to coat. Cover and let rise in a warm place (75-80°F / 24-27°C) for 3-4 hours, or until doubled in size. Perform stretch and folds every 30-45 minutes during the first 2 hours to build strength and structure. This helps distribute the fermentation byproducts which will enhance the flavor.
- Shape (10 minutes): Gently turn the dough out onto a lightly floured surface. Shape it into a round (boule) or oblong (batard). Be careful not to deflate the dough too much.
- Proof (1-2 hours): Place the shaped dough in a well-floured banneton basket (or a bowl lined with a floured kitchen towel). Cover and let proof in a warm place for 1-2 hours, or until almost doubled in size. To test if it’s ready, gently poke the dough with your finger. If the indentation slowly springs back, it’s ready to bake. If it springs back immediately, it needs more time. If it doesn’t spring back at all, it’s over-proofed.
- Preheat Oven (45 minutes): Preheat your oven to 450°F (232°C) with a Dutch oven inside. The Dutch oven is crucial for trapping steam, which creates a crispy crust.
- Score (2 minutes): Carefully remove the hot Dutch oven from the oven. Gently place the proofed dough inside. Score the top of the dough with a sharp knife or lame. This controls the expansion of the dough during baking.
- Bake (45-50 minutes): Cover the Dutch oven and bake for 20 minutes. Then, remove the lid and bake for another 25-30 minutes, or until the crust is deep golden brown and the internal temperature reaches 205-210°F (96-99°C).
- Cool (2 hours): Carefully remove the bread from the Dutch oven and let it cool completely on a wire rack before slicing. This is crucial for developing the crumb structure and preventing a gummy texture.
Tips for Success
- Use a Reliable Starter: A strong, active starter is the key to success. Make sure it’s consistently doubling in size after feeding.
- Control the Temperature: Maintaining a warm environment is essential for faster fermentation. Use a proofing box or a warm spot in your kitchen.
- Don’t Over-Knead: Over-kneading can result in a tough bread. Knead until the dough is smooth and elastic, but not excessively.
- Monitor the Dough: Pay attention to the dough’s progress during bulk fermentation and proofing. Adjust the times based on your environment and the strength of your starter.
- Use a Dutch Oven: The Dutch oven creates a steamy environment that promotes a crispy crust and even baking.
- Be Patient: Even though this is a fast sourdough recipe, it still requires patience. Don’t rush the process, and enjoy the journey!
Storage Instructions
Store the cooled sourdough bread in a paper bag or a bread box at room temperature for up to 3 days. For longer storage, slice the bread and freeze it in an airtight container for up to 2 months. Thaw completely before toasting or enjoying.
FAQ
- Can I use all-purpose flour? While bread flour is recommended for its higher gluten content, you can use all-purpose flour in a pinch. However, the bread may not rise as high or have as open of a crumb.
- My starter isn’t doubling. What should I do? Feed your starter regularly (once or twice a day) until it becomes consistently bubbly and doubles in size after feeding. This may take a few days.
- My dough is too sticky. What did I do wrong? Sourdough dough is naturally sticky. Avoid adding more flour during kneading unless it’s unmanageable. Wet hands can help.
- My bread is gummy. Why? The bread was likely sliced before it was completely cooled. Let it cool completely on a wire rack before slicing.
- Can I add other ingredients? Yes! Feel free to add herbs, cheese, or nuts to the dough during shaping.
Conclusion
This fast sourdough bread recipe proves that you don’t need days to create delicious, authentic sourdough at home. With a strong starter, careful attention to detail, and a few key techniques, you can enjoy a warm, crusty loaf in under 24 hours. So, go ahead, give it a try! We’re confident you’ll be amazed by the results. Happy baking!