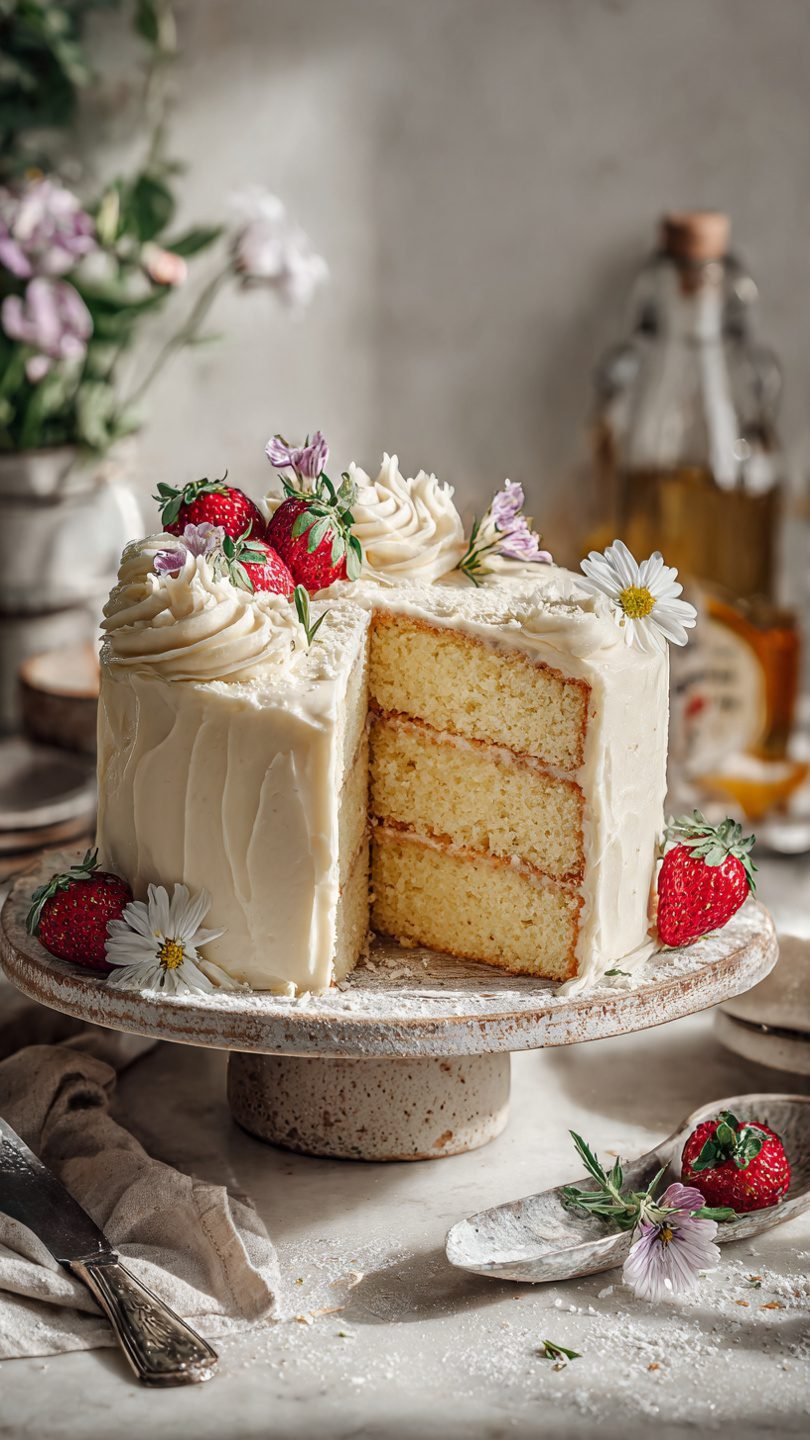
🍰 The Best Fluffy Vanilla Cake Recipe Ever
So, you’re staring at your pantry, craving something sweet, but the idea of putting on actual pants to go to the bakery feels like a personal attack? Same. I get it. Sometimes you just need a slice of cake, and you need it to not taste like a sweetened kitchen sponge.
We’ve all been there: you spend two hours baking, the kitchen is a disaster zone, and the result is a brick that could double as a doorstop. Tragic. But today, we are breaking that curse. We are making a vanilla cake that is so tender, so moist, and so unapologetically fluffy that you might just shed a single tear of joy. Put down the car keys, grab your apron, and let’s do this.

Why This Recipe is Awesome
Look, I know “vanilla” gets a bad rap for being boring. People use it as a synonym for “plain” or “basic.” Those people are wrong. A truly great vanilla cake is the little black dress of the baking world—it never goes out of style, fits every occasion, and when done right, it’s absolutely stunning.
Here is why you are going to obsess over this specific recipe:
- The “Squish” Factor: You know that commercial where they press the fork into the cake and it springs back perfectly? That’s not CGI. That’s this cake. We are using a specific balance of fat and flour to ensure the crumb is tight enough to hold frosting but light enough to melt in your mouth.
- It’s Idiot-Proof (Mostly): Listen, baking is science, but I’ve done the math so you don’t have to. As long as you don’t go rogue and start substituting orange juice for milk (please don’t), you got this. Even I didn’t mess it up the first time, and I once burned toast in a microwave.
- The “Reverse Creaming” Hybrid: Okay, getting a little nerdy here, but stick with me. We are using a method that coats the flour proteins in fat before the liquid hits them. Why care? Because it inhibits gluten formation. Less gluten equals a softer, more velvety texture. It’s the difference between biting into a cloud and biting into a baguette.
- It Actually Tastes Like Vanilla: We aren’t using a drop of the fake stuff here. This recipe is a vehicle for pure vanilla flavor, supported by a hint of tang from buttermilk (or sour cream) to keep things interesting.
Basically, this recipe is the culinary equivalent of a warm hug.
Ingredients You’ll Need
Don’t panic—you probably have most of this stuff. But quality matters here, folks. Since there are no chocolate chips or nuts to hide behind, the ingredients are the stars.
- Cake Flour: Do not skip this. If you use All-Purpose flour, your cake will be heavier. Cake flour has less protein, which means a finer, lighter crumb. If you absolutely must use AP flour, remove 2 tablespoons per cup and replace it with cornstarch. But really, just buy the cake flour.
- Unsalted Butter: Make sure it is room temperature. Not melted, not rock hard. Soft. Like the tummy of a well-fed puppy. We use unsalted so we can control the salt level ourselves.
- Granulated Sugar: Standard white sugar. It does more than sweeten; it cuts into the butter to create air pockets (we’ll get to that later).
- Vegetable Oil: “Wait, butter and oil?” Yes. Butter provides the flavor; oil keeps the cake moist for days because it stays liquid at room temperature. It’s the dynamic duo of fats.
- Eggs: You need 3 large ones. Again, room temperature. Cold eggs will shock the batter and curdle your butter, and nobody wants curdled butter.
- Buttermilk: The acid in buttermilk breaks down gluten and activates the baking soda. No buttermilk? Mix milk with a tablespoon of vinegar or lemon juice and let it sit for 5 mins. (FYI: Sour cream works too if you want a denser, pound-cake vibe).
- Vanilla Extract: Use the good stuff. Pure vanilla extract or vanilla bean paste. If you use the clear, imitation vanilla, I will know. I have sensors.
- Baking Powder & Baking Soda: The lifters. Make sure they aren’t expired. If they’ve been sitting in the back of your cupboard since 2018, throw them out.
- Salt: Essential to balance the sugar. Without it, the cake just tastes flat.
Step-by-Step Instructions
Alright, let’s make some magic. Preheat your oven to 350°F (175°C). Grease two 8-inch or 9-inch round cake pans and line the bottoms with parchment paper. Do not skip the parchment paper unless you enjoy scraping cake wreckage off the bottom of a pan while crying.
1. The Dry Mix
In a medium bowl, whisk together your cake flour, baking powder, baking soda, and salt. Whisk it well to aerate it. We want zero clumps. Set this aside.
2. The Creaming (Crucial Step!)
In the bowl of a stand mixer (or a large bowl with a hand mixer), beat the softened butter, oil, and sugar on high speed.
- Time check: Let this go for a solid 4 to 5 minutes.
- Visual cue: You want this mixture to transform. It should go from yellow and gritty to pale, almost white, and fluffy. We are mechanically forcing air bubbles into the fat. These bubbles are what the steam will expand later to lift your cake. If you rush this, your cake will be dense.

3. The Eggs
Turn the mixer to medium-low. Add the eggs one at a time.
- Wait for it: Let each egg fully disappear into the batter before cracking the next one.
- Flavor town: toss in your vanilla extract now. Mix until just combined. The batter might look a little curdled (like cottage cheese) at this stage—don’t freak out. It’ll smooth out when the flour hits it.
4. The Alternating Method
Turn your mixer to the lowest speed. We are going to alternate adding the dry ingredients and the buttermilk.
- Add 1/3 of the flour mixture. Mix until just barely combined.
- Add 1/2 of the buttermilk. Mix.
- Add 1/3 of the flour. Mix.
- Add the rest of the buttermilk. Mix.
- Add the rest of the flour.
- STOP! As soon as the flour streaks disappear, turn off the mixer. Grab a spatula and fold the batter by hand a few times to scrape the bottom. We do this to avoid over-mixing. Over-mixing = tough cake = sad baker.
5. The Bake
Divide the batter evenly between your prepared pans. (I use a kitchen scale because I’m neurotic, but eyeballing it is fine). Smooth the tops with a spatula.
- Pop them in the oven.
- Bake for 25 to 30 minutes.
- The Test: The cake is done when the top is golden, the edges are pulling away slightly from the sides of the pan, and a toothpick inserted into the center comes out clean (or with just a few moist crumbs).
- Smell Check: Usually, when you can smell the vanilla wafting into the living room, it’s about 2 minutes away from being done.
6. The Cool Down
Let the cakes cool in the pans for about 10 minutes. Then, flip them onto a wire rack to cool completely before frosting.
- Warning: If you try to frost a warm cake, your frosting will melt, slide off, and look like a abstract art disaster. Patience, grasshopper.
Common Mistakes to Avoid
We’re friends, so I’m going to give it to you straight. Here is how people ruin this recipe:
- Scooping Flour with the Measuring Cup: If you jam your cup into the flour bag, you are compacting the flour. You might end up with 20% more flour than the recipe calls for, leading to a dry cake. The Fix: Spoon the flour into the cup and level it off with a knife. Or use a scale.
- Using Cold Ingredients: I said it before, and I’ll say it again. Cold butter won’t cream properly; cold eggs will seize the fat. If you forgot to take them out, put the eggs in a bowl of warm water for 5 mins and microwave the butter in 5-second bursts (carefully!).
- Opening the Oven Door: I know you want to look. It’s tempting. But every time you open that door, you release heat and cause the temperature to fluctuate. This can cause your beautiful fluffy cake to collapse in the middle. Keep the door shut until the timer goes off!
- Frosting Too Soon: I know you’re hungry. But a hot cake melts butter. If you put buttercream on a hot cake, you will have sweet, buttery soup. Not cute.
Alternatives & Substitutions
Cooking is about adaptation (and using what you have before it expires). Here are some swaps:
- Gluten-Free: This recipe works surprisingly well with a high-quality 1:1 Gluten-Free Baking Flour (like Bob’s Red Mill or King Arthur). The texture changes slightly, but it’s still delicious.
- Dairy-Free: Swap the butter for a high-quality vegan butter stick (not tub margarine!) and use almond milk mixed with vinegar instead of buttermilk. It works!
- Flavor Twists:
- Lemon: Rub lemon zest into the sugar before creaming.
- Confetti: Fold in 1/2 cup of sprinkles at the very end for a birthday vibe.
- Almond: Swap half the vanilla extract for almond extract. It gives it a “wedding cake” flavor that is honestly addictive.
FAQ (Frequently Asked Questions)
1. Can I use this recipe for cupcakes? Absolutely! This batter makes stunning cupcakes. Just reduce the baking time to 18–20 minutes. You’ll get about 24 standard cupcakes.
2. Why did my cake sink in the middle? Heartbreaking, right? This usually happens because the oven door was opened too early, the oven wasn’t hot enough, or there was too much baking powder. Also, make sure your baking powder isn’t expired!
3. Can I make the layers ahead of time? Yes! In fact, cold cake is easier to frost. Bake them, let them cool fully, wrap them tightly in plastic wrap, and store them in the fridge for up to 3 days.
4. Can I freeze this cake? Big yes. Wrap the cooled layers in plastic wrap, then foil. They freeze beautifully for up to 3 months. Just thaw them on the counter before decorating.
5. Can I use margarine instead of butter? Technically? Yes. Should you? IMO, no. Margarine has a higher water content and different flavor profile. If you want that rich, bakery-style taste, stick to real butter. Why hurt your soul like that?
6. My batter looks curdled after adding eggs. Did I ruin it? Nope! It happens. It’s just an emulsion issue (usually because of temperature differences). Once you add the flour, it will smooth right out. Keep going!

Final Thoughts
There you have it! You are now armed with the knowledge to bake a fluffy vanilla cake that will put box mixes to shame. Baking from scratch might seem like a hassle, but the smell of vanilla filling your kitchen and that first bite of warm, tender crumb makes it all worth it.
Whether you frost it with chocolate buttercream, cover it in berries, or eat it straight out of the pan at 2 AM (no judgment here), you’ve made something from scratch, and that’s pretty cool.
Now go impress someone—or yourself—with your new culinary skills. You’ve earned it!