Gluten Free Bread Recipe Easy: The Foolproof Loaf That Actually Tastes Like Bread
You want gluten-free bread that doesn’t taste like cardboard and doesn’t crumble like sand when you slice it? Cool—so does everyone else. The difference is you’re about to actually make it.
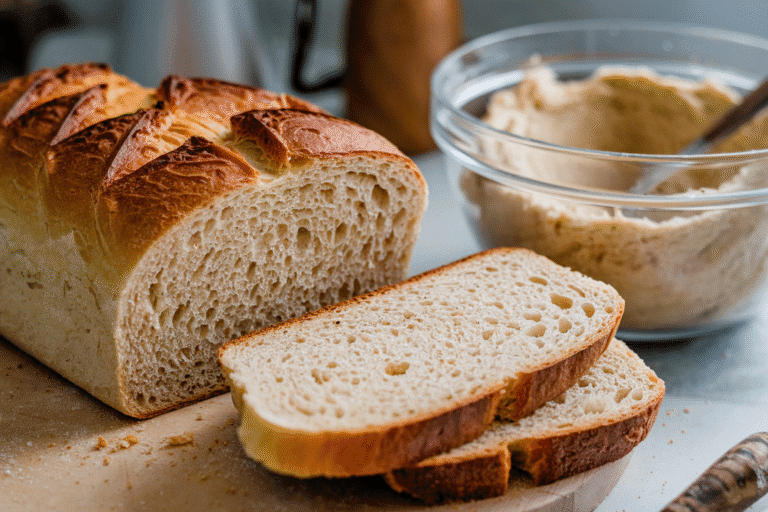
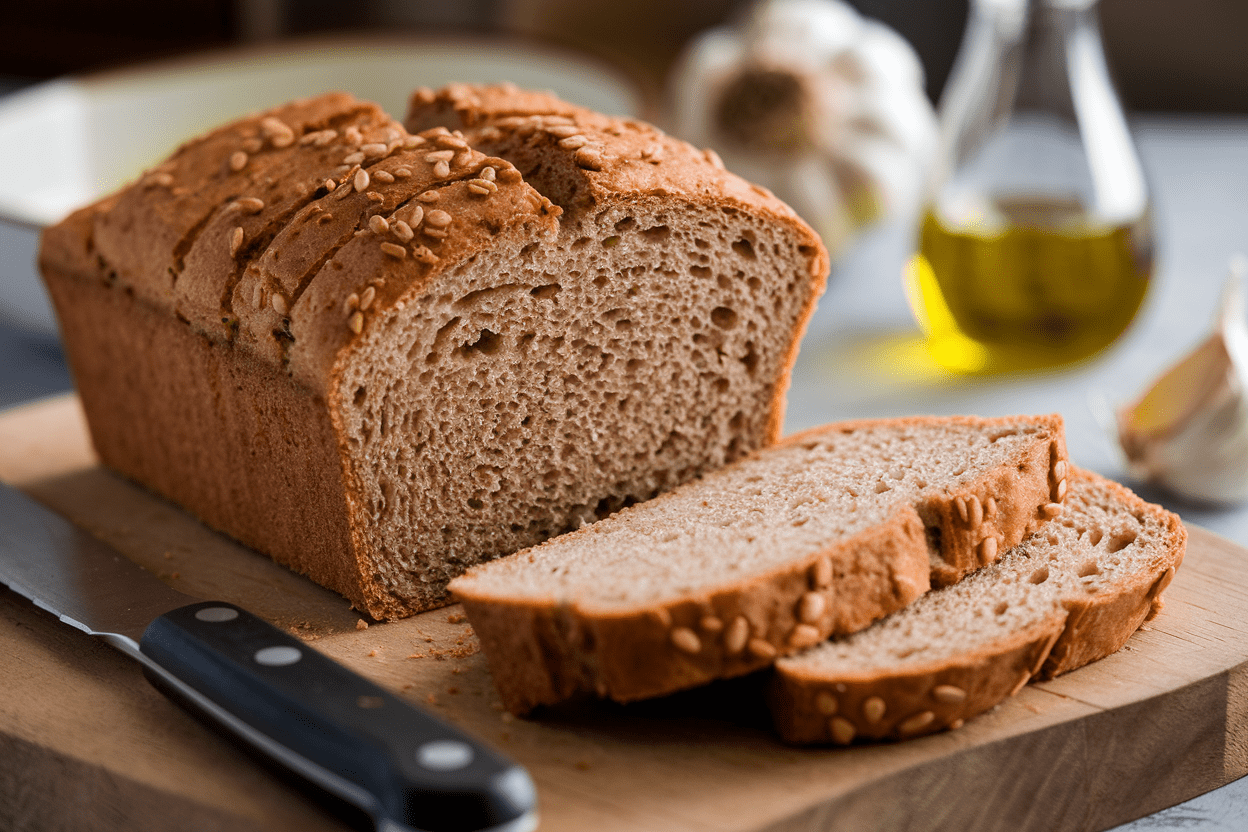
This easy gluten-free bread delivers a soft, springy crumb, a golden crust, and legit flavor. No wizardry, no 17 obscure flours, no unicorn tears—just a rock-solid method and a few smart ingredients. If you can stir, you can bake this.
What Makes This Special
This isn’t a “good for gluten-free” bread—it’s just good bread that happens to be gluten-free.
The texture is tender, sliceable, and perfect for toast or sandwiches. We use a smart blend of gluten-free all-purpose flour and psyllium husk or xanthan gum to create structure that mimics gluten.
It’s a single-rise, batter-style dough—so it’s faster and less fussy than traditional bread. No kneading marathons, no dough drama, no guessing games.
And the flavor? Slightly sweet, slightly nutty, with a clean finish that actually complements what you put on it.
What You’ll Need (Ingredients)
- 3 cups (360 g) gluten-free all-purpose flour blend (with no added xanthan if you’re adding your own; look for a blend with rice flour, starches, and potato/tapioca)
- 2 1/4 teaspoons (1 packet) instant yeast
- 1 1/2 teaspoons fine sea salt
- 2 tablespoons sugar or honey (for yeast food and browning)
- 1 1/2 teaspoons xanthan gum or 1 tablespoon psyllium husk powder (choose one; psyllium gives a chewier crumb)
- 1 3/4 cups warm water (about 105–110°F / 40–43°C)
- 2 large eggs (room temp; for structure and moisture; sub noted below)
- 3 tablespoons neutral oil (olive, avocado, or canola)
- 1 teaspoon apple cider vinegar (boosts rise and tenderness)
- Optional: 2 tablespoons milk powder or dairy-free milk powder (better browning and softness)
- Optional toppings: sesame seeds, poppy seeds, or oats (GF-certified)
Cooking Instructions
- Prep the pan. Line a 9×5-inch loaf pan with parchment, letting it overhang for easy lift. Lightly oil the sides.
- Mix dry ingredients. In a large bowl, whisk flour, yeast, salt, sugar, and xanthan/psyllium.
If using milk powder, whisk it in now. Eliminate lumps—your crumb will thank you.
- Blend wet ingredients. In a separate bowl, whisk warm water, eggs, oil, and vinegar until smooth. FYI: Make sure the water is warm, not hot—yeast are living divas.
- Combine. Pour wet into dry.
Beat with a sturdy spatula or hand mixer on medium for 2–3 minutes. The mixture should look like thick cake batter—scoopable, not kneadable. If it’s dry and crumbly, add 1–2 tablespoons water.
- Pan and smooth. Scrape batter into the prepared pan.
Smooth the top with a wet spatula. Add seeds if you’re feeling fancy.
- Rise. Cover loosely with oiled plastic wrap. Let it rise in a warm, draft-free spot until it crowns about 1/2 inch above the pan, 35–60 minutes.
Don’t force it—if your kitchen is chilly, be patient.
- Bake hot, then finish steady. Preheat to 375°F (190°C). Bake for 20 minutes, then tent lightly with foil to prevent over-browning. Continue baking 25–30 minutes more, until the internal temp hits 205–210°F (96–99°C) and the top is deep golden.
- De-pan and cool. Cool in the pan 5 minutes, then lift out and cool on a rack at least 1 hour before slicing.
Yes, waiting is hard. Cutting early = gummy sadness.
How to Store
- Room temp: Wrap in a clean tea towel or store in a paper bag for 24 hours. Then move to an airtight container to prevent staling.
- Refrigerate: Not ideal—fridge can dry it out.
If you must, toast before eating.
- Freeze: Slice first. Freeze in a zip bag with parchment between slices. Toast straight from frozen for peak texture.
- Revive: Day-old loaf?
A quick toast or 5 minutes at 325°F (165°C) perks it up.
Health Benefits
- Gluten-free friendly: Ideal for celiac, gluten sensitivity, or anyone experimenting with reducing gluten.
- Controlled ingredients: You skip the additives and gums you don’t want, and choose the fats and sweeteners you do.
- Fiber boost option: Using psyllium husk adds soluble fiber that supports digestion and satiety. Your gut will send a thank-you note.
- Better balance: Pair with protein and healthy fats for a steady, satisfying meal—no rollercoaster energy dips.
Common Mistakes to Avoid
- Using the wrong flour blend. Not all GF blends are equal. If yours already has xanthan, skip adding more—or you’ll get rubbery bread.
- Making it like wheat bread. This is a batter, not a dough.
Don’t knead. Don’t expect a smooth ball. Embrace the scoop.
- Killing the yeast. Water hotter than 115°F (46°C) = yeast funeral.
Keep it warm, not scalding.
- Slicing too soon. Warm bread will seem gummy. Let it set. Patience pays—annoying, but true.
- Skipping the pan size. A very different pan changes rise and bake time.
Stick to 9×5 for predictable results.
Variations You Can Try
- Whole-grain vibe: Swap 1/2 cup of the flour for certified GF oat flour or sorghum flour for a heartier taste.
- Seeded loaf: Fold in 1/4 cup mixed seeds (sunflower, pumpkin, flax). Toast seeds first for big flavor.
- Herb & garlic: Add 1 teaspoon garlic powder and 2 teaspoons dried Italian herbs. Amazing for savory sandwiches.
- Dairy-free soft: Replace eggs with 1/4 cup aquafaba plus 2 tablespoons oil; add 1 extra teaspoon psyllium for structure.
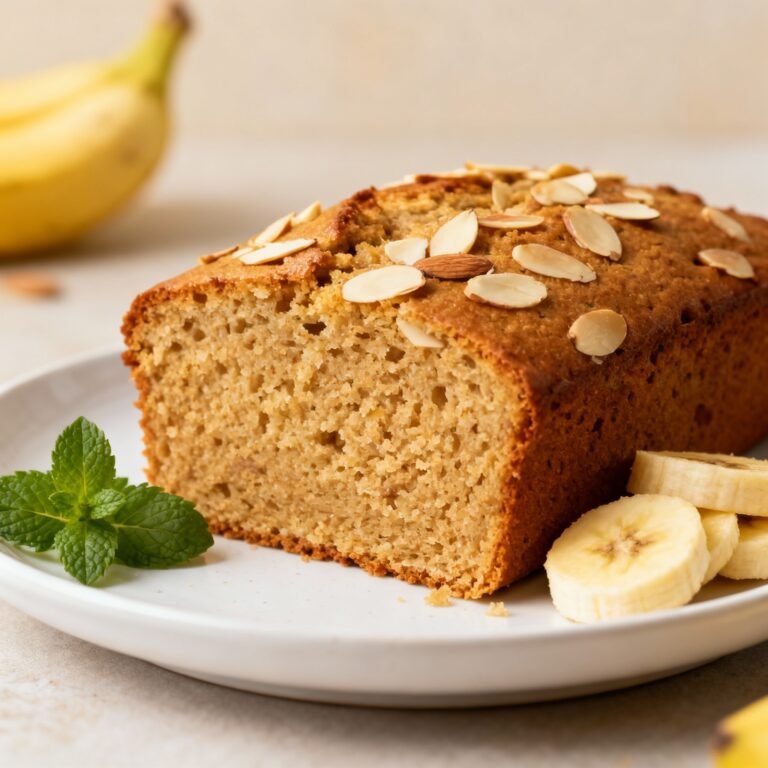
- Sweet breakfast loaf: Add 2 tablespoons maple syrup and 1/2 teaspoon cinnamon.
Toast with butter? Unreal.
FAQ
Can I make this without eggs?
Yes. Replace the 2 eggs with 1/4 cup aquafaba (liquid from canned chickpeas) and add 1 extra teaspoon psyllium husk powder or 1/4 teaspoon additional xanthan.
Texture will be slightly denser but still sliceable.
Do I need a stand mixer?
Nope. A sturdy spatula or hand mixer works. Beat the batter thoroughly for 2–3 minutes to hydrate the flours and activate the binders.
Under-mixing leads to crumbles, which is not the vibe.
My loaf didn’t rise—what went wrong?
Likely culprits: old yeast, water too cold/hot, or a cold kitchen. Also check your flour blend—heavy, bean-forward blends rise less. Try warming your oven briefly, turning it off, then proofing inside with the door cracked.
Can I bake this in a Dutch oven?
You can, but this batter-style dough does better in a loaf pan.
If you try a Dutch oven, use a smaller vessel and line with parchment so the batter doesn’t spread too flat.
How do I know it’s fully baked?
Best method is a thermometer: internal temp at 205–210°F (96–99°C). Without a thermometer, look for a deep golden top, firm sides, and a hollow sound when tapped. If unsure, bake 5–10 more minutes—slightly over is better than gummy underbaked.
Can I use active dry yeast instead of instant?
Yes.
Bloom 2 1/4 teaspoons active dry yeast in the warm water with the sugar for 5–10 minutes until foamy, then proceed. Keep total liquid the same.
What if my batter is too thin?
Add 1–2 tablespoons flour at a time until it resembles thick cake batter. Different blends absorb differently—no shame in adjusting on the fly, IMO.
In Conclusion
This gluten free bread recipe easy hits the trifecta: simple method, dependable rise, and flavor you’ll actually want to eat again.
Once you nail the batter texture and the bake temp, it becomes a weekly staple. Slice, toast, sandwich, repeat—and enjoy bread that doesn’t compromise. Your toaster is about to get busy.