Homemade Fruit Leather Recipe: A Healthy & Delicious Snack!
Forget store-bought fruit snacks loaded with artificial flavors and added sugars! This homemade fruit leather recipe allows you to create a naturally sweet and chewy treat using your favorite fruits. It’s a fantastic way to use up surplus fruit, a healthy snack option for kids and adults alike, and surprisingly simple to make. Imagine sinking your teeth into a vibrant, flavorful fruit leather bursting with the taste of summer – all made with wholesome ingredients and your own loving hands. Get ready to ditch the processed snacks and embrace the deliciousness of homemade fruit leather!
Why This Recipe Works
This recipe is designed for simplicity and maximum flavor. Here’s why it’s a winner:
- Versatility: You can use almost any fruit or combination of fruits you like! This recipe is incredibly adaptable to your taste preferences and what’s in season.
- Simplicity: The process is straightforward – blend, spread, and dehydrate (or bake). No fancy equipment or complicated techniques are required.
- Healthier Option: By making your own, you control the ingredients. No added sugars, artificial colors, or preservatives are necessary. You’re getting pure fruit goodness!
- Kid-Friendly: Kids love the chewy texture and sweet taste of fruit leather. It’s a great way to sneak in some extra fruit into their diet.
- Long Shelf Life: Properly stored, homemade fruit leather can last for weeks, making it a convenient snack to have on hand.
Ingredients
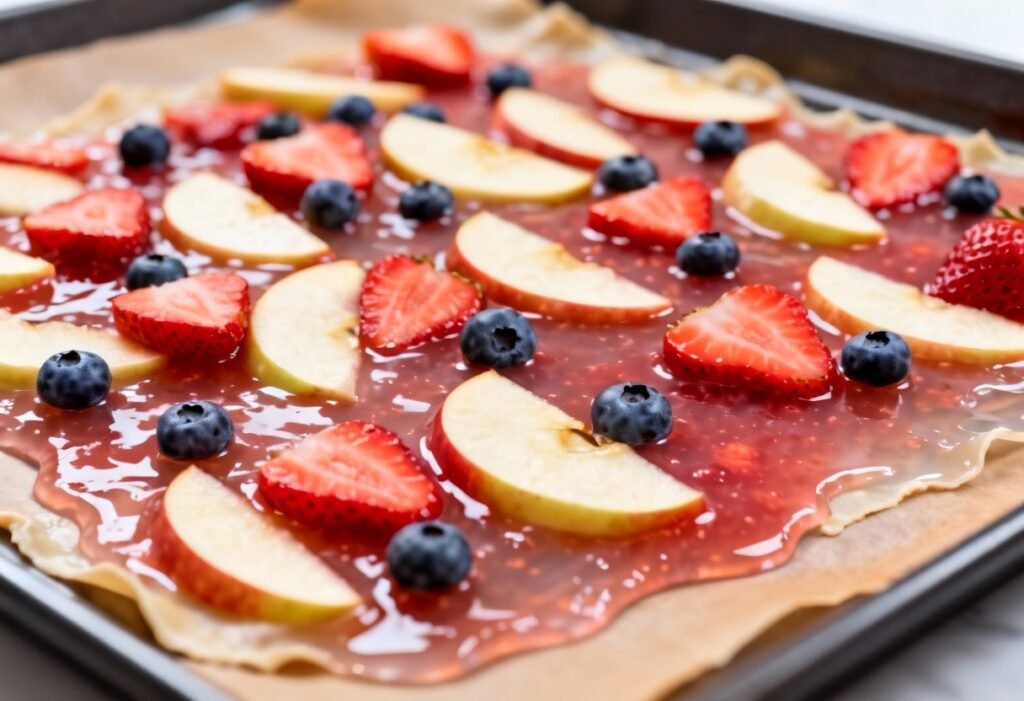
- 4 cups Fruit: Choose your favorite! Berries (strawberries, blueberries, raspberries), stone fruits (peaches, plums, nectarines), apples, mangoes, or even a combination. Make sure the fruit is ripe and flavorful.
- 2 tablespoons Lemon Juice (optional): This helps to brighten the flavors and prevent browning, especially with fruits like apples or peaches.
- 1-2 tablespoons Honey or Maple Syrup (optional): If your fruit is tart or you prefer a sweeter taste, add a touch of honey or maple syrup. Start with less and taste as you go.
- Pinch of Salt (optional): A tiny pinch of salt can enhance the sweetness and balance the flavors.
Instructions
- Prepare the Fruit: Wash and chop your fruit into small pieces. Remove any pits, seeds, or cores. If using fruits with tough skins (like apples), you may want to peel them for a smoother texture.
- Blend the Fruit: Place the chopped fruit in a blender or food processor. Add the lemon juice, honey/maple syrup (if using), and a pinch of salt (if using). Blend until completely smooth. The consistency should be similar to a thick puree.
- Taste and Adjust: Taste the puree and adjust the sweetness or tartness to your liking. Add more honey/maple syrup if needed.
- Prepare the Baking Sheet or Dehydrator Trays: Line a baking sheet with parchment paper or a silicone baking mat. For a dehydrator, use the fruit leather trays or line the regular trays with parchment paper.
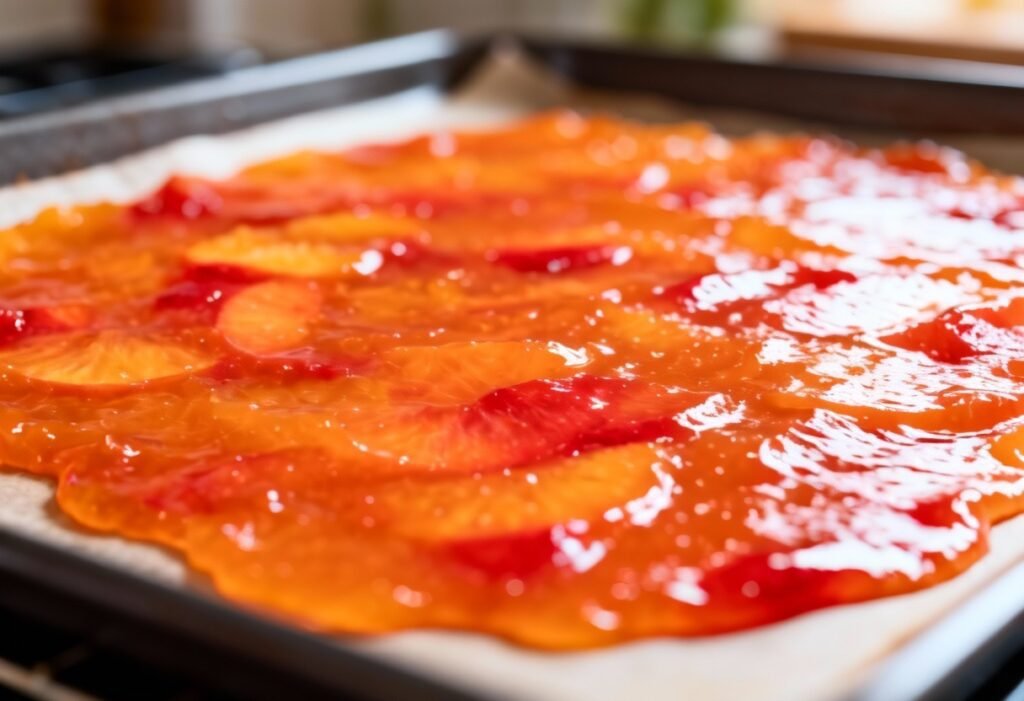
- Spread the Puree: Pour the fruit puree onto the prepared baking sheet or dehydrator tray. Spread it evenly into a thin layer, about 1/8 to 1/4 inch thick. The thinner the layer, the faster it will dry. Avoid spreading it too thin, or it will be brittle.
- Dehydrate (Recommended): If using a dehydrator, set the temperature to 135°F (57°C) and dehydrate for 6-12 hours, or until the fruit leather is no longer sticky to the touch. The drying time will vary depending on the type of fruit, the humidity, and the thickness of the puree.
- Bake (Alternative): If using an oven, preheat it to the lowest possible temperature (ideally 170°F or lower). Place the baking sheet in the oven and prop the door open slightly to allow moisture to escape. Bake for 3-6 hours, or until the fruit leather is no longer sticky. Check frequently to prevent burning.
- Check for Doneness: The fruit leather is done when it’s no longer sticky to the touch and has a slightly leathery texture. It should peel easily from the parchment paper or silicone mat.
- Cool and Cut: Let the fruit leather cool completely on the baking sheet or dehydrator tray. Once cooled, peel it off the parchment paper or silicone mat.
- Cut into Strips: Cut the fruit leather into strips using a pizza cutter or kitchen shears. You can also roll it up into individual servings.
Tips for Success
- Choose Ripe Fruit: Ripe fruit is sweeter and more flavorful, resulting in a better-tasting fruit leather.
- Don’t Over-Blend: Over-blending can incorporate too much air into the puree, which can make the fruit leather tough.
- Spread Evenly: Ensure the puree is spread evenly to ensure even drying. Uneven thickness can lead to some areas being over-dried and others being under-dried.
- Low and Slow: Dehydrating or baking at a low temperature is crucial to prevent burning and ensure the fruit leather dries properly.
- Patience is Key: Don’t rush the drying process. It takes time for the moisture to evaporate and for the fruit leather to reach the desired consistency.
- Experiment with Flavors: Get creative with your fruit combinations! Try adding spices like cinnamon or ginger, or even a touch of chili powder for a spicy kick.
- Consider Fruit Acidity: Highly acidic fruits like cranberries or lemons might require a touch more sweetener.
- Prevent Sticking: Using parchment paper or a silicone mat is essential to prevent the fruit leather from sticking to the baking sheet or dehydrator tray.
Storage Instructions
To store homemade fruit leather, cut it into strips and roll each strip individually. Wrap each roll tightly in plastic wrap or parchment paper. Store the wrapped rolls in an airtight container at room temperature for up to 2 weeks, or in the refrigerator for up to 1 month. For longer storage, you can freeze the fruit leather for up to 6 months. Thaw in the refrigerator before enjoying.
FAQ
Q: Can I use frozen fruit?
A: Yes, you can use frozen fruit. Thaw it completely before blending.
Q: My fruit leather is too sticky. What did I do wrong?
A: It likely wasn’t dried long enough. Return it to the dehydrator or oven and continue drying until it’s no longer sticky.
Q: My fruit leather is too brittle. What did I do wrong?
A: It was likely dried for too long or at too high of a temperature. Try reducing the drying time or temperature in your next batch.
Q: Can I add spices?
A: Absolutely! Cinnamon, ginger, nutmeg, and even a pinch of chili powder can add a delicious twist.
Q: Do I need to add sugar?
A: It depends on the sweetness of your fruit. Taste the puree before drying and add honey or maple syrup if needed.
Q: Can I use this recipe with applesauce?
A: Yes, applesauce works well. You might need to reduce the drying time slightly.
Conclusion
Making homemade fruit leather is a rewarding experience that allows you to create a healthy and delicious snack with endless possibilities. By using fresh, wholesome ingredients and following these simple steps, you can enjoy a naturally sweet treat that’s perfect for kids and adults alike. So, ditch the processed snacks and embrace the fun of making your own fruit leather. Happy snacking!