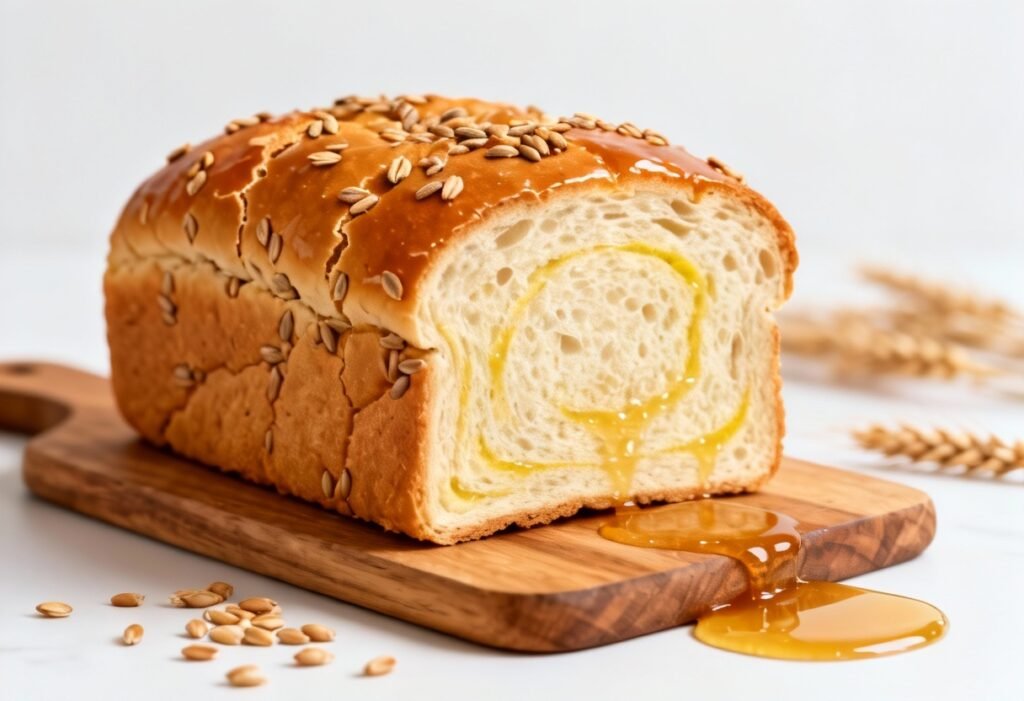
Honey Wheat Sandwich Bread Recipe: Your New Go-To Loaf!
Is there anything quite like the aroma of freshly baked bread wafting through your home? The comforting scent, the anticipation of that first warm slice slathered with butter… it’s pure bliss. And while store-bought bread is convenient, nothing compares to the taste and texture of a homemade loaf. This Honey Wheat Sandwich Bread recipe will become your new go-to. It’s soft, slightly sweet, and packed with wholesome goodness, making it perfect for sandwiches, toast, or simply enjoying on its own. This recipe is surprisingly easy to follow, even for beginner bakers, and the results are simply irresistible. Get ready to impress your family and friends with your newfound baking skills!
Why This Recipe Works
This Honey Wheat Sandwich Bread recipe isn’t just delicious; it’s also carefully crafted to deliver consistent results. Here’s why it works so well:
- The Right Balance of Flours: We use a combination of bread flour and whole wheat flour. Bread flour has a higher protein content, which helps develop gluten and create a strong, chewy structure. Whole wheat flour adds a nutty flavor, fiber, and nutritional value.
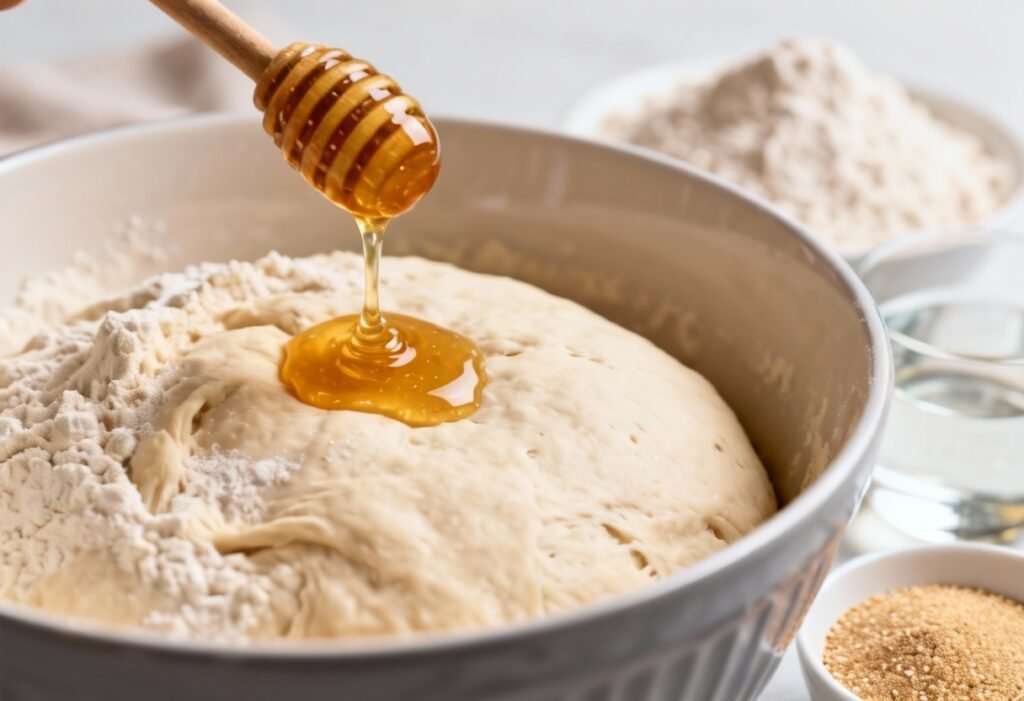
- Honey’s Magic Touch: Honey not only adds sweetness but also acts as a humectant, drawing moisture into the bread and keeping it soft for longer. It also contributes to a beautiful golden-brown crust.
- Proper Hydration: The water-to-flour ratio is crucial for achieving a soft and pliable dough. This recipe uses the right amount of liquid to ensure a moist and tender crumb.
- Careful Kneading: Kneading develops the gluten in the flour, which gives the bread its structure and elasticity. We provide clear instructions on how to knead properly, whether by hand or with a stand mixer.
- Two-Stage Rise: The dough undergoes two rises – a bulk fermentation and a proofing stage. This allows the yeast to fully develop, resulting in a light and airy loaf.
Ingredients
- 3 cups (360g) bread flour, plus more for dusting
- 1 cup (120g) whole wheat flour
- 1 ½ cups (360ml) warm water (105-115°F or 40-46°C)
- 2 tablespoons (30ml) honey
- 2 tablespoons (30ml) vegetable oil (or melted coconut oil)
- 1 ½ teaspoons (5g) salt
- 2 ¼ teaspoons (7g) active dry yeast (1 packet)
Instructions
- Activate the Yeast: In a large bowl, combine the warm water and honey. Sprinkle the yeast over the top and let it sit for 5-10 minutes, or until foamy. This indicates that the yeast is active and ready to go.
- Combine Wet and Dry Ingredients: Add the vegetable oil (or melted coconut oil), bread flour, whole wheat flour, and salt to the bowl with the yeast mixture.
- Knead the Dough (by Hand): Stir the ingredients together until a shaggy dough forms. Turn the dough out onto a lightly floured surface and knead for 8-10 minutes, or until the dough is smooth, elastic, and slightly tacky. Add a little more flour if the dough is too sticky, but avoid adding too much, as this can make the bread dry.
- Knead the Dough (with a Stand Mixer): Attach the dough hook to your stand mixer. Combine the ingredients as described above and knead on low speed for 6-8 minutes, or until the dough is smooth, elastic, and slightly tacky.
- First Rise (Bulk Fermentation): Place the dough in a lightly oiled bowl, turning to coat. Cover the bowl with plastic wrap or a clean kitchen towel and let it rise in a warm place for 1-1.5 hours, or until doubled in size.
- Shape the Dough: Gently punch down the dough to release the air. Turn the dough out onto a lightly floured surface and shape it into a loaf. To do this, flatten the dough into a rectangle, then tightly roll it up from one of the short ends. Pinch the seam to seal it.
- Second Rise (Proofing): Place the shaped loaf into a greased 9×5 inch loaf pan. Cover with plastic wrap or a clean kitchen towel and let it rise in a warm place for 30-45 minutes, or until the dough has risen about an inch above the rim of the pan.
- Bake the Bread: Preheat your oven to 350°F (175°C). Bake the bread for 30-35 minutes, or until the crust is golden brown and the internal temperature reaches 200-210°F (93-99°C). You can check the temperature with an instant-read thermometer inserted into the center of the loaf.
- Cool the Bread: Remove the bread from the oven and let it cool in the pan for 10 minutes before transferring it to a wire rack to cool completely.
- Slice and Enjoy: Once the bread is completely cool, slice it with a serrated knife and enjoy!
Tips for Success
- Use Warm Water: The water should be warm, but not hot. Too hot water can kill the yeast. Use a thermometer to ensure the water is between 105-115°F (40-46°C).
- Don’t Over-Knead: Over-kneading can result in tough bread. Knead until the dough is smooth and elastic, but not overly stiff.
- Proof in a Warm Place: A warm environment helps the yeast to thrive. You can proof the dough in a warm oven (turned off), a sunny spot, or a warm room.
- Don’t Over-Proof: Over-proofed dough will collapse during baking. The dough is ready to bake when it has risen about an inch above the rim of the pan.
- Tap Test for Doneness: If you don’t have a thermometer, you can check for doneness by tapping the bottom of the loaf. If it sounds hollow, it’s ready.
- Let it Cool Completely: Resist the urge to slice the bread while it’s still warm. Cooling allows the crumb to set, making it easier to slice and preventing it from becoming gummy.
Storage Instructions
To keep your Honey Wheat Sandwich Bread fresh:
- Room Temperature: Store the bread in an airtight container or a bread bag at room temperature for up to 3 days.
- Freezer: For longer storage, slice the bread and freeze it in a freezer-safe bag for up to 2 months. Thaw at room temperature or toast directly from frozen.
FAQ
Q: Can I use all bread flour instead of a mix of bread flour and whole wheat flour?
A: Yes, you can use all bread flour. The bread will be softer and less dense. However, you will lose the nutty flavor and nutritional benefits of the whole wheat flour.
Q: Can I use instant yeast instead of active dry yeast?
A: Yes, you can use instant yeast. You can add it directly to the flour without proofing it first. Use the same amount (2 ¼ teaspoons or 7g).
Q: Can I reduce the amount of honey?
A: Yes, you can reduce the honey to 1 tablespoon if you prefer a less sweet bread. However, keep in mind that honey also contributes to the bread’s moisture and crust color.
Q: My bread is sinking in the middle. What went wrong?
A: This could be due to several factors, including over-proofing, using too much yeast, or not baking the bread long enough. Make sure to follow the instructions carefully and check the internal temperature of the bread before removing it from the oven.
Q: Can I add seeds or nuts to the dough?
A: Absolutely! Adding seeds or nuts can enhance the flavor and texture of the bread. You can add about ½ cup of seeds (such as sesame, poppy, or sunflower seeds) or chopped nuts (such as walnuts or pecans) to the dough after the first rise.
Conclusion
This Honey Wheat Sandwich Bread recipe is more than just a recipe; it’s an invitation to create something special in your kitchen. The aroma alone is enough to brighten any day, and the taste of a freshly baked slice is simply divine. With its soft texture, subtle sweetness, and wholesome ingredients, this bread is perfect for everything from morning toast to lunchtime sandwiches. So, gather your ingredients, preheat your oven, and get ready to experience the joy of baking your own homemade Honey Wheat Sandwich Bread. You won’t regret it!