Hot Chocolate Bombshell Recipe: The Ultimate Winter Treat!
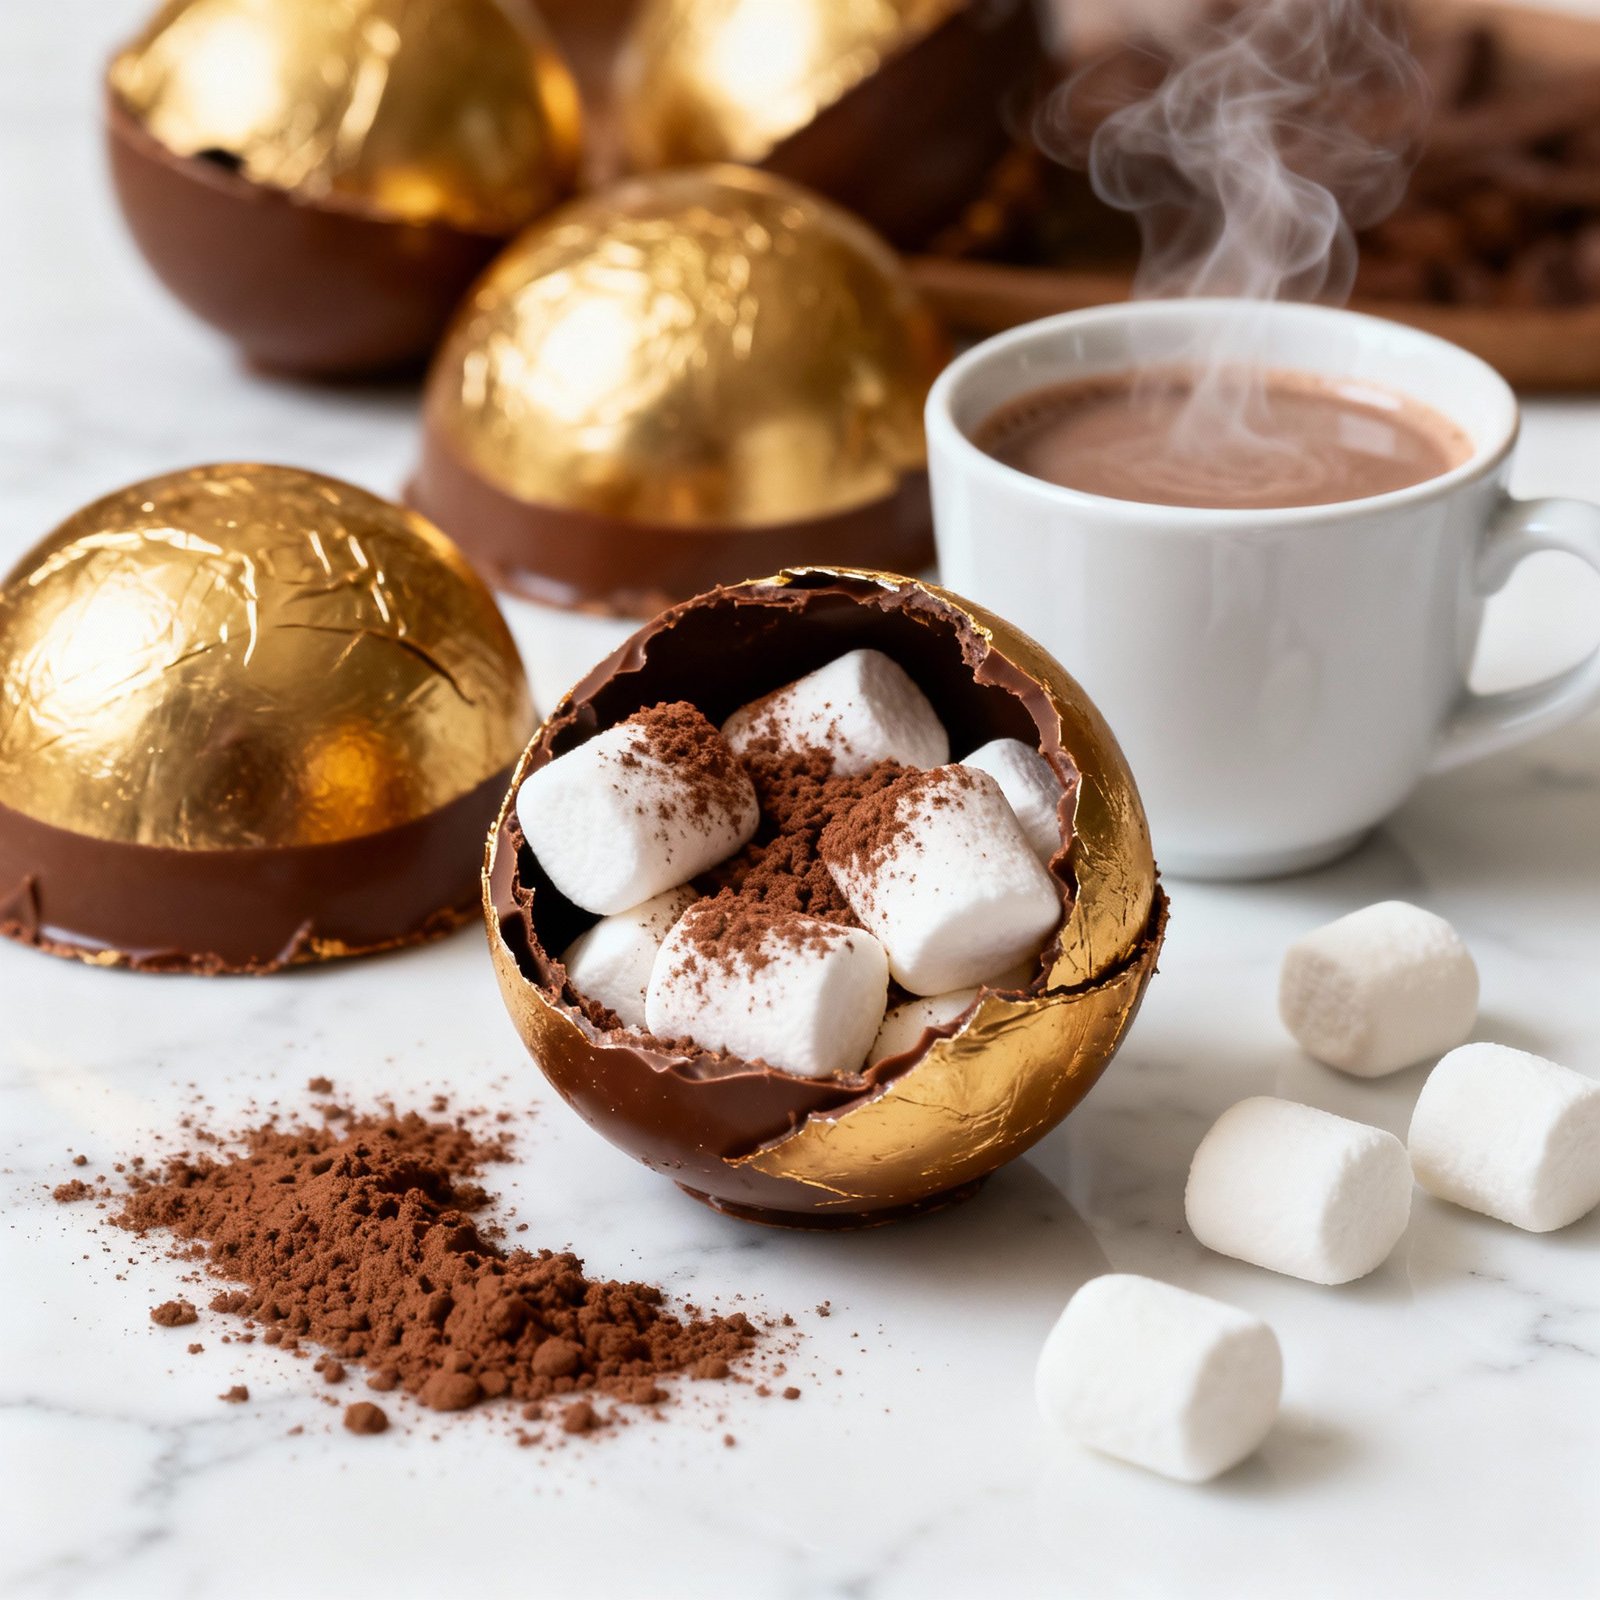
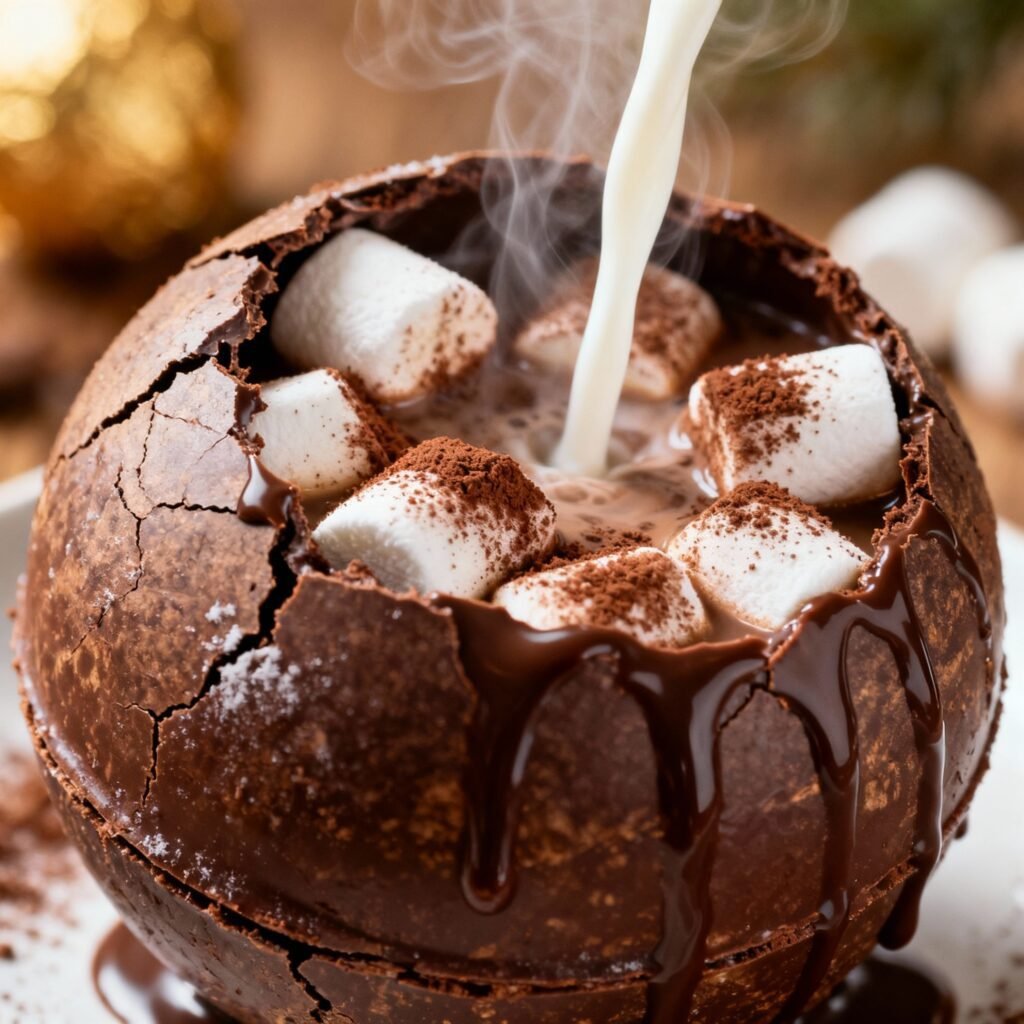
Winter just got a whole lot cozier! Forget boring mugs of instant cocoa – we’re diving headfirst into the decadent world of Hot Chocolate Bombshells. These delightful spheres of chocolatey goodness are not only visually stunning but deliver an explosion of flavor and fun. Imagine dropping one into a mug of warm milk and watching it dramatically melt away, releasing a flurry of mini marshmallows and rich cocoa powder. This recipe will guide you through creating your own impressive hot chocolate bombs that are perfect for gifting, enjoying on a chilly evening, or simply adding a touch of magic to your everyday routine.
Why This Recipe Works
This recipe is designed for success, even for beginner chocolatiers! We’ve broken down the process into easy-to-follow steps, focusing on key techniques to ensure your bombs are perfectly formed, structurally sound, and bursting with flavor. Here’s what makes it work:
- Precise Tempering Instructions: Tempering chocolate is crucial for achieving a glossy, snap-worthy shell. We provide clear instructions and tips to help you master this essential skill.
- Detailed Molding Guide: From choosing the right molds to properly filling and sealing them, we cover every detail to prevent cracks and imperfections.
- Customizable Filling Options: While marshmallows are a classic choice, we encourage you to experiment with different fillings to create your own signature hot chocolate bomb.
- Troubleshooting Tips: Encountering issues? We’ve included common problems and solutions to help you overcome any challenges.
- Clear Visuals: While this article doesn’t include images, visualizing each step will make this recipe even easier to follow. Search online for visual guides of tempering and molding chocolate.
Ingredients
- 12 oz High-Quality Chocolate (Dark, Milk, or White): Choose your favorite! Using good quality chocolate will significantly impact the flavor of your hot chocolate. Chocolate chips can be used, but melting wafers or bars will yield better results.
- 1/2 cup High-Quality Cocoa Powder: Opt for Dutch-processed cocoa powder for a richer, smoother flavor.
- 1 cup Mini Marshmallows: The classic choice for a fun and festive explosion!
- Optional Fillings:
- Chocolate Shavings: Add a layer of extra chocolate intensity.
- Peppermint Candies (Crushed): Perfect for a holiday twist.
- Espresso Powder: For a mocha-inspired treat.
- Caramel Bits: A sweet and gooey surprise.
- Sprinkles: For a touch of whimsy.
- Optional Decorations:
- Melted Chocolate (Different Color): For drizzling or creating patterns.
- Sprinkles: To add visual appeal.
Instructions
- Temper the Chocolate: This is the most important step!
- Chop the chocolate: Finely chop the chocolate into even pieces.
- Melt the chocolate: There are several methods:
- Double Boiler: Place a heat-safe bowl over a simmering pot of water (ensure the bowl doesn’t touch the water). Add about 2/3 of the chopped chocolate to the bowl and melt, stirring constantly, until completely smooth. Remove from heat and add the remaining 1/3 of the chopped chocolate. Stir until all the chocolate is melted and the mixture is smooth and glossy.
- Microwave: Microwave the chocolate in 30-second intervals, stirring in between, until almost melted. Remove from the microwave and stir until completely melted and smooth.
- Test the Temper: Dip a small piece of parchment paper into the melted chocolate. If it hardens quickly at room temperature with a glossy finish, your chocolate is properly tempered. If it remains soft or streaky, you may need to repeat the tempering process.
- Mold the Chocolate Shells:
- Prepare the molds: Ensure your silicone sphere molds are clean and dry.
- Fill the molds: Spoon a generous amount of tempered chocolate into each mold cavity, using the back of a spoon or a pastry brush to coat the entire surface evenly. Make sure there are no thin spots.
- Tap the molds: Gently tap the molds on the counter to release any air bubbles.
- Invert and scrape: Invert the molds over a bowl to remove excess chocolate. Scrape the edges of the molds clean with a spatula.
- Chill the shells: Place the molds in the refrigerator for 10-15 minutes, or until the chocolate is firm and set.
- Release the Chocolate Shells:
- Carefully flex the silicone molds to release the chocolate hemispheres.
- If the shells are sticking, gently tap the mold on the counter or use a small offset spatula to loosen the edges.
- Fill the Chocolate Bombs:
- Warm a small plate in the microwave for a few seconds.
- Gently melt the rim of one chocolate hemisphere by pressing it onto the warm plate. This will create a smooth, even surface for sealing.
- Fill the hemisphere with cocoa powder, mini marshmallows, and any other desired fillings.
- Melt the rim of a second hemisphere in the same way.
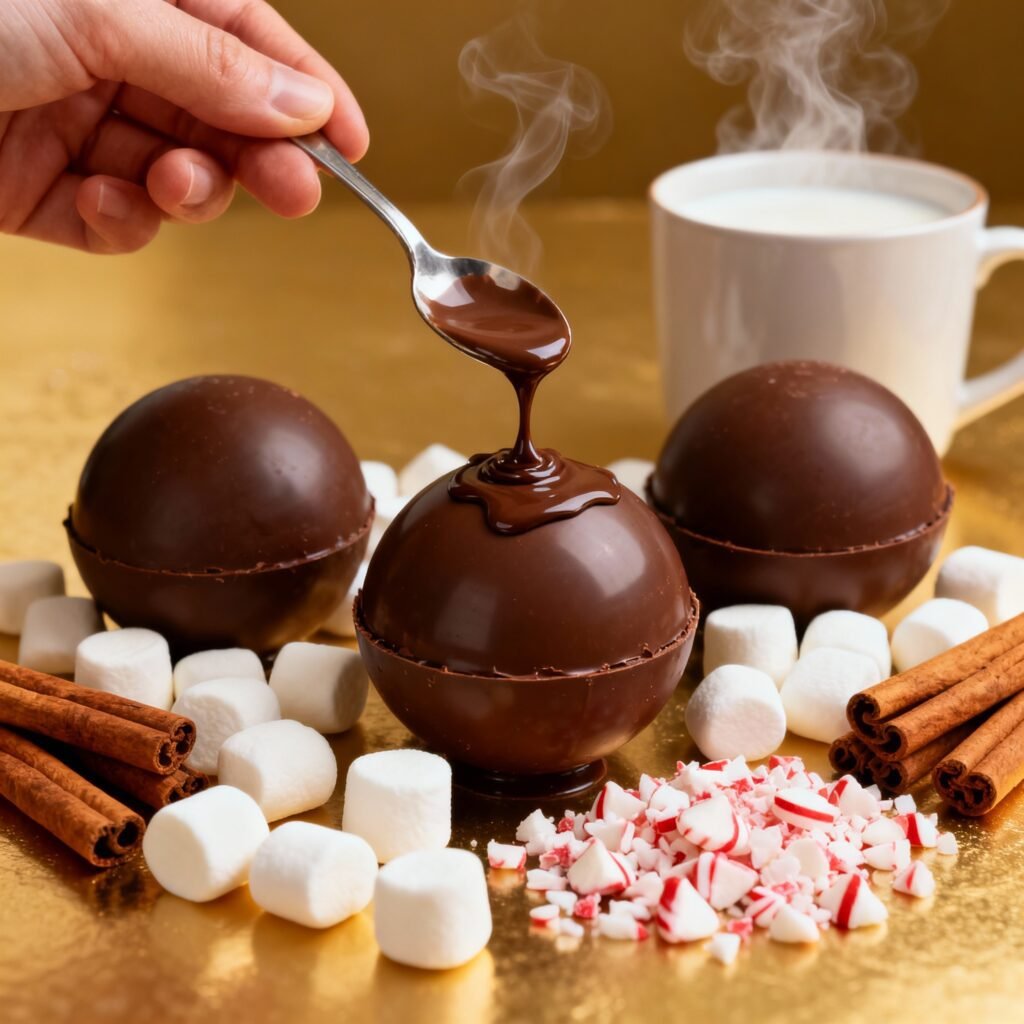
- Carefully place the second hemisphere on top of the filled hemisphere, aligning the edges. Gently press together to seal.
- Use a clean fingertip to smooth out the seam.
- Decorate (Optional):
- Drizzle with melted chocolate of a contrasting color.
- Sprinkle with sprinkles, edible glitter, or crushed candies.
- Let the decorations set completely before handling.
- Enjoy!
- Place a hot chocolate bomb in a mug.
- Pour 6-8 ounces of hot milk (or water) over the bomb.
- Watch as the chocolate melts and releases the marshmallows and cocoa powder.
- Stir well to combine and enjoy!
Tips for Success
- Use High-Quality Ingredients: The better the chocolate and cocoa powder, the better the final product will taste.
- Temper the Chocolate Properly: This is crucial for a glossy, stable shell. Don’t skip this step!
- Don’t Overfill the Molds: Too much chocolate can make the shells difficult to release.
- Work Quickly: Tempered chocolate sets quickly, so work efficiently to prevent it from becoming too thick.
- Practice Makes Perfect: Don’t be discouraged if your first batch isn’t perfect. Keep practicing, and you’ll improve with each attempt.
- Control the Milk Temperature: Too hot, and you’ll scald the milk. Too cold, and it won’t melt the bomb effectively.
Storage Instructions
Store your hot chocolate bombs in an airtight container at room temperature, away from direct sunlight and heat. They should last for up to 2 weeks. Avoid storing them in the refrigerator, as the chocolate can bloom (develop a white coating) due to moisture.
FAQ
- Can I use chocolate chips instead of melting wafers? Yes, but melting wafers or bars will generally yield a smoother, glossier finish and are easier to temper.
- My chocolate is seizing! What do I do? Seizing happens when water comes into contact with melted chocolate. Try adding a small amount of vegetable oil or shortening to the chocolate and stirring vigorously. This may help to loosen it up.
- My shells are cracking. Why? This could be due to several factors, including improper tempering, thin spots in the chocolate, or releasing the shells too quickly. Ensure your chocolate is properly tempered, coat the molds evenly, and allow the shells to set completely before releasing them.
- Can I make these vegan? Yes! Use vegan chocolate and vegan marshmallows.
- Can I add alcohol to these? Absolutely! A small splash of Baileys, Kahlua, or peppermint schnapps can add a delicious kick. Add it to the filling or directly to the mug of hot chocolate.
Conclusion
Hot chocolate bombshells are a fun and rewarding treat to make and share. With a little practice, you’ll be creating stunning and delicious bombs that will impress your friends and family. So gather your ingredients, get ready to get a little messy, and enjoy the process of crafting these delightful winter wonders. Happy bomb-making!