Ice Candy Filipino Recipe: Beat the Heat with Sweet Nostalgia!
The Philippine heat is no joke. When the sun blazes and the humidity clings, there’s nothing quite as refreshing as a homemade ice candy. This iconic frozen treat is a childhood staple for many Filipinos, evoking memories of summer afternoons spent playing outdoors, cooled down by these icy delights. Forget store-bought popsicles loaded with artificial flavors and preservatives. With this recipe, you can create delicious, customizable ice candy that’s perfect for cooling down on a hot day, sharing with friends and family, or simply reliving those cherished childhood memories.
This recipe isn’t just about freezing liquid in a bag. It’s about capturing the essence of Filipino flavors and traditions in a simple, refreshing package. Whether you prefer the classic mango, creamy chocolate, or the surprising tang of buko (young coconut), this base recipe is your starting point for endless ice candy adventures. So, grab your ingredients, some ice candy bags, and let’s get started!
Why This Recipe Works
This ice candy recipe is designed for both simplicity and deliciousness. Here’s why it works:
- Simple Ingredients: We use readily available ingredients that you likely already have in your pantry. No fancy equipment or hard-to-find components are needed.
- Customizable Flavors: The base recipe is a blank canvas! We’ll provide flavor suggestions, but feel free to experiment with your favorite fruits, extracts, and other flavorings.
- Proper Sweetness: The sugar ratio is carefully balanced to ensure the ice candy is sweet enough to be enjoyable but not overly sugary. This is crucial because freezing can dull the perceived sweetness.
- Creamy Texture: The addition of milk (evaporated or fresh) contributes to a smoother, creamier texture compared to using just water. This makes the ice candy more pleasant to eat.
- Easy to Make: The steps are straightforward and easy to follow, making this a great recipe for beginners and experienced cooks alike.
- Kid-Friendly: Get the kids involved! They’ll love helping with the mixing and pouring, and they’ll be even more excited to enjoy the fruits (or rather, the ice candy!) of their labor.
Ingredients
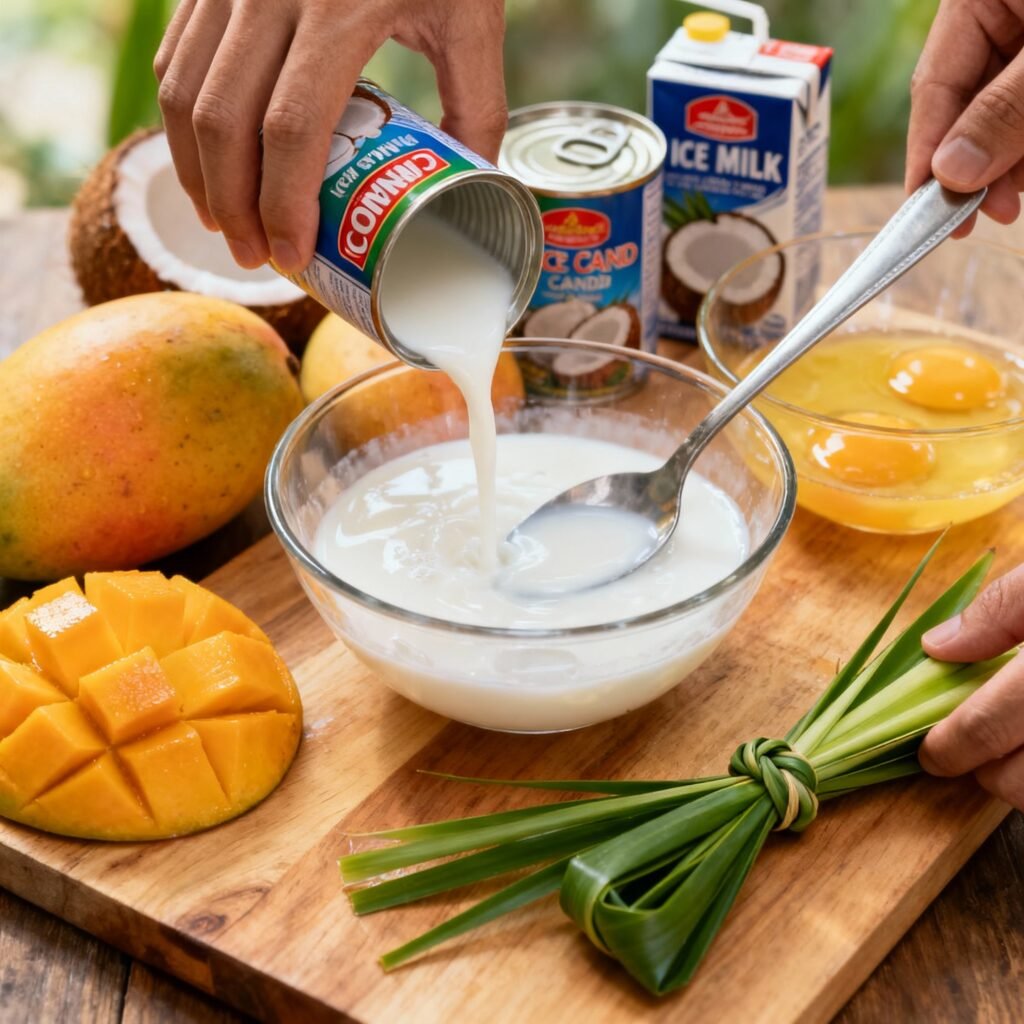
- 4 cups water (filtered is best)
- 1 cup granulated sugar (adjust to taste)
- 1 cup evaporated milk (or fresh milk for a richer flavor)
- 1/2 teaspoon vanilla extract (optional, enhances the flavor)
- Flavoring of your choice (see suggestions below)
- Ice candy bags (typically 2″ x 8″ or similar)
- Funnel (optional, but helpful for pouring)
Flavoring Suggestions:
- Mango: 2 ripe mangoes, pureed
- Chocolate: 1/2 cup cocoa powder, 1/4 cup chocolate syrup (adjust sugar accordingly)
- Buko (Young Coconut): 1 cup shredded young coconut meat, 1/2 cup buko juice
- Ube (Purple Yam): 1/4 cup ube halaya (purple yam jam) or ube extract (adjust sugar accordingly)
- Strawberry: 1 cup fresh or frozen strawberries, pureed
- Melon: 1 cup cantaloupe or honeydew melon, pureed
- Coffee: 2 tablespoons instant coffee granules, dissolved in a little hot water
Instructions
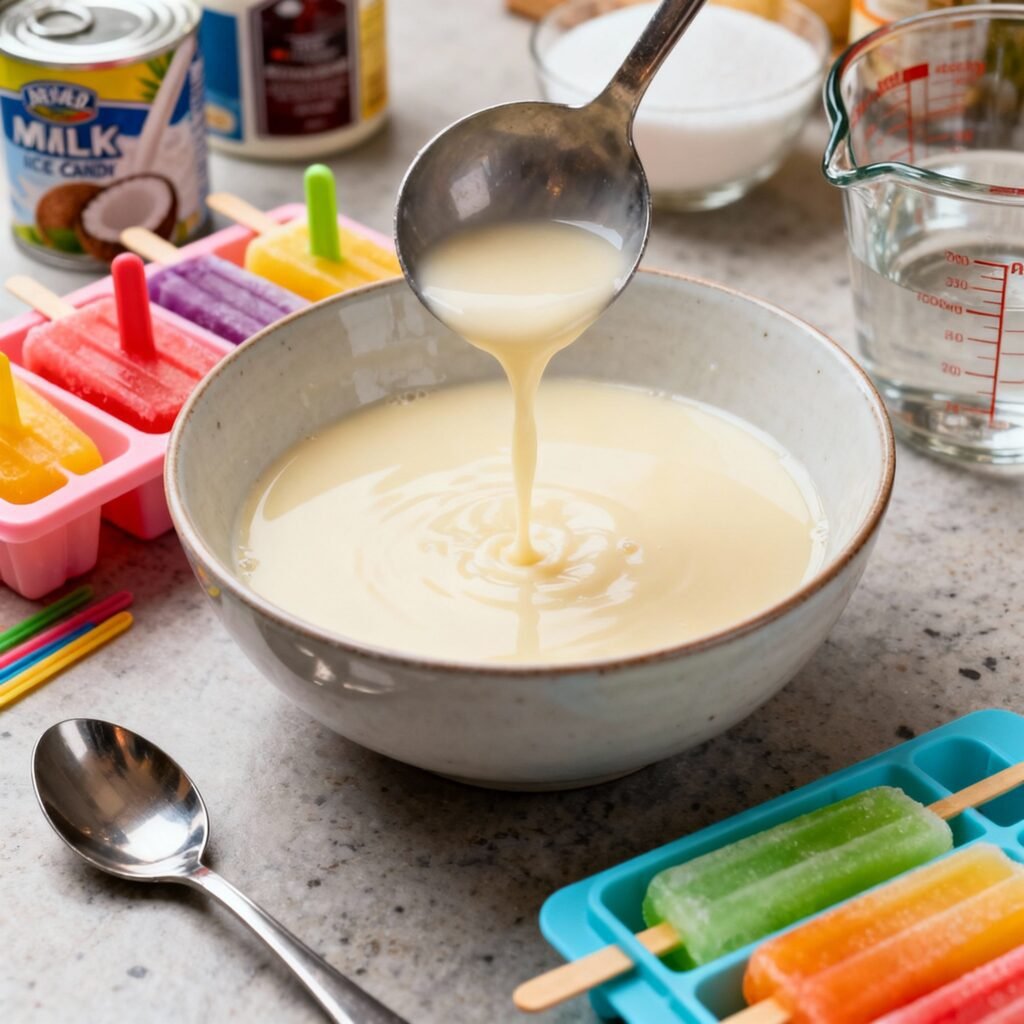
- Prepare the Base: In a large pitcher or bowl, combine the water, sugar, evaporated milk (or fresh milk), and vanilla extract (if using). Stir well until the sugar is completely dissolved. This is your base mixture.
- Add Flavoring: Add your chosen flavoring to the base mixture. If using fruit purees, mix well to ensure even distribution. If using extracts or powders, dissolve them in a small amount of the base mixture first to prevent clumping.
- Taste and Adjust: Taste the mixture and adjust the sweetness to your liking. Remember that the flavor will be slightly muted once frozen, so it’s better to err on the side of slightly sweeter.
- Fill the Ice Candy Bags: Open an ice candy bag and carefully pour the mixture into the bag, leaving about 1-2 inches of space at the top for expansion. A funnel can be helpful for this step to minimize spills.
- Tie the Bags: Tightly tie a knot at the top of the bag, close to the liquid level. Make sure the knot is secure to prevent leaks.
- Arrange and Freeze: Lay the filled ice candy bags flat in a single layer in the freezer. This will help them freeze evenly. If you have a lot of ice candy, you can stack them once they are partially frozen.
- Freeze Completely: Freeze for at least 4-6 hours, or preferably overnight, until completely solid.
- Enjoy!: Once frozen, remove the ice candy from the freezer and enjoy! You can cut open the bag with scissors or simply tear it open.
Tips for Success
- Use Good Quality Water: Filtered water will result in a cleaner, crisper ice candy.
- Dissolve the Sugar Completely: Undissolved sugar will result in a grainy texture.
- Don’t Overfill the Bags: Leaving space at the top of the bags allows for expansion during freezing and prevents them from bursting.
- Freeze Flat: Freezing the ice candy flat in a single layer ensures even freezing and prevents oddly shaped treats.
- Experiment with Flavors: Don’t be afraid to get creative with your flavor combinations! Try adding bits of nata de coco, kaong (palm fruit), or even small pieces of chocolate to your ice candy.
- Adjust Sweetness According to Fruit: If using very sweet fruits like mangoes, you may need to reduce the amount of sugar in the base recipe.
- Prevent Ice Crystals: While not always avoidable, using a slightly higher fat milk (like whole milk or evaporated milk) can help reduce ice crystal formation.
- For a smoother texture: You can blend the base mixture (before pouring into bags) to further break down any particles and create a smoother final product.
Storage Instructions
Store the ice candy in the freezer for up to 2-3 months. For best results, store them in a freezer bag or container to prevent freezer burn. Make sure the bags are tightly sealed to prevent them from absorbing odors from other foods in the freezer.
FAQ
Q: Can I use artificial sweeteners instead of sugar?
A: Yes, you can use artificial sweeteners, but keep in mind that they may affect the taste and texture of the ice candy. Adjust the amount according to the sweetener’s instructions.
Q: Can I use fresh fruit juice instead of water?
A: Absolutely! Using fresh fruit juice will enhance the flavor of your ice candy. Adjust the sugar accordingly, as some fruit juices are already quite sweet.
Q: My ice candy is too hard. What can I do?
A: This can happen if the sugar concentration is too high or if the freezer temperature is too low. Try reducing the amount of sugar in your next batch or adjusting the freezer temperature.
Q: My ice candy is too soft. What can I do?
A: This can happen if the sugar concentration is too low or if the freezer temperature is too high. Try increasing the amount of sugar in your next batch or adjusting the freezer temperature.
Q: Where can I buy ice candy bags?
A: Ice candy bags are readily available at most grocery stores, Asian supermarkets, and online retailers.
Q: Can I make this recipe without milk?
A: Yes, you can omit the milk and replace it with water. However, the texture will be less creamy. Consider adding a small amount of cornstarch (dissolved in cold water) to the base mixture to help thicken it and improve the texture.
Conclusion
Making ice candy is a simple and rewarding way to beat the heat and enjoy a taste of Filipino nostalgia. With this recipe as your guide, you can create endless variations of this classic frozen treat, tailored to your own preferences and tastes. So, gather your ingredients, get creative with your flavor combinations, and enjoy the refreshing goodness of homemade ice candy!