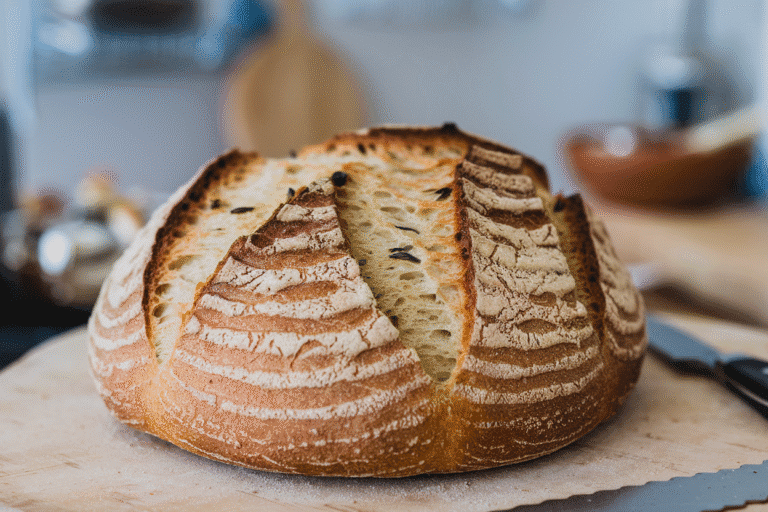
Italian Sourdough Bread Recipe: The Perfect Crust & Chewy Interior
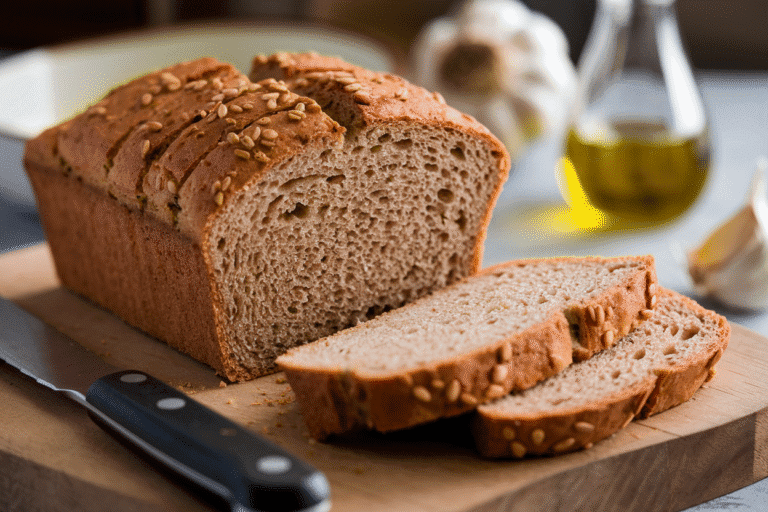
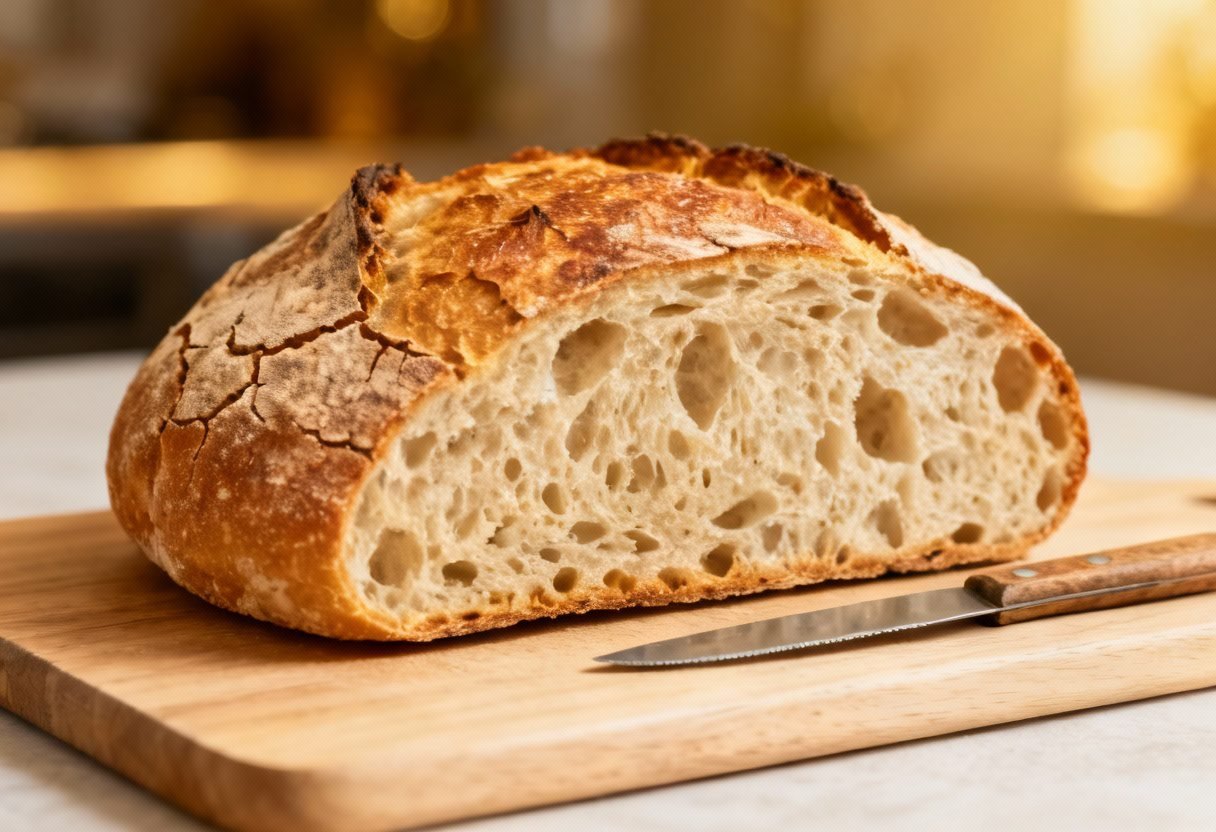
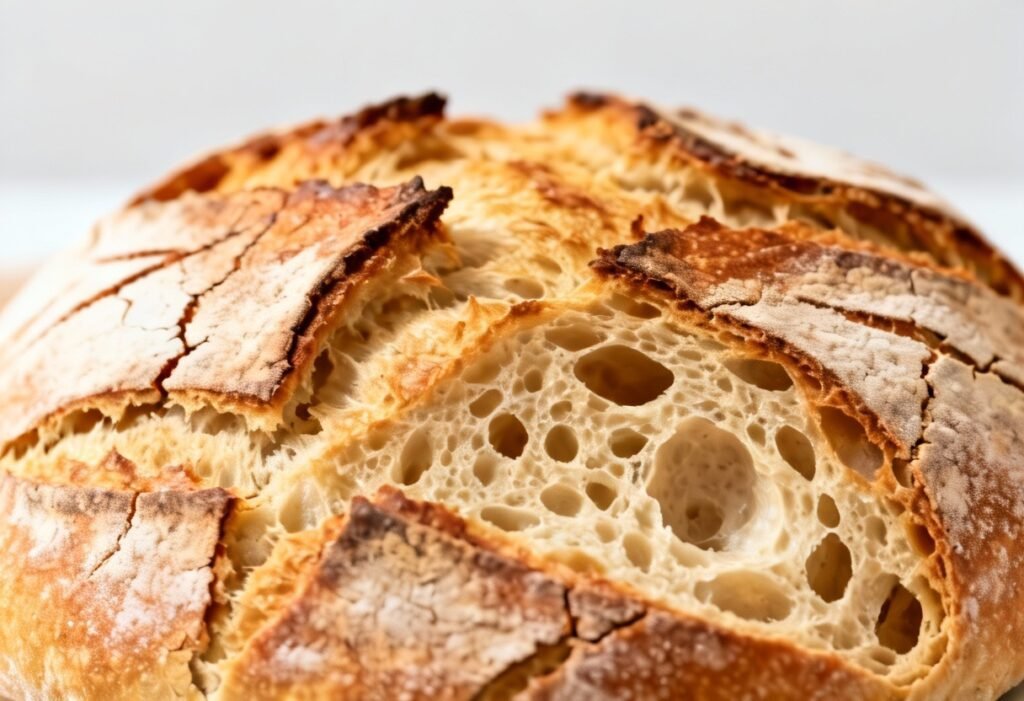
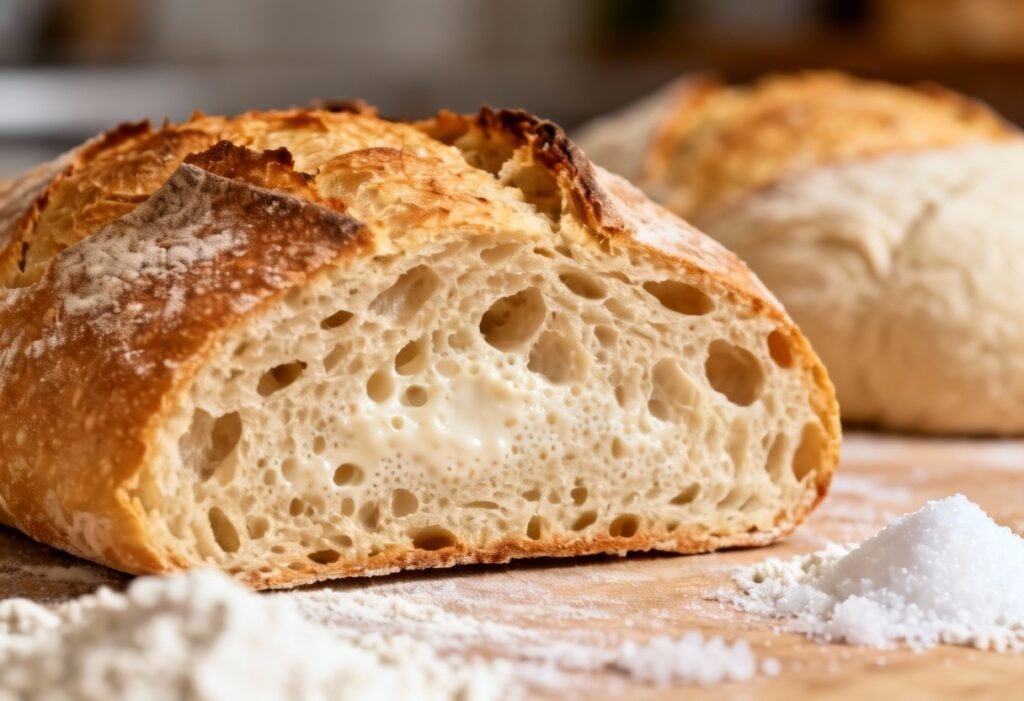
Imagine the aroma of freshly baked bread wafting through your kitchen, a tantalizing scent that promises warmth, comfort, and deliciousness. Now, picture that bread with a crackling, golden-brown crust, a soft, airy interior dotted with beautiful alveoli (those delightful air pockets), and a subtle tang that only sourdough can deliver. This isn’t just a dream; it’s achievable with this Italian Sourdough Bread recipe! We’ve taken the classic sourdough process and infused it with the rustic charm of Italian baking, resulting in a loaf that’s perfect for sandwiches, dipping in olive oil, or simply enjoying on its own.
Why This Recipe Works
This recipe isn’t just another collection of ingredients; it’s a carefully crafted method designed to yield consistently excellent results. Here’s why it works:
- High Hydration: The relatively high hydration (water content) in this dough promotes a light and airy crumb. It allows for more steam during baking, creating that signature sourdough crust.
- Autolyse: The autolyse step (allowing the flour and water to rest before adding the starter and salt) allows the flour to fully hydrate, developing gluten strength and improving the dough’s extensibility.
- Bulk Fermentation: The extended bulk fermentation period, with its series of folds, builds strength and complexity in the dough, contributing to the characteristic sourdough flavor and texture.
- Proper Shaping: Careful shaping creates surface tension, which helps the loaf hold its shape during baking and contributes to a beautiful rise.
- Oven Spring: Baking in a Dutch oven or using a steam-filled oven traps moisture, creating a humid environment that maximizes oven spring – that final burst of rise in the oven.
Ingredients
- Sourdough Starter (active and bubbly): 100g (about ½ cup) – Use a starter that has recently been fed and has at least doubled in size.
- Bread Flour: 450g (about 3 ½ cups) – Bread flour has a higher protein content than all-purpose flour, which is essential for developing strong gluten.
- Whole Wheat Flour: 50g (about ½ cup) – A touch of whole wheat flour adds depth of flavor and a slightly nutty character. You can substitute with more bread flour if preferred.
- Water (lukewarm, about 85-90°F): 375g (about 1 ½ cups + 2 tablespoons) – The water temperature is crucial for activating the yeast and enzymes in the starter.
- Salt: 10g (about 2 teaspoons) – Salt controls the fermentation process and enhances the flavor of the bread.
Instructions
- Autolyse: In a large bowl, combine the bread flour, whole wheat flour, and water. Mix until just combined; there should be no dry flour remaining. Cover the bowl and let it rest for 30-60 minutes. This allows the flour to fully hydrate.
- Add Starter and Salt: Add the active sourdough starter and salt to the autolysed dough. With wet hands, gently incorporate the starter and salt into the dough. Mix until everything is well combined. The dough will be shaggy and sticky.
- Bulk Fermentation (First Rise): Cover the bowl and let the dough rest for 30 minutes. Then, perform a set of stretch and folds. To do this, gently grab one side of the dough, stretch it upwards, and fold it over the center. Rotate the bowl and repeat this process until you’ve folded the dough from all four sides. Cover the bowl again.
- Repeat Stretch and Folds: Repeat the stretch and fold process every 30 minutes for a total of 3-4 times. This helps build strength in the dough and develop gluten.
- Bulk Fermentation Continued: After the last set of stretch and folds, let the dough continue to bulk ferment at room temperature for another 2-4 hours, or until it has almost doubled in size. The exact time will depend on the temperature of your kitchen and the activity of your starter. Look for signs of fermentation, such as bubbles on the surface and increased volume.
- Pre-Shape: Gently turn the dough out onto a lightly floured surface. Shape it into a loose round. Cover with a towel and let it rest for 20-30 minutes. This allows the dough to relax before the final shaping.
- Final Shape: Gently shape the dough into a boule (round) or a batard (oval). Be careful not to degas the dough too much. The goal is to create surface tension.
- Proofing (Second Rise): Place the shaped dough in a well-floured banneton basket or a bowl lined with a floured kitchen towel. Cover the dough and refrigerate for 12-24 hours. This slow, cold proofing develops flavor and allows for better oven spring.
- Preheat Oven: Preheat your oven to 450°F (232°C) with a Dutch oven inside for at least 30 minutes. The Dutch oven needs to be screaming hot.
- Score the Dough: Carefully remove the hot Dutch oven from the oven. Remove the dough from the banneton basket (or bowl) and gently place it into the hot Dutch oven. Score the top of the dough with a sharp knife or lame. Scoring allows the dough to expand in a controlled manner during baking. A simple cross or a single slash works well.
- Bake: Cover the Dutch oven and bake for 20 minutes. Then, remove the lid and bake for another 25-35 minutes, or until the crust is a deep golden brown and the internal temperature reaches 205-210°F (96-99°C).
- Cool: Carefully remove the bread from the Dutch oven and let it cool completely on a wire rack before slicing. This is crucial for allowing the crumb to set properly. Resist the temptation to cut into it while it’s still warm!
Tips for Success
- Use a Reliable Starter: A healthy and active starter is the key to successful sourdough baking. If your starter isn’t doubling in size within 4-8 hours after feeding, it may need more attention.
- Don’t Over-Mix: Over-mixing can develop too much gluten, resulting in a tough bread.
- Adjust Bulk Fermentation Time: The bulk fermentation time will vary depending on your kitchen temperature. Keep an eye on the dough and adjust the time accordingly.
- Be Gentle When Shaping: Handle the dough gently when shaping to avoid degassing it.
- Score Confidently: A confident score will help the bread rise properly.
- Use a Dutch Oven: Baking in a Dutch oven creates a steamy environment that promotes a crispy crust and a good oven spring. If you don’t have a Dutch oven, you can create steam in your oven by placing a pan of hot water on the bottom rack.
Storage Instructions
Store your sourdough bread in a bread bag or wrapped in a clean kitchen towel at room temperature. It will stay fresh for 2-3 days. For longer storage, you can slice the bread and freeze it in an airtight container. To thaw, simply remove the slices from the freezer and let them come to room temperature.
FAQ
Q: My starter isn’t very active. What should I do?
A: Feed your starter regularly (once or twice a day) with equal parts flour and water. Discard half of the starter before each feeding. It may take a few days for the starter to become active again.
Q: Can I use all-purpose flour instead of bread flour?
A: While you can use all-purpose flour, the bread will have a less chewy texture and may not rise as high. Bread flour is recommended for best results.
Q: My dough is too sticky to handle. What should I do?
A: Wet your hands with water before handling the dough. This will prevent it from sticking to your hands.
Q: How do I know when the bread is done baking?
A: The bread is done when the crust is a deep golden brown and the internal temperature reaches 205-210°F (96-99°C). You can use a digital thermometer to check the temperature.
Conclusion
Making Italian sourdough bread at home may seem intimidating at first, but with a little practice and patience, you’ll be rewarded with a truly exceptional loaf. The process is as much an art as it is a science, and each loaf will be unique. So, gather your ingredients, fire up your starter, and embark on this rewarding baking journey. The taste of homemade sourdough, with its perfect crust and chewy interior, is well worth the effort. Buon appetito!