Jimmy John’s Bread Recipe: The Secret to Freaky Fast Flavor at Home
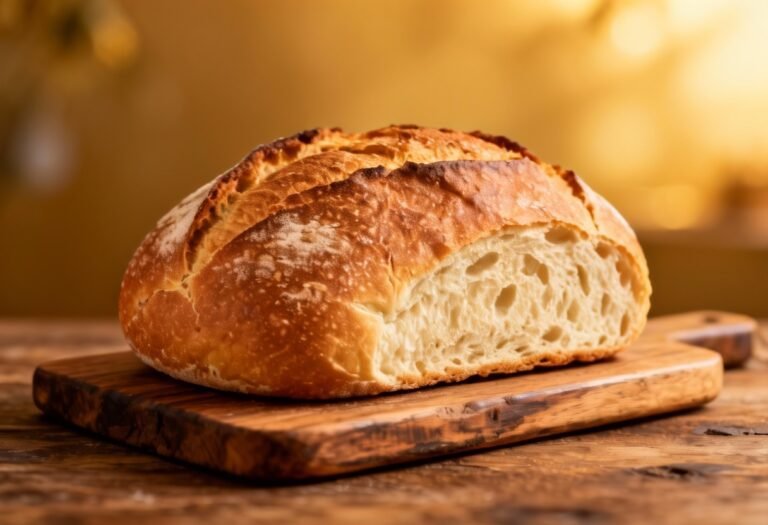
Craving that signature, slightly sweet, perfectly textured bread from Jimmy John’s? You’re not alone! That iconic sandwich bread, with its soft interior and subtly chewy crust, is the foundation of their legendary sandwiches. While the exact recipe remains a closely guarded secret, this copycat recipe will bring you incredibly close to recreating that freaky fast flavor right in your own kitchen. Get ready to experience sandwich perfection, homemade style!
Why This Recipe Works
This recipe isn’t just a random collection of flour and water. It’s carefully crafted to mimic the specific characteristics of Jimmy John’s bread. Here’s why it works:
- High Gluten Flour: Using bread flour, which has a higher gluten content than all-purpose flour, is crucial for developing that signature chewiness. Gluten is the protein that provides structure to the dough.
- Sugar: The small amount of sugar in the recipe not only adds a touch of sweetness but also helps to feed the yeast, promoting a good rise and a softer texture.
- Milk Powder: This ingredient contributes to the bread’s soft crumb and subtly sweet flavor profile. It also helps to retain moisture, keeping the bread fresh longer.
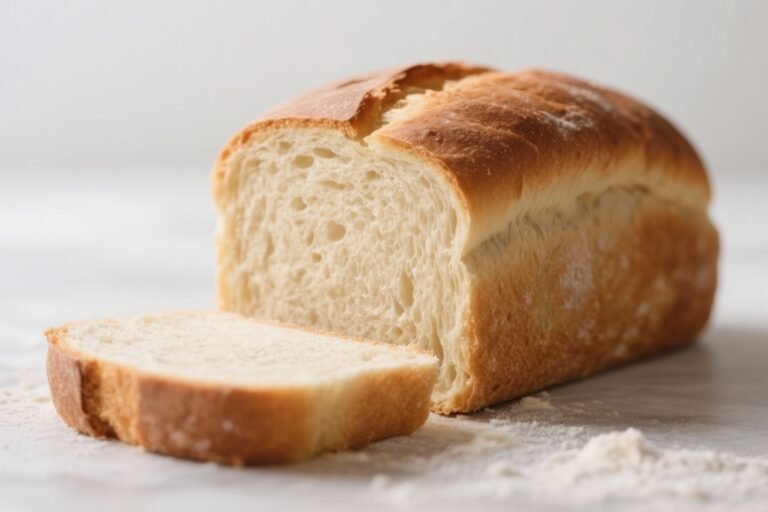
- Proper Hydration: The water-to-flour ratio is key. This recipe aims for a slightly wetter dough, which results in a more open crumb and a softer texture after baking.
- Specific Baking Temperature and Time: Baking at a slightly lower temperature for a longer period ensures that the bread is cooked through without becoming overly browned or crusty.
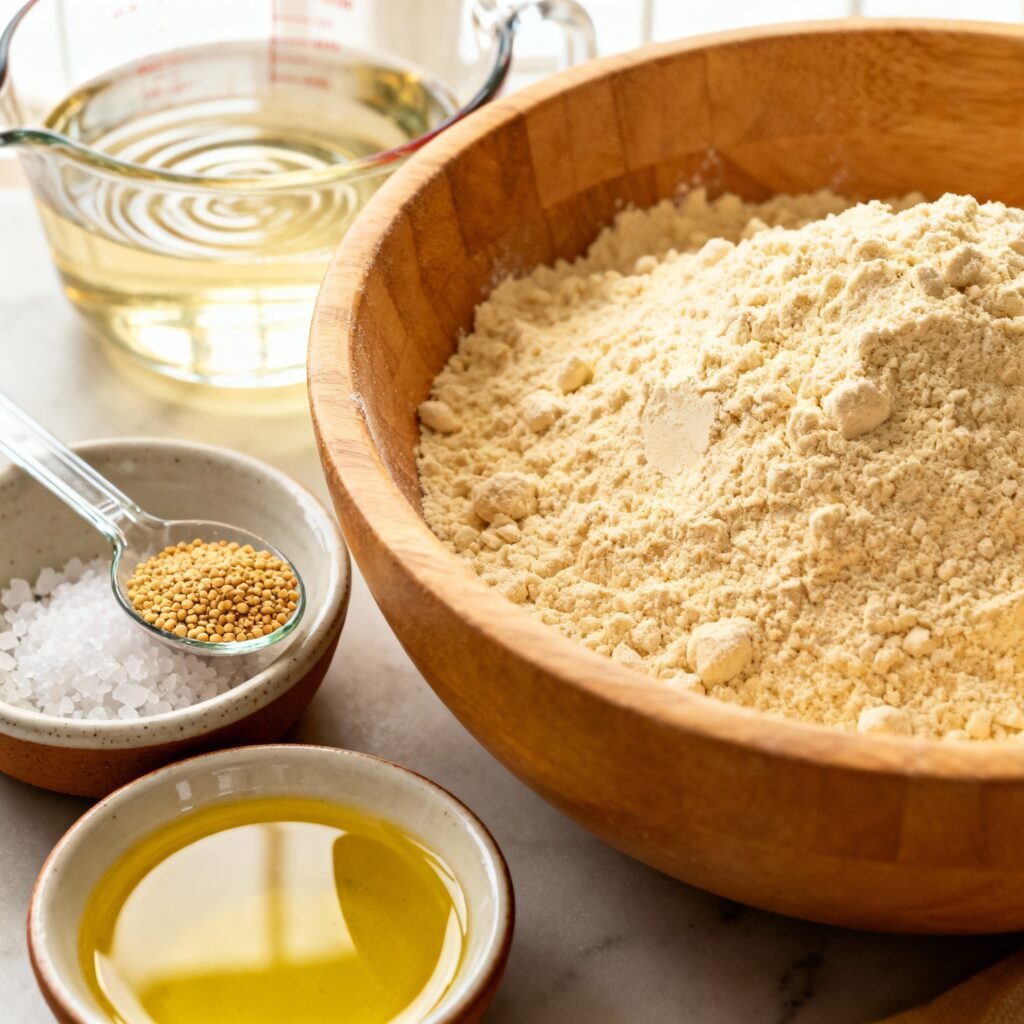
Ingredients
- 4 cups (500g) Bread Flour, plus more for dusting
- 1 ½ cups (360ml) Warm Water (105-115°F / 40-46°C)
- 2 ¼ teaspoons (7g) Active Dry Yeast (one packet)
- 2 tablespoons (25g) Granulated Sugar
- 2 tablespoons (30ml) Vegetable Oil
- 1 ½ teaspoons (9g) Salt
- 2 tablespoons Non-Fat Dry Milk Powder
Instructions
- Activate the Yeast: In a large bowl, combine the warm water and sugar. Sprinkle the yeast over the top and let it sit for 5-10 minutes, until foamy. This indicates that the yeast is alive and active.
- Combine Wet and Dry Ingredients: Add the vegetable oil, salt, and dry milk powder to the yeast mixture. Stir to combine.
- Gradually Add the Flour: Gradually add the bread flour, one cup at a time, mixing with a wooden spoon or dough hook attachment on a stand mixer. Continue adding flour until a shaggy dough forms.
- Knead the Dough: Turn the dough out onto a lightly floured surface. Knead for 8-10 minutes, or until the dough is smooth, elastic, and slightly tacky. If using a stand mixer, knead with the dough hook for 6-8 minutes.
- First Rise: Place the dough in a lightly oiled bowl, turning to coat. Cover the bowl with plastic wrap or a clean kitchen towel and let it rise in a warm place for 1-1.5 hours, or until doubled in size.
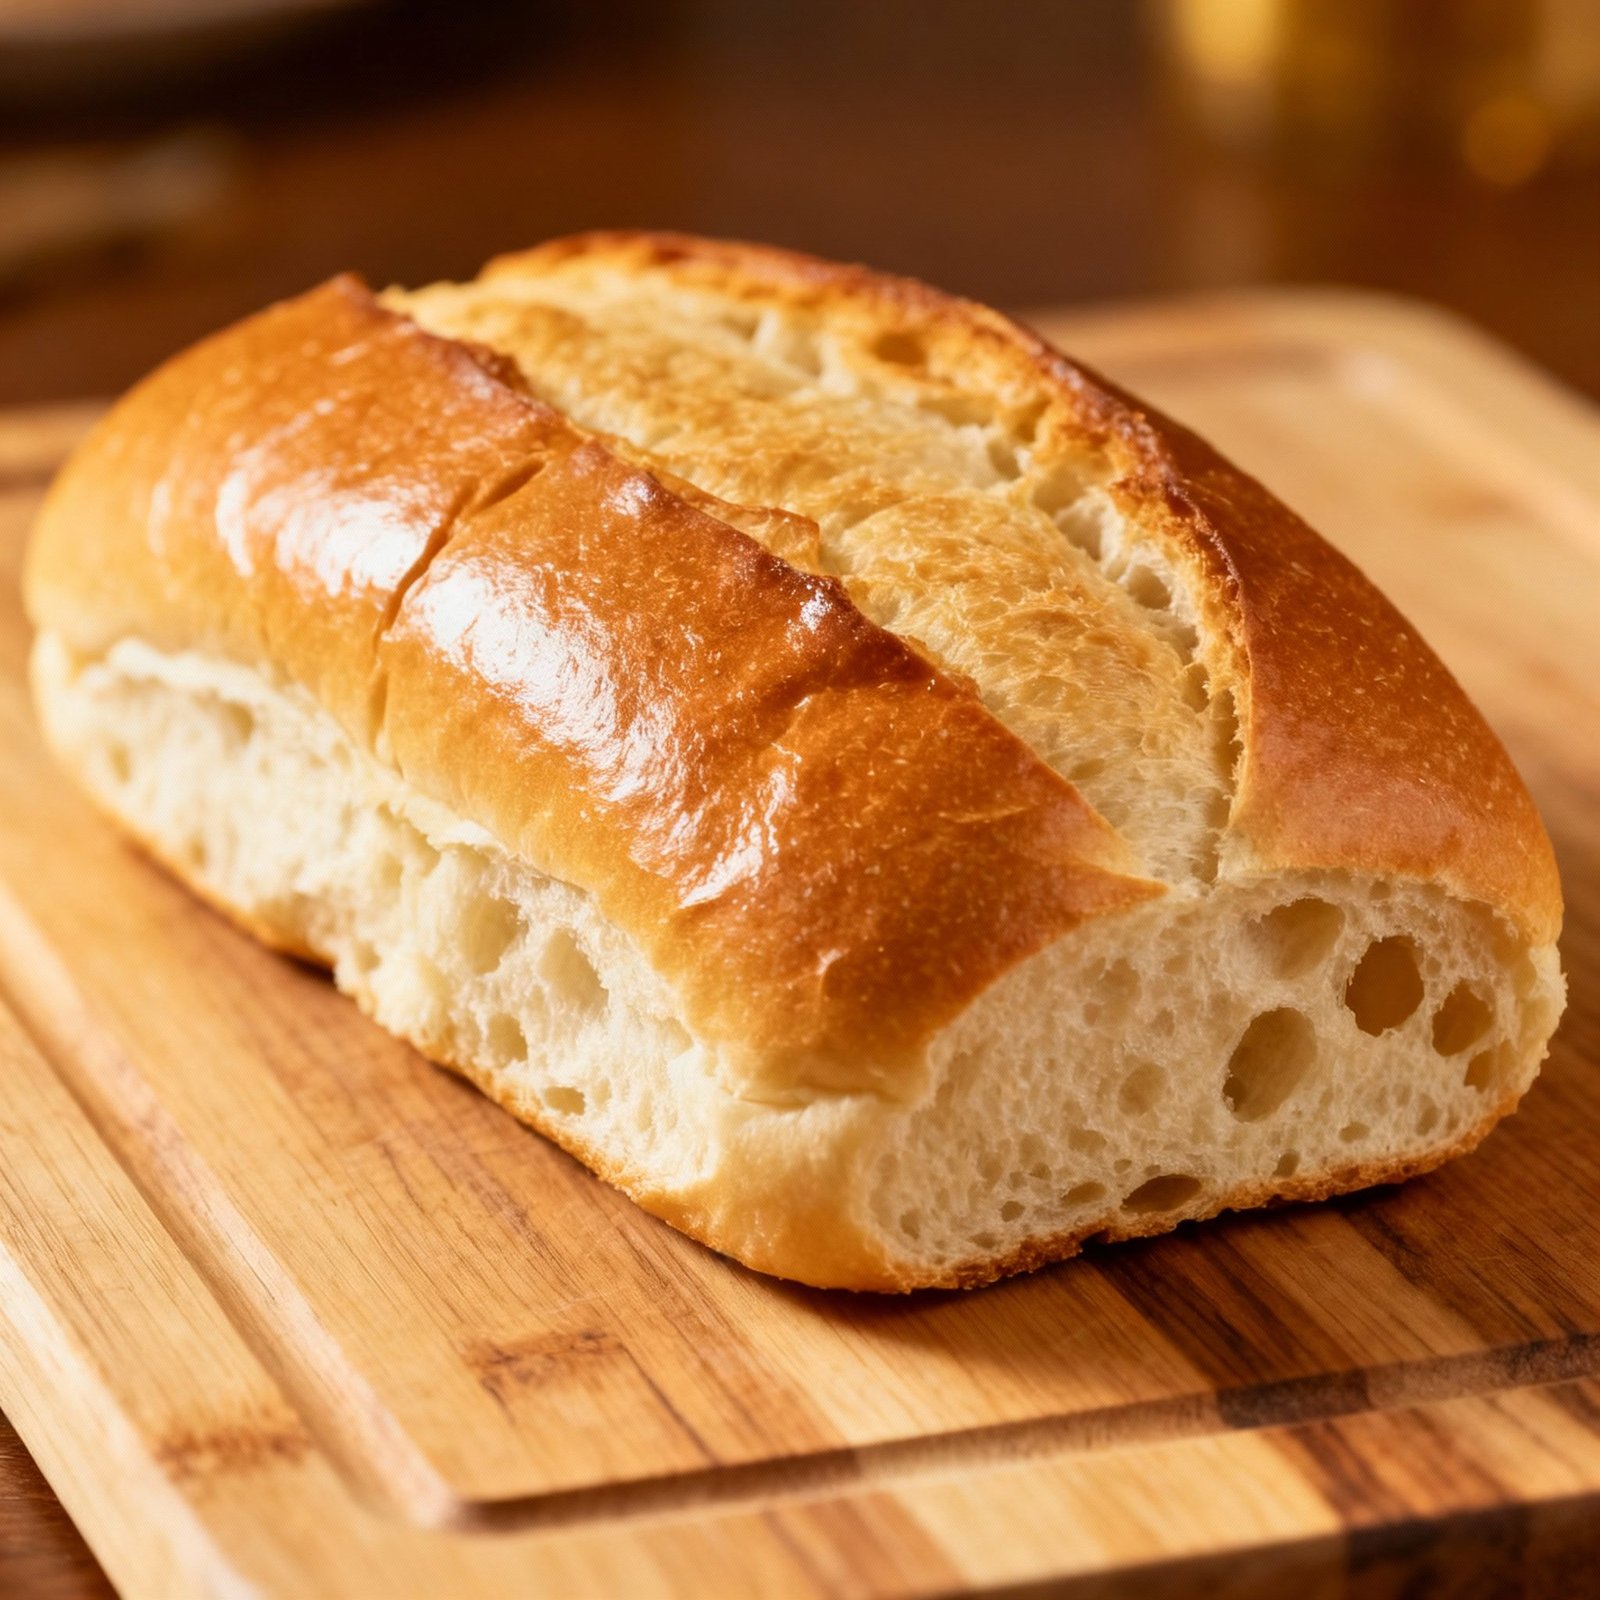
- Shape the Loaves: Gently punch down the dough to release the air. Divide the dough into two equal pieces. Shape each piece into a long, oval loaf, about 12-14 inches long.
- Second Rise: Place the loaves on a baking sheet lined with parchment paper. Cover loosely with plastic wrap or a clean kitchen towel and let them rise for another 30-45 minutes, or until they have puffed up slightly.
- Preheat the Oven: Preheat your oven to 350°F (175°C).
- Bake the Bread: Bake the loaves for 25-30 minutes, or until they are golden brown and sound hollow when tapped on the bottom.
- Cool the Bread: Transfer the loaves to a wire rack to cool completely before slicing and enjoying. This is important to prevent the bread from becoming gummy.
Tips for Success
- Water Temperature is Key: Make sure your water is warm, but not too hot. Too hot water will kill the yeast, while cold water will prevent it from activating properly. A thermometer is helpful to ensure the correct temperature.
- Don’t Over-Knead: Over-kneading can result in tough bread. Knead until the dough is smooth and elastic, but not overly stiff.
- Warm Place for Rising: A warm environment is essential for proper rising. You can place the dough in a slightly warmed oven (turned off!) or a warm spot in your kitchen.
- Handle the Dough Gently: When shaping the loaves, handle the dough gently to avoid deflating it.
- Don’t Skip the Cooling Period: Resist the temptation to slice into the bread while it’s still warm. Allowing it to cool completely allows the crumb to set properly.
- Adjust Flour as Needed: Humidity can affect the amount of flour needed. If your dough is too sticky, add a tablespoon of flour at a time until it reaches the desired consistency.
- Use a Baking Stone or Dutch Oven (Optional): For a crispier crust, bake the bread on a preheated baking stone or in a Dutch oven.
Storage Instructions
To keep your homemade Jimmy John’s style bread fresh:
- Room Temperature: Store the cooled loaves in a bread bag or airtight container at room temperature for up to 3 days.
- Freezer: For longer storage, slice the bread and freeze it in a freezer-safe bag for up to 2 months. Thaw completely before using. Slicing before freezing makes it easier to grab individual slices as needed.
FAQ
Q: Can I use all-purpose flour instead of bread flour?
A: While you can use all-purpose flour, the bread will not have the same chewy texture. Bread flour is highly recommended for best results.
Q: Can I use instant yeast instead of active dry yeast?
A: Yes, you can. If using instant yeast, you can skip the activation step and add it directly to the dry ingredients.
Q: Can I add herbs or spices to the dough?
A: Absolutely! Feel free to experiment with adding herbs like rosemary or thyme, or spices like garlic powder or onion powder, to customize the flavor of your bread.
Q: My dough isn’t rising. What could be the problem?
A: Several factors could be preventing your dough from rising. Make sure your yeast is fresh and active, the water is at the correct temperature, and the dough is in a warm place. Also, ensure you haven’t added too much salt, as salt can inhibit yeast activity.
Q: Can I make this recipe without a stand mixer?
A: Yes, you can absolutely make this recipe by hand. Kneading by hand will just require a little more elbow grease!
Conclusion
With this recipe, you can now enjoy the delicious taste of Jimmy John’s bread without leaving your home. While it might not be an *exact* replica of their secret recipe, it’s incredibly close and delivers that familiar soft, slightly sweet, and chewy texture that makes their sandwiches so irresistible. So, gather your ingredients, fire up your oven, and get ready to create some freaky fast flavor in your own kitchen. Happy baking!