🍋 Key Lime Cake Recipe: The Ultimate Tart & Sweet Dessert
So you’re craving something tasty but too lazy to spend forever in the kitchen, huh? Same. Listen, we have all been there. You want that tropical vacation vibe, but your bank account says “staycation on the couch.”
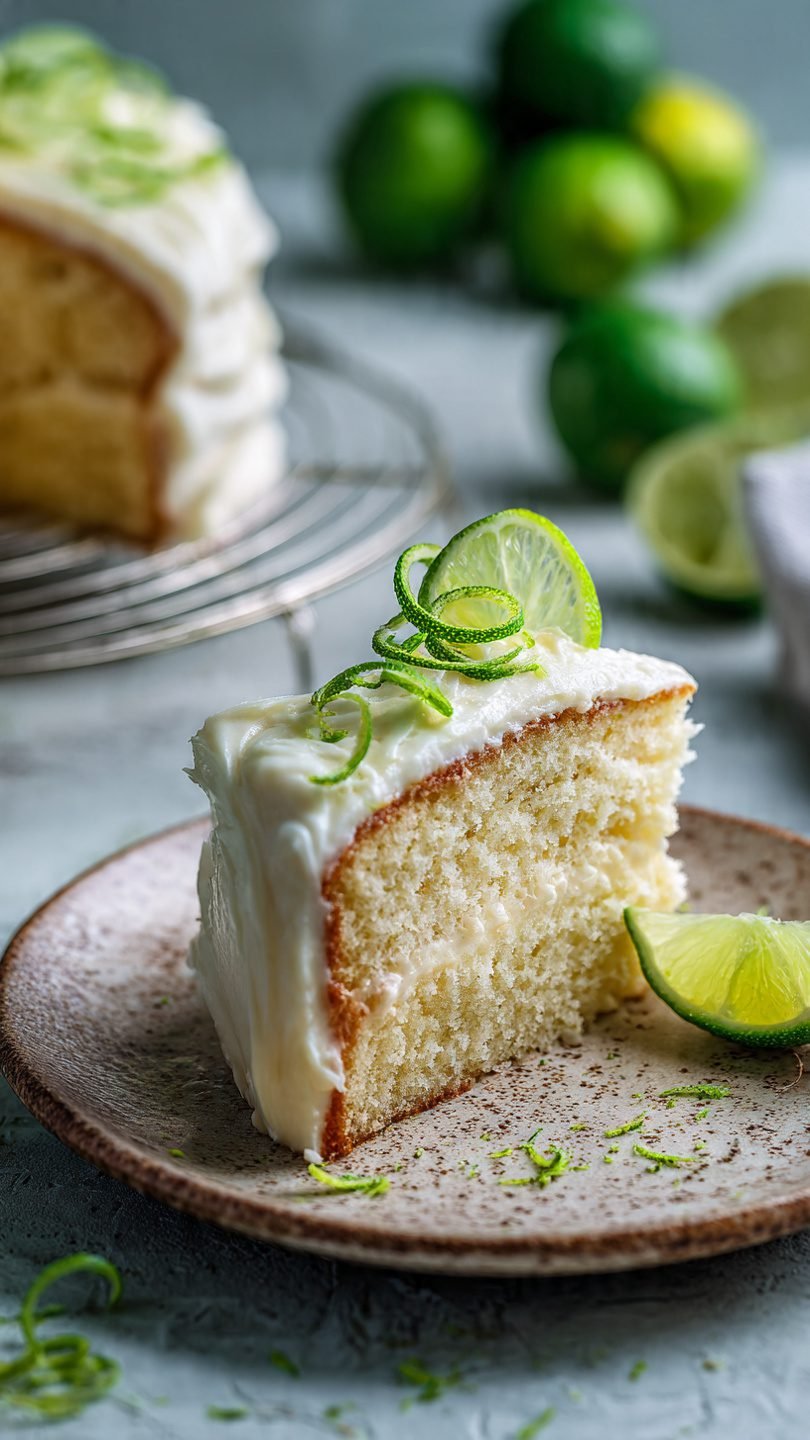
Enter this key lime cake recipe. It’s basically sunshine on a plate. If a margarita and a fluffy vanilla cake had a baby, this would be their beautiful, delicious child. It’s zesty, it’s sweet, and it doesn’t require you to be a French-trained pastry chef to pull it off. Let’s get baking so you can get to the eating part, which is frankly the only part that matters.

Why This Recipe is Awesome
Look, I’m not going to lie to you and say this cake will solve all your life problems. But will it make you temporarily forget them while you’re stuffing your face? Absolutely. Here is why this specific recipe is going to become your new go-to when you need to impress people (or just treat yourself).
It’s Not Just a “Lime-Flavored” Cake You know those cakes that claim to be citrus but just taste like vague, yellow sugar sponges? This isn’t that. We are using real key lime juice and zest here. The flavor profile is aggressive in the best way possible. It hits you with that signature tartness right at the front, and then the buttery sweetness of the crumb swoops in to save the day. It’s a balancing act that would win a gold medal.
The Texture is unreal We are aiming for moist. Not “damp,” not “soggy,” but that perfect, melt-in-your-mouth crumb that stays soft for days. We achieve this through a little bit of kitchen science (don’t worry, I’ll walk you through it) involving buttermilk and oil. It’s heavy enough to hold up a massive amount of cream cheese frosting, but light enough that you’ll accidentally eat three slices without noticing.
It’s Surprisingly Idiot-Proof I have messed up boxed mixes before, okay? I am not perfect. But this recipe is forgiving. It uses the “muffin method” of mixing—wet ingredients in one bowl, dry in another, combine and bake. No creaming butter and sugar for 10 minutes until your arm falls off. It’s low effort, high reward.
The “Soak” Factor This is the secret weapon. We aren’t just baking a lime cake; we are soaking it in a lime syrup while it’s still hot. This technique (similar to a poke cake) ensures that the tangy flavor penetrates deep into the center of the cake, so every single bite has that punch of flavor. No dry corners allowed here.
Ingredients You’ll Need
Here is your shopping list. Don’t panic, you probably have half this stuff in your pantry already.
For the Cake:
- All-Purpose Flour: The backbone of our operation. No need for fancy cake flour here; AP works just fine.
- Granulated Sugar: To balance out the sour power of the limes.
- Baking Powder & Soda: The chemical lift kit. We need both to react with the acid and make the cake rise.
- Salt: Never skip this. It makes the sweet taste sweeter and the lime taste limier.
- Eggs: Large ones, room temperature if you can remember to take them out of the fridge (I usually forget, honestly).
- Vegetable Oil: We use oil instead of butter in the batter because oil is 100% fat and stays liquid at room temperature, meaning a moister cake than butter can provide.
- Buttermilk: This brings the tang and tenderizes the gluten. If you don’t have it, look at the FAQ for a hack.
- Vanilla Extract: Just a splash to round things out.
- Key Limes (Zest & Juice): The star of the show! You need the tiny, annoying-to-squeeze Key limes. Yes, they are a pain. Yes, they are worth it.
For the Lime Soak:
- Powdered Sugar: Dissolves instantly into the juice.
- More Key Lime Juice: Freshly squeezed is best, but I won’t call the police if you use the bottle (Nellie & Joe’s is the gold standard).
For the Frosting:
- Cream Cheese: Full fat, block style. Do not use the spreadable tub stuff unless you want lime soup.
- Unsalted Butter: Room temperature. Soft butter = fluffy frosting.
- Powdered Sugar: The glue that holds the frosting together.
- Salt: Just a pinch to cut the sweetness.
Step-by-Step Instructions
Alright, aprons on (or just an old t-shirt you don’t mind getting flour on). Let’s do this.
1. Prep the Zone Preheat your oven to 350°F (175°C). Grease your baking pan. You can use a 9×13 sheet pan for a casual vibe, or two 8-inch round pans if you’re feeling fancy and want a layer cake. I usually line the bottom with parchment paper because I have trust issues with non-stick pans.
2. Whisk the Dry Stuff In a large bowl, dump in your flour, granulated sugar, baking powder, baking soda, and salt. Whisk it around until it looks like a snowy mountain. This ensures you don’t bite into a clump of baking soda later, which tastes like soap and regret.
3. Mix the Wet Stuff In a separate medium bowl, whisk together the eggs, vegetable oil, buttermilk, vanilla extract, and the Key lime juice and zest. Tip: When zesting, stop as soon as you see white. The white part (pith) is bitter and gross. We want the green zest only. The kitchen should smell amazing right about now.

4. The Marriage (Combine) Pour the wet mixture into the dry flour mixture. Stop! Put down the electric mixer. Grab a rubber spatula. Gently fold the ingredients together just until the flour streaks disappear. Why? If you overmix, you develop gluten. Gluten makes bread chewy. We want cake, not a lime-flavored bagel. A few tiny lumps are fine; let them be.
5. Bake It Pour the batter into your prepared pan(s). Pop it in the oven.
- 9×13 Pan: Bake for 30–35 minutes.
- Round Pans: Bake for 25–30 minutes. Insert a toothpick into the center. If it comes out clean or with just a few moist crumbs, get that baby out of there. If it’s wet batter, give it 2 more minutes.
6. The “Poke and Soak” While the cake is technically baking, whisk together your soak ingredients (lime juice and powdered sugar). As soon as the cake comes out of the oven—while it is piping hot—take a skewer or a fork and poke holes all over the top. Go crazy. Then, spoon that glaze over the hot cake. The cake will drink it up like it’s thirsty. Let the cake cool completely in the pan or on a wire rack.
7. Frost That Bad Boy While the cake cools, make the frosting. Beat the room-temp butter and cream cheese together until smooth. Slowly add the powdered sugar one cup at a time (unless you enjoy a sugar dust cloud in your face). Add a pinch of salt and maybe a little zest if you’re feeling wild. Whip it until it’s fluffy and glorious.
8. Assemble Once the cake is stone cold (touch the middle to be sure), slather on the frosting. If you frost a warm cake, the butter melts, and the frosting slides off like a sad landslide. Top with extra lime slices or zest for aesthetic points.
Common Mistakes to Avoid
Even the best of us trip up sometimes. Here is how to avoid a kitchen disaster.
- Thinking all limes are created equal: Regular Persian limes (the big dark green ones) are fine, but they lack the floral, aromatic punch of Key limes. If you use regular limes, it’ll still be cake, but it won’t be Key Lime cake.
- The “I’ll just use cold butter” move: If your butter or cream cheese is cold, your frosting will be lumpy. No amount of mixing will fix it. You will just have sweet cheese chunks. Put the dairy on the counter an hour before you start.
- Over-baking: Dry cake is sad cake. Check it a few minutes before the timer goes off. Ovens are liars and temperatures vary.
- Ignoring the cool-down: I know you want to eat it. I know it smells good. But if you cut into it while it’s hot, it falls apart. If you frost it while it’s hot, it melts. Patience is the hardest ingredient, but you need it.
Alternatives & Substitutions
Variety is the spice of life, or whatever. Here is how to tweak this key lime cake recipe to fit your needs.
- Gluten-Free: Swap the all-purpose flour for a high-quality 1:1 Gluten-Free Flour blend (like King Arthur or Bob’s Red Mill). It works surprisingly well with this moist batter.
- Dairy-Free: Use almond milk mixed with a teaspoon of vinegar (to mimic buttermilk) and swap the butter/cream cheese for vegan alternatives. It won’t be quite as rich, but it gets the job done.
- The “I can’t find Key Limes” Pivot: Okay, if you live somewhere where Key limes don’t exist, mix 50% regular lime juice and 50% lemon juice. It gets you closer to that tart/sweet profile than just straight lime juice.
- Bundt Cake Style: This batter works in a Bundt pan! Just grease that pan like your life depends on it. Bake time will likely increase to 45–55 minutes.
FAQ (Frequently Asked Questions)
Can I use bottled Key lime juice? Listen, I’m a purist, but I’m also realistic. Squeezing 20 tiny limes leads to hand cramps. Yes, you can use bottled juice (look for “Nellie & Joe’s”). However, please try to use fresh zest from regular limes if you do this—the essential oils in the skin add so much flavor that the bottle lacks.
Why did my frosting turn into soup? You probably frosted the cake while it was still warm, or your kitchen is incredibly hot. If it’s too runny, put the bowl in the fridge for 20 minutes, then whip it again. If that fails, add more powdered sugar to stiffen it up.
Can I make this ahead of time? Absolutely. This cake actually tastes better the next day after the lime soak has had time to fully marry with the crumb. Store it in the fridge because of the cream cheese frosting.
Can I freeze this cake? Yes! You can freeze the unfrosted cake layers tightly wrapped in plastic wrap for up to 2 months. You can even freeze the finished slices. Just thaw them in the fridge before devouring.
Can I make these into cupcakes? You bet. This recipe yields about 24 cupcakes. Bake them for 18–22 minutes. They are perfect for parties where you don’t want to share a fork.

Final Thoughts
There you have it! A key lime cake recipe that is zesty, creamy, and practically guarantees happiness. Whether you are making this for a summer BBQ, a birthday, or just because it’s Tuesday and you deserve nice things, this cake delivers.
Don’t stress about making it look Instagram-perfect. The messy cakes usually taste the best anyway. Now go impress someone—or yourself—with your new culinary skills. You’ve earned it!