🍕 Neapolitan Pizza Dough Recipe: Authentic & Easy
So, you’ve decided to stop paying delivery fees and start living your best life, huh? Welcome to the club. There is absolutely nothing—and I mean nothing—that beats the smell of fresh yeast and the sight of a bubbling, leopard-spotted crust coming out of your own oven.
Look, making pizza at home can feel intimidating. People talk about hydration percentages and “windowpane tests” like they’re defending a PhD thesis. But here’s the truth: it’s just flour, water, salt, and yeast. That’s it. If you can mix stuff in a bowl and wait patiently while watching Netflix, you can master this Neapolitan pizza dough recipe. Put down the phone, delete the Domino’s app, and let’s get floury.
Why This Recipe is Awesome
You might be wondering, “Why should I spend 24 hours waiting for dough when I can buy a pre-made ball at the grocery store?” First of all, how dare you? Second, the difference is astronomical.
It’s all about the texture. This recipe is designed to give you that holy grail of pizza crusts: a crispy, thin center with a puffy, pillowy, slightly chewy outer rim (the cornicione, if you want to sound fancy). Store-bought dough is usually full of preservatives and sugar, leading to a dense, bread-like crust that sits in your stomach like a brick. This dough? It’s light as air.
The “Idiot-Proof” Factor. Okay, maybe not completely idiot-proof (please don’t set your kitchen on fire), but this recipe uses a “cold fermentation” method. That sounds science-y, but it actually just means we stick the dough in the fridge. Cold dough is easier to handle, less sticky, and develops flavor while you sleep. It does the hard work for you.
The Science of Flavor. By letting the dough sit for a long time, enzymes break down the starches in the flour into simple sugars. This does two things: it creates a depth of flavor that tastes like an artisanal bakery, and those sugars caramelize beautifully in the oven, giving you those iconic char marks. FYI: This is why quick 1-hour dough recipes usually taste like cardboard. Patience pays off.
Ingredients You’ll Need
We are keeping this traditional. You don’t need oil, sugar, or honey for a true Neapolitan dough. Here is your shopping list:
- 00 Flour (Tipo 00): This is non-negotiable. This Italian-milled flour is finely ground and has the perfect protein content (around 12.5%) to create a stretchy dough that doesn’t tear. Using All-Purpose flour is like bringing a knife to a gunfight—it just won’t end well.
- Water: Ideally filtered. If your tap water tastes like a swimming pool (chlorine), it can kill your yeast. Aim for room temperature or slightly cool.
- Sea Salt: Fine sea salt is best. It regulates the yeast and strengthens the gluten structure. Do not skip this unless you hate flavor.
- Yeast: You can use Instant Dry Yeast (IDY) or Fresh Yeast. This recipe uses minimal yeast because we are fermenting it for a long time. Less yeast = better digestion and no “yeasty” aftertaste.
Step-by-Step Instructions
Ready to get your hands dirty? Let’s break this down. This recipe makes 4 pizzas (approx. 250g each).
1. The Mix
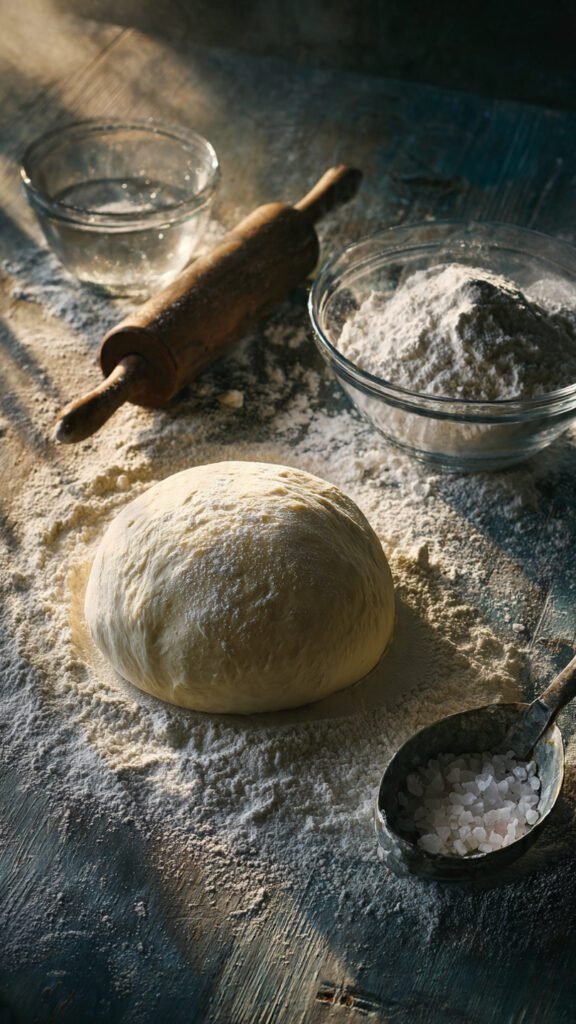
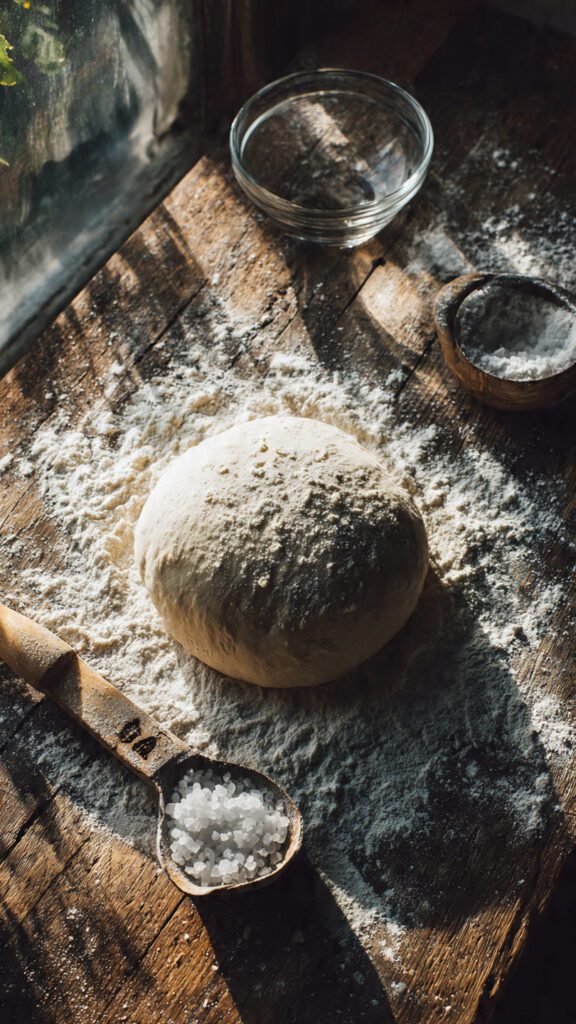
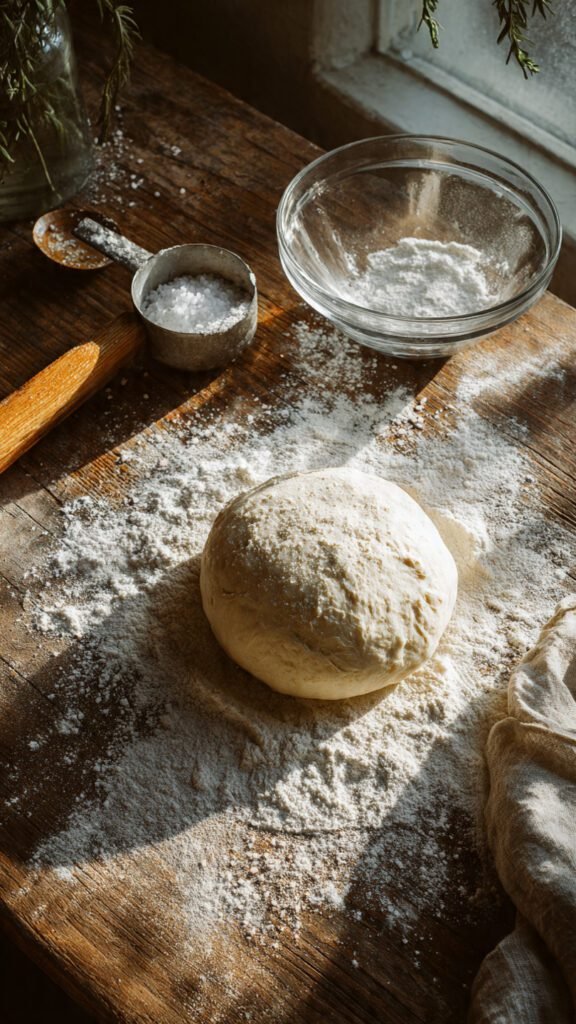
Grab a large bowl. Pour in 600ml of water. Dissolve 1g of instant dry yeast (yes, a tiny amount) into the water. Use your hand to swirl it around. Gradually add 1kg of 00 Flour, mixing as you go. When it looks like a shaggy mess, toss in 30g of fine sea salt. Keep mixing until all the dry flour is absorbed. It will look rough and ugly. That’s normal.
2. The Rest (Autolyse-ish)
Cover the bowl with a damp towel and walk away for 20–30 minutes. This lets the flour fully hydrate. When you come back, the dough will be significantly easier to work with.
3. The Knead
Dump that dough onto a clean counter. You don’t need to dust with flour yet! Knead the dough for about 10 minutes.
- Technique: Push the dough away with the heel of your hand, fold it back over itself, and turn. Repeat.
- Goal: You want a smooth, silky ball that springs back when you poke it. It should feel like a stressful stress ball—firm but yielding.
4. The Bulk Proof
Place your smooth dough ball back into the bowl (lightly grease the bowl with a drop of olive oil if you want to make removal easier later). Cover it airtight with plastic wrap. Let it sit at room temperature for 2 hours. The yeast needs a head start before we freeze its activity.
5. The Cold Ferment (The Secret Weapon)
Put the whole bowl in the fridge. Leave it there for 24 to 48 hours.
- Why? The cold slows down the yeast but allows the bacteria to create organic acids (flavor!). This is also when the gluten structure relaxes, making it easy to stretch later.
6. Balling Up
Take the dough out of the fridge. It should have doubled in size and smell slightly boozy (in a good way). Divide the dough into 4 equal pieces (approx. 250g-260g each).
- Shape them: Fold the edges of each piece into the center to create a tight skin on the outside. Pinch the bottom to seal.
- Rest again: Place these balls on a floured tray, cover them (a proofing box is great, or a deep baking tray turned upside down), and let them come to room temperature for 4–5 hours before baking. Do not skip this. Cold dough bubbles and burns; room temp dough puffs and chars.
7. The Stretch
Preheat your oven to the absolute max (usually 500°F/260°C or 550°F/285°C). If you have a pizza stone or steel, preheat it for at least 45 minutes.
- Take a dough ball and dump it into a bowl of flour. Coat both sides.
- Place it on the counter. Press your fingers into the center and push outward, leaving about an inch of rim untouched. Do not touch the rim! That is your puffy crust.
- Gently stretch the dough over your knuckles until it’s about 10-12 inches wide. If it resists, let it rest for 5 minutes and try again.
8. The Bake
Top your pizza (less is more—sauce, mozzarella, basil). Launch it onto your stone/steel.
- Home Oven Tip: Bake for 5–7 minutes until the crust is golden. If the bottom is cooked but the top is pale, switch the broiler on for the last 60 seconds. Watch it like a hawk!
Common Mistakes to Avoid
I have failed so you don’t have to. Here is what not to do:
- Using a Rolling Pin: If I see you using a rolling pin, I will personally come to your house and confiscate it. A rolling pin crushes all the air bubbles you spent 24 hours creating. The result? A flat, sad cracker. Use your hands.
- Overloading the Toppings: American pizza chains have conditioned us to think “more is better.” In Neapolitan pizza, balance is key. Too much sauce or cheese makes the dough soggy and impossible to launch off the peel.
- The “Sticky” Panic: High hydration dough is sticky. Don’t panic and add 2 cups of flour while kneading. Trust the process. Use quick movements. If it sticks to your hands, wash them and dry them thoroughly before touching the dough again.
- Not Preheating Enough: Thinking you don’t need to preheat the oven—rookie mistake. Your stone or steel needs to be a thermal battery. If you throw dough onto a cold stone, nothing happens. You want thermal shock!
Alternatives & Substitutions
Okay, I know I said “traditional only,” but I’m not the pizza police (mostly). Here are some tweaks:
- No 00 Flour? In a pinch, mix Bread Flour with a little All-Purpose Flour (3:1 ratio). It won’t be as delicate, but it’ll still be delicious.
- Home Oven Hack (Sugar/Oil): Traditional wood-fired ovens hit 900°F. Your home oven doesn’t. Adding 1 tsp of sugar or honey and 1 tbsp of olive oil to the dough mix helps the crust brown at lower temperatures. It’s not “authentic,” but it helps mimic the look.
- Sourdough: If you have a starter, you can swap the commercial yeast for about 15% active starter. Just know your proofing times will vary wildly depending on how active your starter is.
FAQ (Frequently Asked Questions)
1. Can I freeze the dough? Absolutely. After you ball them up (Step 6), wrap them individually in plastic wrap and freeze. When you want pizza, move a ball to the fridge the night before, then bring to room temp before baking.
2. Why is my dough tearing when I stretch it? Two reasons: either the gluten wasn’t developed enough during kneading (did you pass the windowpane test?), or the dough is too cold. If it’s cold, the gluten is tight. Let it warm up on the counter for another 30 minutes.
3. Can I use a baking sheet if I don’t have a pizza stone? You can, but the bottom won’t get crispy. IMO, flip the baking sheet upside down and preheat it like a stone. It works surprisingly well!
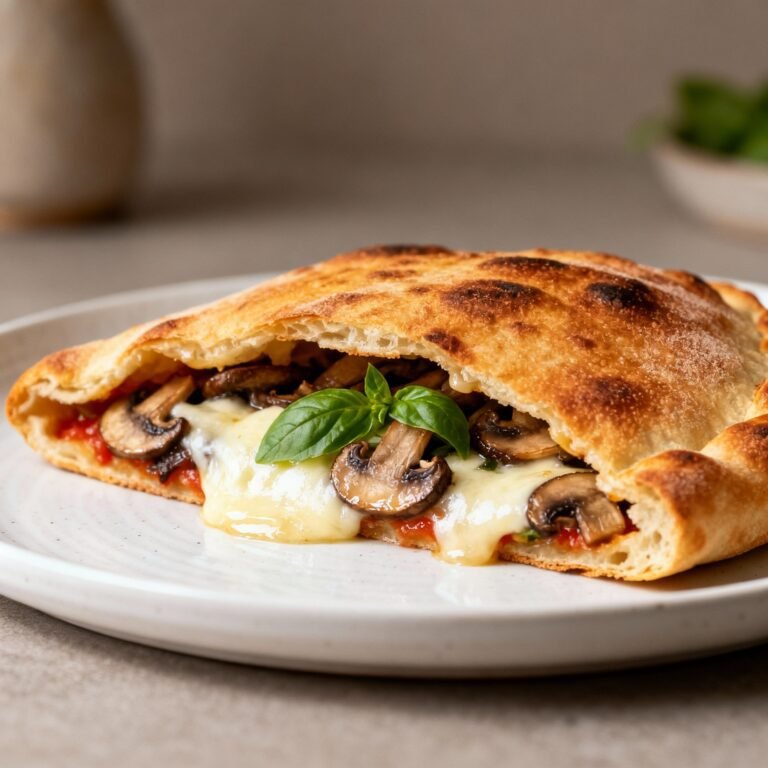
4. My pizza stuck to the peel! How do I save it? Ah, the dreaded “calzone accidental.” If it’s stuck, lift the edge and blow air under it while throwing some semolina flour underneath. If it’s totally glued… congratulations, you’re making a calzone now. Fold it over, seal it, and bake.
5. How long does the dough last in the fridge? It peaks at 24–48 hours. You can push it to 72 hours, but after that, the gluten starts to break down and the dough turns into a soupy, acidic mess.
6. Can I make this same-day? Yes, but you need more yeast (increase to 3g-4g) and let it proof at room temperature for 4–6 hours. It won’t be as flavorful, but it’s still pizza.
Final Thoughts
There is a specific kind of magic in pulling a hot, bubbling pizza out of the oven that you made from scratch. The blistered crust, the smell of toasted grain, the molten cheese—it’s a sensory masterpiece.
Don’t get discouraged if your first pizza looks like an amoeba rather than a perfect circle. It will still taste amazing. Practice makes perfect, and luckily, the “practice” involves eating pizza.
Now go impress someone—or yourself—with your new culinary skills. You’ve earned it!