Ninja Creami Coffee Ice Cream Recipe: The Ultimate Caffeinated Cool-Down
Craving a creamy, dreamy coffee ice cream that rivals your favorite coffee shop treat? Look no further! This Ninja Creami coffee ice cream recipe is your ticket to a delicious, customizable, and surprisingly easy homemade dessert. Forget store-bought versions packed with artificial ingredients and questionable textures. With just a few simple ingredients and your trusty Ninja Creami, you can whip up a batch of coffee ice cream that’s bursting with rich coffee flavor and perfectly smooth consistency. Get ready to say goodbye to expensive coffee runs and hello to your new favorite summer obsession!
Why This Recipe Works
This recipe stands out because it leverages the unique power of the Ninja Creami. Unlike traditional ice cream makers, the Creami shaves ingredients into a super-fine texture, resulting in an incredibly smooth and creamy final product. Here’s why this recipe works so well:
- Simple Ingredients: We use a base of milk, cream, sugar, and coffee for a classic flavor profile. No complicated stabilizers or artificial flavors needed!
- Customizable Coffee Intensity: You control the strength of the coffee flavor, allowing you to tailor the ice cream to your exact preferences.
- Perfectly Smooth Texture: The Ninja Creami works its magic to transform the frozen base into a luxuriously smooth and scoopable ice cream.
- Quick and Easy: While the freezing process takes time, the actual prep time is minimal. You can have delicious coffee ice cream with minimal effort.
- Versatile: This recipe is a great starting point. Feel free to add mix-ins like chocolate chips, chopped nuts, or even cookie pieces!
Ingredients
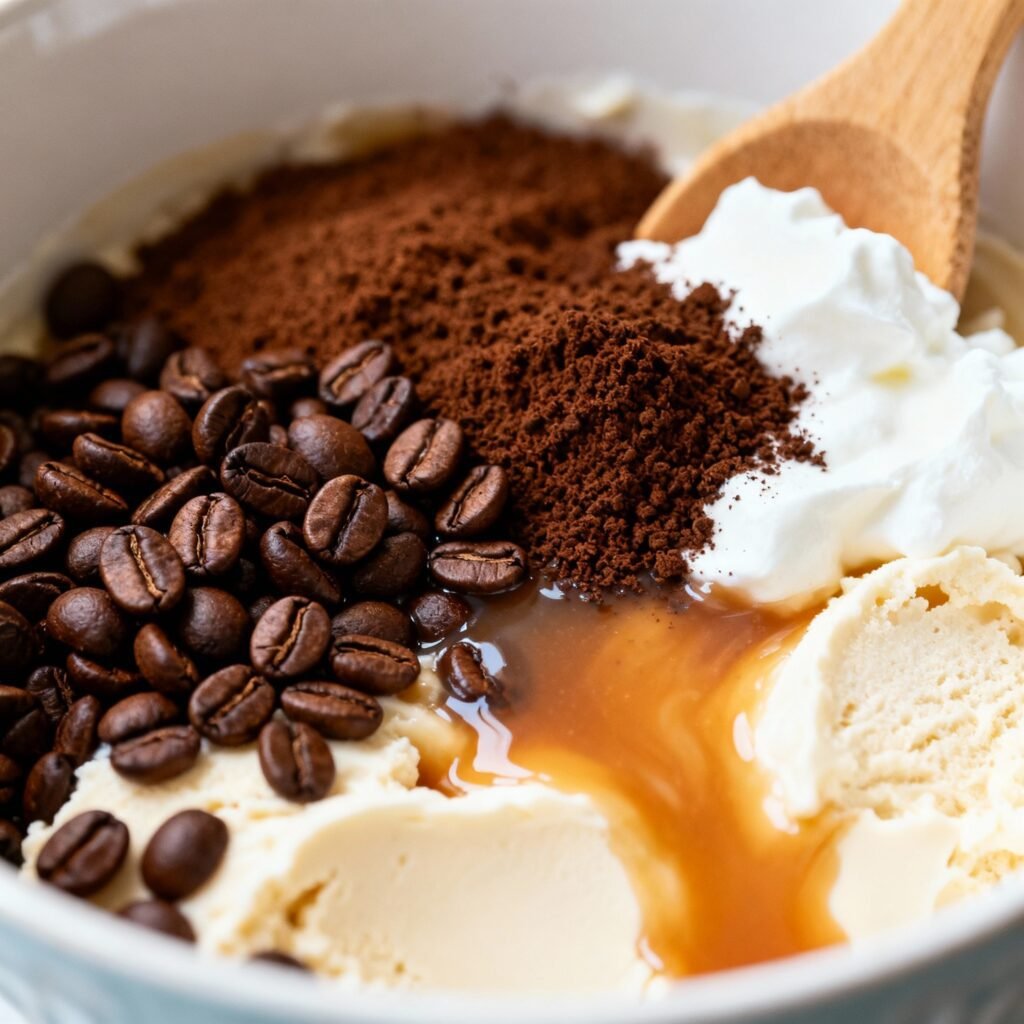
- 2 cups heavy cream
- 1 cup whole milk
- ¾ cup granulated sugar
- ¼ cup strong brewed coffee, cooled (or 2 tablespoons instant espresso powder dissolved in ¼ cup hot water, then cooled)
- 1 teaspoon vanilla extract
- Pinch of salt
Instructions
- Combine Ingredients: In a large bowl, whisk together the heavy cream, whole milk, granulated sugar, cooled coffee (or espresso mixture), vanilla extract, and salt until the sugar is dissolved.
- Pour into Creami Pint: Pour the mixture into your Ninja Creami pint container, being careful not to overfill. Leave about an inch of space at the top.
- Freeze: Place the lid on the pint container and freeze for at least 24 hours, or until completely solid. The longer it freezes, the better the Creami will process it.
- Process with Ninja Creami: Remove the frozen pint from the freezer and let it sit on the counter for 5-10 minutes to soften slightly. This helps the Creami process it more easily.
- Initial Spin: Place the pint in the Ninja Creami machine and secure the lid. Select the “Ice Cream” function and press start.
- Check Consistency: After the first spin, check the consistency of the ice cream. If it appears powdery or crumbly, add 1-2 tablespoons of milk or cream back into the pint.
- Re-Spin (if needed): Place the pint back in the Ninja Creami and select the “Re-Spin” function. This will further smooth out the ice cream. You may need to repeat this step 1-2 times until you reach your desired consistency.
- Add Mix-ins (optional): If you want to add mix-ins like chocolate chips, nuts, or cookie pieces, create a well in the center of the ice cream with a spoon. Add your desired mix-ins.
- Mix-in Spin (optional): Place the pint back in the Ninja Creami and select the “Mix-In” function. This will evenly distribute the mix-ins throughout the ice cream.
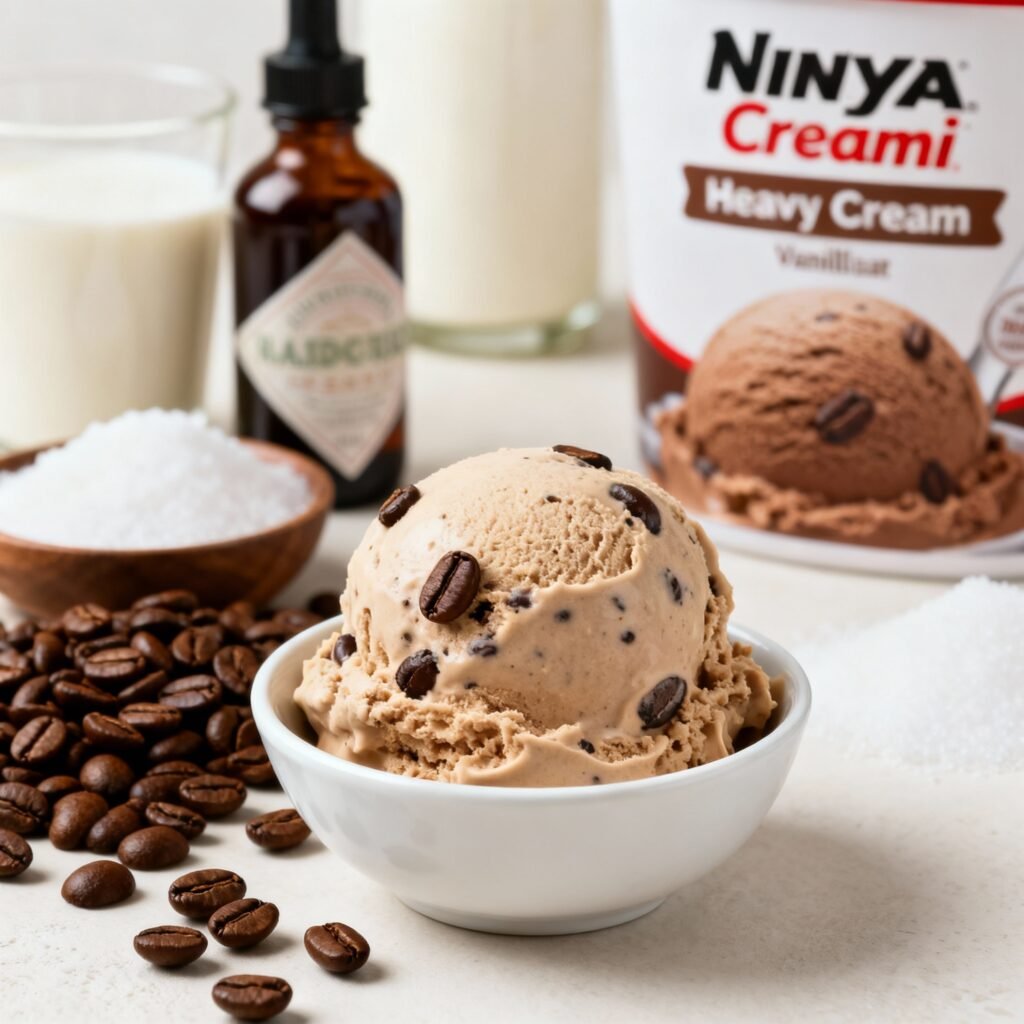
- Serve Immediately: Enjoy your freshly made coffee ice cream immediately! If you prefer a firmer texture, place it back in the freezer for 15-20 minutes before serving.
Tips for Success
Here are a few tips to help you achieve the perfect Ninja Creami coffee ice cream:
- Use Strong Coffee: The stronger the coffee, the more intense the coffee flavor will be in your ice cream. Experiment with different coffee roasts and brewing methods to find your perfect balance.
- Cool the Coffee Completely: Adding hot coffee to the cream mixture can curdle the dairy. Make sure the coffee is completely cooled before mixing it in.
- Don’t Overfill the Pint: Overfilling the pint can damage your Ninja Creami. Leave about an inch of space at the top.
- Freeze Thoroughly: The ice cream base needs to be completely frozen solid for the Ninja Creami to work properly. Freeze for at least 24 hours, or even longer.
- Softening is Key: Letting the frozen pint sit on the counter for a few minutes before processing helps the Creami work more efficiently and results in a smoother texture.
- Re-Spin is Your Friend: Don’t be afraid to use the “Re-Spin” function multiple times to achieve your desired consistency.
- Experiment with Mix-ins: Get creative with your mix-ins! Chocolate-covered espresso beans, crushed Oreos, or even a swirl of caramel sauce would be delicious additions.
- Adjust Sweetness: Taste the mixture before freezing and adjust the amount of sugar to your liking.
- Clean Your Creami Properly: Follow the manufacturer’s instructions for cleaning your Ninja Creami after each use.
Storage Instructions
If you have any leftover coffee ice cream (which is unlikely!), store it in an airtight container in the freezer. It’s best enjoyed within a week or two for optimal texture and flavor. Keep in mind that homemade ice cream tends to get harder than store-bought ice cream when frozen for extended periods. Let it soften slightly at room temperature before scooping.
FAQ
- Can I use decaf coffee? Yes, you can use decaf coffee if you prefer. The flavor will be the same, just without the caffeine.
- Can I use a different type of milk? While whole milk and heavy cream provide the best texture, you can experiment with other types of milk, such as almond milk or oat milk. However, the ice cream may not be as creamy.
- Can I use a sugar substitute? Yes, you can use a sugar substitute like stevia or erythritol. However, the texture may be slightly different.
- My ice cream is too icy. What did I do wrong? This can happen if the mixture wasn’t frozen solid enough or if the Ninja Creami wasn’t able to process it properly. Make sure the mixture is frozen completely and try re-spinning it a few times.
- My Ninja Creami is making a loud noise. Is that normal? The Ninja Creami can be a bit noisy, especially when processing frozen ingredients. However, if the noise is excessive or unusual, stop the machine and check for any obstructions.
- Can I add alcohol to this recipe? Adding alcohol can prevent the ice cream from freezing properly. If you want to add alcohol, use a small amount (no more than 1-2 tablespoons) and add it after the first spin.
Conclusion
This Ninja Creami coffee ice cream recipe is a game-changer for coffee lovers and ice cream enthusiasts alike. It’s a simple, customizable, and incredibly delicious way to enjoy your favorite caffeinated beverage in a cool and refreshing form. With a few basic ingredients and your trusty Ninja Creami, you can create a coffee ice cream that’s far superior to anything you can buy in the store. So, grab your pint containers, brew a strong cup of coffee, and get ready to experience the ultimate caffeinated cool-down!