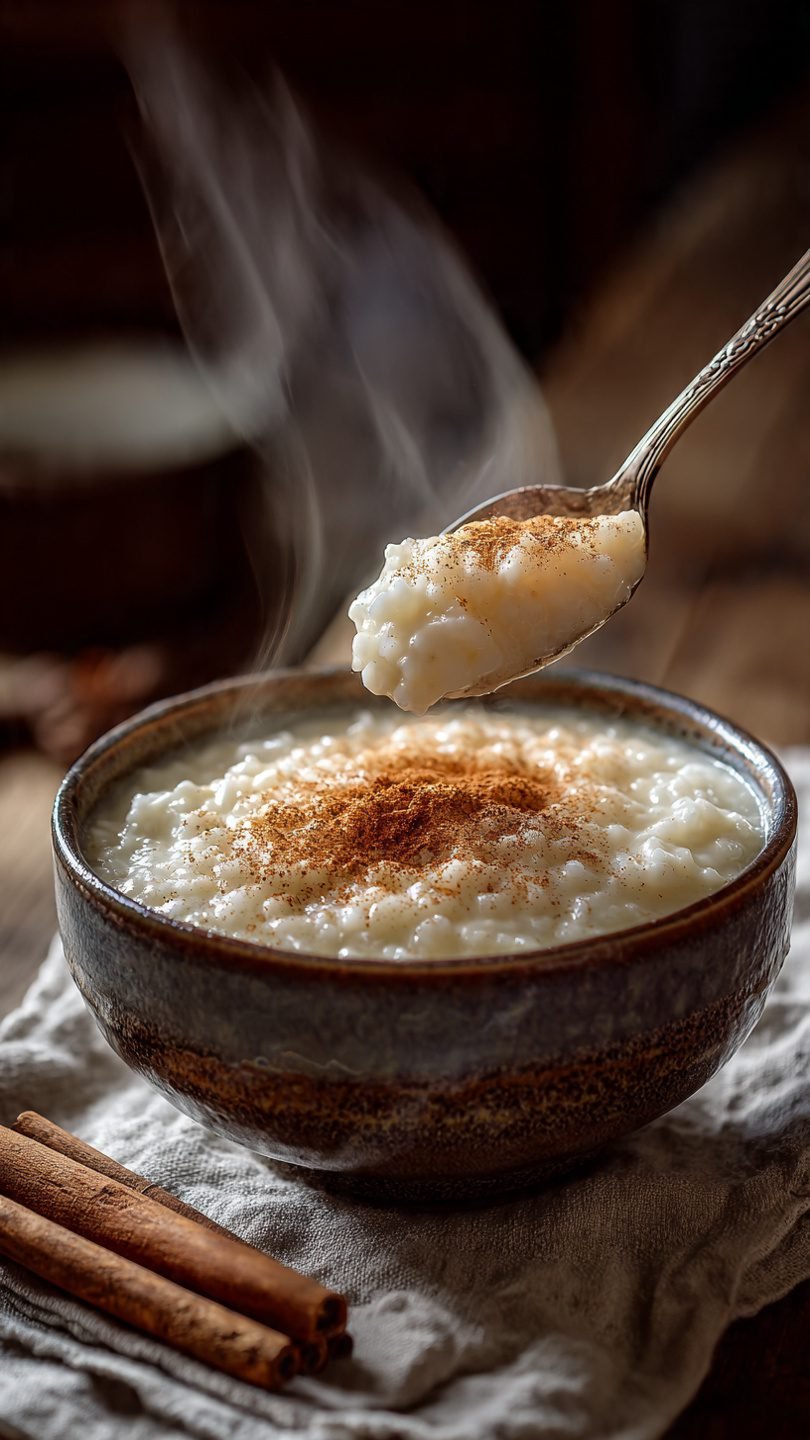
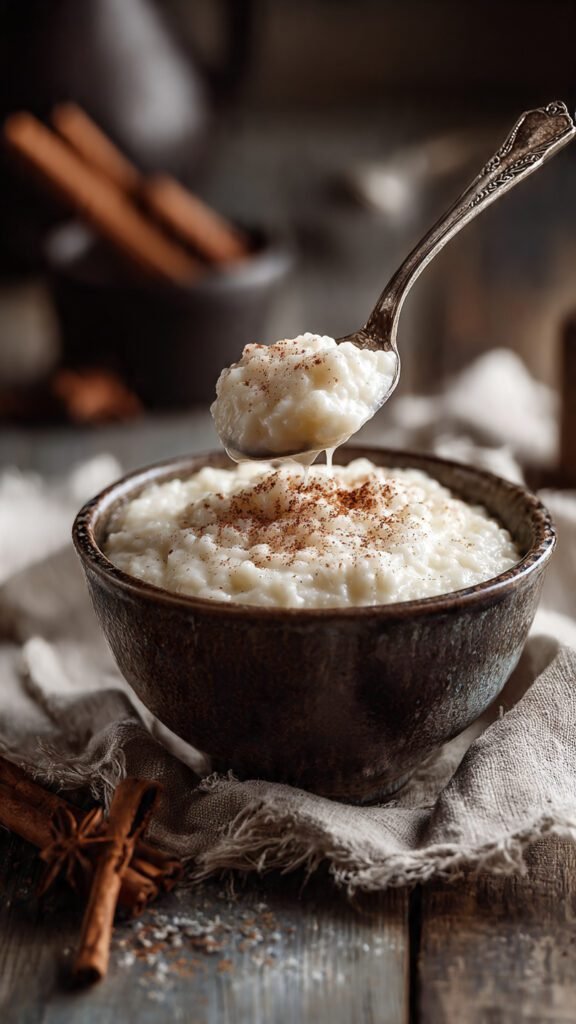
🥣 Old Fashioned Rice Pudding Recipe: Creamy & cozy!
So you’re craving something tasty but too lazy to spend forever in the kitchen, huh? Same.
Let’s be real for a second. Sometimes, you don’t want a deconstructed tart with a kinetic sugar sculpture. Sometimes, you just want a bowl of warm, sweet mush that tastes like a hug from a grandma who loves you more than she loves her bingo league. That’s what this old fashioned rice pudding recipe is.
It’s the culinary equivalent of putting on your ugliest, most comfortable sweatpants. It doesn’t judge you. It doesn’t ask for exotic ingredients you have to trek to three different stores to find. It just asks for a pot, a spoon, and a little bit of patience. If you’ve had a bad day, or even just a mediocre Tuesday, this is the fix. Let’s make some magic.
Why This Recipe is Awesome
Okay, listen. There are a million ways to make rice pudding. Some people bake it (which takes 84 years), some people use leftover rice (which is… fine, I guess, if you hate joy), but this method? This is the stovetop custard style. And honestly, it is superior in every single way.
Here is why you are going to be obsessed with this:
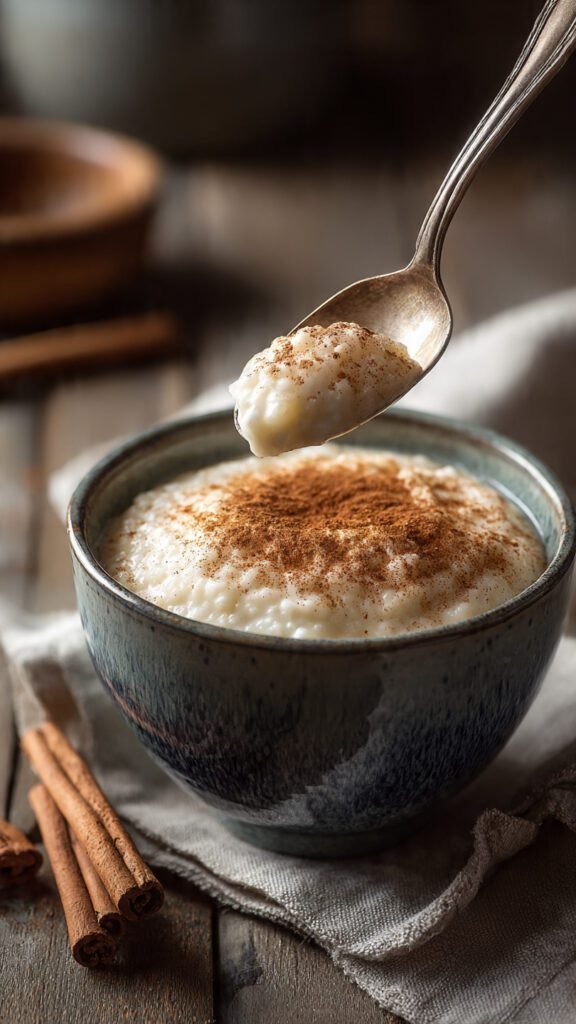
1. The Texture is insane. We aren’t making a casserole here. We are aiming for a texture that sits right on the borderline between a thick soup and a heavy custard. When you cook the rice directly in the milk, the grains release their starch slowly, thickening the liquid naturally. It creates this glossy, velvety mouthfeel that you just can’t get from baking it in the oven. It’s creamy without being heavy, and rich without making you feel like you just ate a stick of butter (though, there is butter involved, obviously).
2. It smells better than any candle you own. Forget “Autumn Breeze” or “Vanilla Cookie” candles. When this stuff starts simmering on the stove, your entire house fills with the scent of warm milk, caramelized sugar, vanilla bean, and cinnamon. It’s a sensory experience. It triggers that primal part of your brain that says, “Safety. Home. Good.”
3. It’s scientifically fascinating (nerd alert). Cooking this is actually a cool lesson in chemistry. You’re watching the gelatinization of rice starch happen in real-time. As the rice grains absorb the hot liquid, they swell and eventually burst, releasing amylopectin. That starch acts as the glue that binds the milk and sugar together. Then, we add a tempered egg (don’t panic, I’ll walk you through it) which emulsifies the fats and proteins, creating a pudding that is luxuriously smooth.
4. It’s idiot-proof. Okay, maybe not completely idiot-proof—if you fall asleep, you will burn it. But if you can stir a spoon and pay attention for 20 minutes, you can nail this. It’s high-reward for low-effort.
Ingredients You’ll Need
We are keeping it classic. No weird thickeners, no condensed milk cans (unless you’re into that, but we’re going old school).
- Whole Milk: * Critical Tip: Do not—I repeat, do not—bring skim milk or 1% into this equation. We need fat. Fat is flavor. Fat is texture. Using watery milk will result in watery sadness.
- Rice: * You want a medium or short-grain white rice. Arborio rice (the stuff used for risotto) is actually the MVP here because it has high starch content, making the pudding extra creamy. Long-grain works, but it won’t be quite as velvety.
- Granulated Sugar: * Just regular white sugar. It dissolves cleanly and lets the vanilla shine.
- Egg: * Just one large egg. This is the secret to that “custard” vibe. It adds richness and color.
- Salt: * “Salt in a dessert?” Yes. Always. It wakes up the flavors. Without it, the pudding just tastes like “sweet.” With it, it tastes like magic.
- Unsalted Butter: * We stir this in at the very end to give it a glossy finish.
- Vanilla Extract: * Measure this with your heart, not a spoon. (But I’ll give you a measurement below just in case). Use the real stuff if you can afford it.
- Cinnamon/Nutmeg: * Just a pinch for warmth.
Step-by-Step Instructions
Alright, apron on (or don’t, I’m not your mom). Let’s do this.
1. The Initial Simmer Grab a heavy-bottomed saucepan (this helps prevent burning). Toss in your milk, rice, sugar, and salt. Turn the heat to medium-high and bring it to a boil. Watch it like a hawk. Milk loves to boil over the second you look at your phone. Once it boils, drop the heat to low. You want a gentle simmer, just a few lazy bubbles popping on the surface.
2. The Long Stir (The Zen Phase) Simmer the mixture uncovered for about 50 to 60 minutes. You need to stir this frequently.
- Why? Because rice is heavy and loves to sink to the bottom and burn.
- What to look for: Around the 45-minute mark, the texture changes. The rice will be tender (taste a grain, carefully!), and the milk will have thickened significantly. It should look like a loose porridge.
3. The Tempering (Don’t Scramble The Egg!) This is the only part where you need to focus. In a small bowl, whisk your egg. Now, take a ladle of the hot rice mixture and slowly drizzle it into the egg while whisking the egg furiously.
- The Science: We are slowly raising the temperature of the egg so it doesn’t cook instantly when it hits the pot. This is called tempering.
- Once the egg bowl is warm, pour that mixture back into the big pot. Stir constantly for another 1–2 minutes. It will get visibly thicker and luscious.
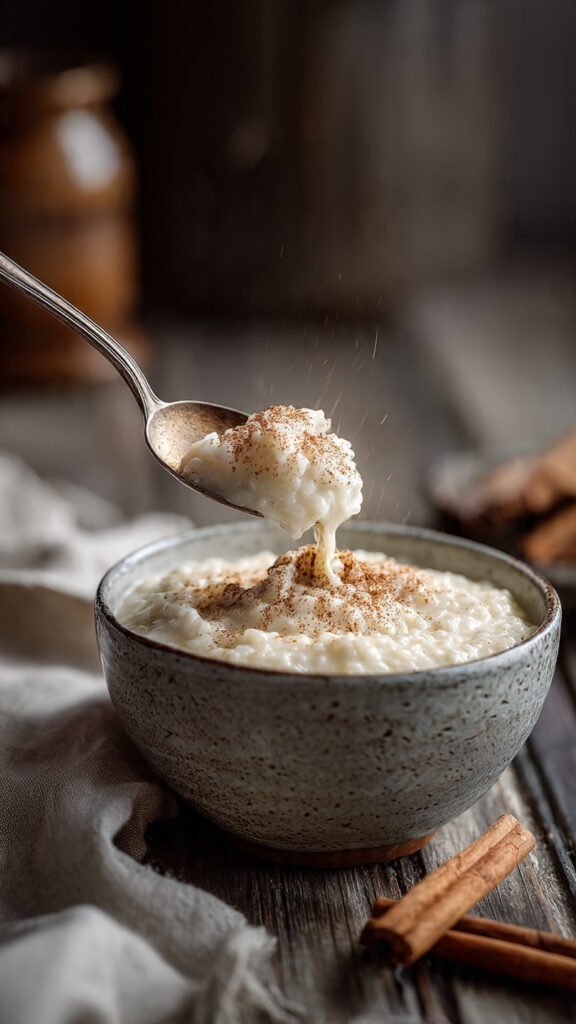
4. The Grand Finale Remove the pot from the heat. This is important. If you add the aromatics while it’s boiling, you cook off the flavor. Stir in the butter and vanilla extract. Watch the butter melt into golden swirls. It’s beautiful. sprinkle in your cinnamon or nutmeg if you’re using them.
5. The Cool Down It will look a little runny right now. Relax. As it cools, the starches will set (retrogradation, baby!) and it will thicken up. Let it sit for at least 15-20 minutes before digging in.
Common Mistakes to Avoid
Even though this is easy, I have seen good people make bad pudding. Here is how to avoid disaster.
- Rinsing the Rice:
- Don’t do it. When making savory rice, we rinse to get fluffy separate grains. Here, we want the grains to stick together and release starch. Keep the dust; we need the glue.
- Turning the Heat Too High:
- Patience is key. If you try to rush this by cranking the heat, you will scorch the bottom. Burnt milk tastes like burnt hair smells. There is no saving it. Low and slow is the tempo.
- Thinking It’s Too Runny:
- When you pull it off the stove, it should be a bit loose. If you cook it until it looks like finished pudding in the pot, it will turn into a solid brick of concrete once it cools. Trust the carry-over cooking.
- Using a flimsy pot:
- Thin pots have hot spots. Use a Dutch oven or a heavy stainless steel pot to distribute heat evenly.
Alternatives & Substitutions
Cooking is jazz, not a marching band. Feel free to improvise.
- Vegan / Dairy-Free:
- Can you use almond milk? Eh. It’s a bit thin.
- Better option: Full-fat canned coconut milk. It changes the flavor profile to something tropical and delicious, but the fat content mimics whole milk perfectly.
- The Raisin Controversy:
- People have strong feelings about raisins. If you love them (who hurt you?), stir in 1/2 cup of golden raisins during the last 5 minutes of cooking so they plump up. If you hate them, leave them out. I prefer dried cherries or chopped apricots for a modern twist.
- Spicing it Up:
- Cinnamon is classic, but have you tried Cardamom? A pinch of ground cardamom gives it a sophisticated, chai-latter vibe.
- Orange Zest: A little grate of orange zest at the end cuts through the richness beautifully.
- Sugar Swap:
- Brown sugar creates a deeper, caramel-like flavor (and a darker color). Maple syrup is also a solid choice for a more autumnal vibe.
FAQ (Frequently Asked Questions)
1. Can I use leftover cooked rice? Technically, yes. But it won’t be as creamy because the rice has already released (and lost) most of its starch. If you must, simmer the cooked rice in milk for 20 mins, but expect a different texture. This recipe is for the raw rice method, which is superior (IMO).
2. Can I use margarine instead of butter? Well, technically yes, but why hurt your soul like that? Margarine is oil; butter is flavor. Use the real stuff.
3. Why is my pudding crunchy? You didn’t cook it long enough, or your heat was too high and the liquid evaporated before the rice was done. Add a splash more milk and keep simmering on low.
4. How do I stop that weird skin from forming on top? Ah, the pudding skin. Some people fight over it (weirdos), some hate it. To prevent it, press a piece of plastic wrap directly onto the surface of the pudding while it cools. No air contact = no skin.
5. How long does this last? It stays good in the fridge for about 3–4 days. But let’s be honest, you’re going to eat it all by tomorrow morning.
6. Can I freeze this? Hard no. Rice pudding does not freeze well. The rice gets grainy and the custard separates and becomes watery upon thawing. Eat it fresh.
7. Can I bake this instead? You can, but the ratio of liquid changes. Baked rice pudding is firmer and takes longer. Stick to the stovetop for that creamy, spoonable texture.
Final Thoughts
There you have it. You have successfully navigated the treacherous waters of dairy cookery. Whether you eat this warm right out of the pot (my personal favorite) or cold for breakfast the next day (also acceptable), you’ve made something from scratch that beats any plastic cup from the supermarket.
Now go impress someone—or yourself—with your new culinary skills. You’ve earned it!