Pan Pizza Dough Recipe: Restaurant-Quality at Home!
Craving that thick, chewy crust with a crispy, golden-brown bottom that only a pan pizza can deliver? Forget delivery! This recipe unlocks the secrets to creating restaurant-quality pan pizza dough right in your own kitchen. We’re talking perfectly airy crumb, incredible flavor, and that satisfying crunch that makes every bite a delight. Whether you’re a seasoned pizza pro or a complete beginner, this guide will walk you through each step, ensuring pizza perfection every time.
Why This Recipe Works
This isn’t just another pizza dough recipe; it’s a carefully crafted formula designed specifically for pan pizza success. Here’s why it excels:
- High Hydration: A higher water content (hydration) leads to a more open and airy crumb structure. This recipe strikes the perfect balance for a dough that’s easy to handle while still yielding that desirable texture.
- Proper Proofing: We utilize a two-stage proofing process. The first bulk fermentation allows the yeast to develop flavor and gluten structure, while the second proofing in the pan ensures a light and fluffy crust.
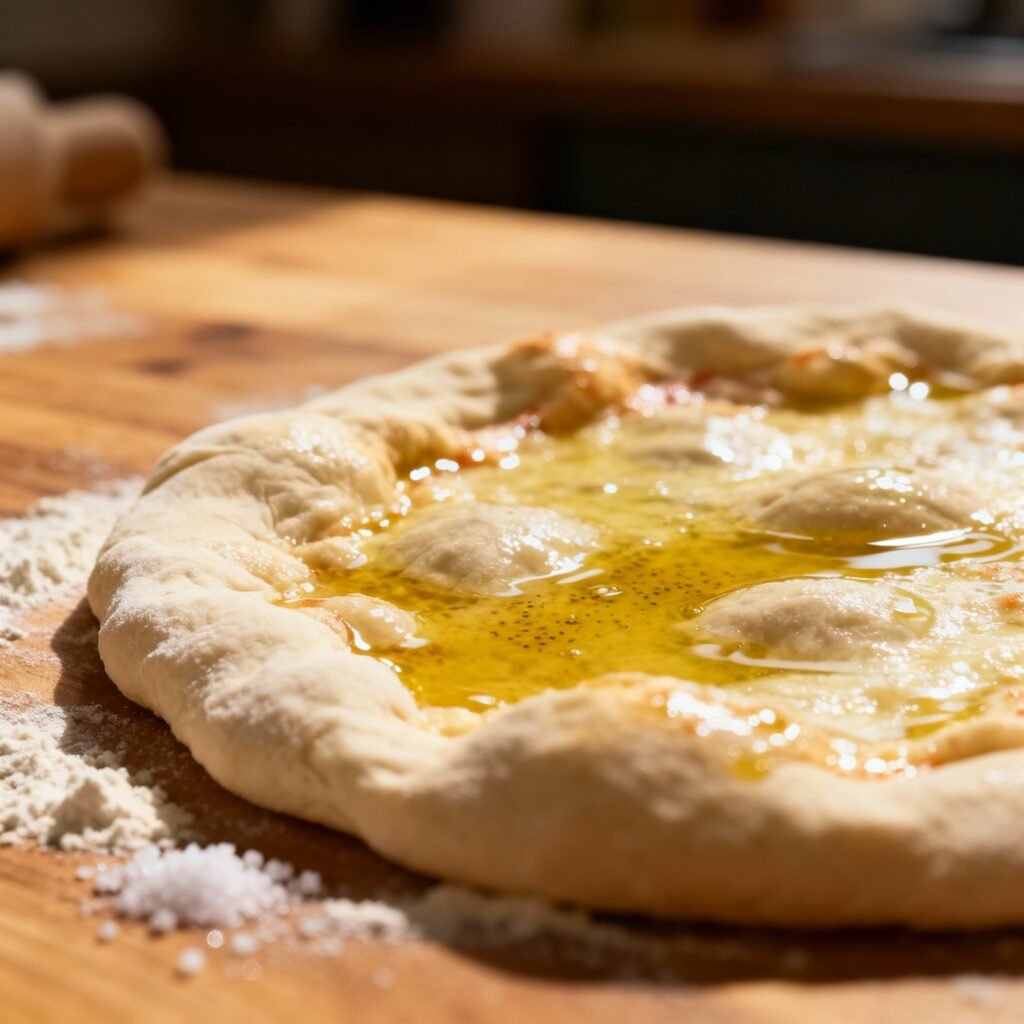
- Olive Oil: Generous amounts of olive oil not only contribute to the flavor but also help create that signature crispy bottom as the dough bakes in the pan.
- Warm Water Activation: Activating the yeast in warm water ensures it’s lively and ready to leaven the dough effectively.
- Simple Ingredients: We use readily available ingredients, so you don’t need any fancy equipment or obscure flours to achieve incredible results.
Ingredients
- 3 1/2 cups (420g) Bread Flour: Bread flour has a higher protein content than all-purpose flour, which is crucial for developing strong gluten and a chewy crust.
- 1 teaspoon (3g) Instant Dry Yeast: Instant dry yeast is convenient and reliable. You can also use active dry yeast, but you’ll need to proof it in warm water for a bit longer.
- 1 1/2 teaspoons (9g) Salt: Salt controls the yeast activity and adds flavor to the dough.
- 1 1/2 cups (360ml) Warm Water (105-115°F): The water should be warm enough to activate the yeast but not so hot that it kills it.
- 3 tablespoons (45ml) Olive Oil, plus more for greasing the pan: Olive oil adds flavor and helps create a crispy crust.
- 1 teaspoon (5g) Sugar: Sugar provides food for the yeast, helping it to rise and adding a touch of sweetness to the dough.
Instructions
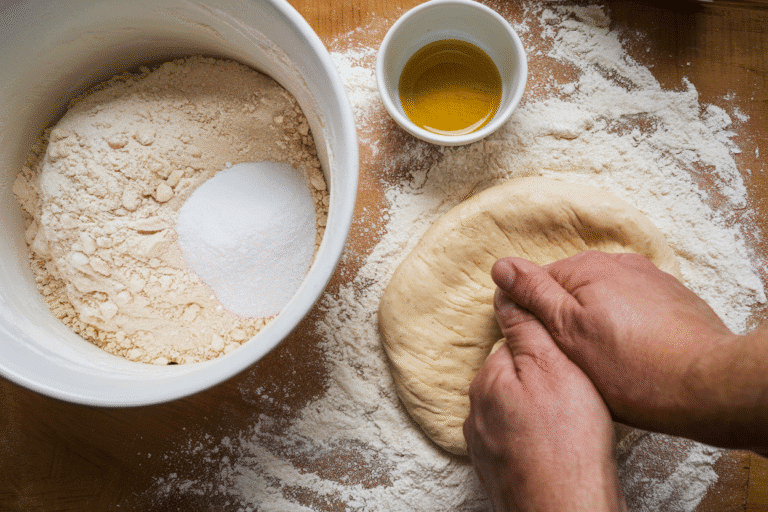
- Activate the Yeast: In a large bowl, combine the warm water, sugar, and instant dry yeast. Let it sit for 5-10 minutes, until the yeast is foamy and active.
- Combine Dry Ingredients: In a separate large bowl, whisk together the bread flour and salt.
- Combine Wet and Dry Ingredients: Pour the yeast mixture and olive oil into the bowl with the flour. Use a wooden spoon or your hands to mix until a shaggy dough forms.
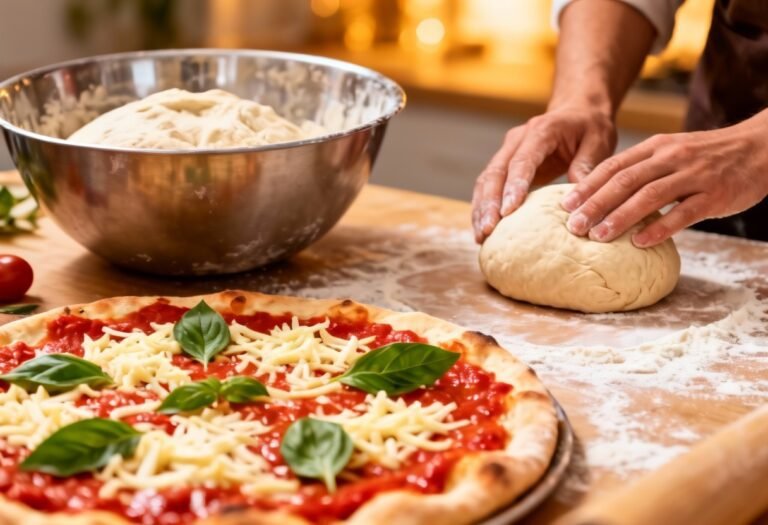
- Knead the Dough: Turn the dough out onto a lightly floured surface and knead for 8-10 minutes, until it becomes smooth and elastic. If using a stand mixer, knead with the dough hook for 6-8 minutes. The dough will be slightly sticky, but avoid adding too much flour.
- First Proof (Bulk Fermentation): Place the dough in a lightly oiled bowl, turning to coat. Cover the bowl with plastic wrap or a damp towel and let it rise in a warm place for 1-1.5 hours, or until doubled in size.
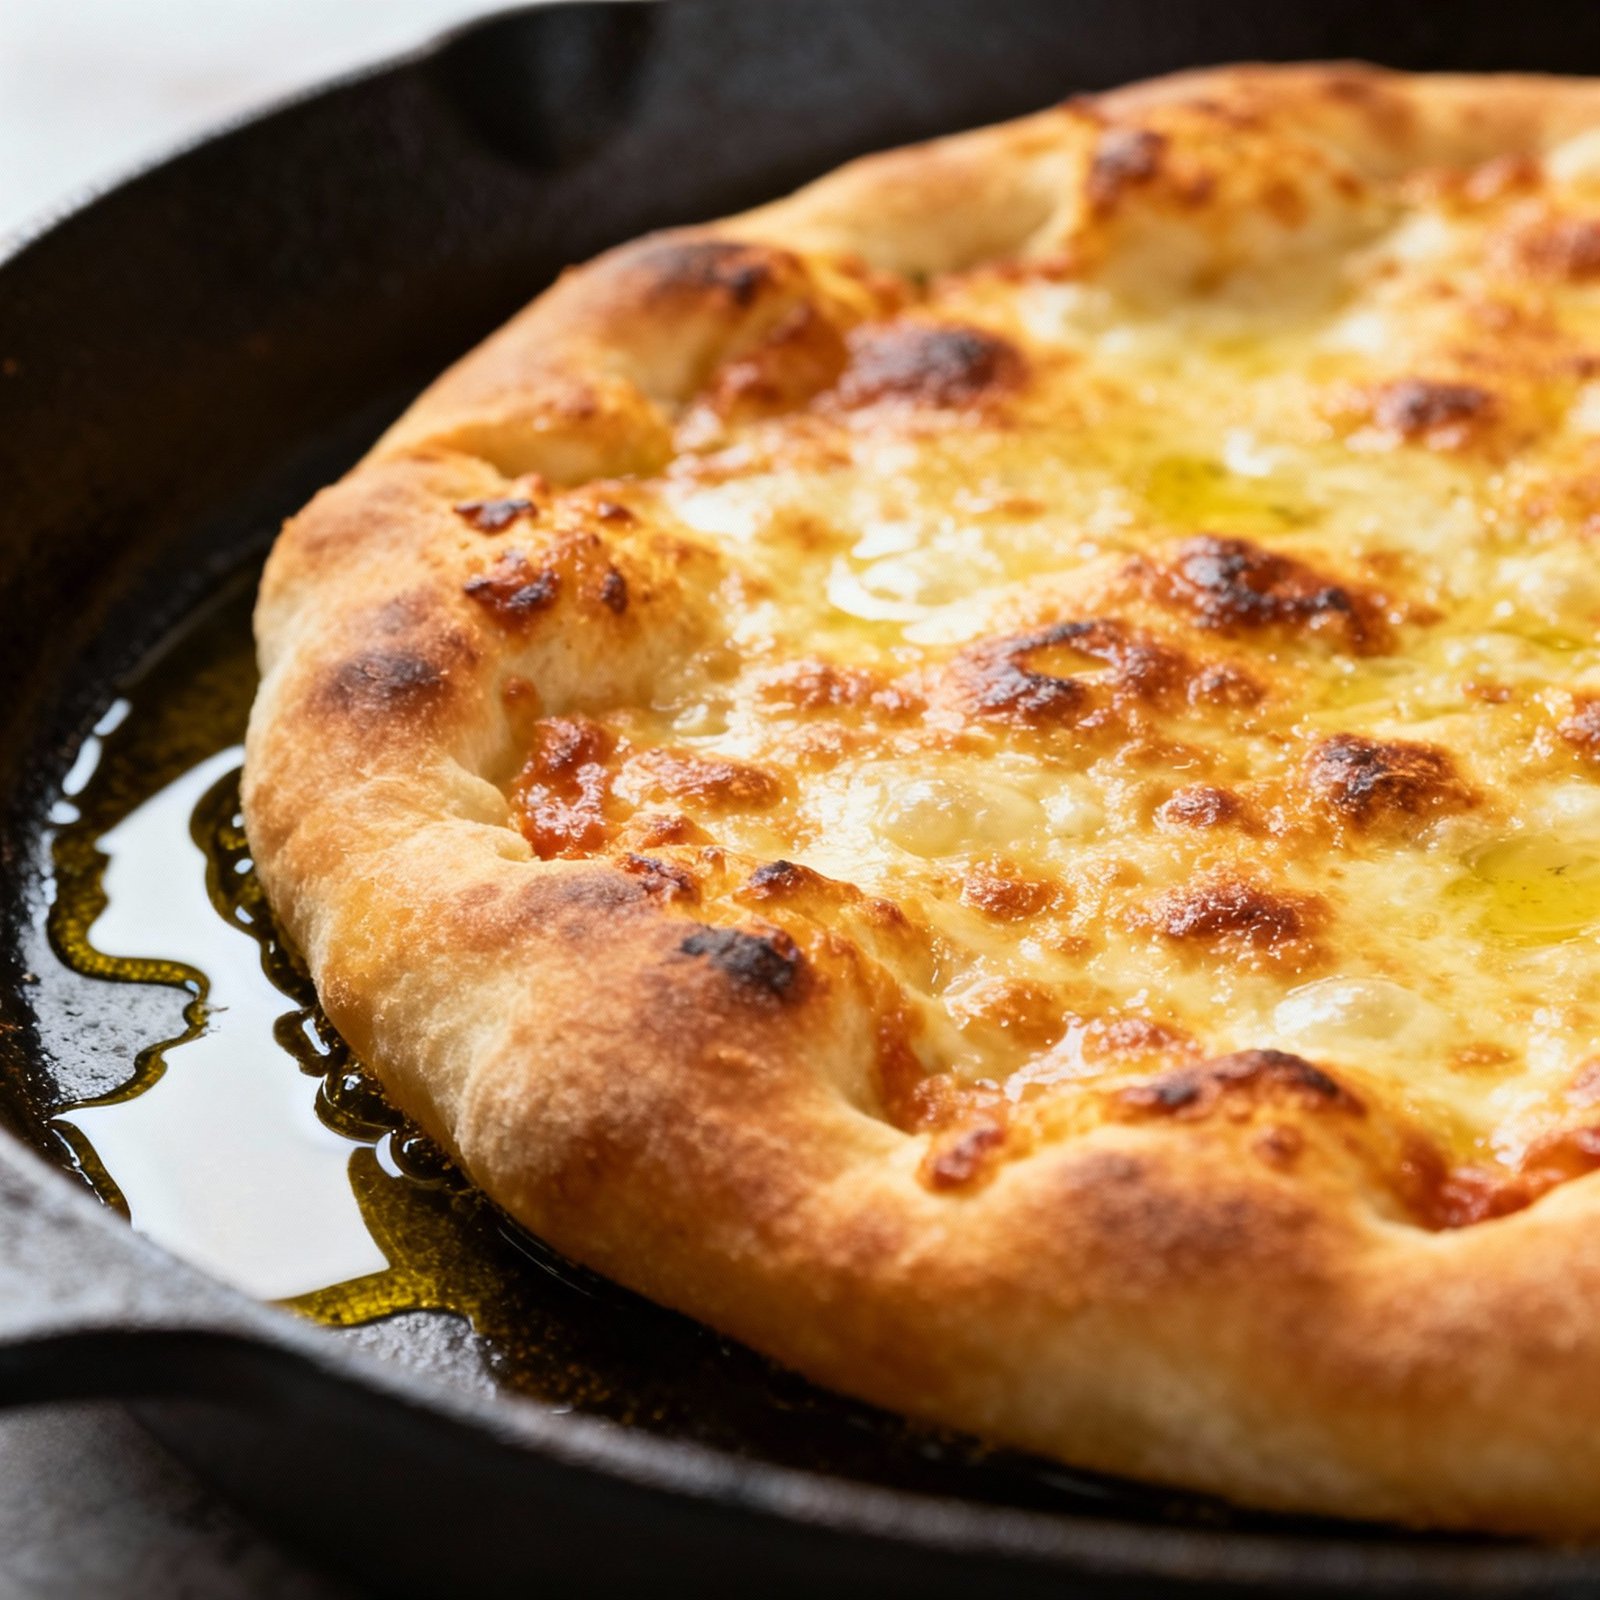
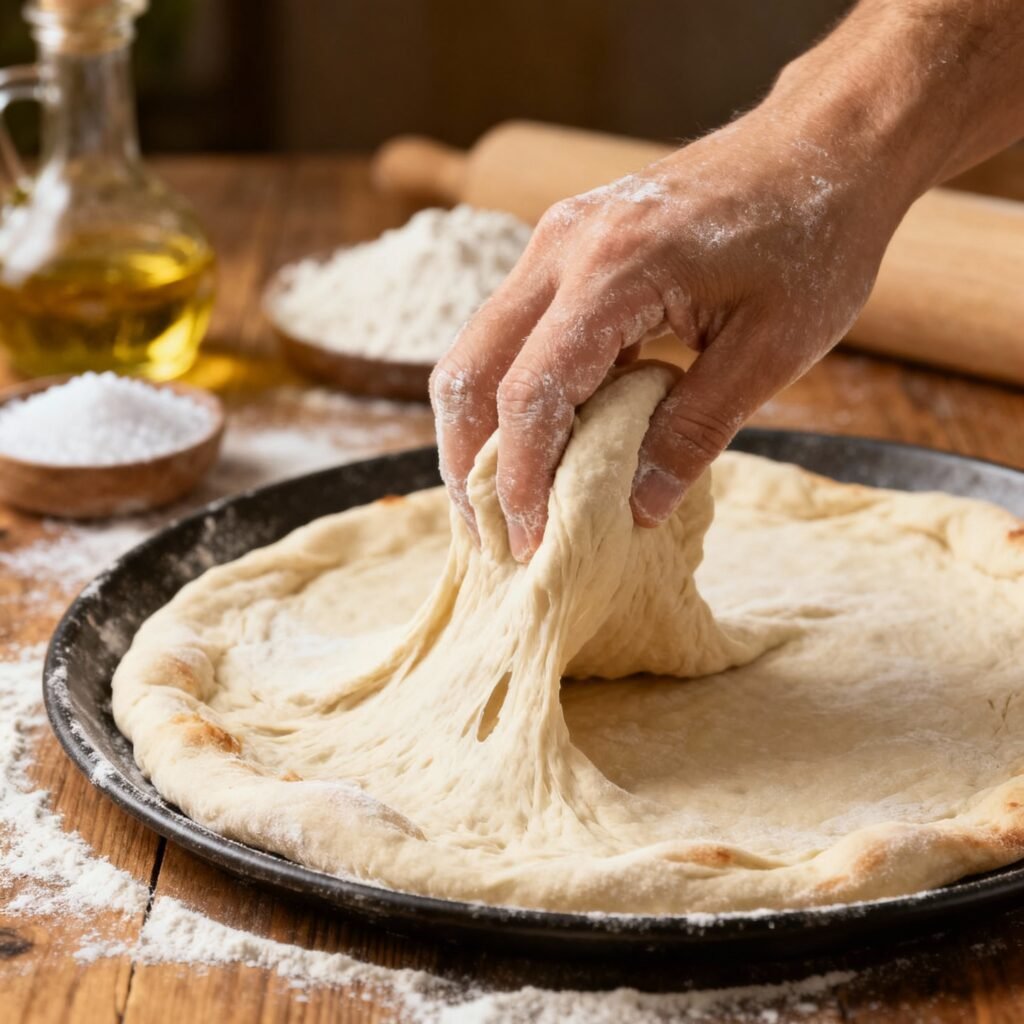
- Prepare the Pan: Generously grease a 12-inch cast iron skillet or a 13×9 inch baking pan with olive oil. Ensure the entire bottom and sides are well coated.
- Shape the Dough: Gently deflate the dough and transfer it to the prepared pan. Use your fingertips to press the dough evenly into the pan, working it towards the edges. Don’t worry if it doesn’t reach the corners immediately; it will spread as it proofs.
- Second Proof (Pan Proofing): Cover the pan with plastic wrap or a damp towel and let the dough rise in a warm place for 30-60 minutes, or until it’s puffy and almost doubled in thickness.
- Preheat Oven: Preheat your oven to 450°F (232°C) with a rack in the middle position.
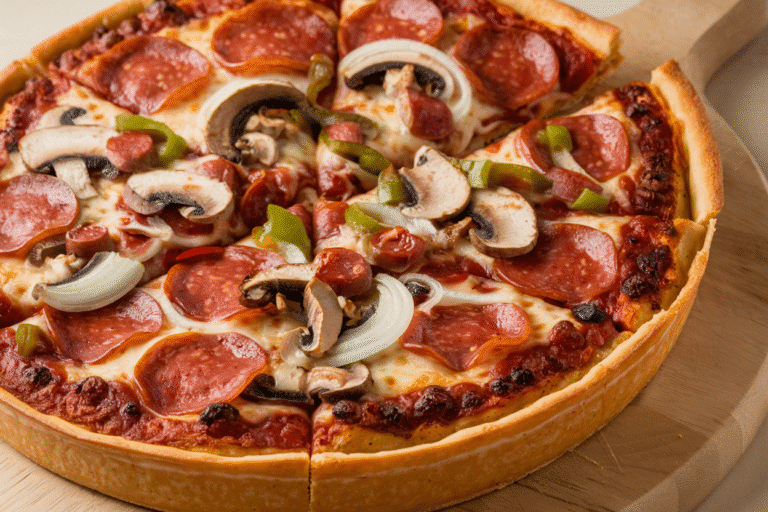
- Add Toppings: Once the dough has proofed, top it with your favorite pizza sauce, cheese, and toppings.
- Bake: Bake for 20-25 minutes, or until the crust is golden brown and the cheese is melted and bubbly. For an extra crispy bottom, you can place the skillet directly on the stovetop over medium heat for the last minute or two of baking (use caution!).
- Cool and Serve: Let the pizza cool in the pan for a few minutes before slicing and serving.
Tips for Success
- Use a Kitchen Scale: For the most accurate and consistent results, use a kitchen scale to measure your ingredients by weight.
- Don’t Over-Knead: Over-kneading can result in a tough crust. Knead until the dough is smooth and elastic, but not overly tight.
- Warm Environment: A warm environment is crucial for proper proofing. If your kitchen is cold, you can place the dough in a slightly warmed oven (turned off) or near a warm stovetop.
- Adjust Baking Time: Baking time may vary depending on your oven. Keep a close eye on the pizza and adjust the baking time as needed to achieve your desired level of doneness.
- Experiment with Toppings: Don’t be afraid to get creative with your toppings! Try different cheeses, vegetables, meats, and sauces to create your perfect pan pizza.
- Use High-Quality Olive Oil: The flavor of the olive oil will shine through in the crust, so use a good-quality extra virgin olive oil.
- Par-Bake the Crust: For an extra crispy crust, you can par-bake the dough for 10 minutes before adding the toppings. This will help to set the crust and prevent it from becoming soggy.
Storage Instructions
Unbaked Dough: The unbaked dough can be stored in the refrigerator for up to 24 hours. After the first proof, punch down the dough, wrap it tightly in plastic wrap, and store it in the refrigerator. When ready to use, let it come to room temperature for about 30 minutes before shaping and proofing in the pan. You can also freeze the unbaked dough for up to 2 months. Thaw it in the refrigerator overnight before using.
Baked Pizza: Leftover baked pizza can be stored in the refrigerator for up to 3 days. Reheat it in the oven, toaster oven, or microwave until warmed through.
FAQ
Q: Can I use all-purpose flour instead of bread flour?
A: While you can use all-purpose flour, the crust will be less chewy and may not rise as high. Bread flour is highly recommended for the best results.
Q: Can I use active dry yeast instead of instant dry yeast?
A: Yes, you can. Proof the active dry yeast in warm water for 10-15 minutes until foamy before adding it to the flour.
Q: My dough is too sticky. What should I do?
A: A slightly sticky dough is normal for this recipe. Avoid adding too much flour, as it can result in a dry crust. Lightly flour your hands and the work surface as needed while kneading.
Q: My pizza is not crispy on the bottom. What can I do?
A: Ensure you’re using enough olive oil in the pan. You can also try placing the skillet directly on the stovetop over medium heat for the last minute or two of baking to crisp up the bottom. Be careful not to burn the crust!
Q: Can I make this dough in a food processor?
A: While possible, kneading by hand or with a stand mixer is generally preferred for optimal gluten development. If using a food processor, pulse the ingredients until a dough forms, then knead on a lightly floured surface for a few minutes.
Conclusion
With this recipe, achieving authentic, restaurant-quality pan pizza at home is easier than you think. From the carefully selected ingredients to the detailed instructions and helpful tips, you’re equipped to create a pizza that will impress your family and friends. So, gather your ingredients, preheat your oven, and get ready to experience the joy of homemade pan pizza perfection. Happy baking!