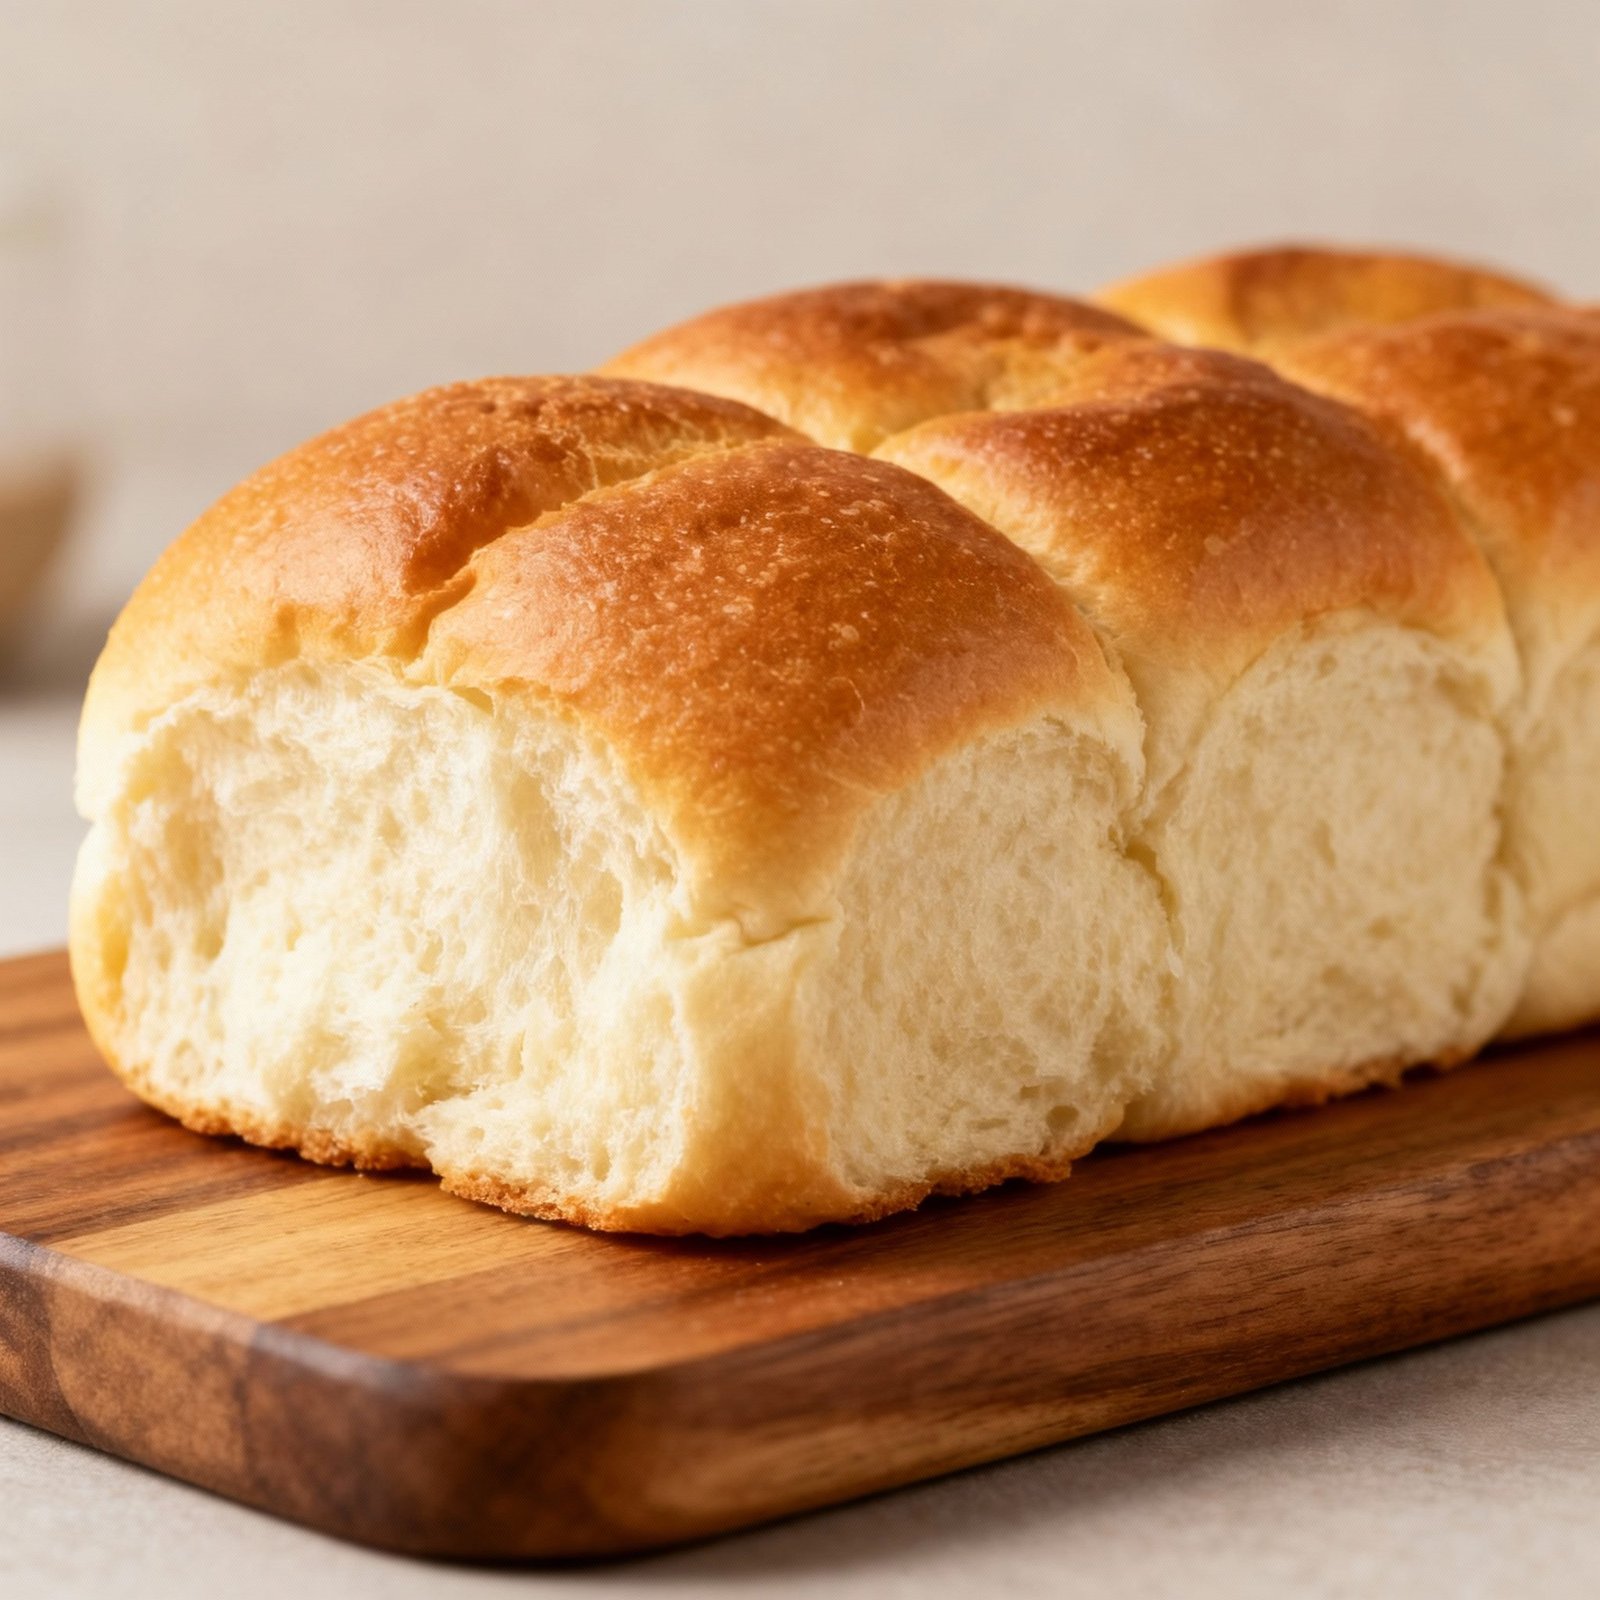
Pan Sobao Puerto Rico Recipe: The Softest, Sweetest Bread You’ll Ever Bake
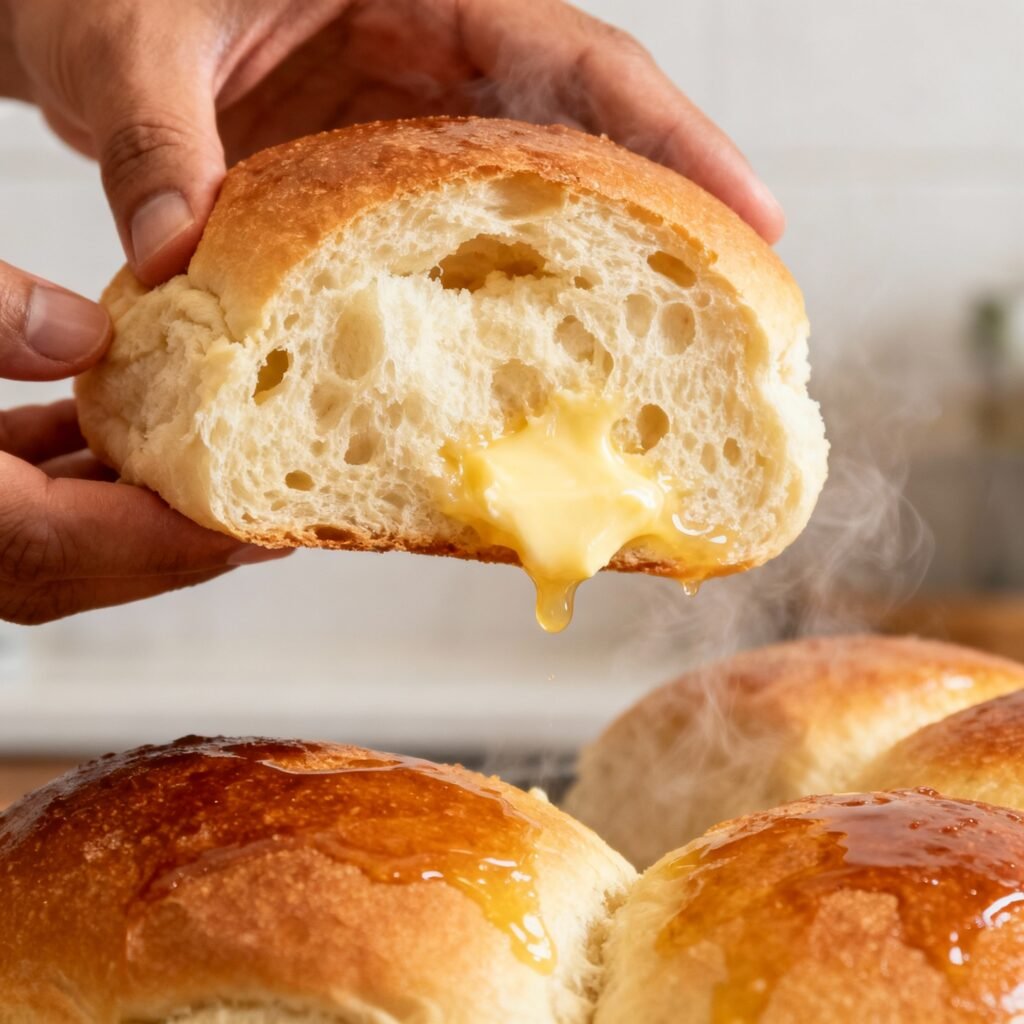
Imagine biting into a cloud – a slightly sweet, incredibly soft cloud that melts in your mouth. That, my friends, is Pan Sobao, the iconic Puerto Rican bread that’s a staple in every household. From breakfast toast slathered with butter to late-night sandwiches, Pan Sobao is the ultimate comfort food. And while you might find passable versions in some bakeries outside of Puerto Rico, nothing beats the taste and texture of a freshly baked loaf made in your own kitchen. This recipe captures the authentic flavor and delicate crumb that makes Pan Sobao so irresistible. Get ready to experience a little piece of Puerto Rican sunshine with every bite!
Why This Recipe Works
This recipe isn’t just a list of ingredients; it’s a carefully crafted method designed to deliver authentic Pan Sobao every time. Here’s why it works so well:
- The Sponge (Preferment): We start with a sponge, a mixture of flour, water, and yeast that’s allowed to ferment before being added to the main dough. This does wonders for the flavor, creating a more complex, slightly tangy taste and contributing to a lighter, more airy texture.
- The Right Flour: Bread flour, with its higher protein content, is crucial for developing the gluten structure needed for that characteristic chewiness. All-purpose flour can be used in a pinch, but the results won’t be quite the same.
- Lard: This is the secret ingredient! Lard (or vegetable shortening) adds richness and tenderness to the dough, giving Pan Sobao its signature melt-in-your-mouth quality. Don’t skip it!
- Sweetness: A touch of sugar provides the perfect balance to the savory elements and contributes to the beautiful golden-brown crust.
- Proper Kneading: Kneading develops the gluten, creating a strong network that traps air and gives the bread its structure. We recommend using a stand mixer for ease, but kneading by hand is perfectly acceptable (and a great workout!).
- Patient Proofing: Allowing the dough to rise properly is essential for achieving a light and airy texture. Don’t rush the process!
Ingredients
- For the Sponge:
- 1 cup (120g) bread flour
- 1 cup (240ml) warm water (105-115°F)
- 1 teaspoon active dry yeast
- For the Dough:
- 3 cups (360g) bread flour
- 1/2 cup (100g) granulated sugar
- 1 teaspoon salt
- 1/4 cup (57g) lard or vegetable shortening, softened
- 1/2 cup (120ml) warm milk (105-115°F)
- For Brushing:
- 1 tablespoon butter, melted
Instructions
- Prepare the Sponge: In a large bowl, whisk together the warm water and yeast. Let stand for 5 minutes until foamy. Add the bread flour and stir until just combined. Cover the bowl with plastic wrap and let it rest in a warm place for 1-2 hours, or until doubled in size and bubbly.
- Make the Dough: In the bowl of a stand mixer fitted with the dough hook attachment, combine the bread flour, sugar, and salt. Add the softened lard and mix on low speed until the lard is evenly distributed.
- Add the Wet Ingredients: Gradually add the warm milk to the dry ingredients, mixing on low speed until a shaggy dough forms. Add the sponge to the bowl and mix until everything is combined.
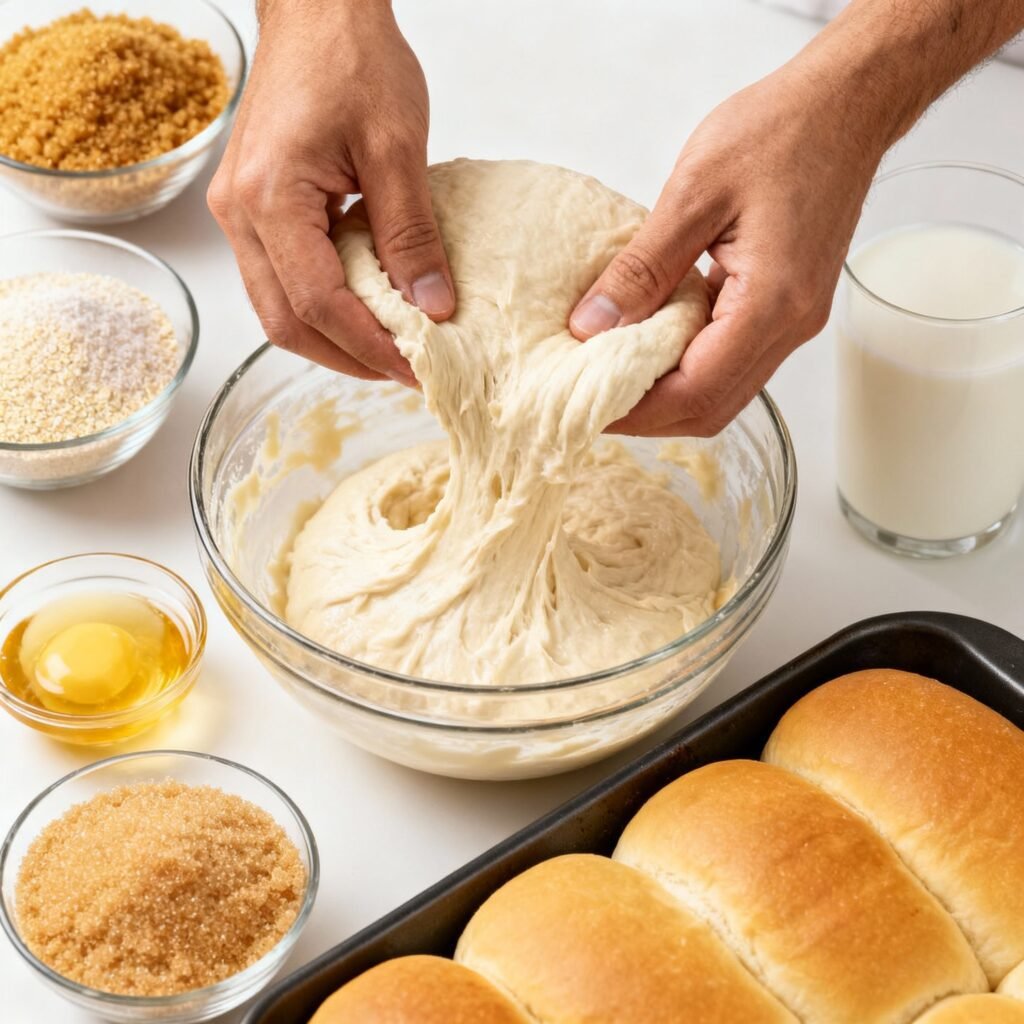
- Knead the Dough: Increase the speed to medium and knead the dough for 8-10 minutes, or until it becomes smooth and elastic. If kneading by hand, knead on a lightly floured surface for 10-12 minutes. The dough should be slightly sticky but manageable.
- First Rise: Place the dough in a lightly oiled bowl, turning to coat. Cover with plastic wrap and let it rise in a warm place for 1-1.5 hours, or until doubled in size.
- Shape the Dough: Gently deflate the dough and turn it out onto a lightly floured surface. Divide the dough into two equal pieces. Shape each piece into a long, oval loaf.
- Second Rise: Place the loaves on a baking sheet lined with parchment paper. Cover loosely with plastic wrap and let them rise for 45-60 minutes, or until almost doubled in size.
- Bake the Bread: Preheat the oven to 375°F (190°C). Brush the tops of the loaves with melted butter. Bake for 20-25 minutes, or until the loaves are golden brown and sound hollow when tapped on the bottom.
- Cool and Enjoy: Let the loaves cool on a wire rack before slicing and serving. Enjoy warm with butter, cheese, or your favorite sandwich fillings!
Tips for Success
Here are a few extra tips to ensure your Pan Sobao turns out perfectly:
- Use a Kitchen Scale: For best results, use a kitchen scale to measure the ingredients accurately. This is especially important for baking.
- Warm Ingredients: Using warm water and milk helps to activate the yeast and create a more consistent dough.
- Don’t Over-Knead: Over-kneading can result in tough bread. Knead until the dough is smooth and elastic, but not overly stiff.
- Proof in a Warm Place: A warm environment helps the dough rise properly. You can place the bowl in a slightly warm oven (turned off) or near a sunny window.
- Monitor the Baking Time: Oven temperatures can vary, so keep an eye on the bread while it’s baking. If it starts to brown too quickly, tent it with foil.
- Let it Cool Completely: Resist the urge to slice into the bread while it’s still hot. Allowing it to cool completely helps to set the crumb and prevents it from becoming gummy.
Storage Instructions
Pan Sobao is best enjoyed fresh, but it can be stored for a few days. Here’s how:
- Room Temperature: Store the bread in a breadbox or airtight container at room temperature for up to 2 days.
- Freezer: For longer storage, wrap the bread tightly in plastic wrap and then in foil, or place it in a freezer-safe bag. Freeze for up to 2 months. Thaw completely at room temperature before serving. You can also slice the bread before freezing for easier portioning.
- Reheating: To refresh stale bread, lightly dampen it with water and bake in a preheated oven at 350°F (175°C) for 5-10 minutes, or until warmed through.
FAQ
Q: Can I use all-purpose flour instead of bread flour?
A: While you can use all-purpose flour, the texture won’t be quite as chewy. Bread flour is recommended for the best results.
Q: Can I use butter instead of lard?
A: Yes, you can substitute butter for lard, but the flavor and texture will be slightly different. Lard contributes to a more tender and melt-in-your-mouth crumb.
Q: My dough is too sticky. What should I do?
A: Add a tablespoon of flour at a time until the dough is manageable. Be careful not to add too much, as this can make the bread tough.
Q: My bread didn’t rise. What went wrong?
A: There are several reasons why your bread might not have risen. Make sure your yeast is fresh and active, your water and milk are warm enough (but not too hot), and that you’re proofing the dough in a warm place.
Q: Can I make this recipe without a stand mixer?
A: Absolutely! You can knead the dough by hand on a lightly floured surface for 10-12 minutes, or until it becomes smooth and elastic.
Conclusion
Making Pan Sobao at home might seem daunting, but this recipe breaks down the process into easy-to-follow steps. With a little patience and the right ingredients, you can create a truly authentic and delicious loaf of Puerto Rican bread that will transport you straight to the island’s sunny shores. So, gather your ingredients, preheat your oven, and get ready to experience the magic of homemade Pan Sobao. ¡Buen provecho!